

1. Introduction
Thank you for choosing the HITBOX HBM200-EU 3-in-1 MIG 200A Welder. This compact and versatile welding machine is designed for various welding tasks, offering MIG MAG, ARC MMA, and Lift TIG functionalities. It is equipped with an intelligent one-button control system and a clear digital display for ease of use. This manual provides essential information for safe operation, setup, maintenance, and troubleshooting to ensure optimal performance and longevity of your welding machine.
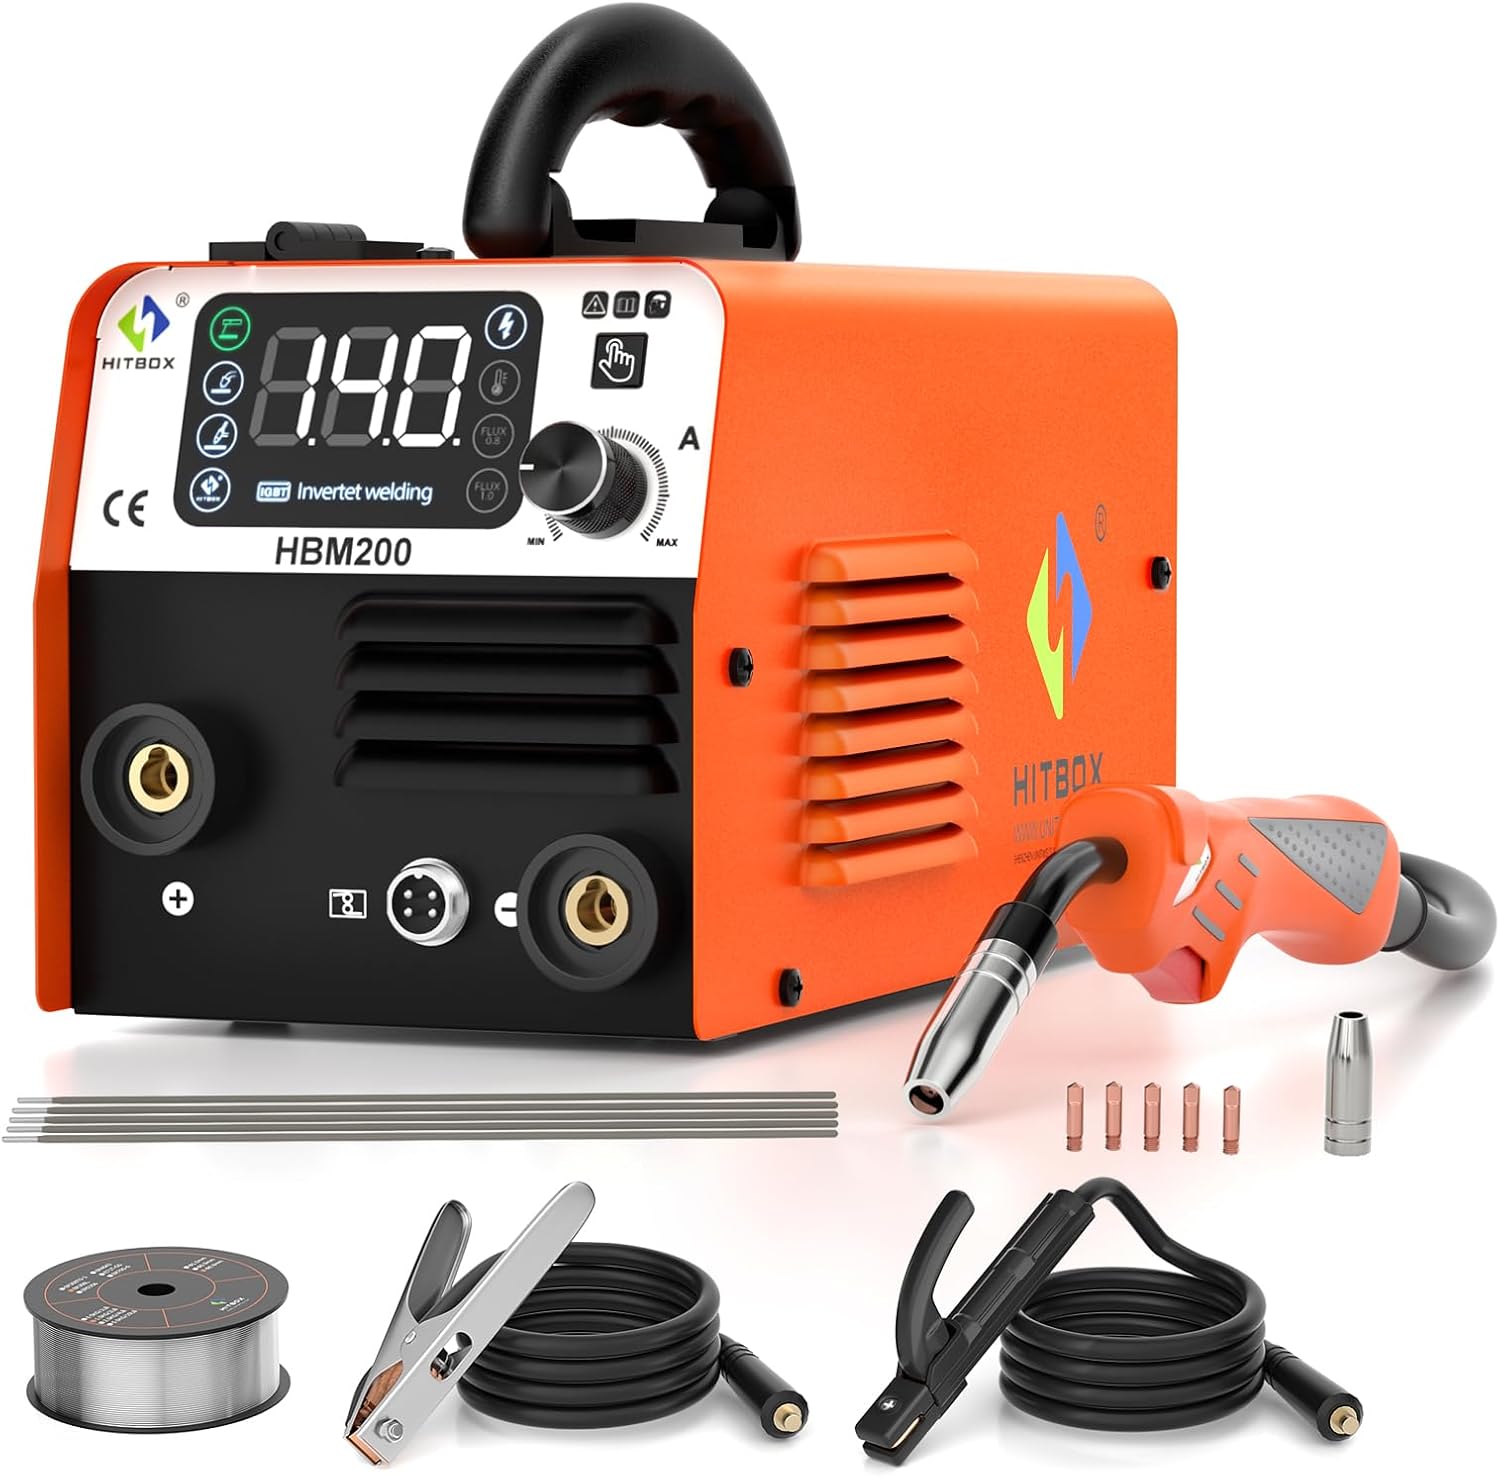
Figure 1.1: The HITBOX HBM200-EU 3-in-1 MIG 200A Welder and its included accessories.
2. Safety Instructions
Always prioritize safety when operating welding equipment. Read and understand all safety warnings and instructions before use. Failure to do so may result in electric shock, fire, serious injury, or death.
- Electrical Safety: Ensure the power supply matches the machine's requirements (230V). Always connect to a grounded outlet. Do not operate in wet conditions.
- Personal Protective Equipment (PPE): Always wear a welding helmet with appropriate shade, welding gloves, protective clothing, and safety shoes.
- Ventilation: Weld in a well-ventilated area to avoid inhaling fumes.
- Fire Prevention: Keep flammable materials away from the welding area. Have a fire extinguisher readily available.
- Integrated Protections: The welder is equipped with built-in overcurrent, overvoltage, and overheating protection. The machine will automatically shut down if these conditions are detected. Allow the machine to cool down before resuming operation.
- Cooling System: The fan cooling system helps reduce dust penetration and extends the machine's lifespan. Do not obstruct the ventilation openings.

Figure 2.1: The HBM200-EU features multiple safety protections including overvoltage, overcurrent, overheating, and overload protection, supported by an efficient cooling fan.
3. Product Overview
3.1 Key Features
- 3-in-1 Functionality: Supports MIG MAG (Flux-cored), ARC MMA, and Lift TIG welding modes.
- Intelligent Control: Features a one-button intelligent control system for simplified operation.
- Digital Display: Large digital display for clear monitoring and adjustment of welding parameters.
- Compact and Portable: Lightweight design (3.7 kg / 7.63 lbs) with a carrying handle for easy transport. Dimensions: 170 x 152 x 155 mm (6.7 x 5.98 x 6.1 inches).
- Robust Design: Heat-dissipating plastic casing on front and back to prevent overheating.
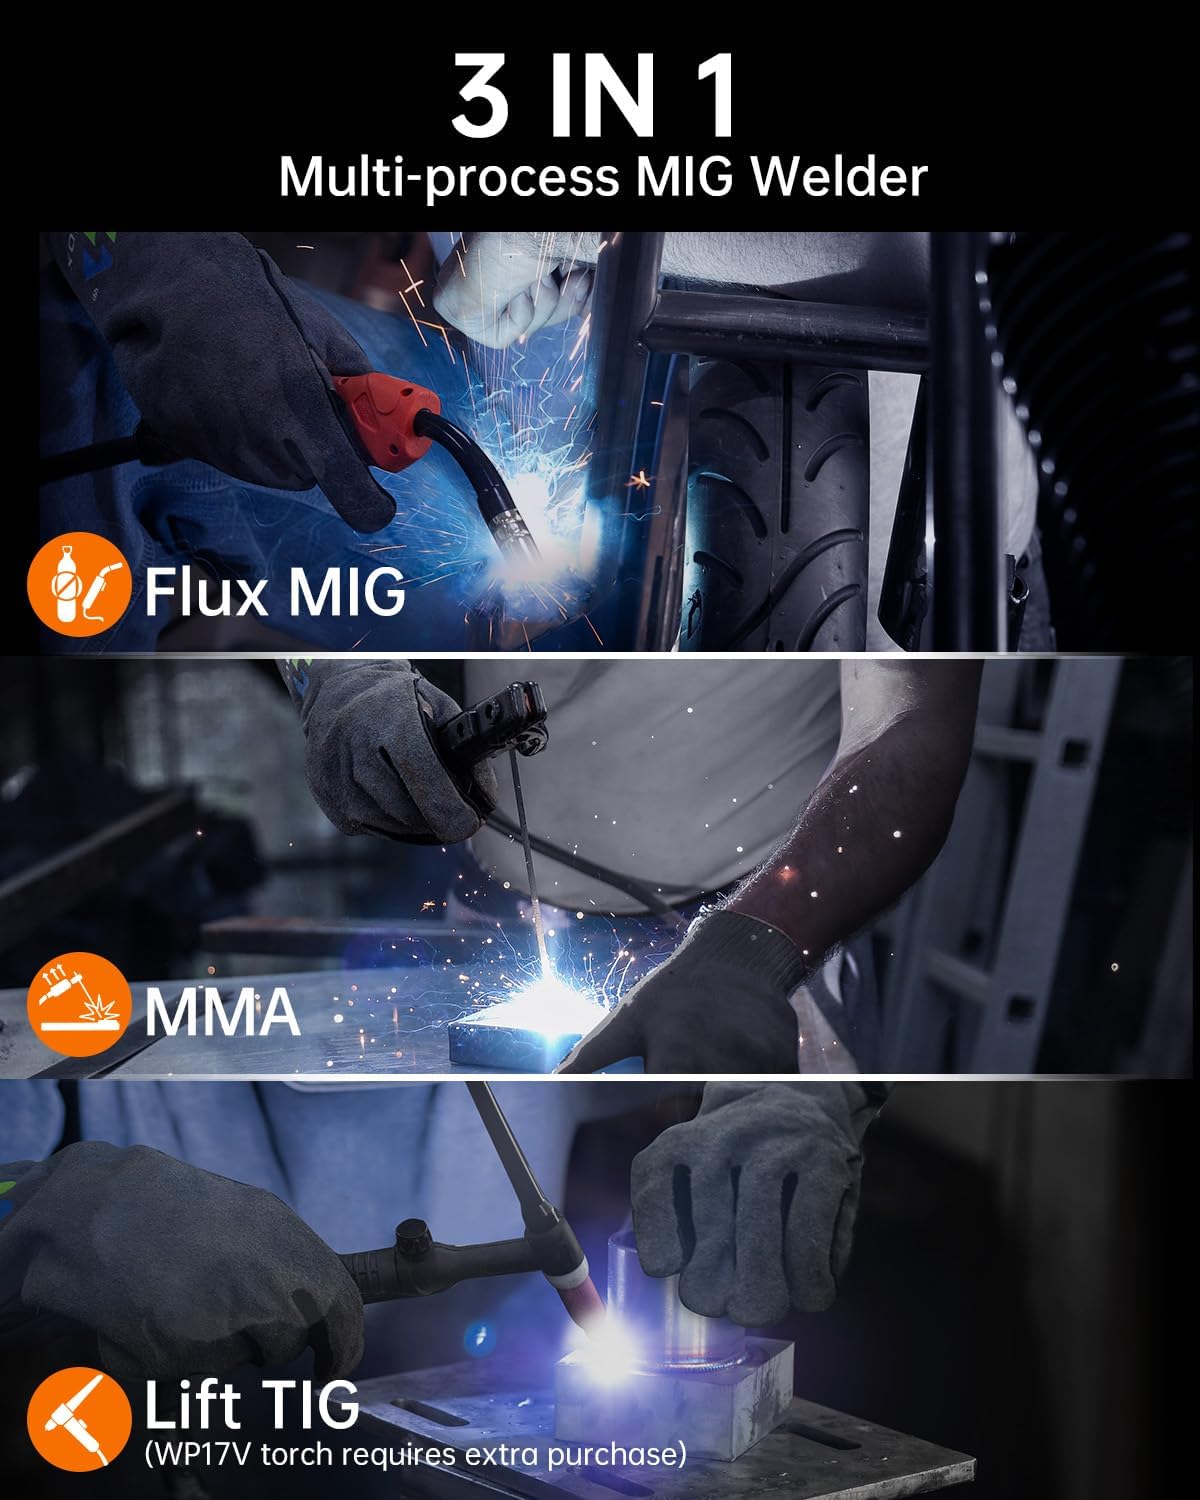
Figure 3.1: The HBM200-EU supports three welding processes: Flux MIG, MMA, and Lift TIG (requires WP17V torch, sold separately).
3.2 Components Included
The standard package for the HITBOX HBM200-EU includes:
- 1 x HITBOX MIG Welder (HBM200-EU)
- 1 x Split Welding Torch
- 1 x Electrode Clip
- 1 x Ground Clamp
- 1 x Brush
- 2 x Nozzles
- 1 x 0.5 kg Welding Wire (0.8 mm flux-cored)

Figure 3.2: The complete set of accessories provided with the HBM200-EU welding machine.
4. Setup
4.1 Unpacking
Carefully remove all components from the packaging. Inspect for any damage during transit. Keep the original packaging for future storage or transport.
4.2 Connecting Accessories
- Connect the split welding torch to the designated port on the front panel.
- Attach the ground clamp to the negative (-) terminal and the electrode clip to the positive (+) terminal for MMA welding. For MIG welding, connect the ground clamp to the positive (+) terminal and the MIG torch to the negative (-) terminal.
- Ensure all connections are secure before powering on the machine.
4.3 Wire Installation (for MIG/Flux-Cored Welding)
- Open the wire spool compartment.
- Place the 0.5 kg flux-cored welding wire spool onto the spindle.
- Thread the wire through the wire feeder mechanism, ensuring it is properly seated in the drive roller groove (compatible with 0.8mm and 1.0mm wire).
- Close the compartment and adjust the wire tension if necessary.
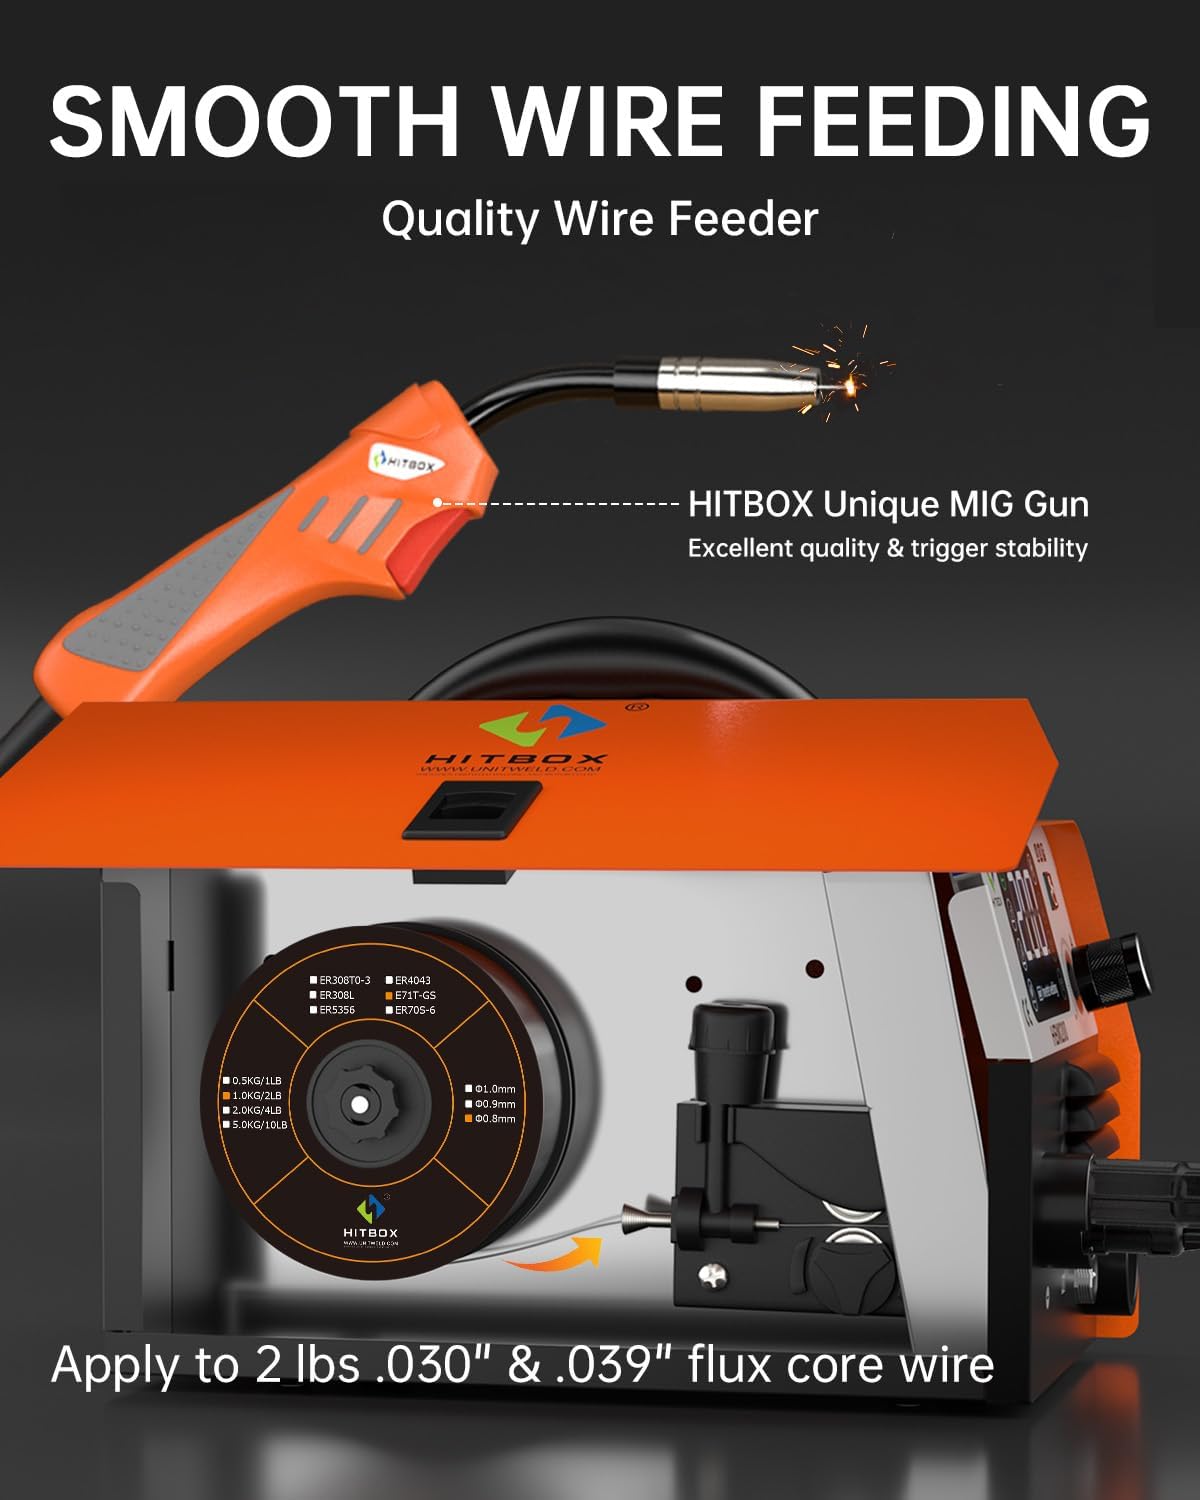
Figure 4.1: Proper installation of the flux-cored wire spool and threading through the wire feeder for smooth operation.
5. Operating Instructions
5.1 Power On/Off
Connect the power cord to a suitable 230V power outlet. Turn on the main power switch located on the back of the machine. The digital display will illuminate.
5.2 Mode Selection
Use the mode selection button on the control panel to cycle through the available welding modes: MIG MAG, ARC MMA, and Lift TIG. The selected mode will be indicated on the digital display.
5.3 Parameter Adjustment
The intelligent one-button control allows for easy adjustment of welding parameters. Rotate the control knob to set the desired current (amperage) and, for MIG mode, the wire feeding speed. The digital display will show the current settings. For MIG welding, you can also select the wire size (0.8mm or 1.0mm) on the display.
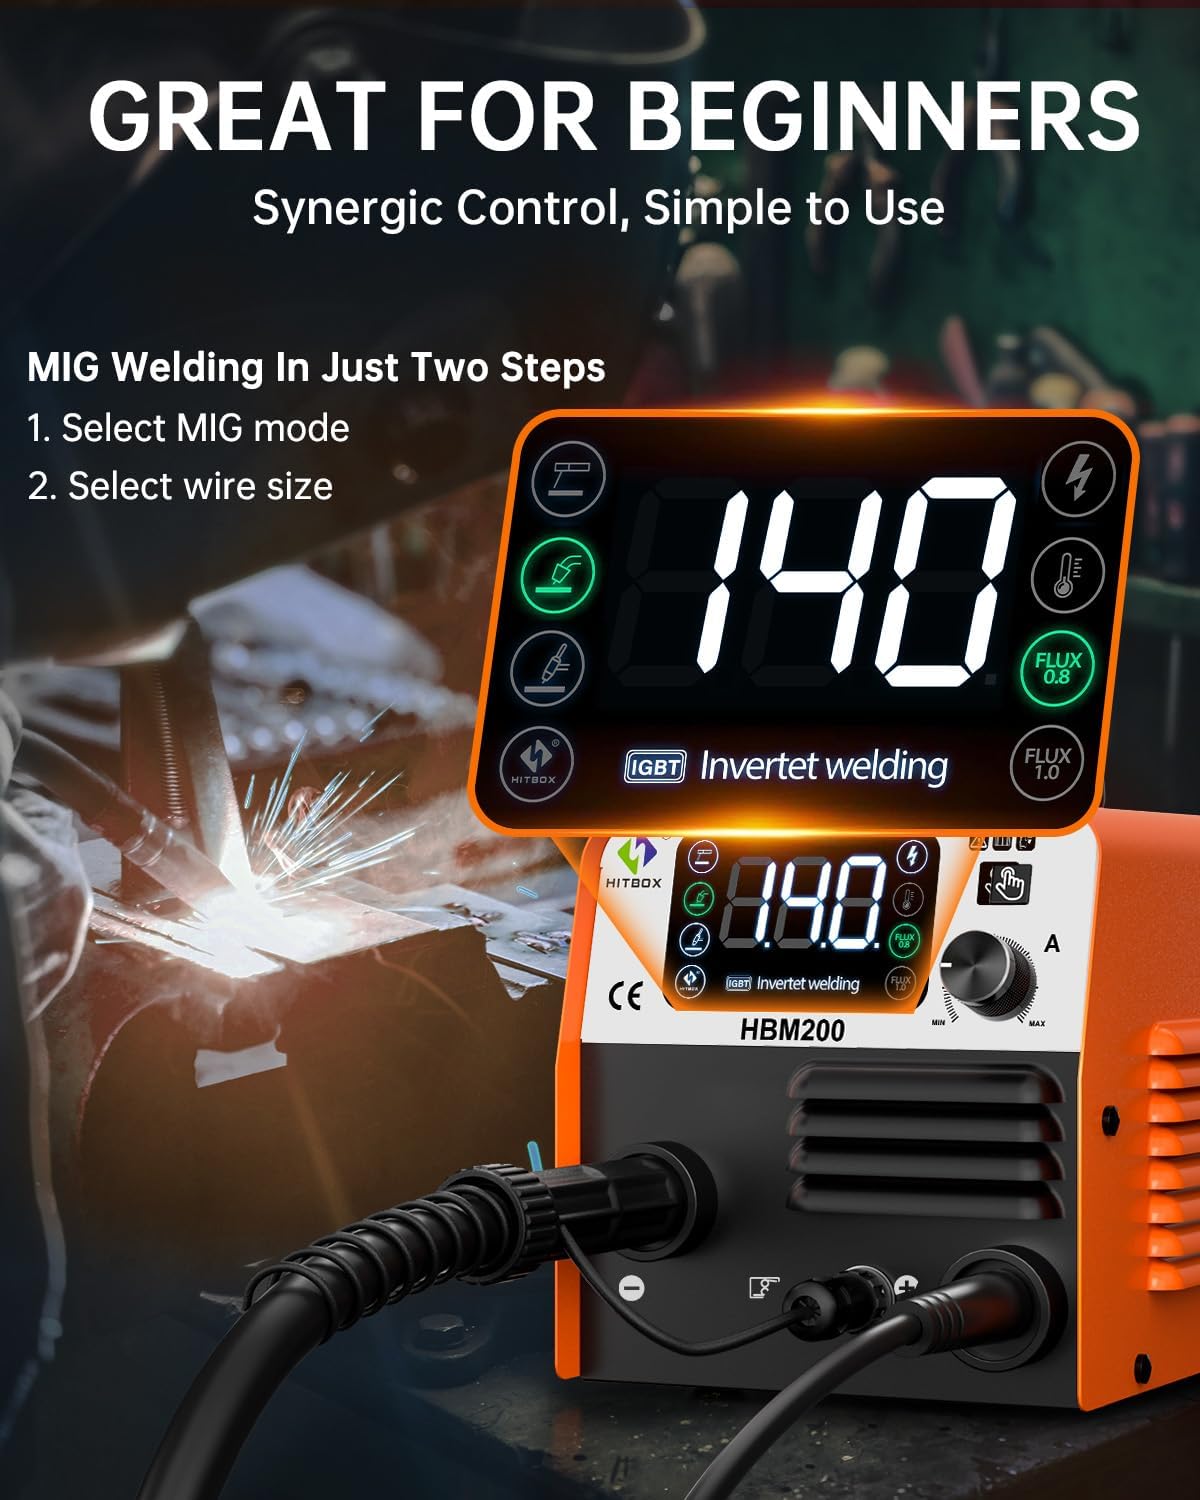
Figure 5.1: The HBM200-EU features a clear digital display and a single control knob for intuitive parameter adjustment, making it suitable for beginners.
5.4 Welding Process
Once the mode and parameters are set, you can begin welding. Always perform test welds on scrap material to fine-tune settings before working on your main project. The machine offers features like Hot Start, Arc Force, and Anti-stick for improved welding performance.

Figure 5.2: The HBM200-EU delivers excellent welding performance with features like Hot Start, Arc Force, Anti-stick, and IGBT Technology.
6. Maintenance
Regular maintenance ensures the longevity and safe operation of your welding machine.
- Cleaning: Periodically clean the exterior of the machine with a dry cloth. Use compressed air to clear dust from the ventilation openings and internal components (ensure power is disconnected).
- Torch and Cable Inspection: Regularly inspect the welding torch, cables, and connections for wear, damage, or loose fittings. Replace damaged parts immediately.
- Wire Feeder Maintenance: Keep the wire feeder mechanism clean and free of debris to ensure smooth wire feeding.
- Storage: Store the welder in a dry, clean environment, away from direct sunlight and extreme temperatures.
7. Troubleshooting
This section provides solutions to common issues you might encounter.
| Problem | Possible Cause | Solution |
|---|---|---|
| Machine shuts off during operation. | Overheating, overcurrent, or overload protection activated. | Allow the machine to cool down. Check for proper ventilation. Reduce welding current or duty cycle. |
| No arc. | Loose connections, incorrect settings, faulty electrode/wire. | Check all cable connections. Verify power supply. Adjust current settings. Replace electrode/wire. |
| Wire feeding issues (MIG). | Incorrect wire tension, clogged liner, wrong drive roller size. | Adjust wire tension. Clean or replace torch liner. Ensure correct drive roller for wire size. |
| Poor weld quality. | Incorrect parameters, improper technique, dirty workpiece. | Adjust current/voltage/wire speed. Practice welding technique. Clean the workpiece thoroughly. |
8. Technical Specifications
| Specification | Value |
|---|---|
| Model Number | HBM200-EU |
| Manufacturer | Shenzhen Unitweld Welding and Motor Co., Ltd. |
| Dimensions (L x W x H) | 170 x 152 x 155 mm (approx. 6.7 x 5.98 x 6.1 inches) |
| Product Weight | 3.7 kg (7.63 lbs) |
| Power Type | DC |
| Voltage | 230 Volts |
| Noise Level | 52 dB |
| Applicable Welding Rod (ARC) | 1.0-3.2 mm |
| Applicable Flux-Cored Wire (MIG) | 0.8/1.0 mm |
| Welding Plate Thickness (MIG) | 0.8-3 mm |
| Welding Plate Thickness (ARC) | 1-6 mm |
9. Warranty and Support
HITBOX offers a 2-year warranty on this welding machine. If you are not satisfied with your purchase, a replacement or refund is available within 60 days of purchase.
For technical support, warranty claims, or any inquiries regarding your HITBOX HBM200-EU welder, please contact the HITBOX Official Shop directly through your purchase platform or their official website. Please have your model number (HBM200-EU) and purchase details ready when contacting support.


