
1. Introduction
Thank you for choosing the Vision Aid Magnifier with LED Light. This manual provides essential information for the safe and effective use of your new magnifier, available in both battery-powered and USB-rechargeable versions. Please read these instructions thoroughly before use and retain them for future reference.
2. Package Contents
Please verify that all items are present in your package:
- Vision Aid Magnifier (Battery Version)
- Vision Aid Magnifier (USB Version)
- Adjustable Headband (2 units)
- Storage Case (2 units)
- USB Charging Cable (for USB Version)
- User Manual (this document)
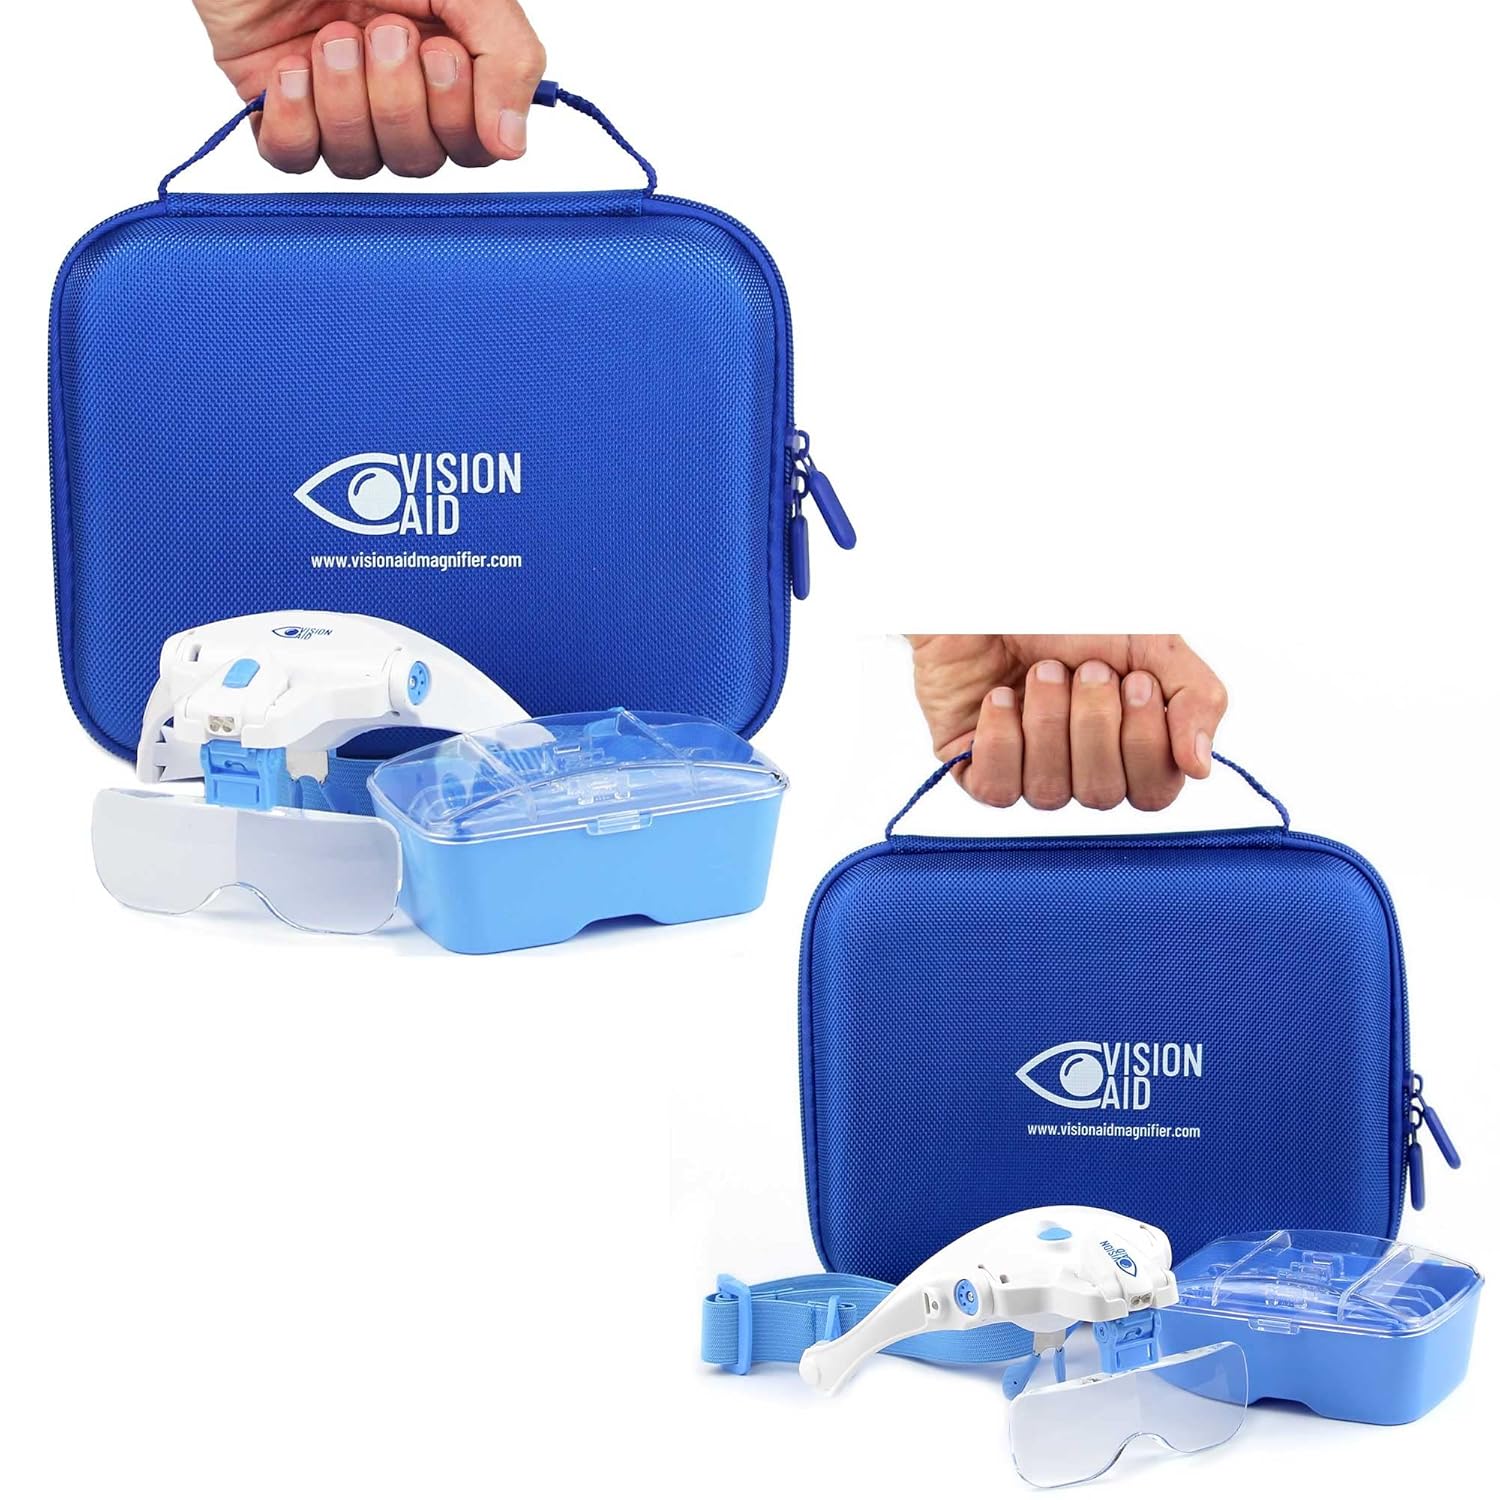
This image displays the complete Vision Aid Magnifier set. On the left, the battery-powered magnifier is shown with its blue zippered storage case and a clear lens. On the right, the USB-rechargeable magnifier is presented with its corresponding blue zippered storage case and headband. Both magnifiers feature an integrated LED light and are designed for close-up work.
3. Safety Information
- Do not expose the device to extreme temperatures or direct sunlight.
- Keep the device away from water and other liquids.
- Do not attempt to disassemble or modify the device. This will void the warranty.
- Avoid looking directly into the LED light for extended periods, as it may cause eye strain.
- Dispose of batteries responsibly according to local regulations.
- Keep out of reach of children.
4. Setup
4.1 Attaching the Headband
- Locate the attachment points on the magnifier frame.
- Securely attach the ends of the adjustable headband to these points.
- Adjust the headband for a comfortable and secure fit on your head.
4.2 Battery Version: Battery Installation
- Locate the battery compartment on the magnifier.
- Open the battery compartment cover.
- Insert three (3) AAA batteries, ensuring correct polarity (+/-).
- Close the battery compartment cover securely.
4.3 USB Version: Charging the Device
- Connect the small end of the provided USB charging cable to the charging port on the magnifier.
- Connect the larger end of the USB cable to a standard USB power adapter (not included) or a computer USB port.
- The charging indicator light will illuminate during charging.
- Once fully charged, the indicator light may change color or turn off. Disconnect the cable.
5. Operating Instructions
5.1 Powering On/Off the LED Light
- Locate the power button for the LED light on the magnifier.
- Press the button once to turn on the LED light.
- For the USB version, subsequent presses may cycle through different brightness modes (soft and strong).
- Press and hold or cycle through modes until the light turns off.
5.2 Using the Magnifier
- Position the magnifier over the object you wish to view.
- Adjust the distance between the magnifier and the object until the image is clear and in focus.
- Utilize the LED light for enhanced visibility in low-light conditions.
6. Maintenance
6.1 Cleaning
- Gently wipe the lenses with a soft, lint-free cloth. Do not use abrasive cleaners or solvents.
- For stubborn smudges, a small amount of lens cleaning solution can be applied to the cloth, not directly to the lens.
- Clean the body of the magnifier with a dry or slightly damp cloth.
6.2 Storage
- When not in use, store the magnifier in its provided storage case to protect it from dust and scratches.
- Store in a cool, dry place away from direct sunlight.
- If storing the battery version for an extended period, remove the batteries to prevent leakage.
7. Troubleshooting
- LED Light Not Turning On (Battery Version):
Check if batteries are inserted correctly with the correct polarity. Replace old batteries with new ones. - LED Light Not Turning On (USB Version):
Ensure the device is charged. Connect to a power source using the USB cable and allow it to charge for at least 30 minutes before attempting to turn on the light. - Light is Dim (USB Version):
The battery may be low. Recharge the device. - Magnified Image is Blurry:
Adjust the distance between the magnifier and the object being viewed. Ensure lenses are clean.
8. Specifications
- Model: B0B6T8F15C
- Power Source (Battery Version): 3 x AAA Batteries (not included)
- Power Source (USB Version): Built-in rechargeable battery
- LED Light (Battery Version): Long-lasting LED
- LED Light (USB Version): 2 brightness modes (soft and strong)
- Recharge Cycles (USB Version): Up to 1000 times
- Included Accessories: Headband, Storage Case, USB Charging Cable (for USB version)
9. Warranty and Support
For warranty information or technical support, please contact Vision Aid customer service. Refer to the product packaging or the Vision Aid official website for contact details.