
JOYOUNG Y-50C19US
Contents
Joyoung Household Smart Electric Pressure Cooker
Model: Y-50C19US
Introduction
Thank you for choosing the Joyoung Smart Electric Pressure Cooker. This appliance is designed to simplify your cooking process with its intelligent features, spherical double gallbladder, and precise pressure control. Please read this manual thoroughly before first use to ensure safe and optimal operation.
Important Safety Instructions
- Always ensure the lid is properly sealed before operating the pressure cooker.
- Do not touch hot surfaces. Use handles or oven mitts.
- Do not immerse the main unit in water or other liquids.
- Keep out of reach of children. Close supervision is necessary when the appliance is used near children.
- Unplug from outlet when not in use and before cleaning. Allow to cool before putting on or taking off parts.
- Do not operate any appliance with a damaged cord or plug, or after the appliance malfunctions or has been damaged in any manner.
- Do not use outdoors.
- Do not fill the inner pot beyond the MAX fill line.
- Always ensure the pressure release valve is clear and unobstructed before use.
Components Overview
The Joyoung Smart Electric Pressure Cooker comes with the following main components:
- Main Unit (with control panel and heating element)
- Inner Pot (spherical double gallbladder)
- Power Cord
- User Manual (this document)

Image: Front view of the Joyoung Smart Electric Pressure Cooker Y-50C19US, showing the control panel and overall design.
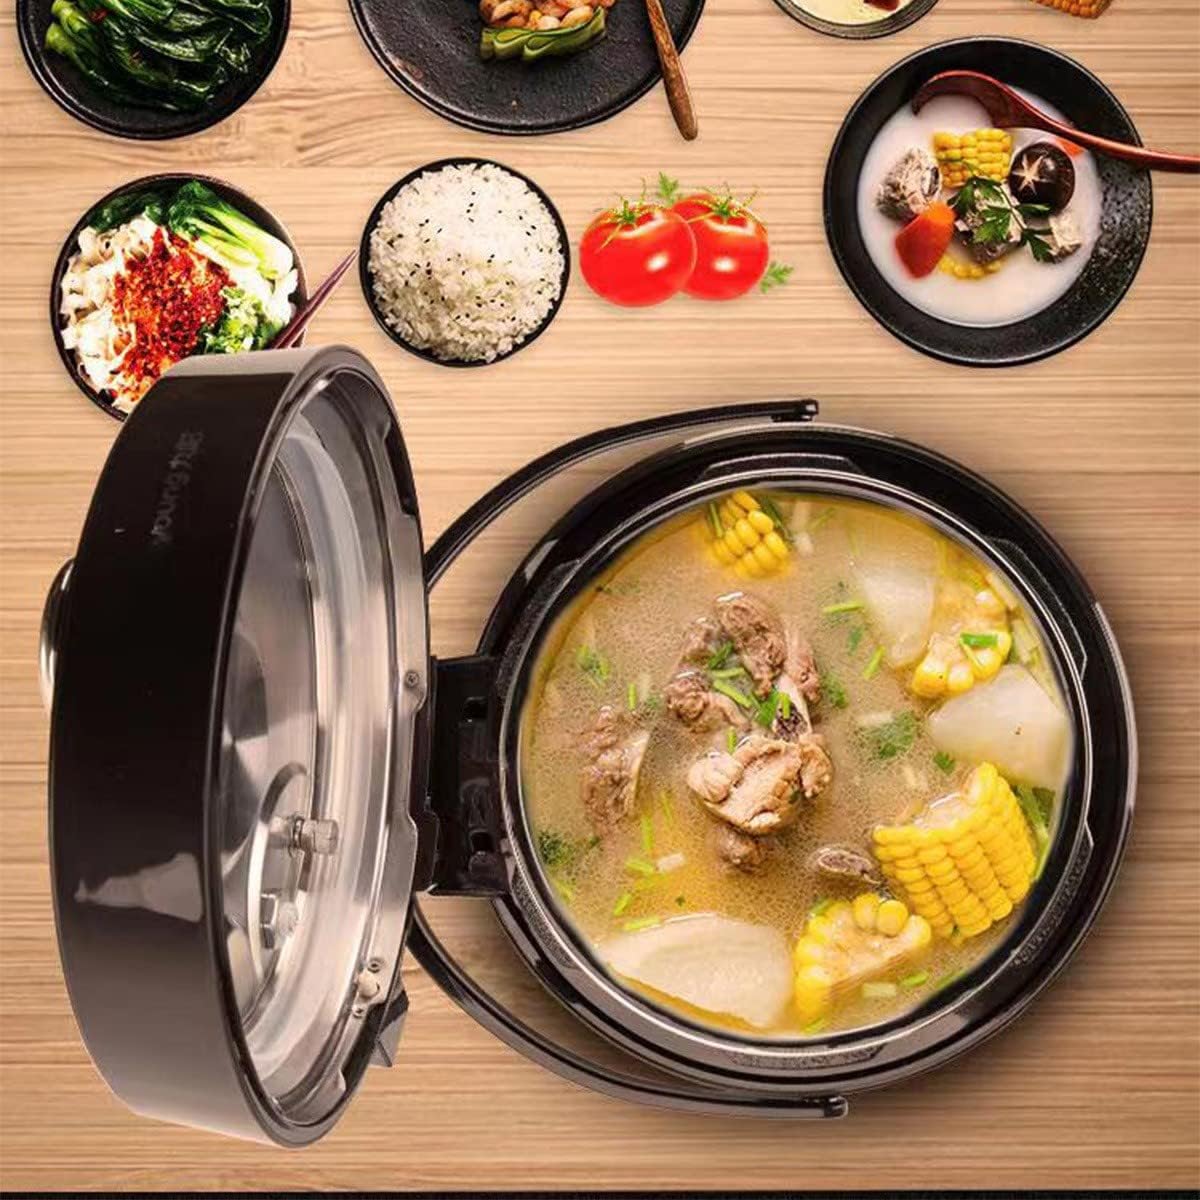
Image: The inner pot of the pressure cooker, shown with the lid open, revealing the cooking chamber.
Setup and First Use
- Unpacking: Carefully remove all packaging materials and accessories from the box.
- Initial Cleaning: Before first use, wash the inner pot and sealing ring with warm, soapy water. Rinse thoroughly and dry completely. Wipe the exterior of the main unit with a damp cloth. Do not immerse the main unit in water.
- Placement: Place the pressure cooker on a stable, level, heat-resistant surface, away from heat sources and direct sunlight. Ensure adequate ventilation around the appliance.
- Insert Inner Pot: Place the clean and dry inner pot into the main unit. Ensure it sits correctly and is level.
- Connect Power: Plug the power cord into the pressure cooker's power inlet, then plug the other end into a grounded electrical outlet.
Operating Instructions
Control Panel Overview

Image: Close-up of the pressure cooker's control panel, displaying the digital timer and various function buttons.
The control panel features a wide operation screen with a digital display and various function buttons for easy selection of cooking modes and settings.
Basic Operation
- Add Ingredients: Place your desired ingredients and liquid into the inner pot. Do not exceed the maximum fill line.
- Close Lid: Place the lid on the cooker and rotate it clockwise until it locks securely. Ensure the pressure release valve is in the sealed position (if applicable).
- Select Function: Press the desired function button on the control panel. Available functions include:
- Quick Rice: For fast cooking of rice.
- Hearty Congee: For preparing congee or porridge.
- Stew Meat: Ideal for tenderizing meats.
- Soup: For various soup preparations.
- Uncovered: For cooking without pressure, similar to a regular pot.
- Start Cooking: Press the "Start" button to begin the cooking process. The display will show the cooking time.
- Pressure Release: Once cooking is complete, the cooker will automatically switch to Keep Warm mode. To release pressure, use the "One-Key Exhaust" button.

Image: A hand pressing the "One-Key Exhaust" button on the lid, demonstrating the safe pressure release mechanism.
This feature allows for safe and convenient pressure release, keeping your hand away from the steam vent.
- Open Lid: Once all pressure has been released, carefully open the lid.
Advanced Features
- Seven-Stage Smart Pressure Control: The cooker automatically adjusts pressure based on the food type for optimal results.

Image: Diagram illustrating the seven different pressure levels (10kPa to 70kPa) tailored for various food types like congee, soup, rice, beans, meat, and beef/lamb.
This intelligent system ensures precise cooking for different ingredients, from delicate congee at 10kPa to tough meats at 70kPa.
- Spherical Double Gallbladder Inner Pot: Designed for even heating and enhanced flavor.

Image: Two inner pots, one black and one copper-colored, labeled "Double Liner," indicating their suitability for different cooking needs like stewing bones/soups and congee/rice.
The dual inner pots allow for versatile cooking, ensuring optimal results for various dishes.
- Keep Warm Setting: Automatically activates after cooking to keep food warm until serving.
- Schedule Function: Allows you to preset a delayed start time for cooking. Consult the control panel for specific scheduling instructions.
Maintenance and Cleaning
Regular cleaning and maintenance will prolong the life of your Joyoung Pressure Cooker.
- Unplug: Always unplug the appliance from the power outlet and allow it to cool completely before cleaning.
- Inner Pot: Wash the inner pot with warm, soapy water using a non-abrasive sponge. It is dishwasher safe.
- Lid: Remove the sealing ring and wash it with warm, soapy water. Clean the lid, including the pressure release valve and float valve, ensuring no food particles are lodged. Rinse and dry thoroughly.
- Main Unit: Wipe the exterior of the main unit with a damp cloth. Do not use abrasive cleaners or scourers. Never immerse the main unit in water.
- Storage: Ensure all parts are completely dry before storing. Store the cooker in a dry place.
Troubleshooting
| Problem | Possible Cause | Solution |
|---|---|---|
| Cooker does not power on. | Power cord not properly connected; no power from outlet. | Ensure power cord is securely plugged into both the cooker and a working electrical outlet. Check circuit breaker. |
| Steam leaks from lid during cooking. | Lid not properly sealed; sealing ring dirty or damaged; food debris on rim. | Ensure lid is securely locked. Clean or replace sealing ring. Clean the rim of the inner pot and lid. |
| Pressure not building up. | Pressure release valve not in sealed position; insufficient liquid. | Ensure pressure release valve is set to "Sealed". Add more liquid as per recipe requirements. |
| Food is undercooked. | Incorrect cooking time or function selected; insufficient pressure. | Adjust cooking time. Ensure proper pressure build-up. Refer to recipe guidelines. |
Specifications
- Brand: JOYOUNG
- Model Name: Y-50C19US
- Capacity: 5 Liters
- Product Dimensions: 12.32"D x 13.03"W x 13.46"H (313mm x 331mm x 342mm)
- Item Weight: 14.74 pounds (6.69 kg)
- Special Feature: Keep Warm Setting
- Included Components: Power cord, Inner Pot, User manual, Instruction Manual
- ASIN: B0B6NHPVCP
- Date First Available: July 15, 2022

Image: Technical diagram showing the dimensions of the Joyoung pressure cooker in both millimeters and inches.

Image: Packaging and certification details, including ISO9001 Quality Management Certified and CCC Certified logos, along with handling symbols.
Warranty and Support
For warranty information and customer support, please refer to the warranty card included with your product or visit the official Joyoung website. Keep your purchase receipt as proof of purchase.
For technical assistance or service inquiries, please contact Joyoung customer service.
Documents and downloads
Ask a question about this manual
Ask about setup, troubleshooting, compatibility, parts, safety, or missing instructions. Manuals+ will review the question and use this page’s manual context to help answer it.