1. Introduction
The BAOFENG UV-82 is a 5W dual-band handheld FM transceiver designed for reliable two-way communication. This manual provides essential information for the proper setup, operation, and maintenance of your radio.

Figure 1: BAOFENG UV-82 Dual Band Handheld Radio. This image shows the front view of the radio with its keypad and display.
2. Setup
2.1 Attaching the Antenna
Screw the antenna clockwise into the connector located on the top of the radio until it is finger-tight. Do not overtighten.

Figure 2: Antenna attachment. The image illustrates the process of screwing the antenna onto the radio's top connector.
2.2 Installing the Battery
Align the 7.4V/1800mAh Li-Ion battery with the battery compartment on the back of the radio. Slide the battery upwards until it clicks securely into place.
2.3 Charging the Battery
Place the radio, with the battery installed, into the provided charging cradle. Ensure the charging contacts on the radio align with those on the cradle. The battery typically charges fully within 4-5 hours.

Figure 3: Radio in charging cradle. This image shows the BAOFENG UV-82 radio placed in its desktop charger.
2.4 Powering On/Off
To power on the radio, rotate the volume knob (located on top of the radio) clockwise past the 'off' click. To power off, rotate the knob counter-clockwise until it clicks.
2.5 Connecting the Earpiece
Insert the earpiece's dual-pin connector into the two jack ports on the side of the radio. Ensure a firm connection for optimal audio and microphone performance.
Video 1: BAOFENG UV-82 Setup and Features. This video demonstrates the physical setup of the radio, including antenna and earpiece connection, and highlights key operational features like the dual PTT and flashlight.
3. Operating Instructions
3.1 Dual Push-to-Talk (PTT) Functionality
The UV-82 features a unique dual PTT button on the side. The upper PTT button transmits on the A band (upper display frequency), and the lower PTT button transmits on the B band (lower display frequency). This allows for rapid switching between two active frequencies without manual selection.
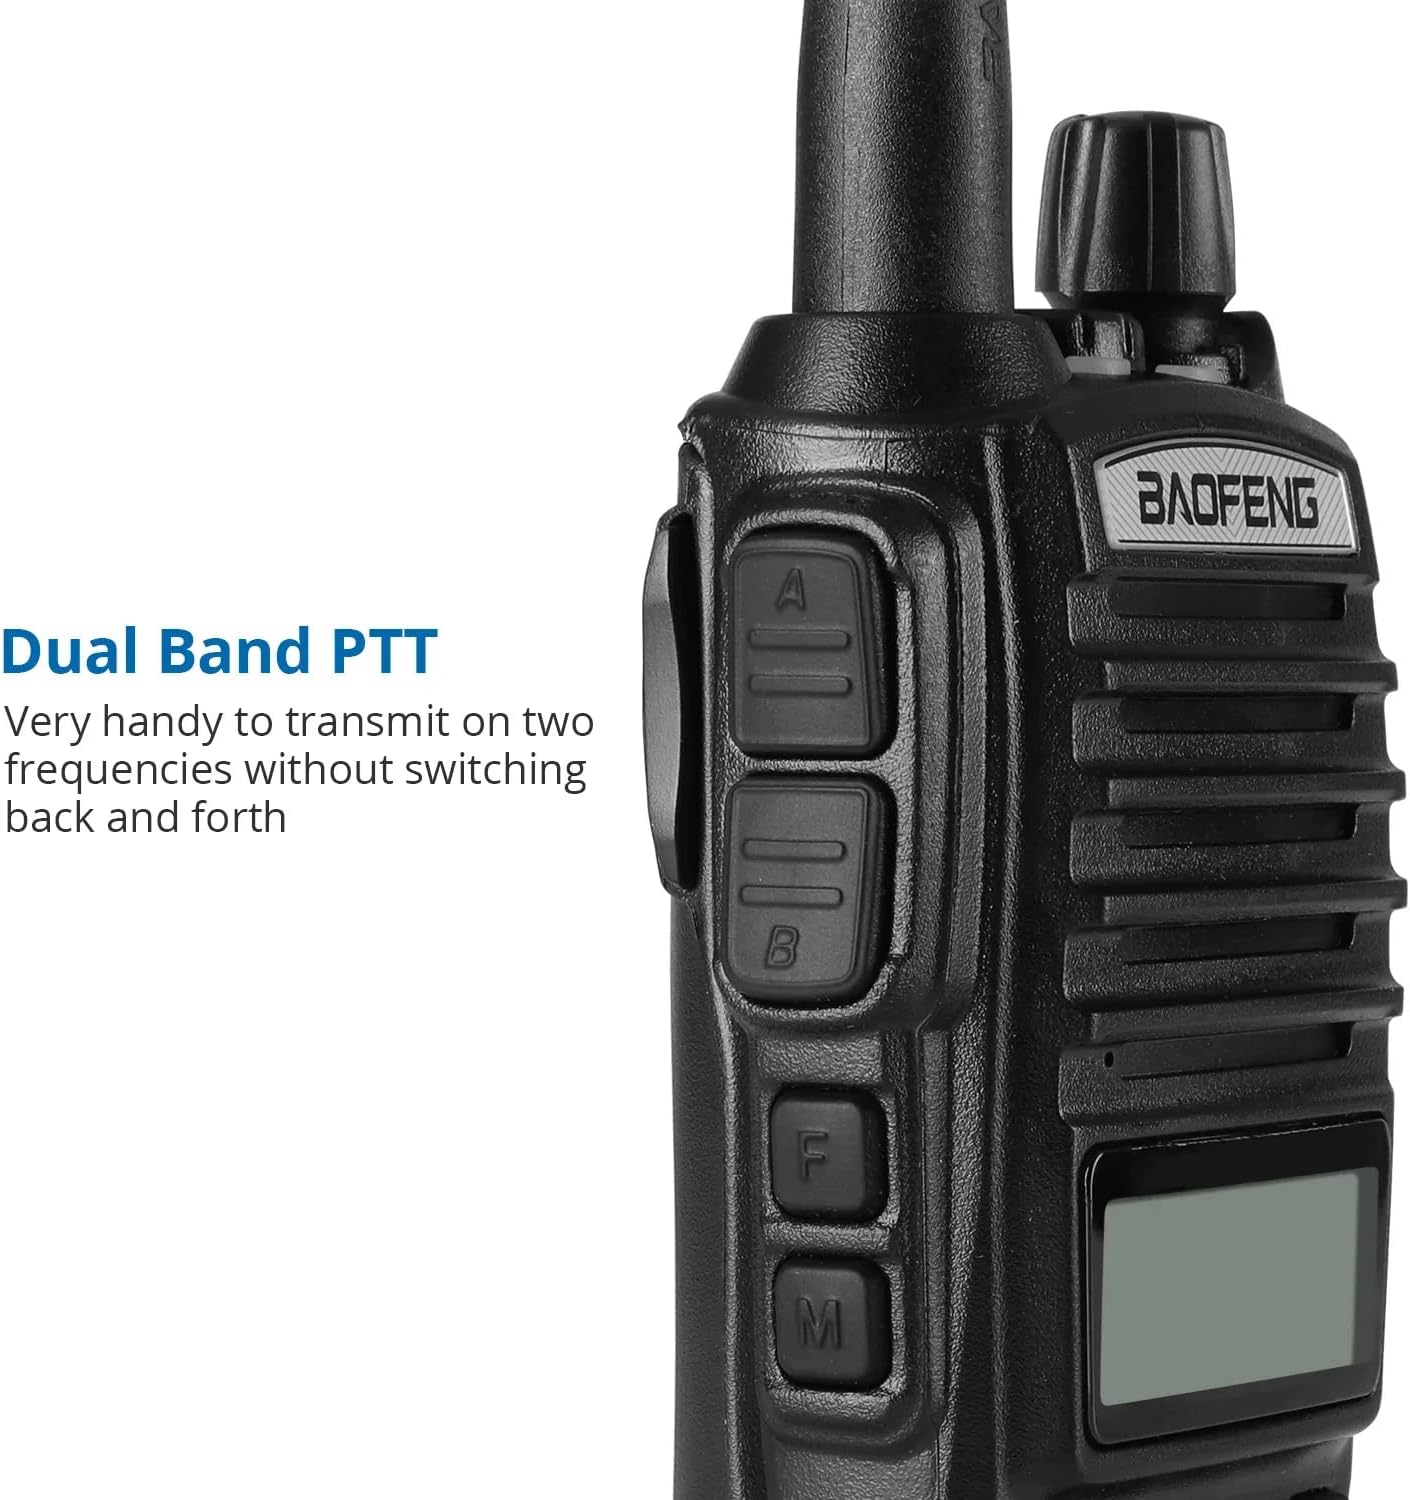
Figure 4: Dual PTT buttons. The image shows the side of the radio, emphasizing the two distinct Push-to-Talk buttons for dual-band operation.
3.2 Channel and Frequency Selection
The radio supports 128 channels. You can select frequencies directly using the numeric keypad or navigate through programmed channels. Press the 'EXIT/AB' button to toggle between VFO (Frequency Mode) and MR (Channel Mode). Use the 'MENU' button to access various settings and functions.
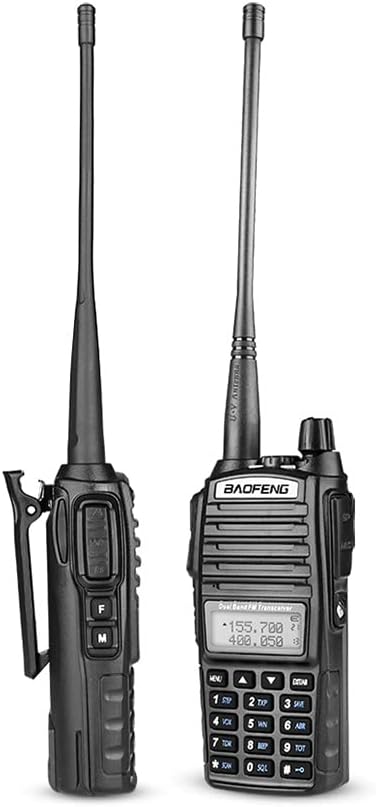
Figure 5: Radio keypad and display. This image provides a clear view of the radio's front panel, including the alphanumeric keypad and LCD display for frequency and channel information.
3.3 VOX (Voice Operated Exchange) Mode
VOX mode enables hands-free transmission. When activated, the radio will automatically transmit when it detects your voice, eliminating the need to press the PTT button. Refer to the radio's menu for VOX activation and sensitivity settings.
3.4 CHIRP and Keypad Programming
The 128 channels can be programmed either directly via the radio's keypad or more conveniently using CHIRP software with a compatible programming cable. This allows for configuration of frequencies, 105 CTCSS (Continuous Tone-Coded Squelch System) tones, and 50 DCS (Digital Coded Squelch) codes.
3.5 LED Flashlight
The radio includes a built-in LED flashlight for convenience. To activate the flashlight, press the designated 'F' (Function) button on the side of the radio. Press it again to turn the flashlight off.
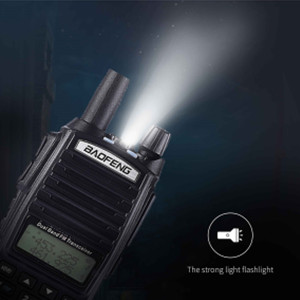
Figure 6: LED Flashlight feature. This icon indicates the presence of an LED flashlight on the radio.
4. Maintenance
4.1 Battery Care
To maximize the lifespan of your 1800mAh Li-ion battery, avoid frequent deep discharges and prolonged overcharging. Store the radio and battery in a cool, dry environment when not in use.
5. Troubleshooting
- Radio not powering on: Ensure the battery is correctly installed and fully charged. Verify that the volume knob is rotated clockwise past the 'off' click.
- No transmission or reception: Check that the antenna is securely attached. Confirm your frequency settings and ensure you are on an active channel. Make sure the correct PTT button (upper for A band, lower for B band) is fully pressed during transmission.
- FM radio feature not working: If the FM radio function is not operating, ensure you are in the correct mode and that the antenna is properly connected. If issues persist, consult the seller for support.
6. Specifications
| Feature | Specification |
|---|---|
| Model Number | UV-82 |
| Item Weight | 1.07 pounds (485 grams) |
| Product Dimensions | 7.87 x 5.91 x 3.94 inches |
| Batteries | 1 Lithium Ion battery required (included) |
| Display Type | LCD |
| Number of Channels | 128 |
| Frequency Range | VHF/UHF (1000-174 MHz, specific ranges vary by region) |
| Talking Range Maximum | 5 Kilometer (dependent on terrain and conditions) |
| Voltage | 7.4 Volts (DC) |
| Water Resistance Level | Not Water Resistant |
7. Warranty and Support
7.1 Warranty Information
The BAOFENG UV-82 radio is covered by a 1-month warranty from the date of purchase. This warranty covers manufacturing defects under normal use. Please retain your proof of purchase for warranty claims.
7.2 Customer Support
For technical assistance, troubleshooting, or warranty inquiries, please contact the Baofeng Hitalk Store, the authorized seller of this product. Contact information can typically be found on your purchase receipt or the seller's storefront.