
Pro Chaser Snow Blower
Contents
Pro Chaser Carburetor Instruction Manual for Craftsman Snow Blowers
Model Numbers: 536.885211, 536.884352, 536.885210, 536.884351, 536.885213, 536.884582, 536.885212, 143.015071
1. Product Overview
This manual provides instructions for the Pro Chaser Carburetor Kit, designed as a replacement part for various Craftsman Snow Blower models. The kit includes essential components for carburetor replacement and maintenance, ensuring optimal engine performance.
Important: Before installation, verify that the carburetor design and dimensions match your existing unit. If unsure, consult a qualified technician or contact customer support with clear images of your current carburetor.
2. Product Compatibility
This carburetor kit is compatible with the following Craftsman Snow Blower models:
- Craftsman 536.885211
- Craftsman 536.884352
- Craftsman 536.885210
- Craftsman 536.884351
- Craftsman 536.885213
- Craftsman 536.884582
- Craftsman 536.885212
- Craftsman 143.015071
3. Package Contents
The Pro Chaser Carburetor Kit includes the following components:
- 1 x Carburetor
- 1 x Gasket
- 1 x Primer Hose
- 1 x Fuel Hose
- 2 x Fuel Filters
- 2 x Small Clamps (for primer hose)
- 2 x Large Clamps (for fuel hose)
- 1 x Shut-off Valve
- 1 x Primer Bulb
- 1 x Spark Plug

4. Setup and Installation
Installation of a carburetor requires mechanical aptitude. If you are not comfortable performing this procedure, it is recommended to seek professional assistance.
- Safety First: Ensure the snow blower engine is cool and disconnected from the spark plug wire to prevent accidental starting. Drain the fuel tank.
- Remove Old Carburetor: Carefully disconnect the fuel lines, throttle linkage, and choke linkage from the old carburetor. Remove the mounting bolts and detach the old carburetor. Note the orientation of all components for reassembly.
- Install New Gasket: Place the new gasket between the engine and the new carburetor. Ensure it is properly seated to prevent air leaks.
- Mount New Carburetor: Attach the new carburetor to the engine using the mounting bolts. Tighten securely, but do not overtighten.
- Connect Linkages: Reconnect the throttle and choke linkages to the new carburetor. Verify smooth operation.
- Install Fuel System Components:
- Replace the old fuel filter with a new one.
- Install the new fuel hose and primer hose, securing them with the provided clamps.
- Integrate the new shut-off valve into the fuel line if desired.
- Replace the primer bulb.
- Replace Spark Plug: Remove the old spark plug and install the new spark plug. Tighten to manufacturer specifications.
- Refill Fuel: Refill the fuel tank with fresh, appropriate fuel for your snow blower.
- Initial Start-up: Follow your snow blower's manufacturer instructions for initial start-up after carburetor replacement.

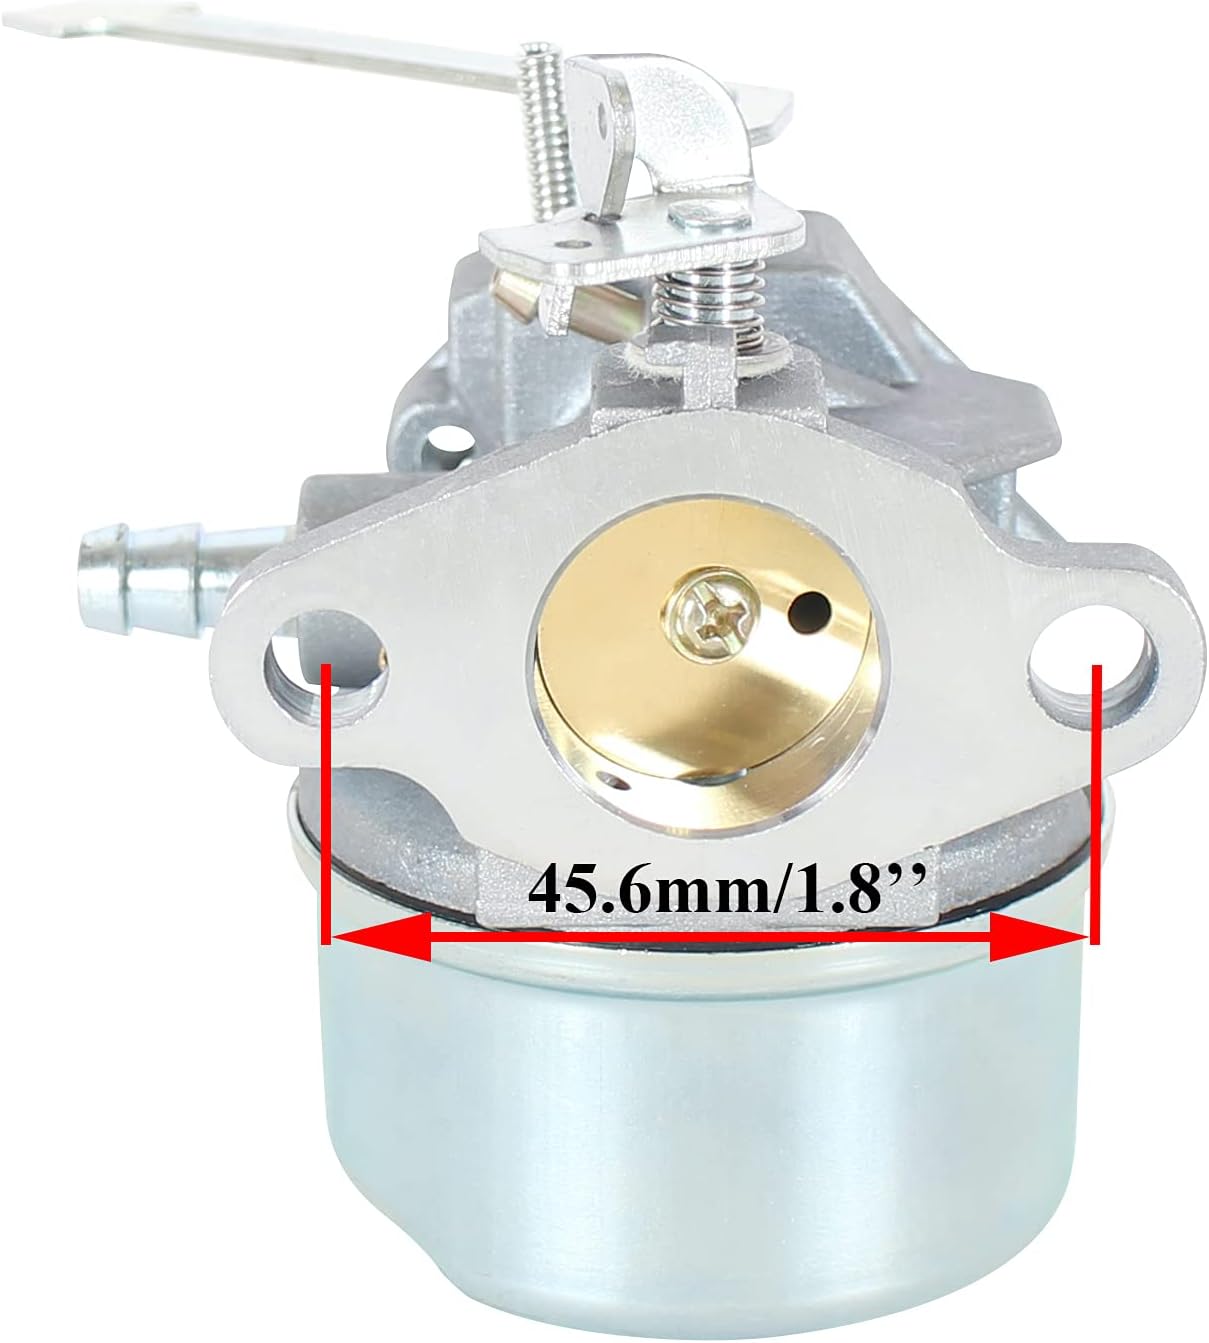
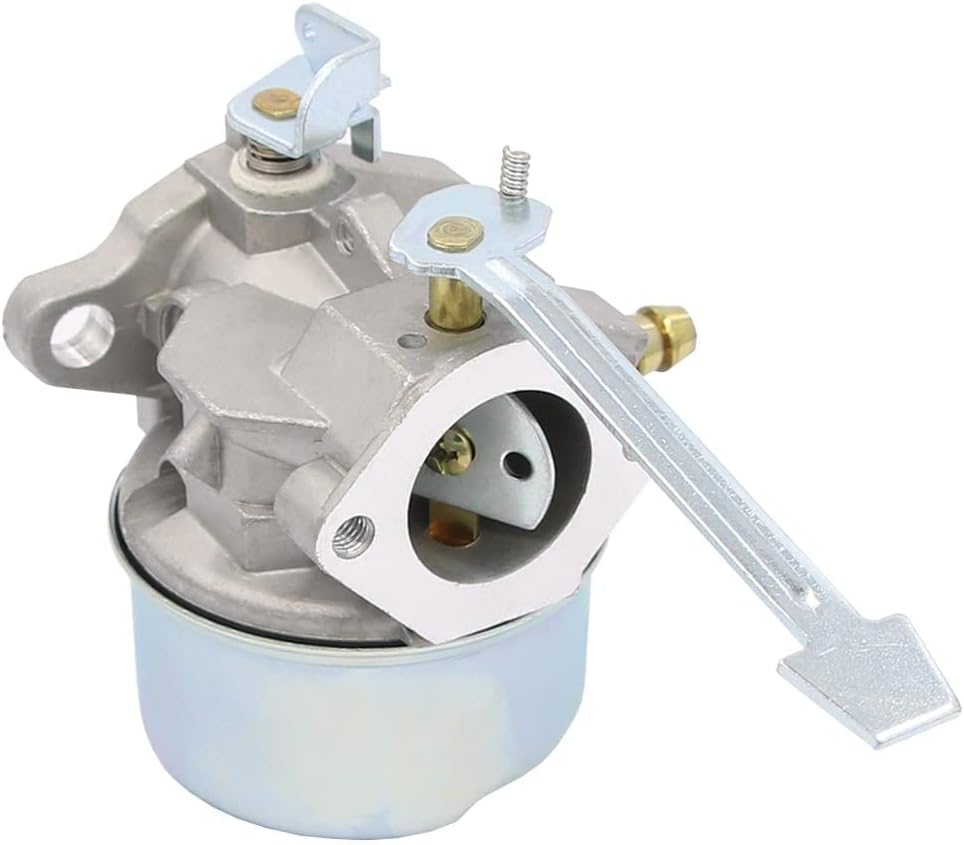

5. Operating Principles
A carburetor mixes air and fuel in the correct ratio for combustion in the engine. Key components include:
- Float Bowl: Holds a reservoir of fuel.
- Float and Needle Valve: Regulates fuel flow into the bowl.
- Venturi: A constricted passage that increases air velocity, creating a vacuum to draw fuel.
- Jets: Precisely sized orifices that control fuel delivery.
- Throttle Plate: Controls the amount of air-fuel mixture entering the engine, thereby regulating engine speed.
- Choke Plate: Restricts airflow to enrich the fuel mixture for cold starting.
- Primer Bulb: Manually injects a small amount of fuel into the carburetor for easier cold starts.
Proper operation relies on these components working in harmony to deliver a consistent and appropriate air-fuel mixture under varying engine demands.
6. Maintenance
Regular maintenance extends the life of your carburetor and ensures reliable snow blower operation.
- Fuel Quality: Always use fresh, clean fuel. Stale fuel can cause deposits that clog carburetor jets. Consider using a fuel stabilizer, especially during off-season storage.
- Fuel Filter Replacement: Replace the fuel filter annually or more frequently if operating in dusty conditions. A clogged fuel filter restricts fuel flow.
- Spark Plug Inspection/Replacement: Inspect the spark plug annually. Replace if fouled, worn, or if the gap is incorrect. A clean, properly gapped spark plug ensures efficient ignition.
- Primer Bulb: Inspect the primer bulb for cracks or hardening. Replace if damaged to ensure proper priming.
- Fuel Lines and Clamps: Check fuel lines for cracks, leaks, or hardening. Ensure all clamps are secure. Replace any damaged components.
- Carburetor Cleaning: If the engine runs poorly, the carburetor may need cleaning. This involves disassembling the carburetor and cleaning jets and passages with carburetor cleaner. This is an advanced task and may require professional service.
7. Troubleshooting
This section addresses common issues related to carburetor performance.
| Symptom | Possible Cause | Solution |
|---|---|---|
| Engine won't start | No fuel, clogged fuel filter, fouled spark plug, faulty primer bulb, clogged carburetor jet. | Check fuel level, replace fuel filter, replace spark plug, replace primer bulb, clean carburetor. |
| Engine runs rough/stalls | Dirty carburetor, incorrect fuel mixture, air leak in intake, old fuel. | Clean carburetor, check for air leaks, use fresh fuel. |
| Engine lacks power | Partially clogged carburetor, restricted air filter (not included in this kit, but relevant), incorrect engine adjustments. | Clean carburetor, check air filter, consult snow blower manual for engine adjustments. |
| Fuel leaks | Loose fuel lines, cracked fuel lines, faulty float needle, damaged gasket. | Tighten/replace fuel lines, replace float needle, replace gasket. |
If troubleshooting steps do not resolve the issue, professional service may be required.
8. Specifications
- Brand: Pro Chaser
- Product Type: Carburetor Kit
- Recommended Use: Snowblower
- Manufacturer Part Number: Snow Blower (Note: Specific Craftsman model numbers are listed under compatibility)
- Exterior Finish: Machined
- UPC: 780854800147
- ASIN: B0B6DVQW3Z
9. Product Video Overview
Watch this video for a general overview of the Pro Chaser carburetor and its features.
10. Warranty and Support
For warranty information, technical support, or assistance with product compatibility, please contact Pro Chaser customer service. Refer to the product packaging or the seller's information on the purchase platform for specific contact details.
Documents and downloads
Ask a question about this manual
Ask about setup, troubleshooting, compatibility, parts, safety, or missing instructions. Manuals+ will review the question and use this page’s manual context to help answer it.