Product Overview
The Ratakee Digital AM/FM Radio Alarm Clock (Model RA01SA) is designed for ease of use and clear readability, featuring large 1.4-inch LED digits. This versatile alarm clock offers multiple alarm sound options, an AM/FM radio with preset capabilities, a dimmable display, sleep timer, and snooze function. It operates via AC power with a battery backup for continued functionality during power outages.
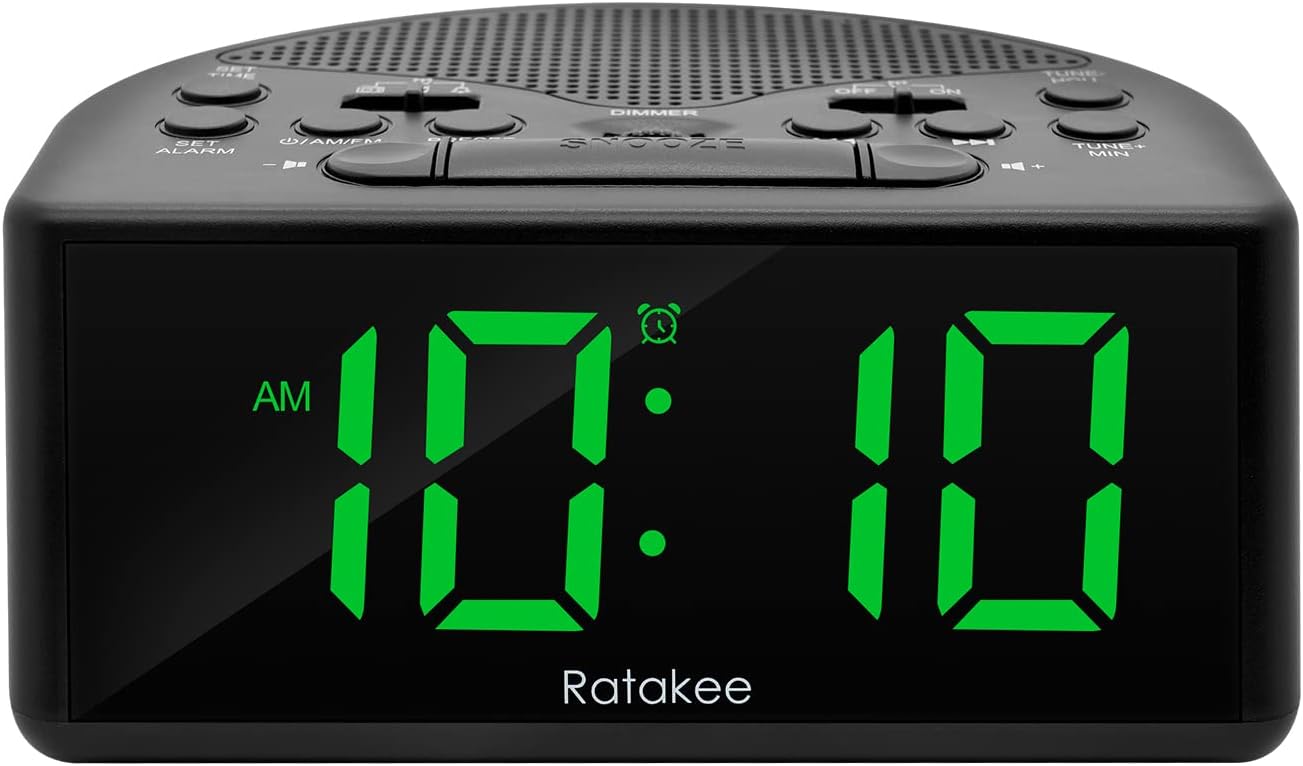
Figure 1: Front view of the Ratakee Digital AM/FM Radio Alarm Clock displaying 10:10 AM.
Setup
Powering the Alarm Clock
The alarm clock can be powered by an AC outlet or by batteries for backup.
- AC Power: Connect the included power cord to the AC120V outlet and plug it into a wall socket. The display will light up, and the radio will be operational.
- Battery Backup: For power outage protection, insert 3 AA batteries (not included) into the battery compartment located on the bottom of the unit. When powered by batteries, the display will auto-dim after 20 seconds of no operation to conserve power, but the clock, alarm, and radio functions will remain active.

Figure 2: Illustration of the dual power methods: AC cord connection and battery compartment for 3 AA batteries.
Operating Instructions
This section details the operation of your Ratakee alarm clock. Refer to Figure 3 for button and switch locations.

Figure 3: Top panel controls of the Ratakee Digital AM/FM Radio Alarm Clock.
Setting the Time
- Press and hold the SET TIME button for 2 seconds. The hour digits will begin to flash.
- Use the TUNE+ HOU button to adjust the hour.
- Use the TUNE- MIN button to adjust the minute.
- Press the SET TIME button again to confirm and exit time setting mode.
Setting the Alarm
The alarm clock offers three selectable alarm sounds: AM/FM radio, music, or a classic beep.

Figure 4: The alarm clock offers three distinct alarm sound options.
- Press and hold the SET ALARM button for 2 seconds. The alarm hour digits will flash.
- Use the TUNE+ HOU button to set the alarm hour.
- Use the TUNE- MIN button to set the alarm minute.
- Slide the alarm tone switch (located near the SET ALARM button) to select your desired alarm sound: radio, music, or beep.
- Press the SET ALARM button again to confirm the alarm time and sound.
- To turn the alarm ON or OFF, use the dedicated ON/OFF slide switch for the alarm (located on the top panel, near the right side).
Adjusting Alarm Volume: The alarm volume is adjustable from 5 to 15 levels. When using the radio as an alarm, the clock will play the last station you listened to at the set volume level.
AM/FM Radio Operation
The radio allows you to store up to 20 AM and 20 FM stations.

Figure 5: The alarm clock features AM/FM radio with strong reception capabilities.
- Turn Radio On/Off: Press the ON/AM/FM button to turn the radio on or off.
- Switch Bands: While the radio is on, press the ON/AM/FM button to switch between AM and FM bands.
- Manual Tuning: Use the TUNE+ HOU and TUNE- MIN buttons to manually tune to your desired frequency.
- Auto Scan/Preset: Press the PRESET button to scan and store available stations automatically.
- Recall Presets: Use the PRESET button to cycle through stored stations.
- Adjust Volume: Use the VOLUME + and VOLUME - buttons to adjust the radio volume (1-16 levels).
Note: When listening to FM stations with earphones (via the earphone jack), stereo mode will automatically activate for enhanced sound.
Display Dimmer
The alarm clock features a full-range dimmable LED display (0-100% brightness).

Figure 6: Adjusting the display brightness from 0% to 100% for optimal viewing.
Rotate the DIMMER knob (located on the top panel) to adjust the display brightness to your preferred level.
Sleep Timer
The sleep timer allows the radio to play for a set duration before automatically turning off.
To activate the sleep timer, press the SLEEP button. Each press will cycle through available sleep timer durations (e.g., 10, 20, 30, 60, 90 minutes). The radio will turn off automatically after the selected time.
Snooze Function
When the alarm sounds, press the large SNOOZE button (located on the top center) to temporarily silence the alarm for an additional 9 minutes of sleep.

Figure 7: Easily activate the snooze function for a short delay in your alarm.
Earphone Jack
A 3.5mm earphone jack is provided on the side of the unit for private listening. Plug in your earphones to enjoy radio content without disturbing others.
Maintenance
- Cleaning: To clean the unit, wipe it with a soft, dry cloth. Do not use abrasive cleaners or solvents.
- Battery Replacement: If using battery backup, replace the 3 AA batteries when the display dims significantly or the clock functions become unreliable during a power outage. Ensure correct polarity when inserting new batteries.
- Storage: If storing the unit for an extended period, remove the batteries to prevent leakage.
Troubleshooting
| Problem | Possible Cause / Solution |
|---|---|
| Display is dim or off. |
|
| Alarm does not sound. |
|
| Poor radio reception or static. |
|
| Cannot set radio presets. |
|
Specifications
| Feature | Detail |
|---|---|
| Brand | Ratakee |
| Model Number | RA01SA |
| Display Type | Digital LED (Green Digits) |
| Display Size | 1.4 inches (LED Digits) |
| Power Source | Corded Electric (AC120V) / Battery Powered (3 AA batteries, not included) |
| Product Dimensions | 5.4"W x 2.4"H |
| Item Weight | 0.4 Kilograms (14 ounces) |
| Radio Bands | AM/FM (20 AM, 20 FM presets) |
| Alarm Ringtones | 3 (AM/FM Radio, Music, Beep) |
| Alarm Volume | Adjustable (5-15 levels) |
| Display Dimmer | 0-100% (Rotary Knob) |
| Sleep Timer | 10-90 minutes |
| Snooze Duration | 9 minutes |
| Earphone Jack | Yes |
| Material | Plastic |
| Indoor/Outdoor Usage | Indoor |
Warranty and Support
Warranty Type: Lifetime Warranty
For technical support, troubleshooting assistance, or warranty claims, please contact Ratakee customer service. Refer to the product packaging or the official Ratakee website for the most current contact information.
You may also find helpful resources and frequently asked questions on the manufacturer's support page.
