1. Introduction
Thank you for choosing the EWAY 7-Inch TFT LCD Quad Split Monitor. This monitor is designed to enhance vehicle safety and surveillance by providing multiple viewing options for up to four cameras. It is suitable for various applications including RVs, trailers, trucks, pickups, and even home/office CCTV systems. This manual provides essential information for the proper setup, operation, and maintenance of your monitor.
2. Product Overview
Key Features:
- Quad View Display: Supports connecting and viewing up to four cameras simultaneously or one at a time. Trigger wires allow activation of individual channels (V1, V2, V3, V4).
- Selectable Viewing Modes: Offers Single Full View, Split Dual Video View, Split Tri Video View, and Quad Four View options.
- Infrared (IR) Remote Control: For convenient operation of monitor functions.
- Sunshade Design: Integrated sunshade helps reduce glare for improved visibility in bright conditions.
- Wide Application: Compatible with 12-24V power input, suitable for various vehicles and security systems.
Package Contents:
- 1x EWAY 7-inch LCD Monitor
- 1x Suction Cup Mount
- 1x Dashboard Stand
- 1x 4-Channel Video Input Power Cable
- 1x IR Remote Control
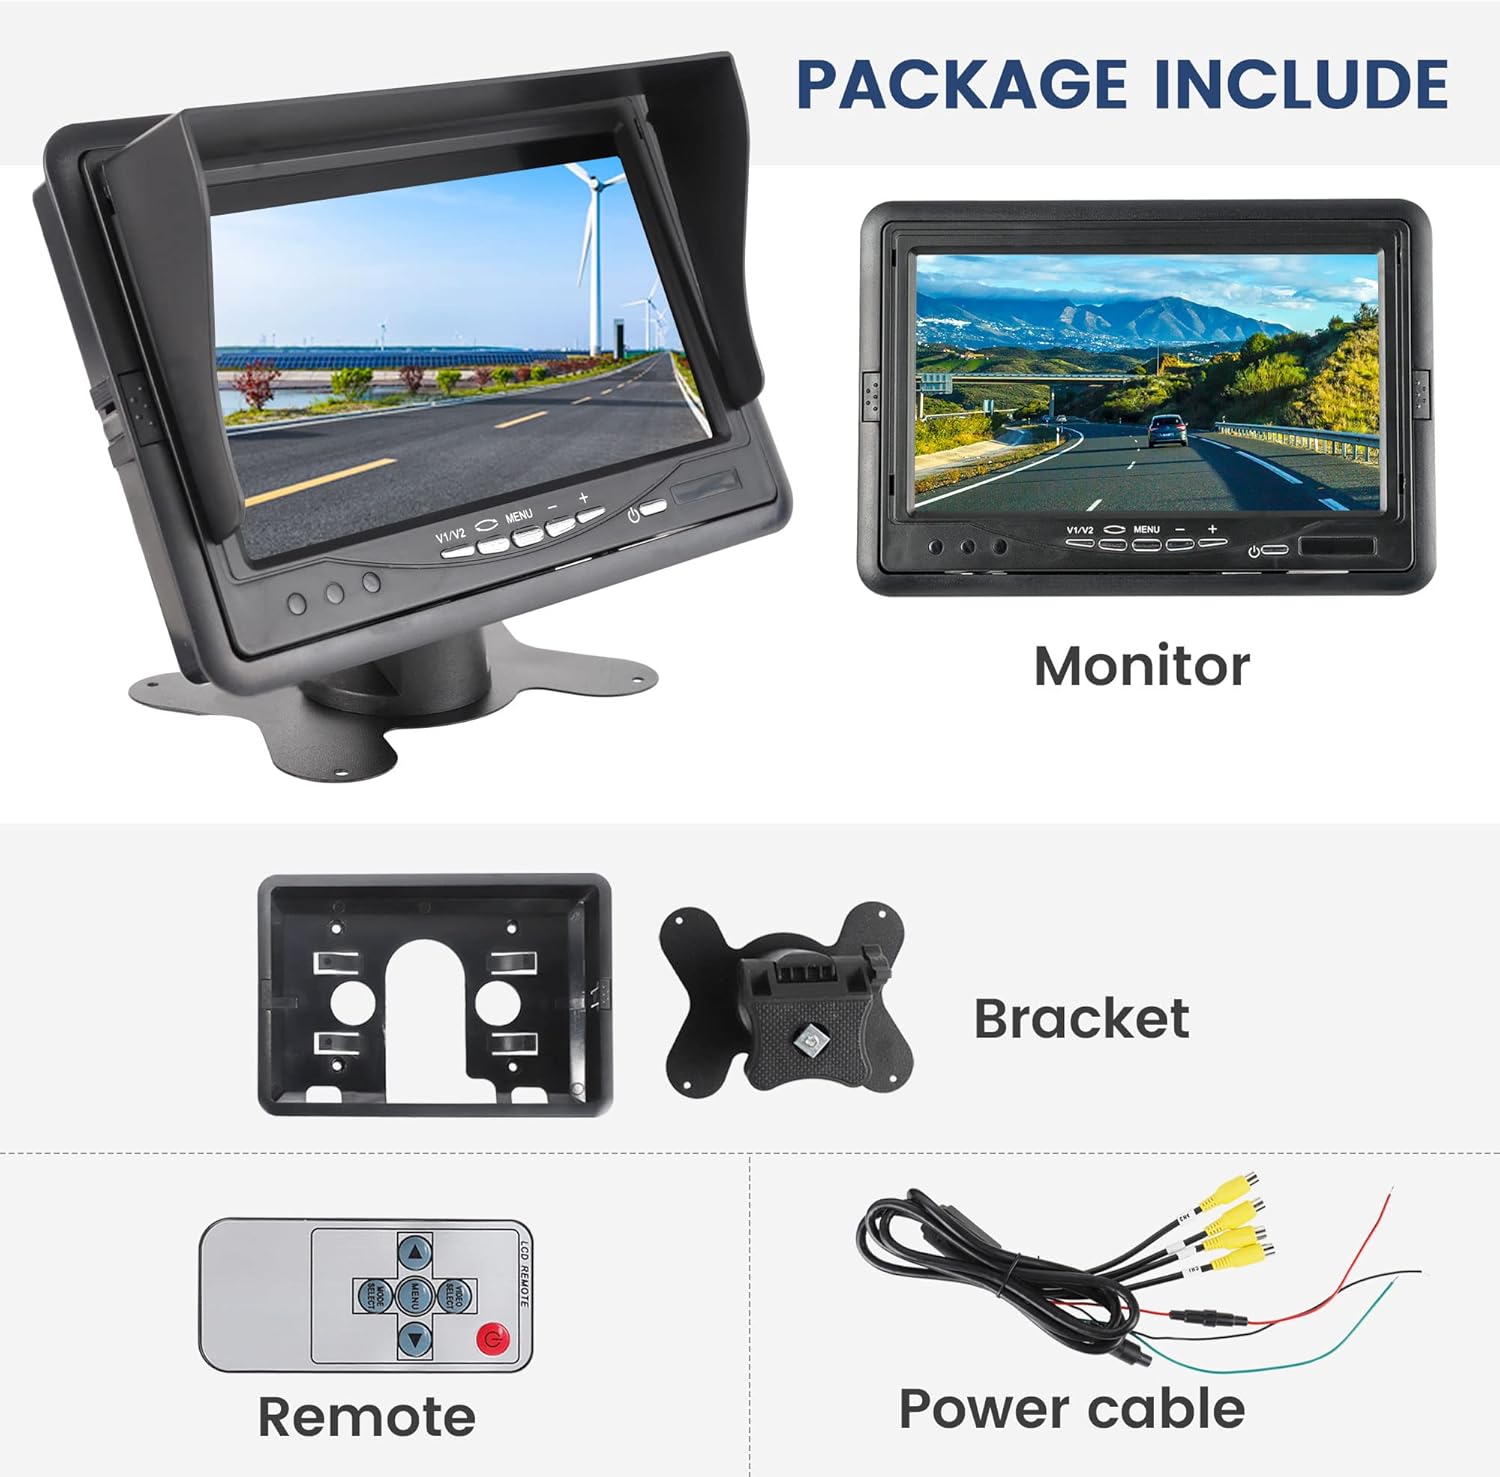
Image: Components included in the EWAY 7-inch monitor package.
3. Setup
Mounting the Monitor:
The monitor offers flexible installation options using either the included suction cup mount or the dashboard stand. Ensure the chosen location provides a clear view for the driver and does not obstruct airbags or other safety features.
- Suction Cup Mount: Attach the suction cup to a clean, smooth surface on your windshield. Secure the monitor to the mount.
- Dashboard Stand: Attach the dashboard stand to a flat, clean surface on your dashboard using adhesive (not included) or screws. Secure the monitor to the stand.
The monitor features an adjustable multi-angle bracket, allowing for 120-degree rotation to achieve the optimal viewing angle.

Image: Examples of three installation methods for the monitor.

Image: Monitor details showing the sunshade and adjustable bracket.
Wiring Connections:
The monitor supports up to four camera inputs (V1, V2, V3, V4) via RCA connectors. Connect your cameras to the corresponding video input ports on the monitor's power cable. Ensure proper power connections (12-24V DC) to the vehicle's electrical system. The power cable typically includes separate wires for each video input, allowing for individual camera triggering (e.g., connecting a backup camera's trigger wire to the reverse light circuit).

Image: Illustration of the 4-channel video input capability for comprehensive vehicle monitoring.
4. Operating Instructions
Monitor Buttons and Remote Control:
The monitor can be operated using the buttons located on the front panel or via the included IR remote control.

Image: Front panel controls and remote control functions.
Monitor Front Panel Buttons:
- AV1/AV2 Push Button: Selects between video inputs.
- Screen Switch: Toggles display modes.
- Menu Button: Accesses the on-screen display (OSD) menu.
- Adjust -: Decreases selected value in menu.
- Adjust +: Increases selected value in menu.
- Power Standby: Puts the monitor into standby mode.
- Infrared Receiver: Receives signals from the remote control.
IR Remote Control Functions:
- POWER: Switches the monitor on/off.
- VIDEO (V1/V2): Selects video input channels.
- VOL+: Increases volume (if audio is connected).
- MENU: Accesses brightness, color, and contrast settings.
- MODE: Selects display results/viewing modes.
- VOL-: Reduces volume (if audio is connected).
Selecting Viewing Modes:
Use the 'MODE' button on the remote or the 'Screen Switch' button on the monitor to cycle through the available display configurations:
- Single Full View: Displays one camera feed across the entire screen.
- Split Dual Video View: Displays two camera feeds simultaneously.
- Split Tri Video View: Displays three camera feeds simultaneously.
- Quad Four View: Displays all four camera feeds simultaneously in a grid layout.
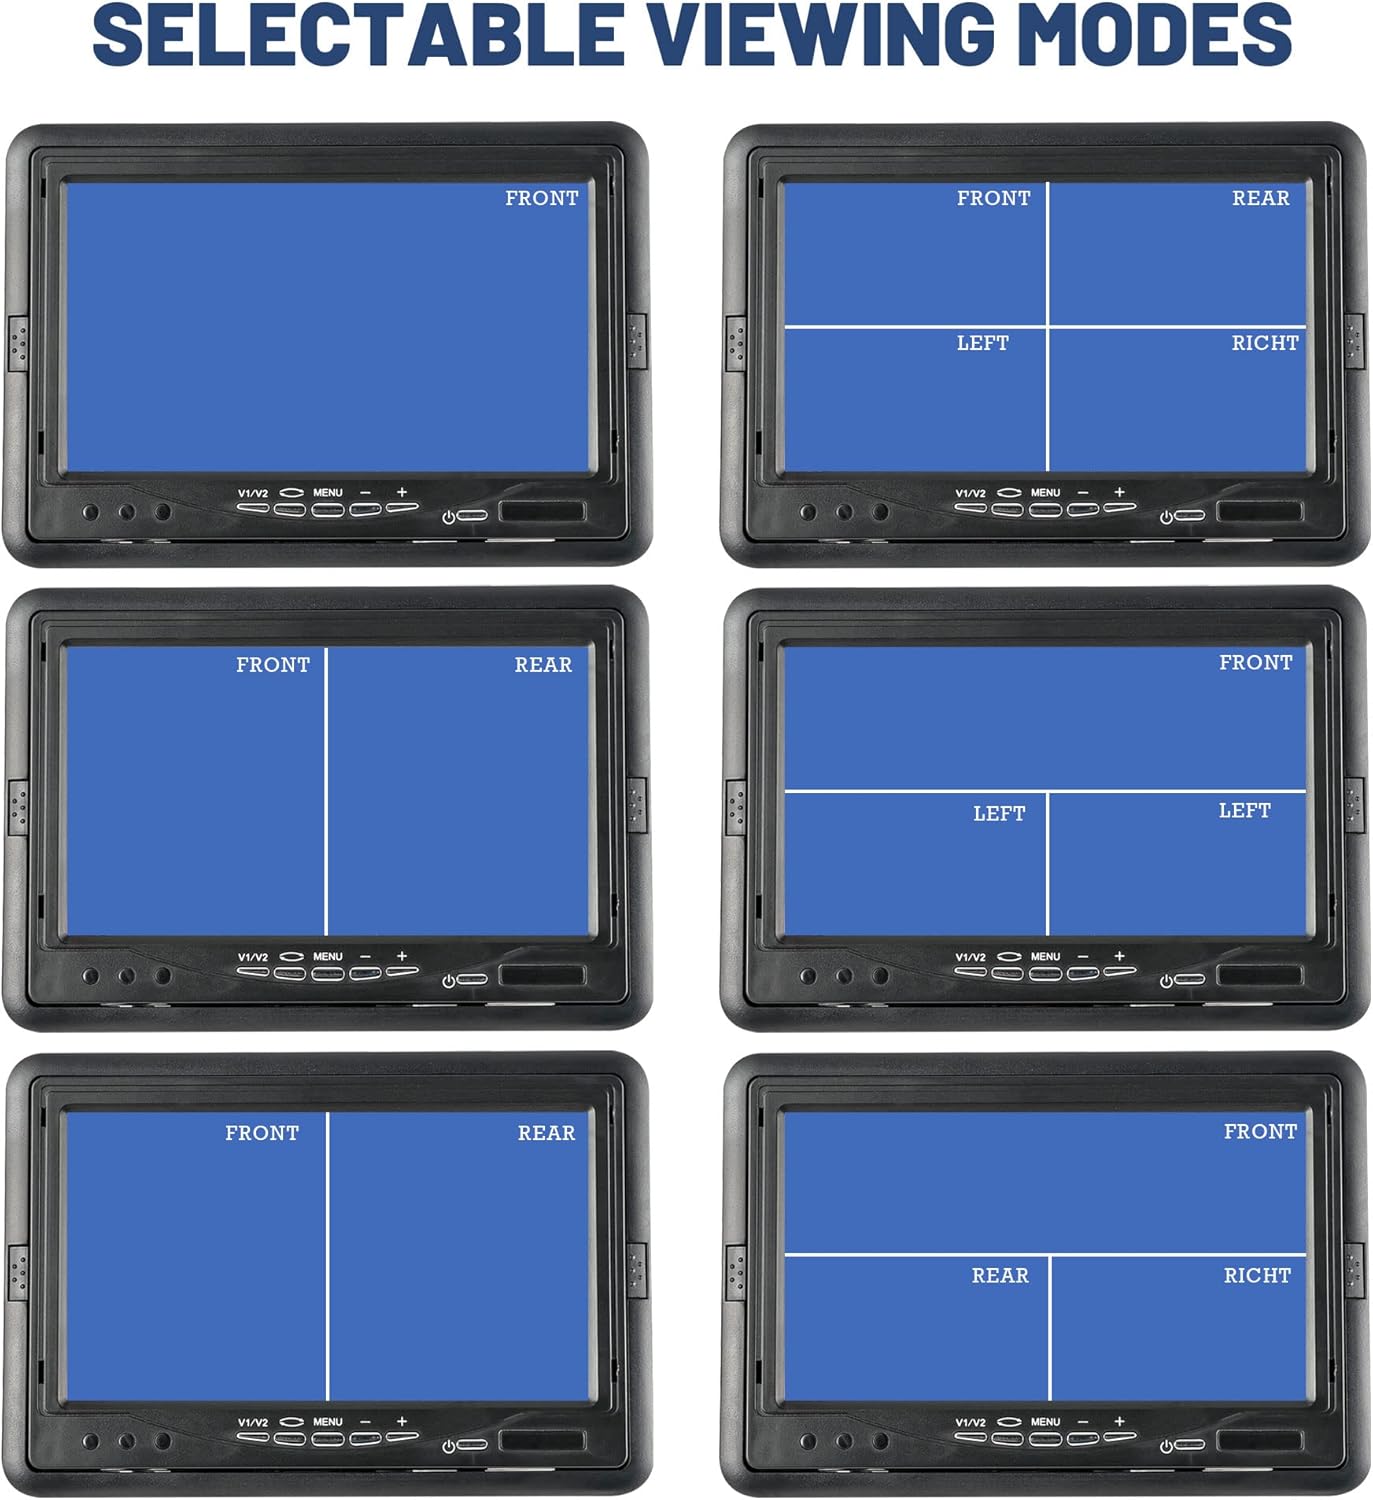
Image: Various selectable viewing modes for multi-camera display.
Adjusting Display Settings:
Press the 'MENU' button on the monitor or remote to access settings for brightness, contrast, and color. Use the 'Adjust +' and 'Adjust -' buttons to modify values. Press 'MENU' again to exit or save changes.
5. Maintenance
- Cleaning: Use a soft, dry cloth to clean the monitor screen and casing. Avoid abrasive cleaners or solvents that may damage the surface.
- Cable Inspection: Periodically check all cables and connections for wear, damage, or loose contacts.
- Environmental Conditions: Avoid exposing the monitor to extreme temperatures, direct sunlight for prolonged periods (beyond normal use with sunshade), or excessive moisture.
6. Troubleshooting
| Problem | Possible Cause | Solution |
|---|---|---|
| No image on screen | No power; Loose video cable; Incorrect video input selected. | Check power connection; Ensure video cables are securely connected; Select the correct video input (V1/V2/V3/V4). |
| Image is distorted or unclear | Poor camera connection; Camera malfunction; Interference. | Check camera cable connections; Test with a different camera if possible; Ensure cables are routed away from strong electrical interference sources. |
| Remote control not working | Dead battery; Obstruction to IR receiver; Remote out of range. | Replace remote battery; Ensure clear line of sight to the monitor's IR receiver; Operate remote within close range. |
| Cannot change viewing modes | Only one camera connected; Monitor settings locked. | Ensure multiple cameras are connected for split views; Check menu settings for any mode restrictions. |
| Screen appears backwards or inverted | Incorrect camera orientation setting. | Access the monitor's menu and look for image flip/mirror options to adjust camera view orientation. |
7. Specifications
- Model Number: EWAY7007W
- Screen Size: 7 Inches
- Display Type: TFT LCD
- Resolution: 1920 x 1080 (HD)
- Aspect Ratio: 16:9
- Video Inputs: 4 Channels (RCA)
- Voltage: 12-24 Volts DC
- Item Weight: 1.68 pounds
- Package Dimensions: 8.74 x 6.02 x 3.5 inches
- Screen Surface Description: Glossy
8. Warranty and Support
EWAY is committed to providing quality products and a strong after-sales experience. For any product-related inquiries, technical assistance, or warranty claims, please contact EWAY customer support through the official EWAY store or the retailer where the product was purchased. Please retain your proof of purchase for warranty validation.
For more information, visit the EWAY Store on Amazon.


