1. Introduction and Overview
The TrolMaster HCS-1 Hydro-X Controller is a sophisticated environmental control system designed for horticultural applications. It provides precise monitoring and control over key environmental factors within your grow space, ensuring optimal conditions for plant growth. This system integrates seamlessly with various devices to manage temperature, humidity, and light levels, and can be expanded to control CO2, irrigation, and more.
The HCS-1 comes equipped with a versatile 3-in-1 sensor that measures ambient temperature, relative humidity, and light intensity, providing essential data for environmental management. Its user-friendly interface and mobile application connectivity offer convenient access and control from anywhere.

Figure 1: Angled view of the TrolMaster HCS-1 Hydro-X Controller, showing the display, control buttons, and various ports.
2. Product Features
- Comprehensive Environmental Control: Manages temperature, humidity, and light for optimal growing conditions.
- Integrated 3-in-1 Sensor: Includes a sensor for real-time monitoring of temperature, humidity, and light.
- Expandable System: Supports additional modules for CO2 measurement, grow light control, dehumidifier operation, fan management, and AC/HVAC system integration.
- User-Friendly Interface: Features an intuitive display and control buttons for easy setup and adjustments.
- Mobile App Connectivity: Allows remote monitoring and control via a free phone application.
- Data Logging: Records environmental data for analysis and optimization.
3. Package Contents
Please verify that all items are present and undamaged upon opening the package:
- 1 x TrolMaster HCS-1 Hydro-X Controller
- 1 x 3-in-1 Sensor (Temperature, Humidity, Light)
- 1 x Cable Set for sensor connection and power
- 1 x Power Adapter

Figure 2: The TrolMaster HCS-1 Hydro-X Controller and its packaging.
4. Setup Guide
Follow these steps to set up your HCS-1 Hydro-X Controller:
- Unpack the Controller: Carefully remove the HCS-1 controller, 3-in-1 sensor, and all cables from the packaging.
- Mount the Controller: Choose a suitable location for the HCS-1 controller. Ensure it is in a dry area, away from direct water spray or extreme temperatures. Mount it securely using appropriate hardware (not included).
- Connect the 3-in-1 Sensor: Plug the 3-in-1 sensor cable into the designated "SENSORS" port on the HCS-1 controller. Position the sensor in your grow space where it can accurately measure ambient temperature, humidity, and light without being obstructed or directly exposed to water.
- Connect Power: Connect the power adapter to the "DC" port on the HCS-1 controller, then plug the adapter into a standard electrical outlet. The controller display should illuminate.
- Network Connection (Optional): For remote monitoring and control via the phone app, connect an Ethernet cable from your router to the "INTERNET" port on the HCS-1 controller.
- Initial Configuration: Upon first power-up, the controller may guide you through an initial setup wizard to set date, time, and basic environmental parameters. Use the navigation buttons (UP, DOWN, LEFT, RIGHT, BACK, ENTER) to navigate the menus.
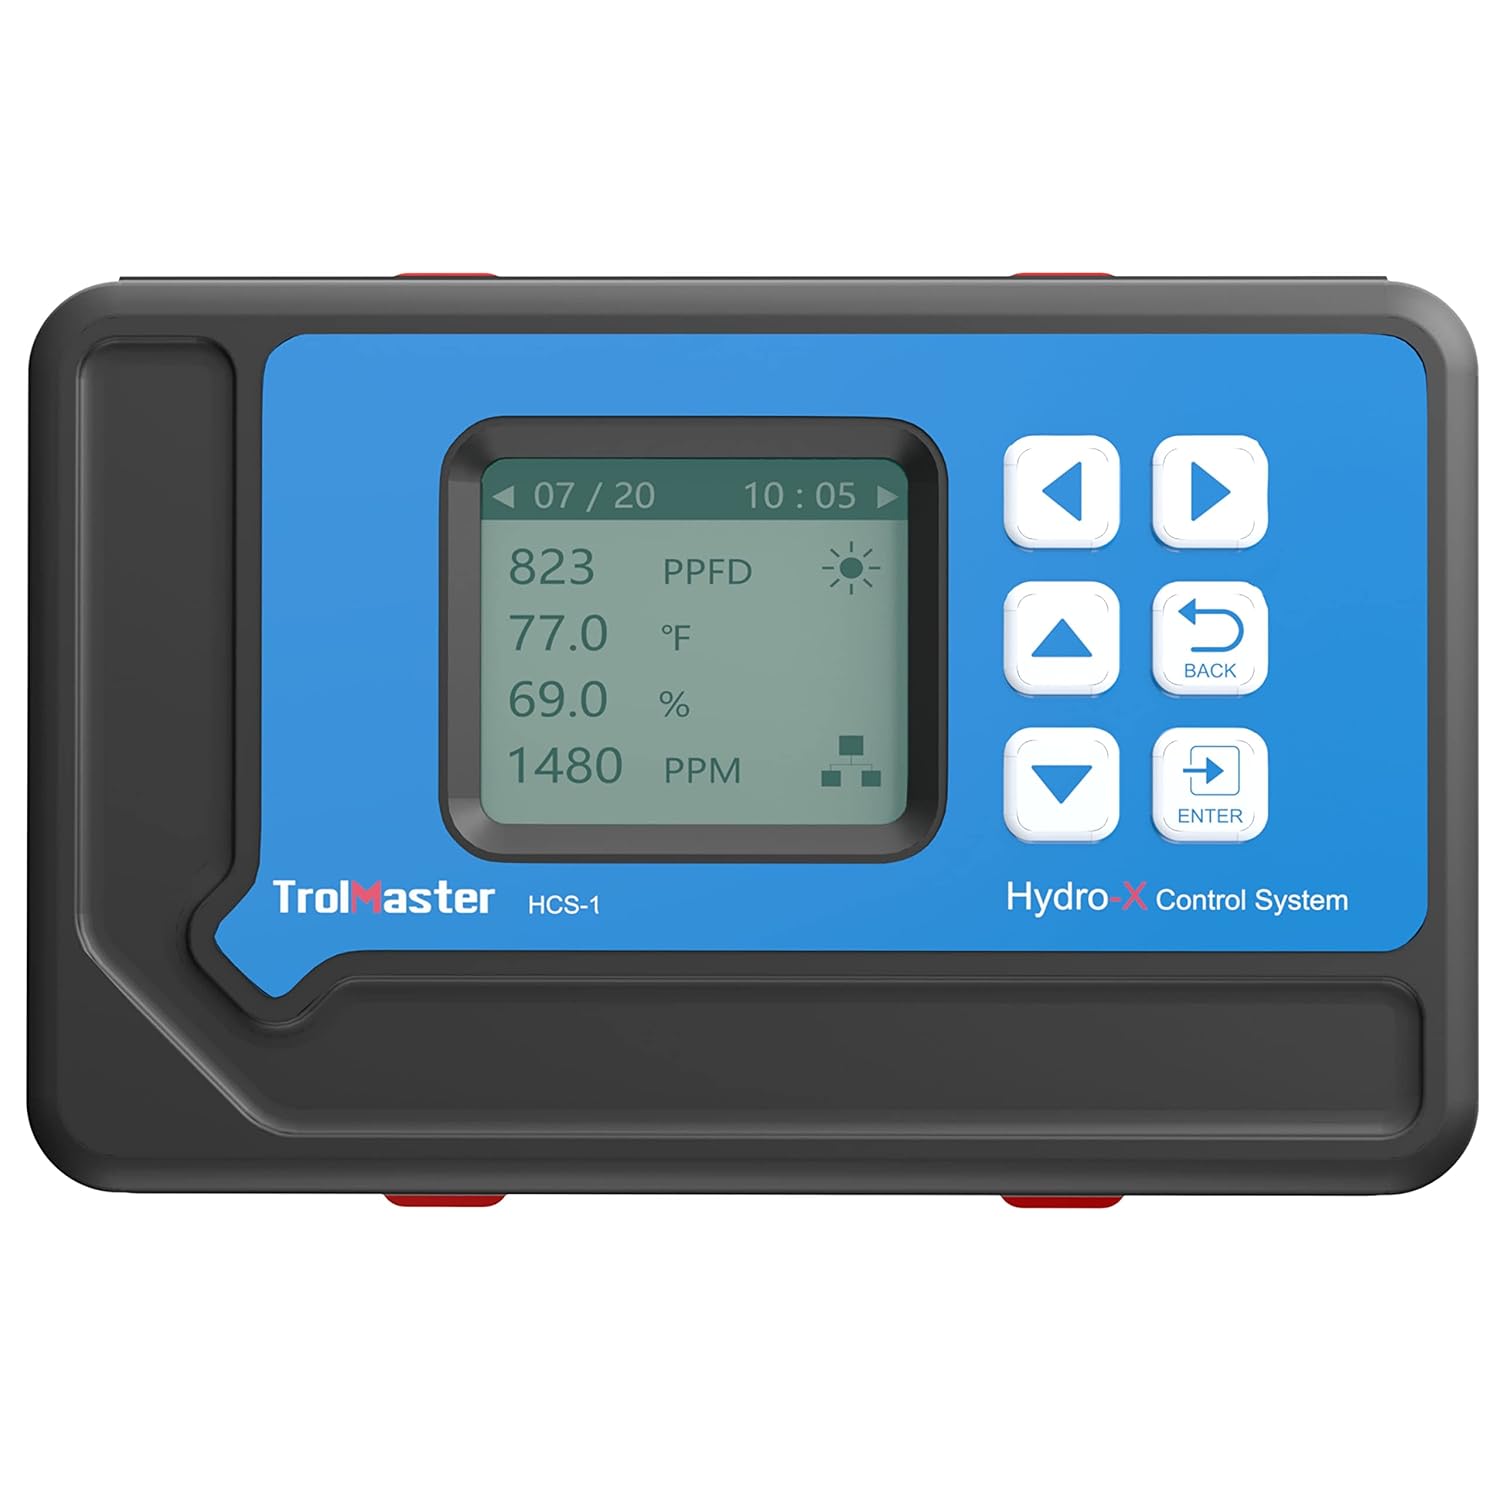
Figure 3: Front view of the HCS-1 controller with its display showing environmental readings.
Setup Video Overview
Video 1: An overview of the TrolMaster Hydro-X Garden Environment Controllers, demonstrating various control capabilities including CO2 levels, grow lights, dehumidifiers, fans, and HVAC systems. This video provides a visual guide to the system's potential applications.
5. Operating Instructions
5.1. Navigating the Interface
The HCS-1 controller features a clear LCD display and a set of intuitive buttons for navigation:
- UP/DOWN Arrows: Scroll through menu options or adjust values.
- LEFT/RIGHT Arrows: Navigate between screens or sub-menus.
- ENTER Button: Select an option or confirm a setting.
- BACK Button: Return to the previous screen or cancel an action.
5.2. Monitoring Environmental Data
The main display screen shows real-time readings from the 3-in-1 sensor, including temperature (Temp), relative humidity (Humid), and light intensity (Light). Additional connected sensors or modules will display their respective data on this screen or accessible sub-screens.
5.3. Setting Control Parameters
To set desired environmental parameters (e.g., target temperature, humidity range, light cycles):
- From the main screen, press ENTER to access the main menu.
- Use the UP/DOWN arrows to navigate to "Settings" or "Control Parameters" and press ENTER.
- Select the specific parameter you wish to adjust (e.g., "Temperature Setpoint", "Humidity Range", "Light Schedule").
- Use the UP/DOWN arrows to modify the value, then press ENTER to confirm.
- Press BACK to exit the settings menu.
5.4. Using the Mobile Application
Download the official TrolMaster mobile application from your device's app store. Ensure your HCS-1 controller is connected to the internet. Follow the in-app instructions to pair your controller. The app allows you to:
- View real-time environmental data.
- Adjust control parameters remotely.
- Receive alerts and notifications.
- Access historical data logs.
6. Maintenance
Regular maintenance ensures the longevity and accuracy of your HCS-1 controller:
- Cleaning: Periodically wipe the controller and sensor with a soft, dry cloth. Do not use abrasive cleaners or allow liquids to enter the device.
- Sensor Placement: Ensure the 3-in-1 sensor remains free from dust, debris, or direct water exposure, which can affect readings.
- Firmware Updates: Check the TrolMaster website or mobile app for available firmware updates to ensure your controller has the latest features and bug fixes.
7. Troubleshooting
| Problem | Possible Cause | Solution |
|---|---|---|
| Controller does not power on. | No power to the unit; faulty power adapter. | Check power outlet and connections. Ensure the power adapter is securely plugged into both the controller and the wall. Try a different outlet. |
| Sensor readings are inaccurate or erratic. | Sensor obstructed or dirty; sensor cable loose or damaged; sensor malfunction. | Ensure sensor is clean and unobstructed. Check sensor cable connection. If issues persist, contact support. |
| Cannot connect to mobile app. | No internet connection; incorrect network settings; app not updated. | Verify Ethernet cable connection and router status. Check controller's network settings. Update the mobile app to the latest version. |
| Connected devices (fans, lights) are not responding. | Incorrect module connection; incorrect control settings. | Ensure all modules are correctly connected to the HCS-1. Verify control settings and schedules within the controller or app. |
8. Specifications
| Specification | Value |
|---|---|
| Model Number | HCS1 |
| Product Dimensions | 9 x 3 x 6 inches |
| Item Weight | 2.4 Pounds |
| Display Type | LCD |
| Operating Temperature | 75 Degrees Fahrenheit (optimal) |
| UPC | 311778426764 |

Figure 4: Dimensions of the TrolMaster HCS-1 Hydro-X Controller.
9. Warranty and Support
For warranty information or technical support regarding your TrolMaster HCS-1 Hydro-X Controller, please contact FGI customer service. Refer to your purchase documentation for specific warranty terms and contact details. You can also visit the official TrolMaster website for additional resources and FAQs.


