
Roinvou 2+32G
Roinvou Android 13 Car Stereo User Manual
Model: 2+32G
Brand: Roinvou
1. Introduction
This manual provides comprehensive instructions for the installation, operation, and maintenance of your Roinvou Android 13 Car Stereo. This unit is designed for Toyota Tacoma models from 2005-2013, offering advanced features such as Wireless CarPlay, Android Auto, GPS navigation, Wi-Fi, Bluetooth, and a 9-inch touchscreen display. Please read this manual thoroughly before use to ensure proper functionality and safety.
2. Safety Information
Always prioritize safety. Do not attempt to operate the unit or adjust settings while driving. Ensure all wiring is correctly installed to prevent electrical hazards. Professional installation is recommended. Disconnect the vehicle's battery before beginning any installation work.
3. Package Contents
Verify that all items are included in your package:
- Toyota Tacoma Car Stereo Head Unit
- Power Cable
- Original USB Cable
- RCA Harness
- GPS Antenna
- Rear Camera Input Cable
- Dual USB Cable
- AHD Backup Camera
- External Microphone
- Installation Tool

Figure 3.1: Overview of included components in the Roinvou car stereo package.
4. Installation Guide
This section provides a general overview of the installation process. For detailed visual instructions, please refer to the official installation video provided by the seller.
4.1. Removing the Factory Radio
The installation process begins with the careful removal of the existing factory radio and its surrounding trim. This typically involves using a panel popper tool to release clips and unscrewing mounting bolts.
Video 4.1: "A7175 Center Console Disassembly Wiring Method" - This video demonstrates the process of disassembling the center console and managing wiring for installation.
Step 1: Remove Lower Panel. Use a panel popper tool to carefully pry out the lower panel containing the climate controls. This panel is typically held by four clips.

Figure 4.1.1: Factory radio and climate control panel before removal.
Step 2: Unplug Connectors. Once the lower panel is loose, unplug the two connectors from its rear.
Step 3: Remove Radio Mounting Bolts. Locate and remove the 10mm bolts securing the factory radio. There are typically two on top and one on each side.
Step 4: Remove Factory Radio. Carefully pull out the entire factory radio unit. Disconnect the antenna cable and any other harnesses connected to the back of the radio.

Figure 4.1.2: Dashboard with factory radio removed, showing main wiring harnesses.
4.2. Preparing the New Head Unit
Transfer necessary components from the old unit to the new trim and mount the new head unit.
Step 1: Transfer Hazard/Clock Module. Remove the hazard/clock module from the factory radio's trim. This module is secured by screws on both sides. Carefully finagle it out as it can be tricky.
Step 2: Install Module into New Trim. Secure the hazard/clock module into the new car stereo's trim panel using the provided screws. Ensure it snaps into place correctly.
Step 3: Attach Mounting Brackets. Secure the new head unit to the provided mounting brackets using 8mm screws. These brackets ensure the head unit fits securely into the dashboard.
Step 4: Attach Trim Panel. Clip the new trim panel (with the transferred module) onto the mounted head unit. The kit includes new clips, so you don't need to reuse the factory ones.
4.3. Wiring and Connections
Connect the wiring harness and any accessories before installing the unit into the dash.
Steering Wheel Control (SWC) Wiring:
- If your vehicle does NOT have a CANBUS Decoder: Connect the Key1 and Key2 wires from the power cable to the corresponding steering wheel control wires in your original car. Then, access the "SteeringWheelKey" manual match setting on the stereo to activate button functions.
- If your vehicle CONTAINS a CANBUS Decoder: Connect the CANBUS before powering on the machine. Go to Settings > Factory setup (Password 000000) > Can Settings. Select the brand of the CANBUS decoder and the matching model and year.
USB Port Installation:
A dedicated USB port can be installed in a convenient location, such as the glove box or a removable cubby. Drill a hole in the desired location and secure the USB port. This allows for easy access without permanently altering the main dashboard.
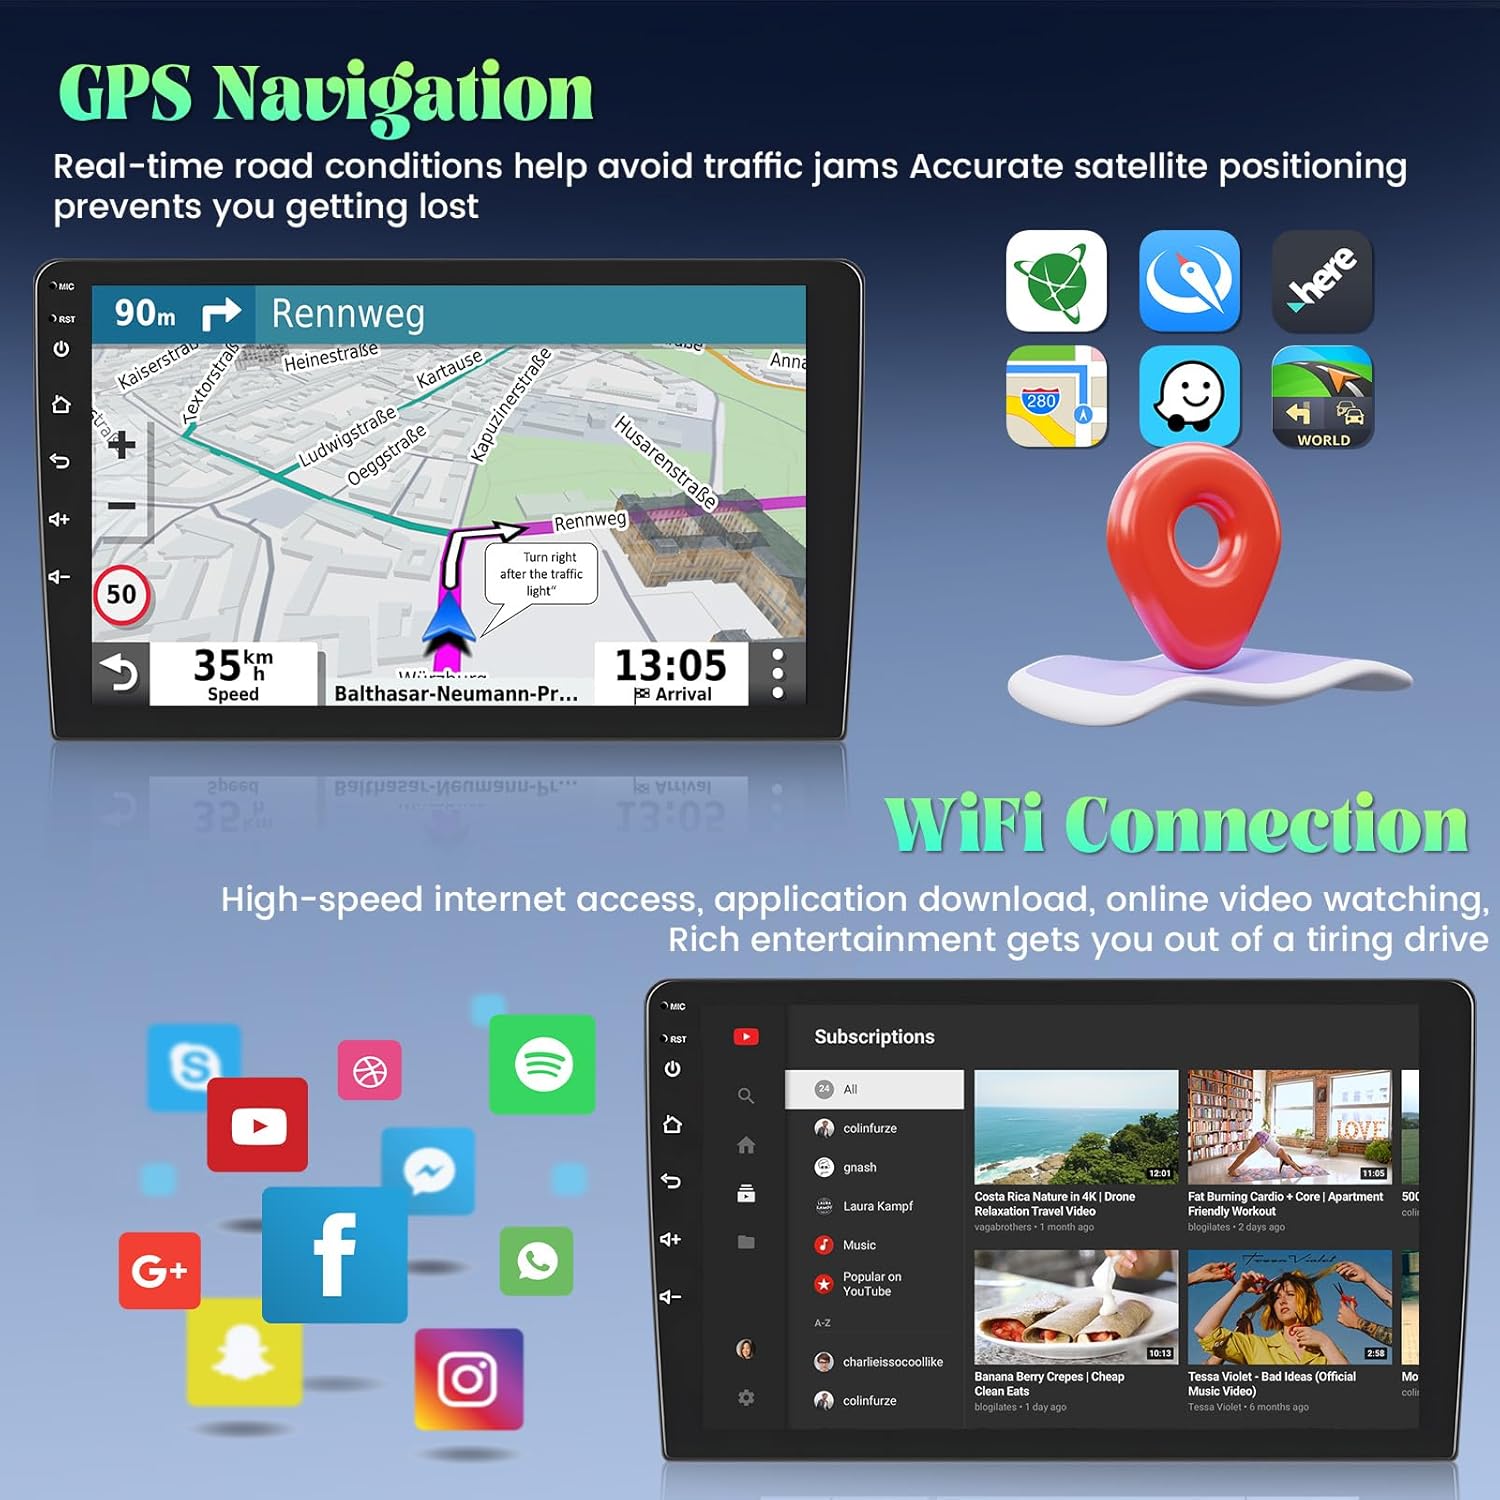
Figure 4.3.1: Example of a USB port installed in a removable cubby for easy access.
Microphone Installation:
Route the external microphone cable up the A-pillar and position the microphone near the rearview mirror or sun visor for optimal voice pickup during calls.
Backup Camera Connection:
Connect the AHD backup camera to the dedicated input on the head unit. Ensure the reverse input cable is plugged in, even if the camera is not being used, as it can affect Bluetooth and Wi-Fi signal reception.

Figure 4.3.2: Wiring diagram for backup camera connection.
4.4. Final Assembly
Once all connections are made, carefully slide the assembled head unit into the dashboard opening until it clicks into place. Reconnect the vehicle's battery.
Figure 4.4.1: Roinvou car stereo fully installed in the dashboard.
5. Operating Instructions
5.1. Wireless CarPlay & Android Auto
Connect your smartphone wirelessly via Bluetooth or using the original USB data cable for wired connection. This allows intuitive access to navigation, calls, messages, and music directly from the car stereo's screen.
Video 5.1: "Carplay and Android Auto Connection & Other Functions" - This video demonstrates the connection process and various features of CarPlay and Android Auto.

Figure 5.1.1: Wireless CarPlay and Android Auto interface examples.
5.2. Bluetooth & Mirror Link
The built-in Bluetooth supports hands-free calling, phone book synchronization, and music streaming. Mirror Link functionality allows you to synchronize your smartphone screen (Android and iOS) to the car stereo display for multimedia content viewing.

Figure 5.2.1: Mirror Link setup for Android and iOS devices.
5.3. WIFI & GPS Navigation
Connect to Wi-Fi to download online apps and videos. The unit supports both online and offline navigation, compatible with Google Maps and preloaded with free offline maps via the Here WeGo application.
Figure 5.3.1: GPS navigation and Wi-Fi connectivity features.
5.4. User Interface (UI) Themes
The car stereo comes equipped with 26 UI themes, offering multiple choices to customize your user experience.
Figure 5.4.1: Selection of available UI themes.
6. Specifications
| Feature | Specification |
|---|---|
| Product Dimensions | 9.65 x 2.24 x 9.06 inches |
| Item Weight | 3.08 pounds |
| Screen Size | 9 Inches |
| Resolution | 1024 x 600 |
| Operating System | Android 13 |
| Memory (RAM + ROM) | 2GB + 32GB |
| Connectivity Technology | Bluetooth, Wi-Fi, USB |
| Special Features | CarPlay, Android Auto, Touchscreen, FM RDS Radio, Mirror Link, GPS Navigation, DSP, SWC, 26 Desktop Themes |
7. Troubleshooting
If you encounter issues with your Roinvou car stereo, please refer to the following common troubleshooting steps:
- No Power: Check all power connections and fuses. Ensure the vehicle's ignition is on.
- No Sound: Verify speaker connections. Check audio settings (volume, mute, balance, fader). Ensure the correct audio source is selected.
- Bluetooth Connection Issues: Ensure Bluetooth is enabled on both the stereo and your smartphone. Delete previous pairings and try reconnecting. Check the device name and PIN.
- CarPlay/Android Auto Not Connecting: For wireless connection, ensure Bluetooth and Wi-Fi are enabled on your phone. For wired connection, use the original USB cable. Restart both the stereo and your phone.
- GPS Signal Lost: Ensure the GPS antenna is properly installed and has a clear view of the sky. Check GPS settings in the unit.
- Steering Wheel Controls Not Working: Verify SWC wiring connections. Ensure the SWC settings are correctly configured in the stereo's menu (refer to Section 4.3).
For persistent issues, please contact customer support.
8. Warranty and Support
Roinvou products typically come with a one-year warranty. For specific warranty details, please refer to the product documentation or contact the seller directly. If you have any questions or require technical assistance, please reach out to Roinvou customer service through the Amazon platform or via email at roinvouservices@163.com. All messages are typically replied to within 24 hours, excluding holidays.

Figure 8.1: Roinvou customer support details.
Related documents2+32G


Ask a question about this manual
Ask about setup, troubleshooting, compatibility, parts, safety, or missing instructions. Manuals+ will review the question and use this page’s manual context to help answer it.