
1. Introduction
The Ricoh M 320 is a high-productivity, low-maintenance multifunction device designed for printing, copying, and scanning in workspaces with limited space. This system offers easy monitoring and management of print history, device settings, and network protocols. Featuring a 5 GHz Wi-Fi interface, it ensures a stable wireless connection by reducing bottlenecks. Its compact design makes it suitable for various office environments. Setup and operation are designed to be straightforward. The integrated scan and copy functions facilitate easy digitization and sharing of documents. The all-in-one toner cartridge is high-capacity and simple to replace. Full support is provided for Windows, Mac, and Linux operating systems, with both 2.4 GHz and 5 GHz WLAN capabilities.
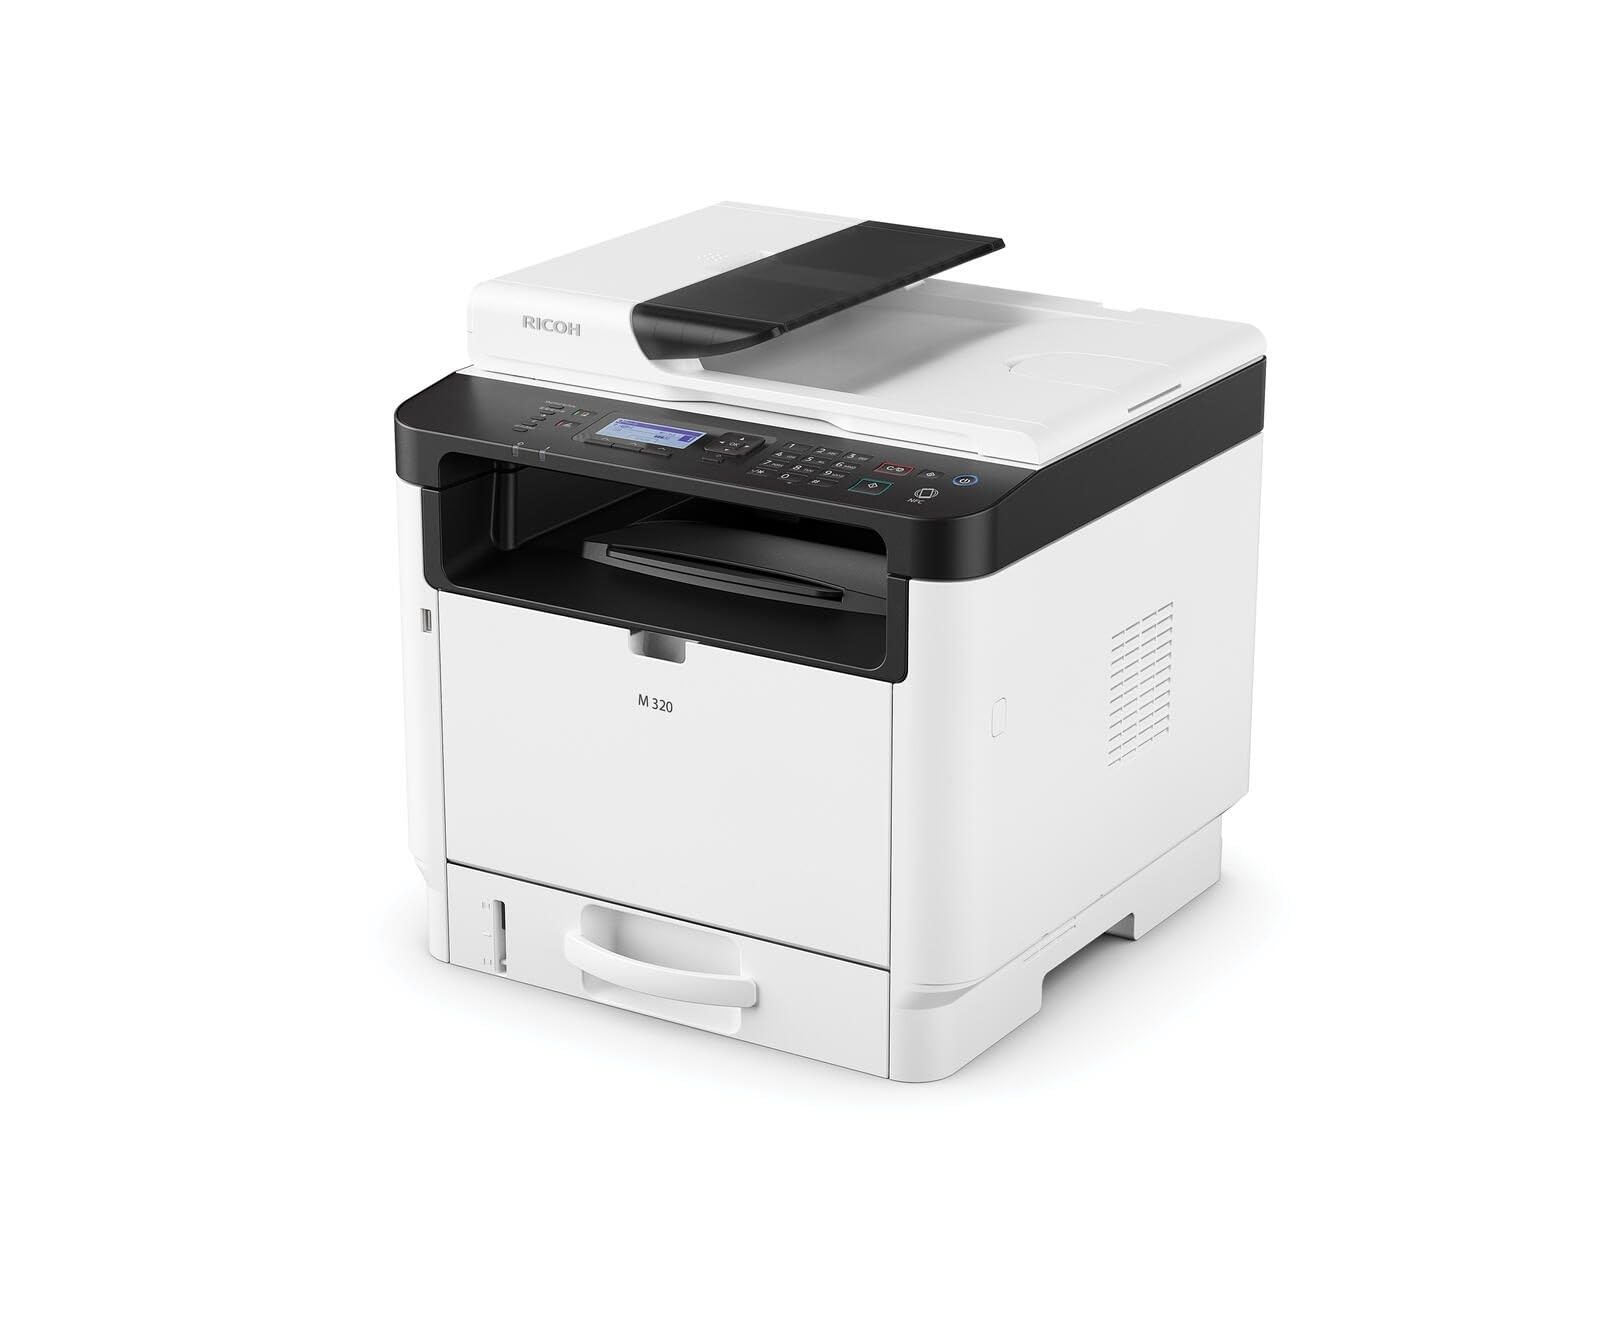
Figure 1: Ricoh M 320 Multifunction System. This image displays the compact design of the Ricoh M 320, highlighting its main components including the paper tray and control panel.
1.1 What's in the Box
Verify that all items are present in the package:
- Ricoh M 320 Multifunction System
- Power Cable
- Starter Toner Cartridge
- Setup Guide
- Software CD (may vary by region)
2. Setup
2.1 Unpacking and Placement
- Remove the printer from its packaging.
- Remove all protective tapes and packing materials from the exterior and interior of the printer.
- Place the printer on a stable, level surface with adequate ventilation. Ensure sufficient space around the printer for operation and maintenance.
2.2 Power Connection
- Connect the power cable to the printer's power input.
- Plug the other end of the power cable into a grounded electrical outlet.
- Press the power button to turn on the printer.
2.3 Toner Cartridge Installation
- Open the front cover of the printer.
- Carefully remove the new toner cartridge from its packaging and gently shake it horizontally several times to distribute the toner evenly.
- Insert the toner cartridge into the printer until it clicks into place.
- Close the front cover.
2.4 Paper Loading
- Pull out the paper tray.
- Adjust the paper guides to match the size of the paper you are loading (up to A4).
- Load the paper stack into the tray, ensuring it is flat and not exceeding the maximum fill line.
- Gently push the paper tray back into the printer.
2.5 Network Connection
The Ricoh M 320 supports both Ethernet and Wi-Fi connectivity.
Ethernet Connection:
- Connect an Ethernet cable from your network router or switch to the Ethernet port on the back of the printer.
- The printer will automatically attempt to obtain an IP address.
Wi-Fi Connection (2.4 GHz / 5 GHz):
- On the printer's 4-line LCD display, navigate to the Network Settings menu.
- Select "WLAN Setup" or "Wi-Fi Setup".
- Choose your Wi-Fi network from the list of available networks.
- Enter the Wi-Fi password (WPA/WPA2 key) using the control panel.
- Confirm the settings. The printer will connect to the network.
2.6 Driver and Software Installation
To use all functions of the Ricoh M 320, install the necessary drivers and software on your computer.
- Windows/Mac/Linux: Insert the provided software CD into your computer's CD/DVD drive and follow the on-screen instructions. Alternatively, download the latest drivers and utilities from the official Ricoh support website.
- Mobile Devices (iOS/Android): Download the Ricoh Smart Device Connector app from your device's app store to enable mobile printing and scanning. The printer supports AirPrint and Mopria.
3. Operating the Printer
3.1 Printing Documents
- Open the document you wish to print on your computer or mobile device.
- Select "Print" from the application's menu (e.g., File > Print).
- Choose "Ricoh M 320" as your printer.
- Adjust print settings such as number of copies, paper size, and duplex printing (automatic duplex is supported).
- Click "Print".
The printer offers high-quality black and white printing at 1200 x 1200 dpi. Maximum print speed for black and white is 13 pages per minute, and for color is 4.5 pages per minute.
3.2 Copying Documents
- Place the document face-down on the scanner glass or face-up in the Automatic Document Feeder (ADF). The ADF supports up to 35 sheets.
- On the printer's control panel, select "Copy".
- Use the navigation buttons to adjust settings such as number of copies (up to 35 per run), copy quality, and zoom.
- Press the "Start" button to begin copying.
3.3 Scanning Documents
Documents can be scanned to a computer or mobile device.
- Place the document on the scanner glass or in the ADF.
- On your computer, open the scanning software (e.g., Ricoh Scan Utility) or use the "Scan" function from the Ricoh Smart Device Connector app on your mobile device.
- Select "Ricoh M 320" as the scanner.
- Choose scan settings such as resolution (up to 1200 x 1200 dpi), color mode, and destination folder.
- Initiate the scan.
3.4 Mobile Printing and Scanning
The Ricoh M 320 supports mobile printing and scanning via AirPrint, Mopria, and the Ricoh Smart Device Connector app.
- AirPrint (iOS): Ensure your iOS device is connected to the same Wi-Fi network as the printer. Open the document or photo, tap the share icon, and select "Print". Choose the Ricoh M 320.
- Mopria (Android): Ensure your Android device has the Mopria Print Service installed and is connected to the same Wi-Fi network. Open the document or photo, tap the menu icon, and select "Print". Choose the Ricoh M 320.
- Ricoh Smart Device Connector App: Use the dedicated app for advanced mobile printing, scanning, and device management features.
4. Maintenance
4.1 Replacing the Toner Cartridge
When the toner level is low, a message will appear on the printer's display. Use only genuine Ricoh standard laser toner cartridges.
- Ensure the printer is powered on.
- Open the front cover of the printer.
- Carefully pull out the used toner cartridge.
- Unpack the new toner cartridge and gently shake it horizontally several times.
- Insert the new toner cartridge into the printer until it clicks into place.
- Close the front cover. The printer will calibrate the new cartridge.
4.2 Cleaning the Printer
Regular cleaning helps maintain print quality and extends the printer's lifespan.
- Exterior: Wipe the exterior surfaces with a soft, damp, lint-free cloth. Do not use abrasive cleaners or solvents.
- Scanner Glass: Gently clean the scanner glass with a soft, lint-free cloth moistened with glass cleaner. Ensure no residue remains.
- Interior: Periodically open the front cover and gently remove any paper dust or toner residue with a dry, lint-free cloth. Avoid touching the drum unit.
5. Troubleshooting
This section addresses common issues you might encounter with your Ricoh M 320.
5.1 Common Issues and Solutions
- Printer Not Responding:
- Check if the printer is powered on and connected to the power outlet.
- Verify network connectivity (Ethernet cable or Wi-Fi signal).
- Restart the printer and your computer/mobile device.
- Ensure the correct printer driver is installed and selected.
- Paper Jams:
- Turn off the printer and unplug it.
- Open all covers and carefully remove any jammed paper, pulling in the direction of the paper path.
- Ensure paper is loaded correctly and not creased or damaged.
- Close all covers and restart the printer.
- Poor Print Quality:
- Check the toner cartridge level and replace if low.
- Ensure you are using genuine Ricoh toner cartridges.
- Clean the interior of the printer, especially around the drum unit (refer to maintenance section).
- Adjust print quality settings in your printer driver.
- Scanner Not Working:
- Ensure the printer is connected to the network and recognized by your computer/mobile device.
- Restart the scanning application and the printer.
- Verify that the scanner glass and ADF are clean.
- Wi-Fi Connection Issues:
- Ensure the Wi-Fi password is entered correctly.
- Check if the printer is within range of your Wi-Fi router.
- Restart your Wi-Fi router and the printer.
- Try connecting to the 2.4 GHz band if experiencing issues with 5 GHz, or vice-versa.
For more detailed troubleshooting, refer to the comprehensive user manual available on the Ricoh support website.
6. Specifications
| Feature | Specification |
|---|---|
| Model Name | M 320 (9P01749) |
| Functions | Print, Copy, Scan (3-in-1 Multifunction) |
| Print Technology | Laser |
| Print Output | Color (Note: Primarily a mono laser printer, color output refers to specific elements or capabilities) |
| Max Print Resolution (B&W) | 1200 x 1200 dpi |
| Max Print Resolution (Color) | 1200 x 1200 dpi |
| Max Print Speed (B&W) | 13 pages per minute |
| Max Print Speed (Color) | 4.5 pages per minute |
| First Page Out Time | 4.62 seconds |
| Duplex Printing | Automatic |
| Scanner Type | Automatic Document Feeder (ADF) |
| ADF Capacity | 35 sheets |
| Scanner Resolution | 1200 x 1200 dpi |
| Max Copies per Run | 35 |
| Connectivity | Ethernet, Wi-Fi (2.4 GHz / 5 GHz) |
| Mobile Printing Support | AirPrint, Mopria, Ricoh Smart Device Connector App |
| Compatible Operating Systems | Windows, Mac, Linux, iOS, Android |
| Max Paper Size | A4 |
| Input Sheet Capacity | 35 sheets |
| Output Sheet Capacity | 35 sheets |
| Display Type | 4-line LCD |
| Compatible Cartridge | Ricoh standard laser toner cartridges |
| Item Weight | 21 Kilograms |
7. Warranty and Support
7.1 Limited Warranty
The Ricoh M 320 Multifunction System comes with a limited warranty. Please refer to the warranty documentation included with your product or visit the official Ricoh website for detailed terms and conditions, including coverage period and service procedures. Keep your proof of purchase for warranty claims.
7.2 Customer Support
For technical assistance, product inquiries, or service requests, please contact Ricoh customer support.
- Online Support: Visit the official Ricoh support website for FAQs, driver downloads, and digital manuals.
- Telephone Support: Contact numbers for your region can be found on the Ricoh website.
When contacting support, please have your product model (M 320) and serial number ready.


