
Goobay 58531
Goobay 58531 Dual Monitor Mount User Manual
Brand: Goobay | Model: 58531
1. Introduction
Thank you for choosing the Goobay 58531 Dual Monitor Mount. This product is designed to enhance your workspace ergonomics by providing a flexible and stable mounting solution for two monitors. Featuring a high-quality gas lift mechanism, it allows for effortless adjustment of your screens, ensuring optimal viewing angles and comfort. This manual provides essential information for safe installation, operation, and maintenance of your monitor mount.

Image 1.1: The Goobay 58531 Dual Monitor Mount, showcasing its two arms and desk clamp.
2. Safety Information
Please read all instructions carefully before installation and use. Failure to follow these instructions may result in property damage, injury, or voiding of the warranty.
- Ensure the mounting surface (desk) is strong enough to support the combined weight of the mount and both monitors.
- Do not exceed the maximum load capacity of 9 kg (20 lbs) per arm.
- Verify that your monitors are compatible with VESA standards 75x75 mm or 100x100 mm.
- Perform installation with care, preferably with assistance, to prevent injury or damage.
- Keep children and pets away during installation.
- Do not attempt to modify the product.
3. Package Contents
Before beginning installation, please check that all components are present and undamaged. The package typically includes:
- Dual Monitor Arm Assembly with Gas Lift
- Desk Clamp Base
- Optional Grommet Mount Hardware (for through-hole installation)
- VESA Plates (pre-attached or separate)
- Monitor Mounting Screws (various sizes)
- Cable Management Clips/Covers
- Hex Keys (Allen wrenches) for assembly and adjustment
- Instruction Manual (this document)

Image 3.1: Overview of the monitor mount's key features, including weight capacity (9+9 KG), VESA compatibility, size range (17"-32"), and easy assembly.
4. Setup and Installation
The Goobay 58531 monitor mount offers two installation methods: desk clamp or grommet mount (through-hole). The recommended table top thickness for both methods is 10-83 mm.
4.1. Desk Clamp Installation
- Attach the desk clamp base to the main pole of the monitor arm assembly.
- Position the clamp on the edge of your desk. Ensure the desk surface is clean and free of obstructions.
- Tighten the clamp screw firmly until the mount is securely fastened to the desk. Do not overtighten.
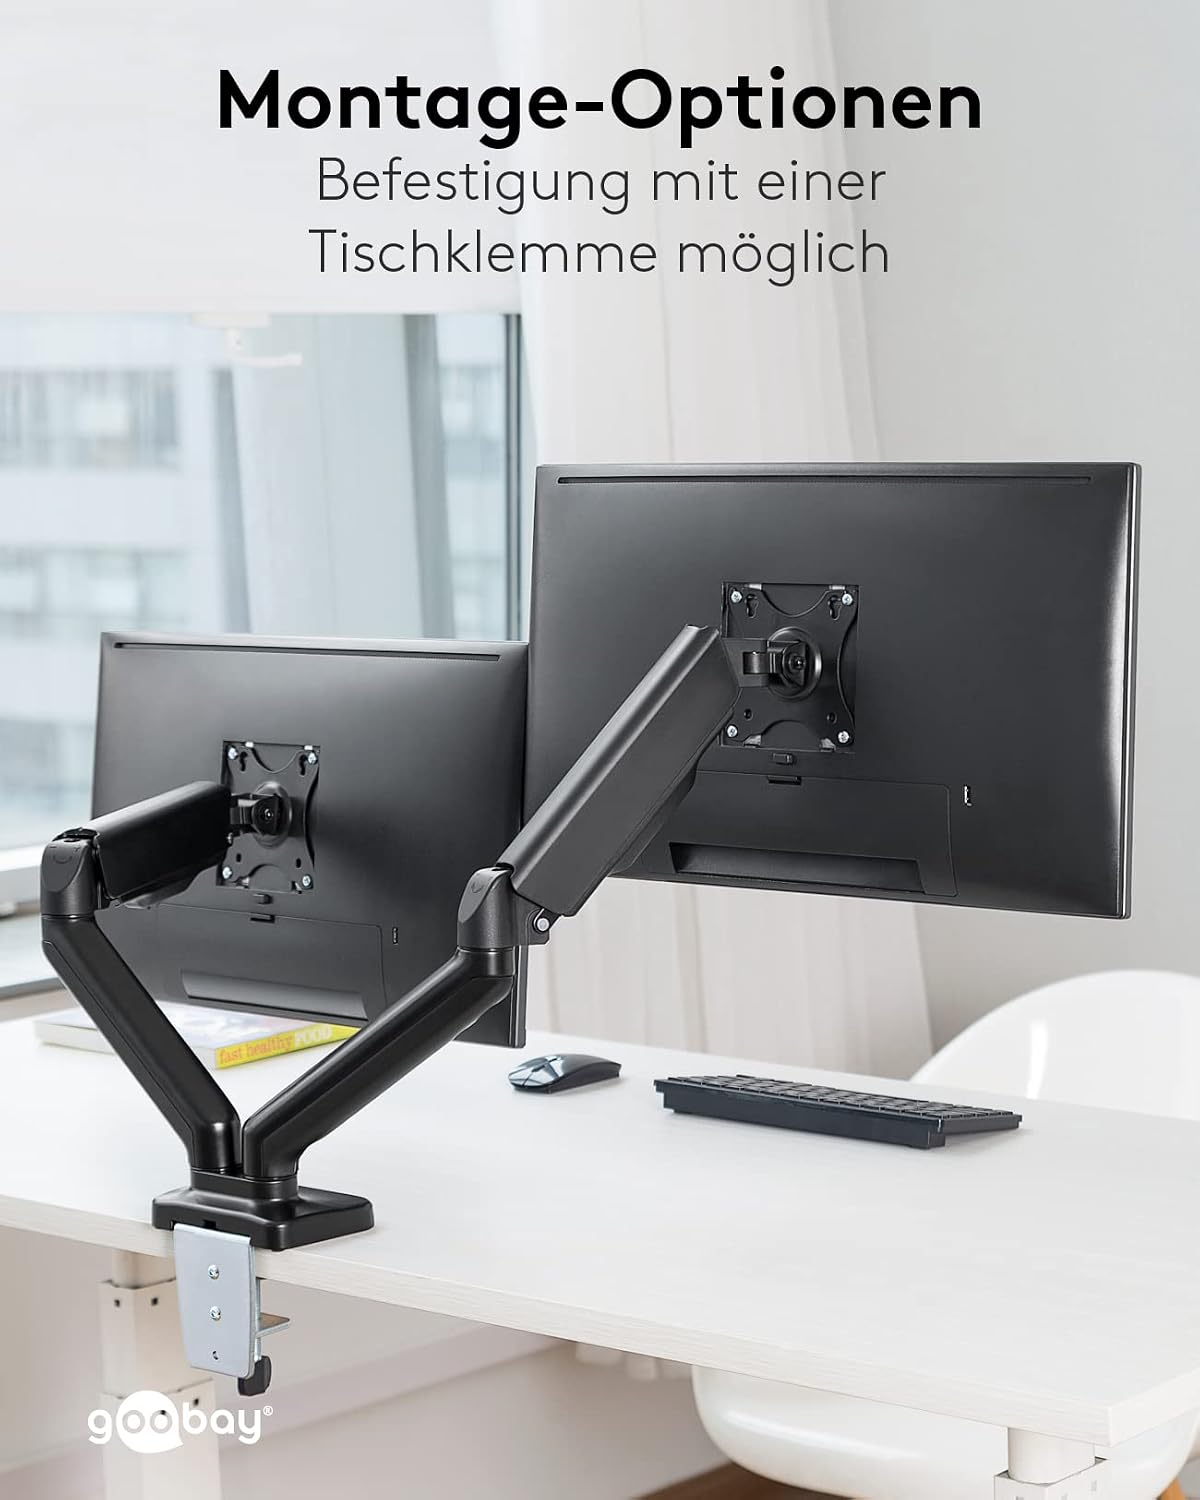
Image 4.1: The monitor mount securely attached to a desk using the clamp method, demonstrating a stable setup.
4.2. Attaching Monitors
- If not already attached, secure the VESA plates to the back of your monitors using the provided screws. Ensure the screws are appropriate for your monitor's VESA holes.
- Carefully lift each monitor and slide its VESA plate onto the corresponding arm's mounting head. The keyhole slots on the VESA plate allow for quick and easy attachment.
- Secure the monitor to the arm by tightening any retaining screws or clips on the VESA mounting head.

Image 4.2: A close-up view of a monitor attached to the VESA plate, highlighting the secure connection.
4.3. Cable Management
The monitor mount features an integrated cable management system to keep your workspace tidy and protect connection cables.
- Route your monitor power and video cables through the designated cable channels or clips along the arms.
- Close the cable covers to conceal and protect the cables.

Image 4.3: The integrated cable management system, showing how cables can be neatly routed along the monitor arm for a clean setup.
5. Operating and Adjusting the Monitor Mount
The gas lift mechanism allows for smooth and flexible adjustment of your monitors. Proper adjustment of the gas spring tension is crucial for optimal performance.
5.1. Adjusting Gas Spring Tension
If your monitor does not stay in position (sinks or floats up), you need to adjust the gas spring tension to match your monitor's weight. Use the provided hex key to turn the adjustment screw located on the arm joint:
- Turn clockwise (towards '-') to reduce tension for lighter monitors (if the arm floats up).
- Turn counter-clockwise (towards '+') to increase tension for heavier monitors (if the arm sinks).
Make small adjustments and test the arm's movement until the monitor stays in the desired position.

Image 5.1: A hand adjusting the gas spring tension screw on the monitor arm with a hex key, crucial for balancing monitor weight.
5.2. Monitor Positioning
Once the gas spring tension is set, you can freely adjust your monitors:
- Height Adjustment: Move the arms up or down along the main pole.
- Tilt: Tilt the monitor screen up or down (tilt range: +70° to -45°).
- Swivel: Swivel the monitor screen left or right (swivel range: ±90°).
- Rotation: Rotate the monitor from landscape to portrait orientation (rotation range: 180°).

Image 5.2: Diagram illustrating the various adjustable dimensions of the monitor mount, including height, tilt, swivel, and rotation ranges.
6. Maintenance
Regular maintenance will ensure the longevity and optimal performance of your Goobay monitor mount.
- Cleaning: Wipe the mount with a soft, damp cloth. Avoid abrasive cleaners or solvents that could damage the finish.
- Check Connections: Periodically check all screws and connections to ensure they remain tight and secure. Retighten if necessary.
- Gas Spring: The gas spring is designed for long-term use and generally requires no maintenance. If you notice a significant change in performance, re-adjust the tension as described in Section 5.1.
7. Troubleshooting
If you encounter issues with your monitor mount, refer to the following common problems and solutions:
- Monitor Sinks or Floats: This indicates incorrect gas spring tension. Refer to Section 5.1 to adjust the tension using the hex key. Increase tension for heavier monitors, decrease for lighter ones.
- Monitor Wobbles: Ensure the desk clamp or grommet mount is securely tightened to the desk. Check that the VESA plate screws attaching the monitor to the arm are tight.
- Difficulty Adjusting Arm: If the arm is stiff, ensure the gas spring tension is not set too high for your monitor's weight. If it's too loose, it might be bottoming out. Adjust the gas spring tension.
- Monitor Not Fitting: Verify that your monitor's screen size is within the recommended range (17-32 inches) and that its weight does not exceed 9 kg (20 lbs) per arm. Also, confirm VESA compatibility (75x75 mm or 100x100 mm).
8. Technical Specifications
| Feature | Specification |
|---|---|
| Model Number | 58531 |
| Screen Size Compatibility | 17 - 32 inches (43 - 81 cm) |
| Max. Load Capacity per Arm | 9 kg (20 lbs) |
| VESA Compatibility | 75 x 75 mm, 100 x 100 mm |
| Tilt Range | +70° to -45° |
| Swivel Range | ±90° (180° total) |
| Rotation Range | 180° |
| Mounting Options | Desk Clamp or Grommet Mount |
| Recommended Table Top Thickness | 10 - 83 mm |
| Material | Steel (powder-coated) |
| Color | Black |
| Product Dimensions (L x W x H) | 2.56 x 4.61 x 19.61 inches (approx.) |
| Item Weight | 10.06 pounds (approx.) |

Image 8.1: Detailed technical drawing of the monitor mount, providing precise dimensions and specifications for installation and compatibility.
9. Warranty and Support
For warranty information and customer support, please refer to the documentation provided with your purchase or contact your retailer or the manufacturer directly. Keep your proof of purchase for any warranty claims.
Related documents58531


Ask a question about this manual
Ask about setup, troubleshooting, compatibility, parts, safety, or missing instructions. Manuals+ will review the question and use this page’s manual context to help answer it.