
1. Introduction
This manual provides essential information for the proper installation, operation, and maintenance of your new JAVIK Fuel Gauge. Please read these instructions carefully before proceeding with installation or use to ensure optimal performance and longevity of the product.
2. Product Overview
The JAVIK Fuel Gauge is a direct replacement part designed to accurately measure and display the fuel level in your Suzuki ATV. It features an exact gauge structure and a float designed for accurate movement. The unit includes an upgraded anti-aging and anti-corrosion seal to ensure leak-proof performance and durability.

Image 2.1: JAVIK Fuel Gauge Assembly. This image shows the complete fuel gauge unit, including the display dial, float mechanism, and mounting plate.

Image 2.2: Upgraded Anti-Aging and Anti-Corrosion Seal. This close-up highlights the robust seal designed to prevent leaks and ensure product longevity.
3. Compatibility
This fuel gauge is specifically designed for the following Suzuki ATV models:
- Suzuki LTF500F QuadRunner 500 4x4: 1998, 1999, 2000, 2001, 2002
OEM Part Numbers:
- Original Equipment Manufacturer (OEM) #: 44580-09F01, 44580-09FA1
- Replacement for OEM #: 44580-09F00, 44580-09FA0

Image 3.1: Fuel Gauge Installed on a Compatible Suzuki ATV. This image demonstrates the fuel gauge mounted on a Suzuki QuadRunner 500, showing its intended application.
4. Package Contents
Upon opening the package, verify that all components are present and undamaged:
- 1 x Fuel Gauge Assembly
- 1 x Fuel Cap (Mounting Plate)

Image 4.1: Package Contents. This image displays the fuel gauge assembly and the separate fuel cap/mounting plate included in the package.
5. Setup and Installation
Installation of the JAVIK Fuel Gauge is designed to be straightforward. However, if you are unsure about any steps, it is recommended to consult a qualified mechanic.
5.1 Safety Precautions
- Ensure the ATV engine is off and cool before beginning installation.
- Disconnect the battery to prevent electrical shorts.
- Work in a well-ventilated area, as fuel vapors can be hazardous.
- Wear appropriate personal protective equipment, such as gloves and eye protection.
- Ensure the fuel tank is as empty as possible to minimize spills.
5.2 Installation Steps
- Remove Existing Fuel Gauge: Carefully remove the old fuel gauge from the fuel tank. This typically involves unscrewing a few bolts or rotating the assembly counter-clockwise. Be prepared for potential fuel spills.
- Clean Mounting Area: Clean any debris or old gasket material from the fuel tank's mounting surface to ensure a proper seal.
- Install New Gasket: Place the new gasket (if supplied separately, otherwise it may be integrated) onto the new fuel gauge assembly.
- Insert Fuel Gauge: Carefully insert the new JAVIK Fuel Gauge assembly into the fuel tank opening. Ensure the float mechanism moves freely and does not snag on internal tank components.
- Secure Fuel Cap/Mounting Plate: Align the fuel cap/mounting plate with the holes on the fuel tank and secure it using the appropriate fasteners (not included, reuse original hardware or acquire new). Tighten evenly to ensure a leak-proof seal.
- Reconnect Battery: Once the fuel gauge is securely installed, reconnect the ATV's battery.
- Check for Leaks: Add a small amount of fuel to the tank and visually inspect for any leaks around the newly installed fuel gauge.

Image 5.1: Fuel Gauge Components. This image breaks down the key parts of the fuel gauge: the clear display dial, the black float, the fuel cap (mounting plate), and the white holder for the float mechanism. The white holder ensures correct display when horizontal.
6. Operating Instructions
The JAVIK Fuel Gauge operates automatically once installed. The float inside the fuel tank rises and falls with the fuel level, which in turn moves the needle on the display dial.
- Reading the Gauge: The display dial is marked with 'E' for Empty, '1/2' for Half, and 'F' for Full. The needle will indicate the current fuel level.
- Accuracy: The exact gauge structure and accurately moving float ensure precise fuel level readings.
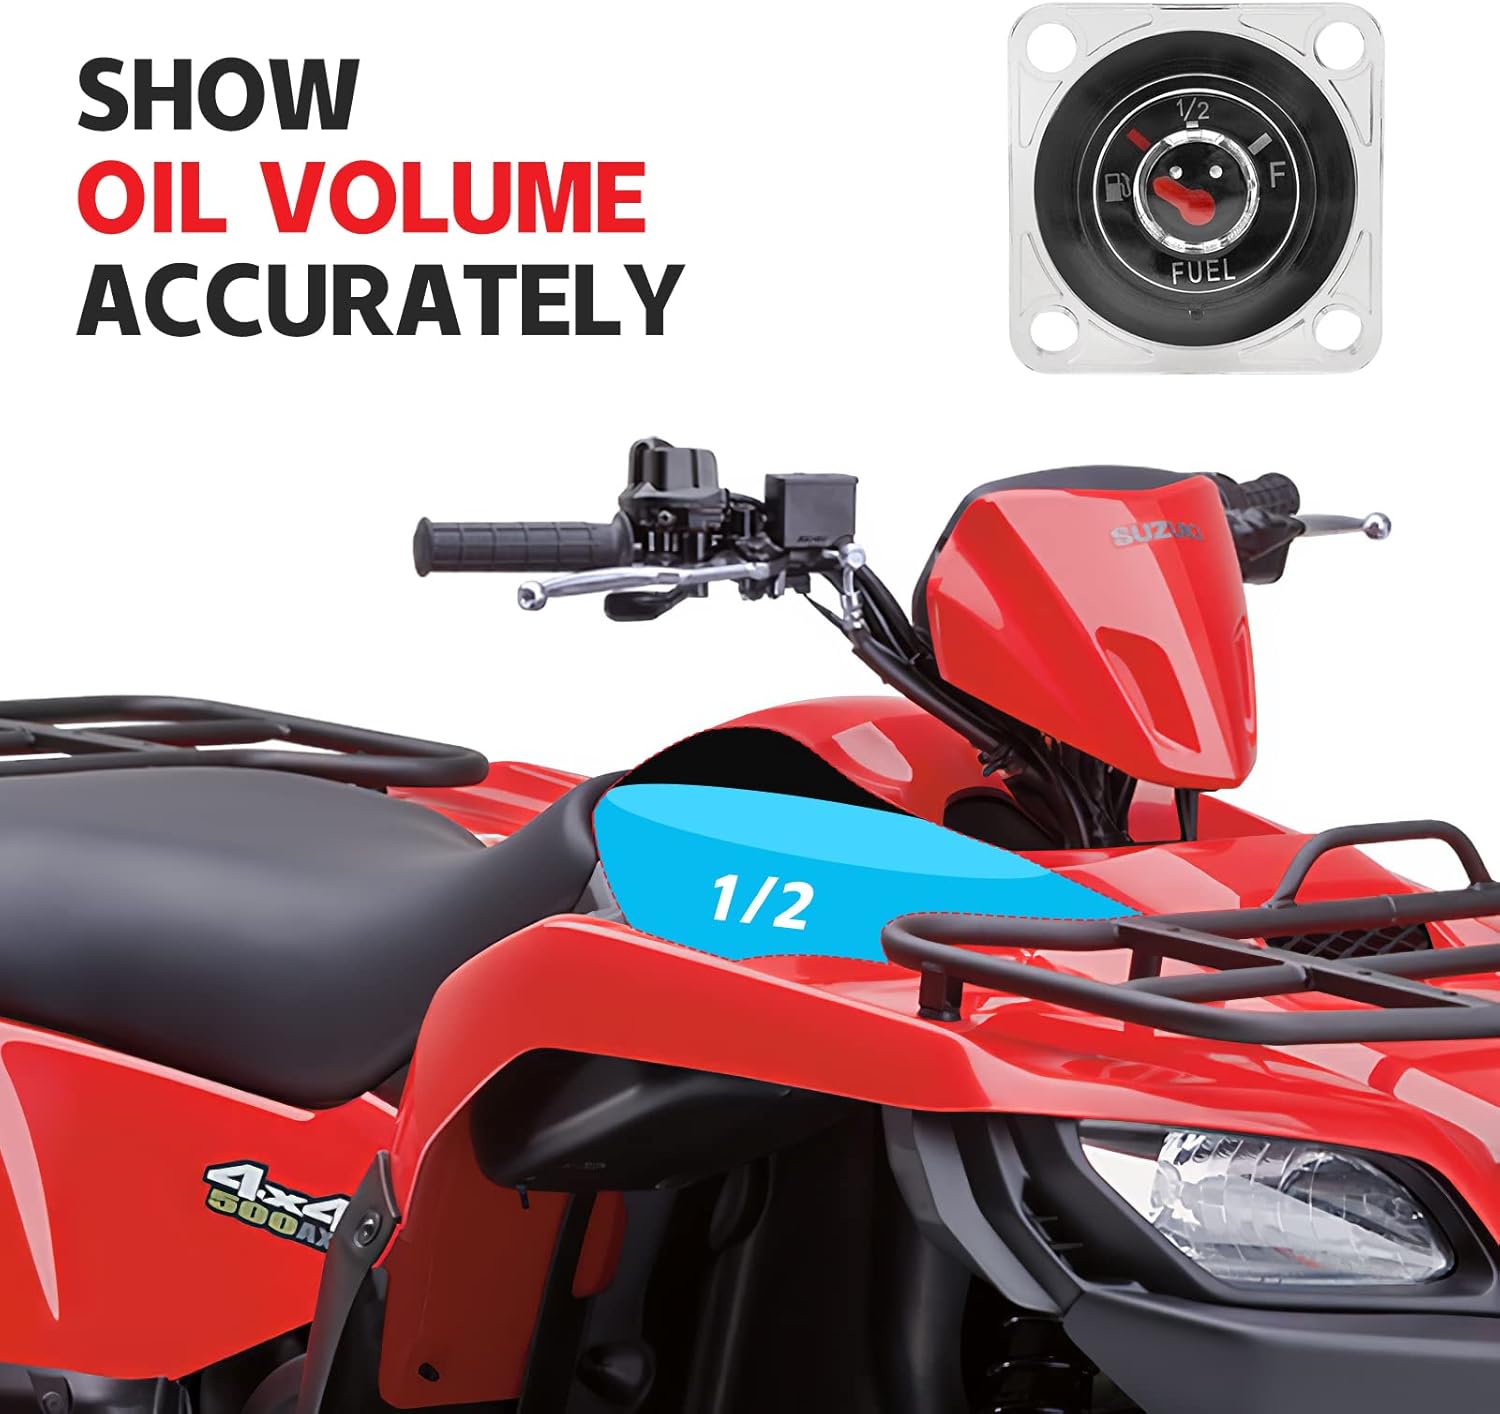
Image 6.1: Accurate Fuel Volume Display. This image illustrates the fuel gauge dial indicating the fuel level, demonstrating its accuracy in showing the remaining fuel volume.
7. Maintenance
The JAVIK Fuel Gauge is designed for durability and requires minimal maintenance.
- Regular Inspection: Periodically check the fuel gauge for any signs of damage, cracks, or leaks around the mounting area.
- Cleaning: Clean the exterior of the gauge with a soft, damp cloth. Avoid using harsh chemicals or abrasive cleaners that could damage the plastic or markings.
- Seal Integrity: The upgraded anti-aging and anti-corrosion seal is designed for long-term performance. However, if any signs of fuel leakage are observed, inspect the seal and mounting for proper fitment.
8. Troubleshooting
| Problem | Possible Cause | Solution |
|---|---|---|
| Gauge reads inaccurately or is stuck. |
|
|
| Fuel leakage around the gauge. |
|
|
| Gauge display is fogged or cloudy. |
|
|
9. Specifications
| Feature | Detail |
|---|---|
| Brand | JAVIK |
| Material | Plastic |
| Item Weight | 0.11 Kilograms |
| Included Components | 1 PCS Fuel Gauge Assembly |
| OEM Part Numbers | 44580-09F01, 44580-09FA1 (Replaces 44580-09F00, 44580-09FA0) |
| Compatibility | Suzuki LTF500F QuadRunner 500 4x4 (1998-2002) |
10. Warranty and Support
Warranty Description: This JAVIK product comes with a 12-month warranty from the date of purchase, covering manufacturing defects.
Customer Service: JAVIK offers 24-hour customer service. If you encounter any problems or have questions regarding your fuel gauge, please feel free to message us.
For further assistance, please visit the JAVIK Store on Amazon.