
Strpump Audi A3 8P (2003-2012), S3 (2006-2012), RS3 Sportback (2011)
Strpump 9-inch Android 10 Car Stereo User Manual
Model: For Audi A3 8P (2003-2012), S3 (2006-2012), RS3 Sportback (2011)
1. Introduction
Welcome to your new Strpump Android 10 Car Stereo. This manual provides comprehensive instructions for the installation, operation, and maintenance of your device to ensure optimal performance and user experience. Please read this manual thoroughly before using the product.

Image: The Strpump 9-inch Android 10 Car Stereo main unit, featuring a large display and control buttons.
2. Safety Information
To ensure safe operation and prevent damage, observe the following safety guidelines:
- Professional installation is highly recommended to avoid damage to the vehicle's electrical system or the stereo unit.
- Do not attempt to operate the device in a way that distracts you from driving. Always prioritize road safety.
- Ensure all wiring connections are secure and properly insulated to prevent short circuits.
- Avoid exposing the unit to extreme temperatures, direct sunlight for prolonged periods, or excessive moisture.
- Use only accessories and parts specified by the manufacturer.
3. Package Contents
Before proceeding with installation, please verify that all items listed below are included in your package:

Image: A visual representation of the various components included in the package, such as the main unit, cables, and antennas.
- Main Head Unit (Machine)
- GPS Antenna
- Radio Fascia (Specific to your car model)
- USB Cables (x2)
- CAM In Cable
- Installation Tool
- 4G SIM RCA Cable
- 4G Antenna
- Microphone
- Power Harness (Specific to your car model)
- Can Bus (Optional, some models may not require it)
4. Installation
This unit is designed for a plug-and-play installation in compatible Audi A3 8P, S3, and RS3 Sportback models. However, professional installation is recommended.
4.1. Pre-Installation Checks
- Confirm vehicle compatibility (Audi A3 8P 2003-2012, S3 2006-2012, RS3 Sportback 2011).
- Disconnect the vehicle's battery before starting installation.
- Ensure you have all necessary tools and components.
4.2. Removing the Factory Radio
Carefully remove the existing factory radio and trim panels. Refer to your vehicle's service manual for specific instructions on panel removal.

Image: A side-by-side comparison showing the original Audi A3 dashboard setup versus the dashboard with the new Strpump car stereo installed.
4.3. Wiring Connections
- Connect the provided power harness to the vehicle's wiring. The harness is designed for plug-and-play, minimizing harm to the original car harness.
- If your vehicle has a factory amplifier or OEM camera, a different harness set may be required. Contact the seller for assistance.
- Connect the GPS antenna, 4G antenna, and external microphone to their respective ports on the head unit.
- Connect the CAM In cable for a rearview camera, if applicable.
- Route USB cables to a convenient location for access.
4.4. Mounting the Head Unit
Secure the Strpump head unit into the dashboard opening using the provided radio fascia and mounting brackets. Ensure a snug fit and proper alignment.
5. Setup
5.1. Initial Power On
After installation, reconnect the vehicle's battery. The unit should power on automatically or by pressing the power button. Follow any on-screen prompts for initial setup.
5.2. Network Connection (Wi-Fi & 4G)

Image: A graphic depicting the various 4G working bands supported by the device, along with a WiFi symbol.
- Wi-Fi: Navigate to Settings > Network & Internet > Wi-Fi. Select your desired network and enter the password.
- 4G: Insert a compatible 4G SIM card into the designated slot (if applicable). The unit supports various 4G working bands for mobile data connectivity.
5.3. GPS Configuration
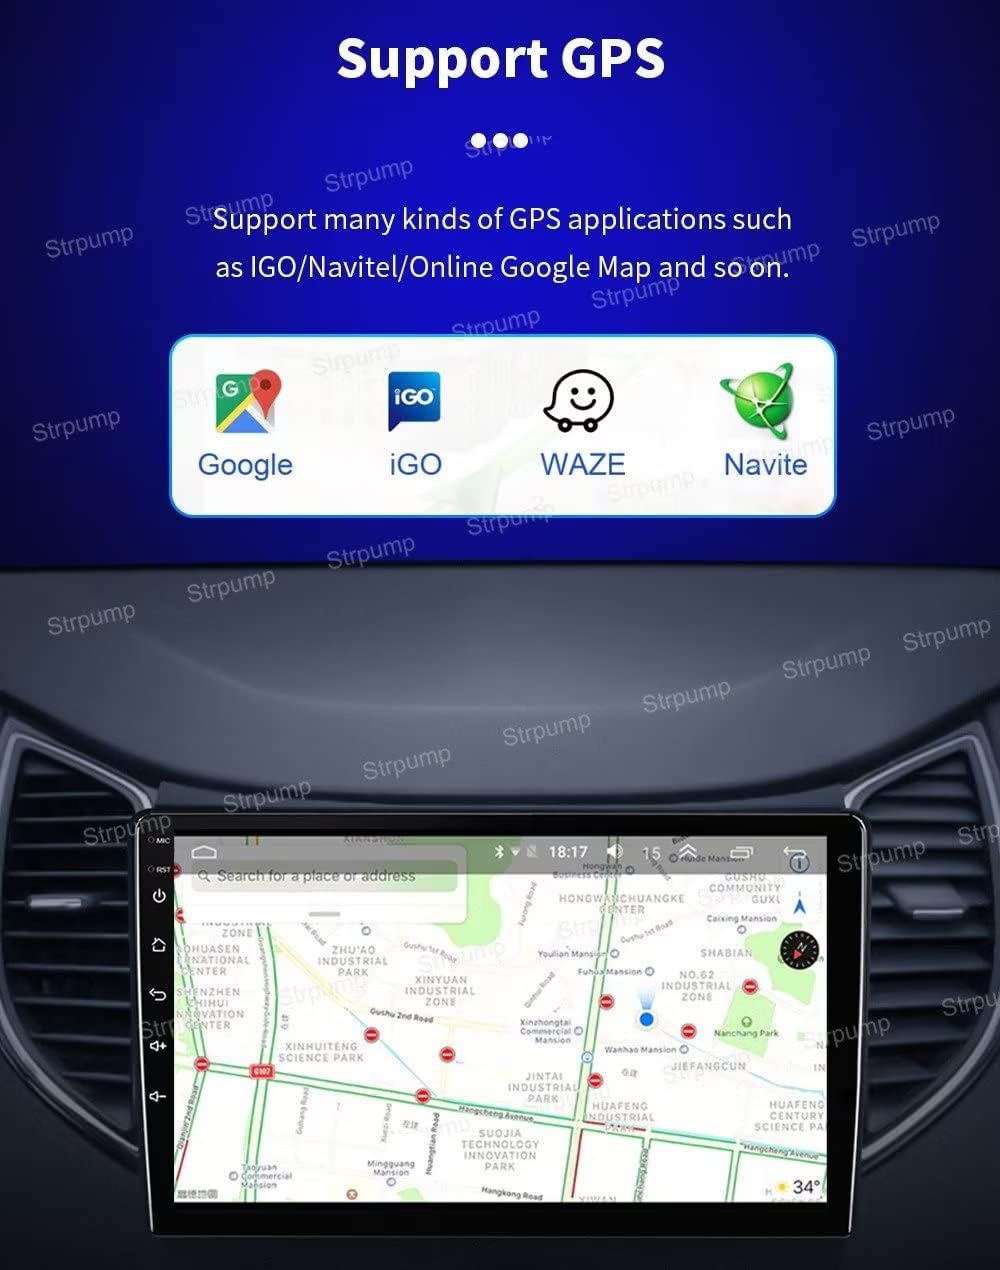
Image: The car stereo display showing icons for Google Maps, iGO, Waze, and Navitel, indicating support for multiple GPS applications.
The unit supports various GPS applications such as Google Maps, iGO, Waze, and Navitel. Ensure the GPS antenna is properly installed and positioned for optimal signal reception. You can download and install your preferred navigation apps from the Google Play Store.
6. Operating Instructions
6.1. User Interface Overview

Image: A collage of screenshots demonstrating various aspects of the car stereo's user interface, including the main screen, menu, navigation, and media playback.
The system runs on Android 10.0, providing a familiar and intuitive smartphone-like experience. Navigate through apps and settings using the touchscreen display.
6.2. Carplay & Android Auto
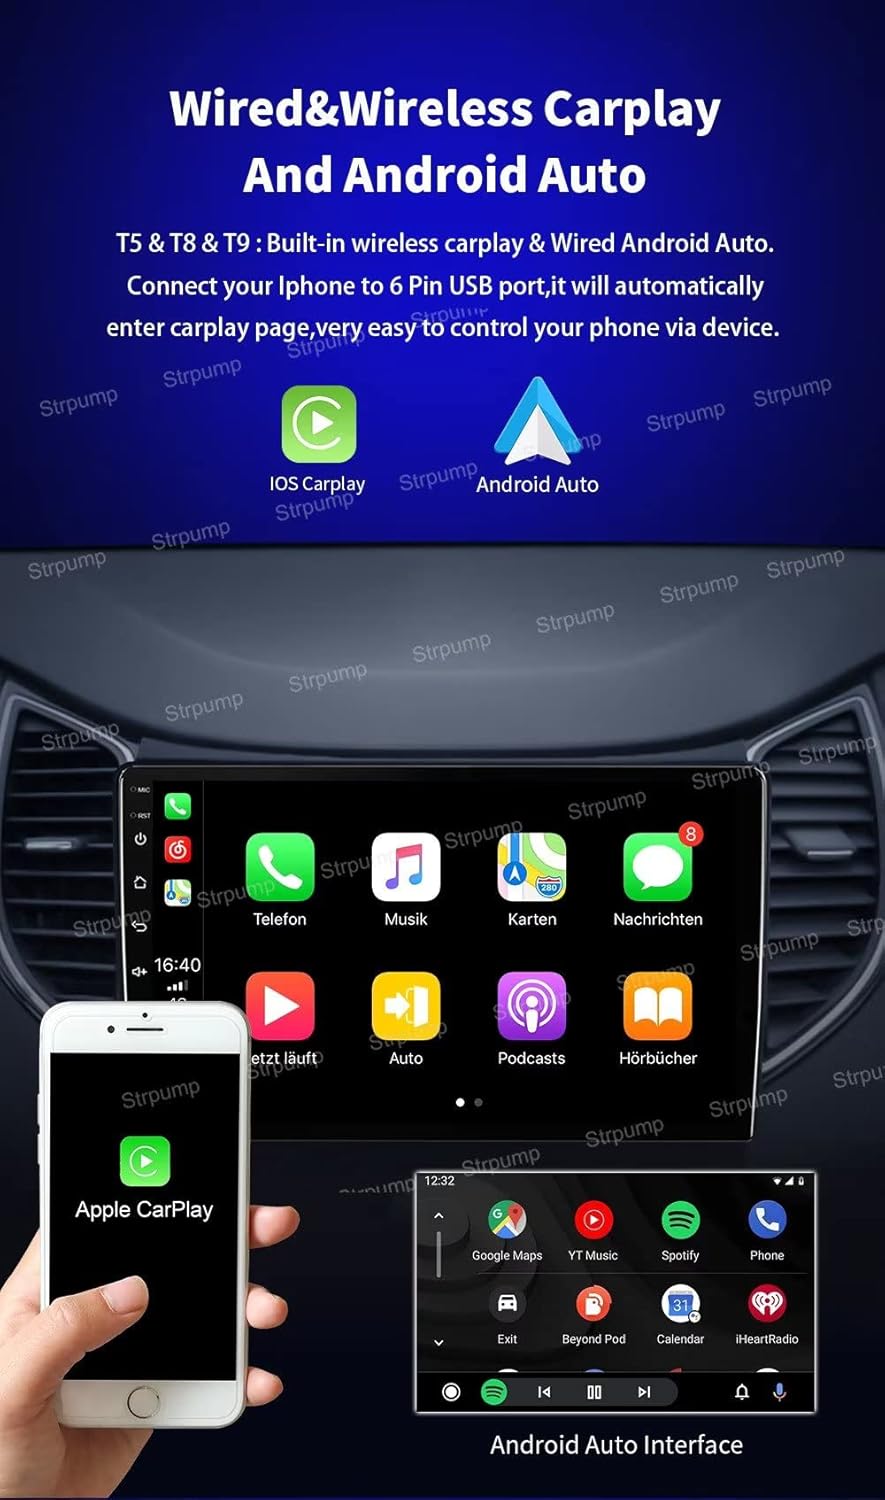
Image: Displays of both Apple Carplay and Android Auto interfaces running on the car stereo, showing smartphone integration.
The unit supports both wired and wireless Apple Carplay and Android Auto. Connect your smartphone via a USB port (6-pin) for wired connection, or enable wireless connectivity through Bluetooth and Wi-Fi settings. This allows seamless integration of your phone's features, including navigation, music, and messaging.
6.3. Bluetooth Functions
- Hands-free Calling: Pair your phone via Bluetooth to make and receive calls directly from the stereo. An external microphone is included for clear audio.
- A2DP Music Streaming: Stream audio from your paired smartphone to the car stereo.
6.4. Audio Settings (DSP)
The built-in 32-band DSP audio processor allows for precise sound customization. Access the EQ settings to adjust frequencies and optimize audio output. The unit features a 4 x 60W amplifier output and supports subwoofer output for enhanced bass.
6.5. Radio & Multimedia
- Radio: Tune into FM/AM radio stations.
- Multimedia Playback: Enjoy online video, TV, movies, music, and YouTube. The unit supports lossless music formats and 3D games.
- App Support: Access the Google Play Store to download and install various applications, including social media (Twitter, Facebook, Gtalk, Gmail).
6.6. Rear View Camera

Image: The car stereo screen displaying a live feed from a rear view camera, complete with parking assistance lines.
When a rearview camera is connected, the unit will automatically switch to the reverse display when the vehicle is put into reverse gear. It supports both normal CVBS AV cameras and HD AHD cameras.
7. Troubleshooting
If you encounter issues with your Strpump car stereo, refer to the following common problems and solutions:
- No Power: Check all power connections, ensure the vehicle's battery is connected, and verify fuses.
- No Sound: Check speaker connections, volume levels, and DSP settings. Ensure the mute function is not active.
- GPS Not Working: Ensure the GPS antenna is properly connected and has a clear view of the sky. Verify GPS settings in the system.
- Bluetooth Connection Issues: Ensure Bluetooth is enabled on both the stereo and your phone. Try unpairing and re-pairing the devices.
- Touchscreen Unresponsive: Try restarting the unit. If the issue persists, a factory reset may be necessary (note: this will erase all user data).
- Unit Freezes/Crashes: Restart the unit. Ensure all apps are updated and close unnecessary background applications.
For persistent issues, please contact Strpump customer support.
8. Specifications

Image: A detailed view of the car stereo's display, emphasizing its 1280x720P resolution and 2.5D+IPS screen technology for enhanced clarity.
| Operating System | Android 10.0 |
| CPU | UIS8581A Octa-Core CortexTM A55 1.6GHZ |
| RAM | 2GB |
| ROM (Storage) | 32GB |
| Display Size | 9 Inches |
| Screen Resolution | 1280*720 HD (2.5D+IPS QLED) |
| Connectivity | 4G, Wi-Fi, Bluetooth |
| Audio Output | 4 x 60W Amplifier, 32-Band DSP EQ, Subwoofer Output |
| Special Features | Carplay, Android Auto, DSP, GPS Navigation, Rear Camera Support |
| Vehicle Service Type | Car (Audi A3 8P, S3, RS3 Sportback) |
| Warranty | 1 Year |
9. Warranty and Support
Your Strpump car stereo comes with a 1-Year Warranty from the date of purchase, covering manufacturing defects. Please retain your proof of purchase for warranty claims.
For technical support, troubleshooting assistance, or warranty inquiries, please contact Strpump customer service through the retailer where you purchased the product or visit the official Strpump website for contact information.
Ask a question about this manual
Ask about setup, troubleshooting, compatibility, parts, safety, or missing instructions. Manuals+ will review the question and use this page’s manual context to help answer it.