1. Introduction
The MICROWARE EZCAP241 MP3 Digital Music Digitizer is a standalone device designed to convert analog audio signals into digital MP3 files. This device allows you to record audio from various sources, such as vinyl record players, cassette players, CD players, DVD players, game consoles, and TV boxes, directly onto a USB flash drive or SD card without the need for a computer. It also features a playback function, enabling you to review recorded audio files directly on the device.
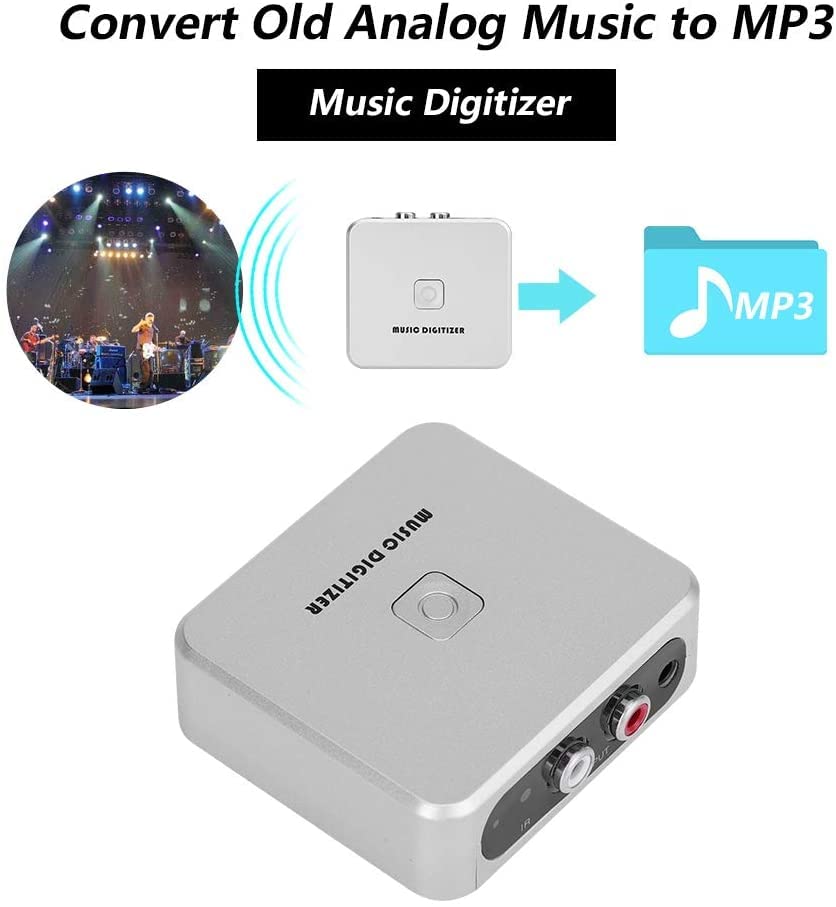
Image 1.1: The EZCAP241 Music Digitizer illustrating its function of converting analog music to MP3 format.
2. Product Overview
The EZCAP241 features a compact design with clearly labeled ports and controls for ease of use.
2.1 Device Components

Image 2.1: Detailed view of the EZCAP241 device, highlighting its various ports and controls.
- POWER (Mini USB): Connects to a 5V DC power supply using a USB mini 5-pin cable.
- SD Card Slot: Insert an SD card for saving recorded audio files.
- USB OTG Port: Connect a USB flash drive for saving recorded audio files.
- LINE OUT (3.5mm): Connect to headphones or speakers to monitor audio during recording or for playback.
- RECORD Button: Press to start recording; press again to stop recording.
- RCA INPUT (Red/White): Connects to audio sources (e.g., LP player, DVD player, set-top box) using an RCA cable.
- IR Receiver: Receives signals from the remote control.
- LED Indicator: Displays device status (Green LED for manual mode, standby, quick flash for recording, slow flash for playback).
- 3.5mm Audio IN: Connects to audio sources (e.g., phones, cassette players) using a 3.5mm audio cable.

Image 2.2: Close-up view of the EZCAP241's input and output ports with their respective labels.
3. Setup
Follow these steps to set up your EZCAP241 for recording:
- Power Connection: Connect the EZCAP241 to a 5V DC power source using the provided USB mini 5-pin cable. The power port is labeled 'POWER'.
- Storage Device: Insert a USB flash drive into the 'USB OTG' port or an SD card into the 'SD card slot'. Ensure the storage device has sufficient free space for your recordings.
- Audio Source Connection:
- For devices with RCA output (e.g., LP players, DVD players), connect them to the 'RCA INPUT' ports (red for right, white for left) on the EZCAP241 using an RCA cable.
- For devices with 3.5mm audio output (e.g., phones, cassette players), connect them to the '3.5mm Audio IN' port on the EZCAP241 using a 3.5mm audio cable.
- Monitoring (Optional): Connect headphones or speakers to the 'LINE OUT' (3.5mm) port to monitor the audio during recording or playback.

Image 3.1: Connection diagram illustrating how to connect the EZCAP241 to different audio sources and storage devices.
4. Operating Instructions
4.1 Recording Audio
- Ensure the EZCAP241 is properly set up with power, a storage device, and an audio source as described in Section 3.
- Start playing the audio from your source device (e.g., cassette player, record player).
- Press the 'RECORD' button on the EZCAP241. The LED indicator will typically flash quickly to indicate recording is in progress.
- To stop recording, press the 'RECORD' button again. The LED indicator will change to reflect standby or playback mode.

Image 4.1: The 'RECORD' button on the EZCAP241, used to initiate and terminate audio recording.
4.2 Playback Audio
The EZCAP241 allows you to play back recorded MP3 files directly from the connected USB flash drive or SD card.
- Ensure headphones or speakers are connected to the 'LINE OUT' port.
- Use the remote control (if included) to navigate and select files for playback. Refer to the remote control's specific instructions for navigation.
- The LED indicator will typically flash slowly during playback.

Image 4.2: The EZCAP241 connected to earphones, demonstrating its playback capability.
5. Maintenance
- Keep the device clean by wiping it with a soft, dry cloth. Avoid using liquid cleaners or solvents.
- Store the device in a cool, dry place away from direct sunlight and extreme temperatures.
- Avoid dropping the device or subjecting it to strong impacts.
- Ensure all cables are connected securely but do not force them into ports.
6. Troubleshooting
| Problem | Possible Cause | Solution |
|---|---|---|
| Device does not power on. | No power supply or faulty cable. | Ensure the 5V DC power supply is connected correctly and functioning. Try a different USB cable or power adapter. |
| No audio recorded. | Incorrect audio input connection, audio source not playing, or storage device issue. | Verify audio input cables are securely connected to the correct ports (RCA or 3.5mm). Ensure the audio source is playing. Check if the USB flash drive or SD card is properly inserted and has free space. |
| Poor recording quality. | Low input volume from source, interference, or dirty connections. | Increase the volume on your audio source device. Ensure cables are not near sources of electrical interference. Clean audio connectors if necessary. |
| Cannot play back recorded files. | No headphones/speakers connected, corrupted files, or incorrect remote operation. | Connect headphones or speakers to the 'LINE OUT' port. Ensure files are valid MP3 format. Refer to remote control instructions for proper playback navigation. |
7. Specifications
| Feature | Detail |
|---|---|
| Model | EZCAP-241 |
| Brand | MICROWARE |
| Interface Type | RCA, USB |
| Input Audio | RCA L/R, 3.5mm Audio In |
| Output Audio | 3.5mm Line Out |
| Storage Media | USB Flash Drive, SD Card (FAT32 format recommended) |
| Recording Format | MP3 |
| Power Supply | 5V DC (via Mini USB) |
| Item Weight | 140 g |
| Package Dimensions | 15 x 11.3 x 4.2 cm |
| Country of Origin | China |
8. Warranty and Support
For warranty information and technical support, please refer to the documentation provided at the time of purchase or contact MICROWARE customer service directly. Keep your proof of purchase for warranty claims.