1. Introduction
The XTUGA PR260 is a UHF wireless XLR transmitter and receiver system designed to convert any dynamic microphone into a wireless microphone. It offers reliable performance with 99 selectable channels, minimizing interference from other electronic devices. This system is ideal for various applications including dynamic microphones, audio mixers, PA systems, and DSLR cameras, providing freedom of movement and clear audio transmission.
Key features include an ultra-long working distance of up to 164ft, 5-8 hours of battery life, simple start-up with smart auto-searching for the cleanest frequency, and a clear LED display for real-time status monitoring.
2. What's in the Box
- XTUGA PR260 UHF Wireless XLR Transmitter
- XTUGA PR260 UHF Wireless XLR Receiver
- USB Charging Cable
- User Manual (this document)
- Rechargeable Battery (integrated)
3. Product Features
- UHF Band Technology: Operates in the UHF band (520-560MHz) with 99 selectable channels, offering superior interference resistance compared to 2.4GHz and 5.8GHz systems.
- Extended Working Range: Provides a wireless range of up to 164 feet (50 meters) for unrestricted movement.
- Long Battery Life: Built-in rechargeable lithium batteries offer 5-8 hours of continuous operation for the transmitter and receiver.
- Smart Frequency Pairing: Supports both manual frequency selection and automatic IR pairing for quick and easy setup.
- High-Fidelity Audio: Features zero latency and 24-bit audio resolution with a 48KHz sampling frequency for clear and accurate sound transmission.
- Versatile Connectivity: Compatible with dynamic microphones, audio mixers, PA systems, and DSLR cameras.
- Intelligent LED Display: Real-time display shows battery level, frequency, and working status.
4. Setup Instructions
4.1. Component Identification
Familiarize yourself with the main components of the XTUGA PR260 system:

Image Description: An overhead view of the XTUGA PR260 receiver (left) and transmitter (right) with various parts numbered for identification. The receiver has a 1/4-inch jack, an antenna, an LED display, and control buttons. The transmitter has an XLR connector, an LED display, and control buttons.
4.2. Powering On and Initial Check
Long press the ON/OFF button on both the transmitter and receiver to power them on. The LED display will illuminate, showing battery level and current frequency.
4.3. Frequency Pairing
The PR260 supports both manual and automatic frequency pairing. Ensure both the transmitter and receiver are powered on and within 20cm of each other for successful pairing.
Manual Frequency Search:
- Press the SET button on the receiver to unlock the channel.
- Use the UP or DOWN buttons to switch the channel.
- Press the SET button again to lock the channel.
- Align the IR indicators of the transmitter and receiver (within 20cm). Long press the SET button on the transmitter. The screen will display "SEND".
- The frequency pairing is successful when the RF light on the receiver illuminates.
Automatic Frequency Search:
- Align the IR indicators of the transmitter and receiver (within 20cm). Long press the SET button on the receiver. The screen will display "SCAN". The device will automatically search for and pair the frequency.
- The frequency pairing is successful when the RF light on the receiver illuminates.

Image Description: A diagram illustrating the manual and automatic frequency pairing process for the XTUGA PR260. It shows the receiver and transmitter, highlighting the SET, UP, DOWN, and IR indicator buttons, and the display showing "SEND" or "SCAN" during pairing.
Video Description: This video demonstrates the boot-up process, manual FM pairing, and automatic FM pairing for the XTUGA PR260 wireless system. It shows how to power on the devices, switch frequencies, and align IR indicators for successful connection. It also shows connecting the receiver to a speaker and the transmitter to a dynamic microphone.
5. Operating Instructions
5.1. Connecting the Transmitter to a Microphone
Plug the XLR end of the PR260 transmitter directly into the XLR output of your dynamic microphone. Ensure a secure connection.

Image Description: A dynamic microphone with the XTUGA PR260 transmitter attached to its XLR output. The transmitter is compact and extends the microphone's length slightly.
5.2. Connecting the Receiver to Audio Equipment
Plug the 1/4-inch jack of the PR260 receiver into the input of your audio mixer, PA system, audio interface, or other compatible audio equipment. For DSLR cameras, an appropriate adapter (not included) may be required.
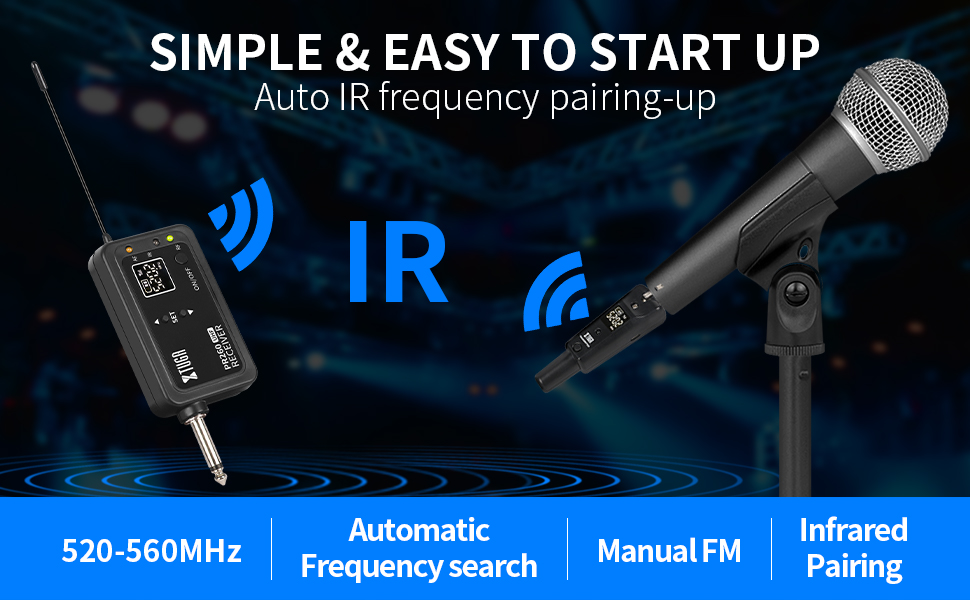
Image Description: A diagram showing the XTUGA PR260 wireless system connecting a dynamic microphone (via transmitter) to a receiver, which then connects to various audio devices such as an audio interface, audio mixer, speaker, KTV system, and home theater system.
5.3. Adjusting Settings
The transmitter and receiver feature an intelligent screen display that shows real-time working status, including battery level and frequency. Use the SET and arrow buttons to navigate and adjust settings as needed.

Image Description: A close-up of the XTUGA PR260 receiver and transmitter, highlighting their LED displays which show battery life and current frequency (e.g., 520.2 MHz). Indicator lights for AF, IR, and RF are also visible.
5.4. Multiple System Use
The UHF band with 99 channels allows for multiple PR260 systems to be used simultaneously without interference. Ensure each system is set to a different channel to avoid crosstalk.

Image Description: An illustration showing multiple XTUGA PR260 wireless receiver units connected to an audio mixer, with corresponding dynamic microphones (connected to transmitters) in use by performers. This demonstrates the capability of using 99 frequency points for multiple sets simultaneously.
6. Maintenance
- Charging: Use the provided USB charging cable to charge both the transmitter and receiver. A full charge typically takes 4.5 hours for the receiver and 5 hours for the transmitter. The battery indicator on the LED display will show charging status.
- Cleaning: Wipe the devices with a soft, dry cloth. Avoid using harsh chemicals or abrasive materials.
- Storage: Store the system in a cool, dry place away from direct sunlight and extreme temperatures when not in use.
- Battery Care: To prolong battery life, avoid fully discharging the units frequently. Charge them regularly, even if not in constant use.

Image Description: An image highlighting the "Long Battery Life" feature of the XTUGA PR260. It shows the receiver and transmitter, stating 4.5 hours receiver charging time and 5 hours transmitter charging time, with a visual representation of battery levels.
7. Troubleshooting
| Problem | Possible Cause | Solution |
|---|---|---|
| No sound or intermittent signal |
|
|
| Poor sound quality (e.g., low volume, hum) |
|
|
| Receiver jack feels loose or wobbly |
|
|
8. Specifications
- Model Name: PR260
- Brand: XTUGA
- Connectivity Technology: UHF
- Connector Type: XLR (Transmitter), 1/4-inch Jack (Receiver)
- Number of Channels: 99
- Working Range: Up to 164ft (50 meters)
- Audio Resolution: 24-bit / 48KHz
- Latency: Zero
- Power Source: Battery Powered (Rechargeable Lithium Battery)
- Battery Life: 5-8 hours (Transmitter/Receiver)
- Material: Plastic
- Item Weight: 7.5 ounces
- Package Dimensions: 8.62 x 5.08 x 1.77 inches
- Recommended Uses: Streaming, Karaoke, DJ, Church, Conference
9. Warranty and Support
Products with brand authentic logos are provided with a one-year free warranty period. For any quality complaints or other questions, the XTUGA after-sales team is available to assist you.
To contact customer service, please follow these procedures:
- Click on "Sold by XTUGA" on the product page.
- Then click on "ask a question" to leave a message.
The customer service team aims to reply to your inquiry within 24 hours.


