
JOYOUNG F-40T88-Plus
Contents
Joyoung F-40T88-Plus IH Rice Cooker User Manual
Model: F-40T88-Plus
1. Product Overview
The Joyoung F-40T88-Plus IH Rice Cooker is a versatile kitchen appliance designed for efficient and uniform cooking of various dishes, including rice, porridge, soup, and stew. It features advanced Induction Heating (IH) technology for precise temperature control and a special low-carb function for healthier rice preparation. With a 4-liter capacity, it is suitable for 3 to 6 people.
Key Features:
- 9 Cooking Functions: Includes modes for crystal rice, porridge, soup, stew, cake, and an enamel stew mode.
- Induction Heating (IH): Ensures uniform heating and minimal temperature difference for perfectly cooked results.
- Low Carb Function: Sugar-balance control for reduced starch levels in rice.
- Cast Iron Inner Pot: 1.6mm thick natural cast iron liner for enhanced heat storage and sweeter rice.
- Aroma Patent: 93 Celsius constant temperature aroma patent to release up to 3 times more rice sweetness.
- 24-Hour Timer/Preset Setting: Convenient for meal planning.
- 4L Capacity: Ideal for 3 to 6 servings of uncooked rice (8 cups).
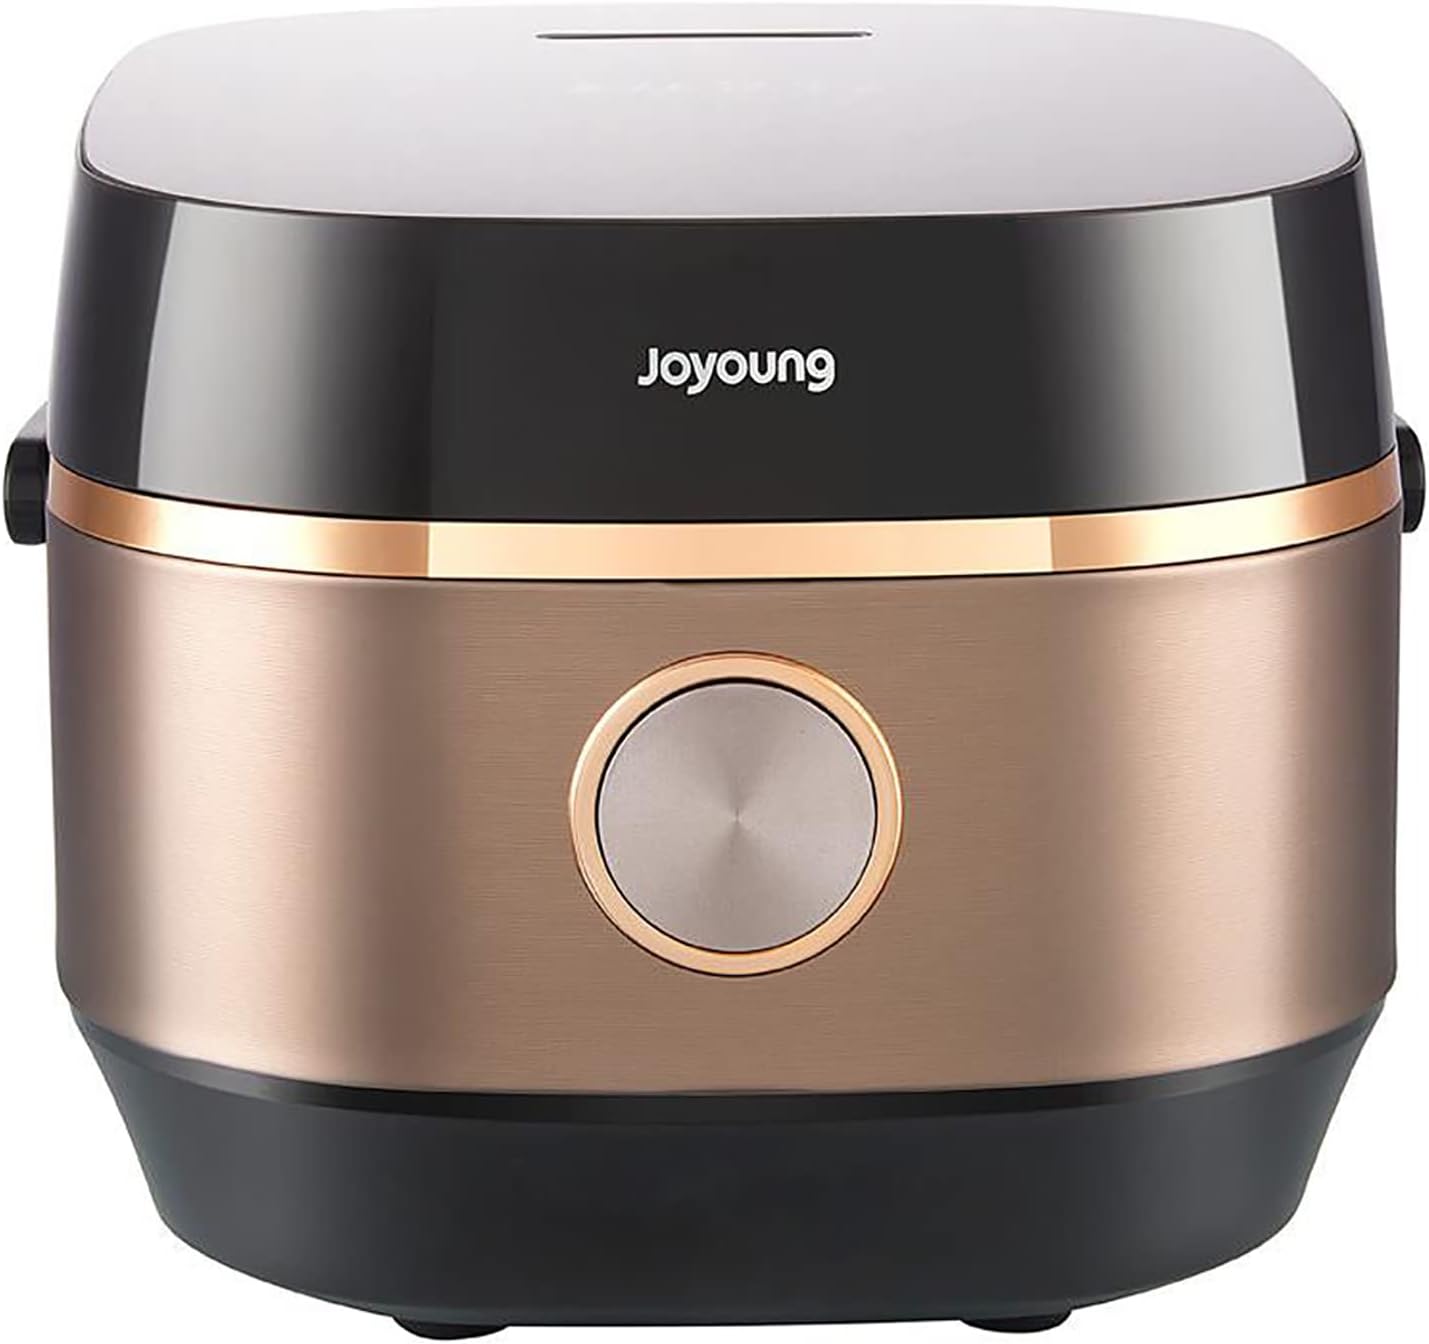
Figure 1.1: Front view of the Joyoung F-40T88-Plus IH Rice Cooker, showcasing its bronze and black design with a central control knob.
2. Components and Parts
Familiarize yourself with the main components of your Joyoung IH Rice Cooker.
- Main Unit: Houses the heating element, control panel, and electronic components.
- Inner Pot: Removable 4L cast iron pot for cooking.
- Steamer Basket: For steaming vegetables or other foods (if included, implied by description).
- Lid: Hinged lid with steam vent.
- Control Panel: LED touch panel for selecting functions and settings.
- Power Cord: Detachable power cord.

Figure 2.1: The Joyoung rice cooker with its 3.1 kg earthen stove iron kettle liner (inner pot) removed, highlighting the robust construction and smart appointment features.

Figure 2.2: The rice cooker with its lid open, revealing the interior heating plate and the removable inner pot. Adjacent images show examples of dishes that can be prepared: original cooking, nutritional soup, porridge, and cooking porridge.
3. Setup and First Use
- Unpacking: Carefully remove all packaging materials. Retain packaging for future storage or transport.
- Cleaning: Before first use, wash the inner pot, steamer basket, and any accessories with warm, soapy water. Rinse thoroughly and dry completely. Wipe the exterior of the main unit with a damp cloth. Do not immerse the main unit in water.
- Placement: Place the rice cooker on a stable, flat, heat-resistant surface, away from direct sunlight and heat sources. Ensure adequate ventilation around the unit.
- Power Connection: Connect the power cord to the rice cooker and then plug it into a grounded electrical outlet. Ensure the voltage matches your local power supply.
- Initial Burn-in (Optional): Some users prefer to run a cycle with just water to eliminate any manufacturing odors. Fill the inner pot with water up to the '2 cups' mark, close the lid, select a 'Boil' or 'Steam' function, and let it run for 15-20 minutes. Discard the water and clean the inner pot again.
4. Operating Instructions
4.1 General Cooking Steps
- Measure Ingredients: Use the provided measuring cup for rice. Rinse rice thoroughly until water runs clear.
- Add Water: Refer to the water level markings inside the inner pot. For standard rice, match the water level to the number of cups of rice. For low-carb rice, follow specific instructions for that function.
- Place Inner Pot: Ensure the inner pot is dry on the outside before placing it into the main unit. Rotate it slightly to ensure proper contact with the heating element.
- Close Lid: Close the lid securely until it clicks.
- Select Function: Plug in the rice cooker. The LED touch panel will illuminate. Select your desired cooking function (e.g., "Crystal Rice", "Low Sugar Rice", "Porridge") using the function buttons.
- Start Cooking: Press the "Start" button. The cooking indicator will light up.
- Keep Warm: Once cooking is complete, the rice cooker will automatically switch to "Keep Warm" mode.
- Serve: Open the lid carefully to avoid steam burns. Stir the cooked rice gently with the provided spatula before serving.

Figure 4.1: Top view of the rice cooker's control panel, showing various cooking functions. Examples of cooked rice types are also displayed: Low sugar rice, Quick Cook, and Grain Rice.

Figure 4.2: Close-up of the dual-language (Chinese and English) control panel and the inner pot with water level markings for different rice types and quantities.
4.2 Specific Functions
- Low Carb Rice: This function is designed to reduce the starch content of rice. Follow the specific water-to-rice ratio indicated in the inner pot for this mode.
- Porridge/Congee: Use this setting for preparing various types of porridge. Adjust water levels according to desired consistency.
- Soup/Stew: Ideal for slow-cooking soups and stews. The IH heating ensures even simmering.
- Cake: A dedicated function for baking simple cakes.
- Timer/Preset: Set a delayed start time for your cooking. This is useful for preparing meals in advance. Press the "Timer" button, adjust the desired delay time, then select your cooking function and press "Start".
5. Care and Maintenance
Proper care ensures the longevity and optimal performance of your rice cooker.
- Unplug Before Cleaning: Always unplug the rice cooker from the power outlet before cleaning.
- Inner Pot: The cast iron inner pot should be hand washed with warm, soapy water. Avoid abrasive cleaners or metal scouring pads that could damage the non-stick coating. Dry thoroughly after washing.
- Lid and Steam Vent: Clean the inner lid and steam vent regularly to prevent blockages and odors. Some lids may be detachable for easier cleaning.
- Main Unit Exterior: Wipe the exterior of the main unit with a soft, damp cloth. Do not immerse the main unit in water or rinse it under a tap.
- Heating Plate: Gently wipe the heating plate inside the main unit with a dry cloth. Do not use water or cleaning solutions directly on the heating plate.
- Storage: Store the rice cooker in a dry, clean place when not in use. Ensure all parts are dry before storing.
6. Troubleshooting
If you encounter any issues with your Joyoung IH Rice Cooker, refer to the following common problems and solutions:
| Problem | Possible Cause | Solution |
|---|---|---|
| Rice is too hard/undercooked. | Insufficient water; lid not properly closed; power interruption. | Add correct amount of water; ensure lid is sealed; check power supply. |
| Rice is too soft/mushy. | Too much water; rice not rinsed properly. | Reduce water slightly next time; rinse rice thoroughly. |
| Rice cooker does not turn on. | Not plugged in; power outage; faulty outlet. | Check power cord connection; test outlet with another appliance; check circuit breaker. |
| Burning smell during cooking. | Food stuck to heating plate; foreign object inside unit. | Unplug and allow to cool. Clean heating plate. If smell persists, contact customer support. |
| Steam leaking from lid. | Lid not properly closed; lid seal damaged or dirty. | Ensure lid is securely closed. Clean or inspect lid seal for damage. |
If the problem persists after trying these solutions, please contact Joyoung customer support.
7. Product Specifications
| Brand | JOYOUNG |
| Model Number | F-4088-Plus |
| Capacity | 4 Litres (8 cups uncooked rice) |
| Material | Cast Iron (Inner Pot) |
| Colour | Bronze |
| Product Dimensions (L x W x H) | 45.2 cm x 37 cm x 28 cm |
| Item Weight | 8.2 kg |
| Power Source | Corded Electric |
| Special Features | Automatic Keep Warm, Low Carb Function, Induction Heating |
| Care Instructions | Hand Wash (Inner Pot) |

Figure 7.1: Diagram illustrating the product parameters and dimensions of the Joyoung rice cooker.
8. Warranty and Support
For warranty information and customer support, please refer to the documentation included with your product or visit the official Joyoung website. Keep your purchase receipt as proof of purchase for any warranty claims.
For direct inquiries, you may also contact the seller, HOPER LAYER, through the Amazon platform where the product was purchased.
Documents and downloads
Ask a question about this manual
Ask about setup, troubleshooting, compatibility, parts, safety, or missing instructions. Manuals+ will review the question and use this page’s manual context to help answer it.