
Carpuride 2.5MM Jack Car Backup Camera
Carpuride 2.5MM Jack Car Backup Camera User Manual
Model: 2.5MM Jack Car Backup Camera
1. Introduction
This manual provides comprehensive instructions for the installation, operation, and maintenance of your Carpuride 2.5MM Jack Car Backup Camera. Please read this manual thoroughly before using the product to ensure proper function and safety.
The Carpuride backup camera is designed to enhance vehicle safety by providing a clear rear view, assisting with parking and reversing maneuvers. It features a 2.5mm jack connector for compatibility with various monitors, a wide 170-degree viewing angle, and night vision capabilities.
2. Package Contents
Verify that all items listed below are present in your package:
- Carpuride 2.5MM Jack Car Backup Camera (1 unit)
- Power Cable
- Video Cable (6 meters)
- Mounting Bracket and Screws

Image 2.1: Carpuride 2.5MM Jack Car Backup Camera with included power and video cables.
3. Specifications
| Feature | Detail |
|---|---|
| Model | 2.5MM Jack Car Backup Camera |
| Connector Type | 2.5mm jack |
| Real Angle of View | 170 Degrees |
| Voltage | 12 Volts |
| Installation Type | Surface Mount |
| Compatible Devices | Monitor (with 2.5mm AV input) |
| Other Display Features | Wireless (refers to display unit, camera is wired) |
| Item Weight | 5.3 ounces |
| Manufacturer | Carpuride |
4. Installation Guide
Follow these steps for proper installation of your backup camera:
- Choose Mounting Location: Select a suitable location on the rear of your vehicle, typically above the license plate, ensuring a clear view and minimal obstruction. The camera features an adjustable bracket for optimal positioning.
- Mount the Camera: Secure the camera using the provided screws and mounting bracket. Ensure it is firmly attached to withstand vehicle vibrations and weather conditions.
- Connect Power Cable:
- Connect the red wire of the camera power cable to the positive electrode of your vehicle's reverse light (DC 12V). This ensures the camera activates when the vehicle is in reverse.
- Connect the black wire of the camera power cable to the negative electrode (ground) of your vehicle's reverse light or chassis.
- Connect Video Cable:
- Route the 6-meter video cable from the camera to your monitor. Ensure the cable is securely tucked away to prevent damage or interference.
- Connect the video output from the camera to the "CAM IN" (2.5mm jack) input on your compatible monitor.
- Test the System: After all connections are made, turn on your vehicle and engage reverse gear. The camera image should appear on your monitor. Adjust the camera angle as needed using the bracket.
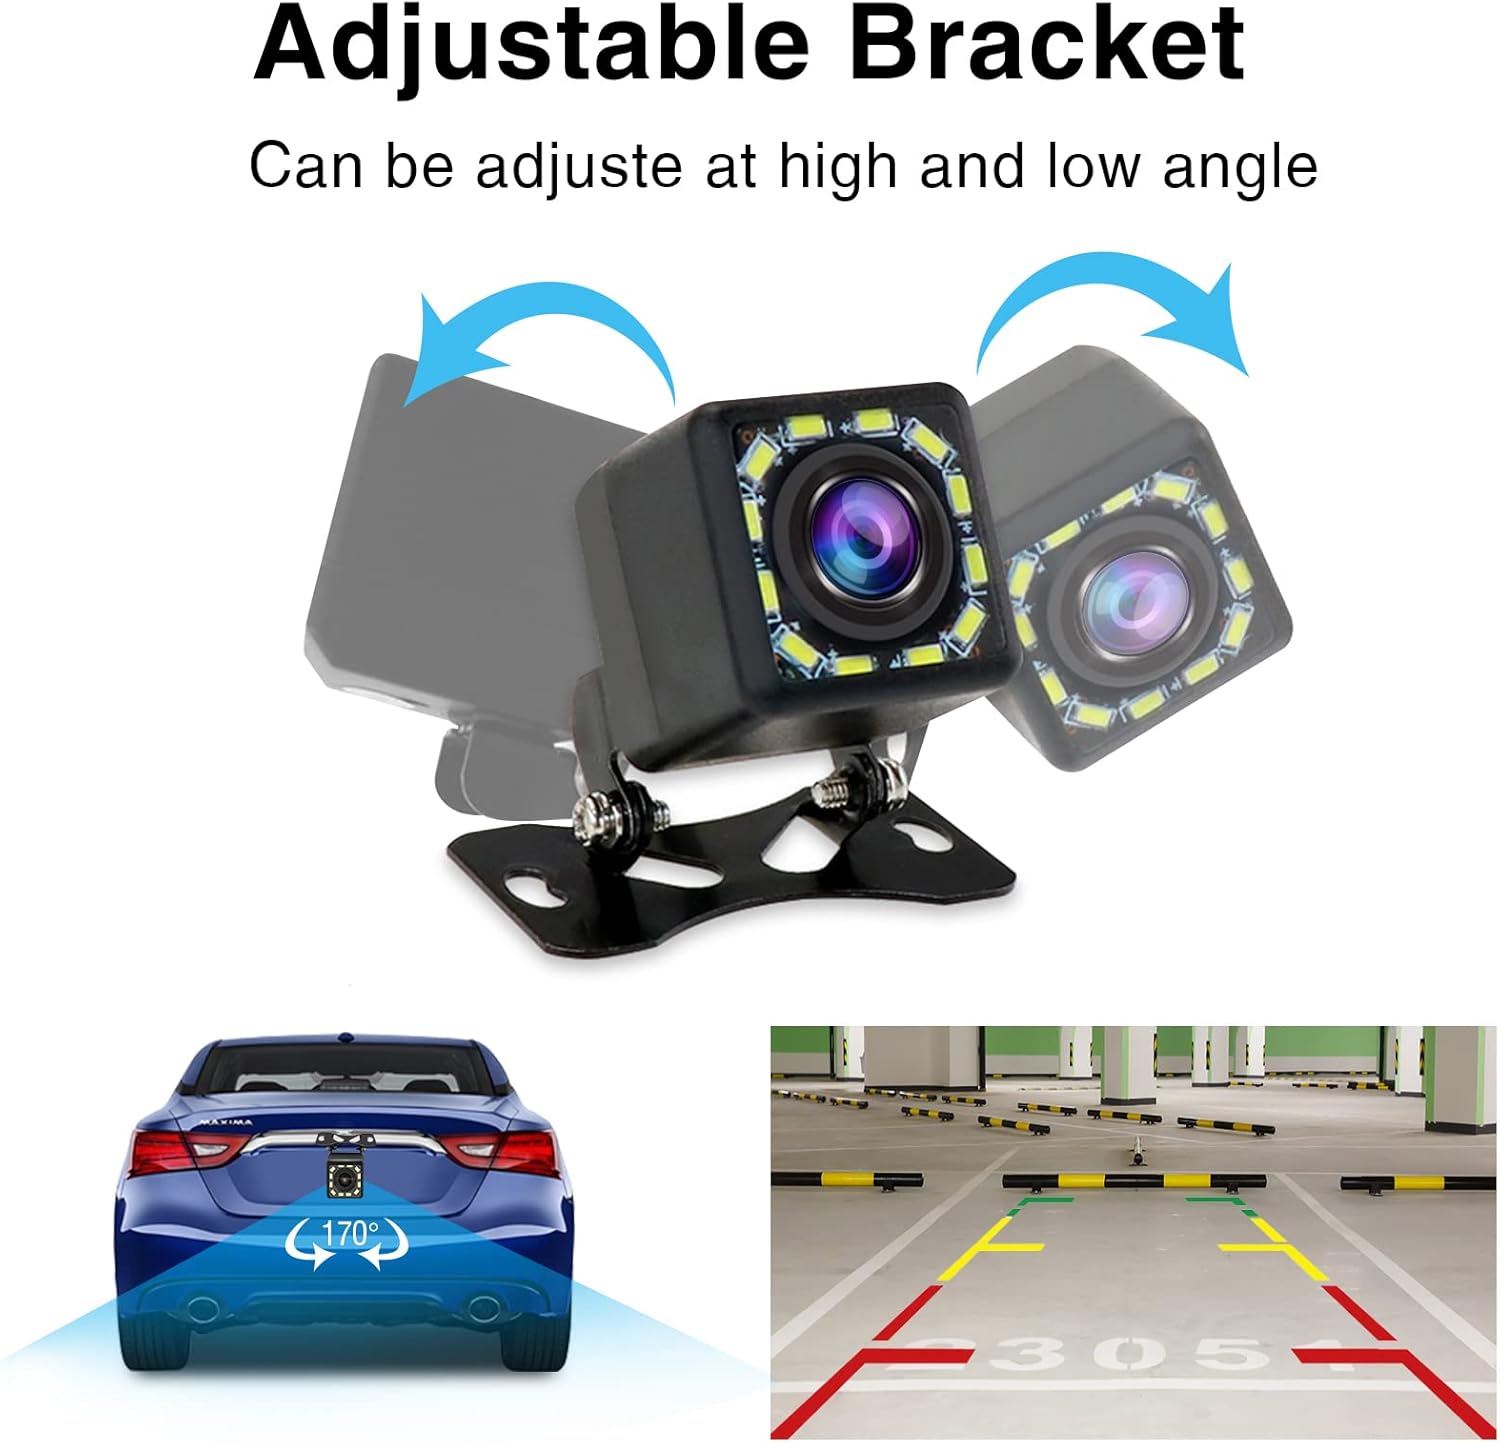
Image 4.1: The camera features an adjustable bracket for flexible mounting angles.

Image 4.2: Wiring diagram illustrating the connection of the camera to the vehicle's power and monitor.

Image 4.3: Detail of the 2.5mm jack connector for video signal transmission.
5. Operation
The Carpuride 2.5MM Jack Car Backup Camera operates automatically when the vehicle is placed in reverse gear, provided it is wired correctly to the reverse light circuit.
5.1. Rear View Display
When reverse gear is engaged, the camera transmits a live video feed to your connected monitor. Parking guidelines may be displayed on the screen, assisting with parking maneuvers.
5.2. Night Vision Function
The camera is equipped with 12 LED lights for enhanced night vision. These auxiliary lights activate automatically in low-light conditions, providing a clear image even in the dark.
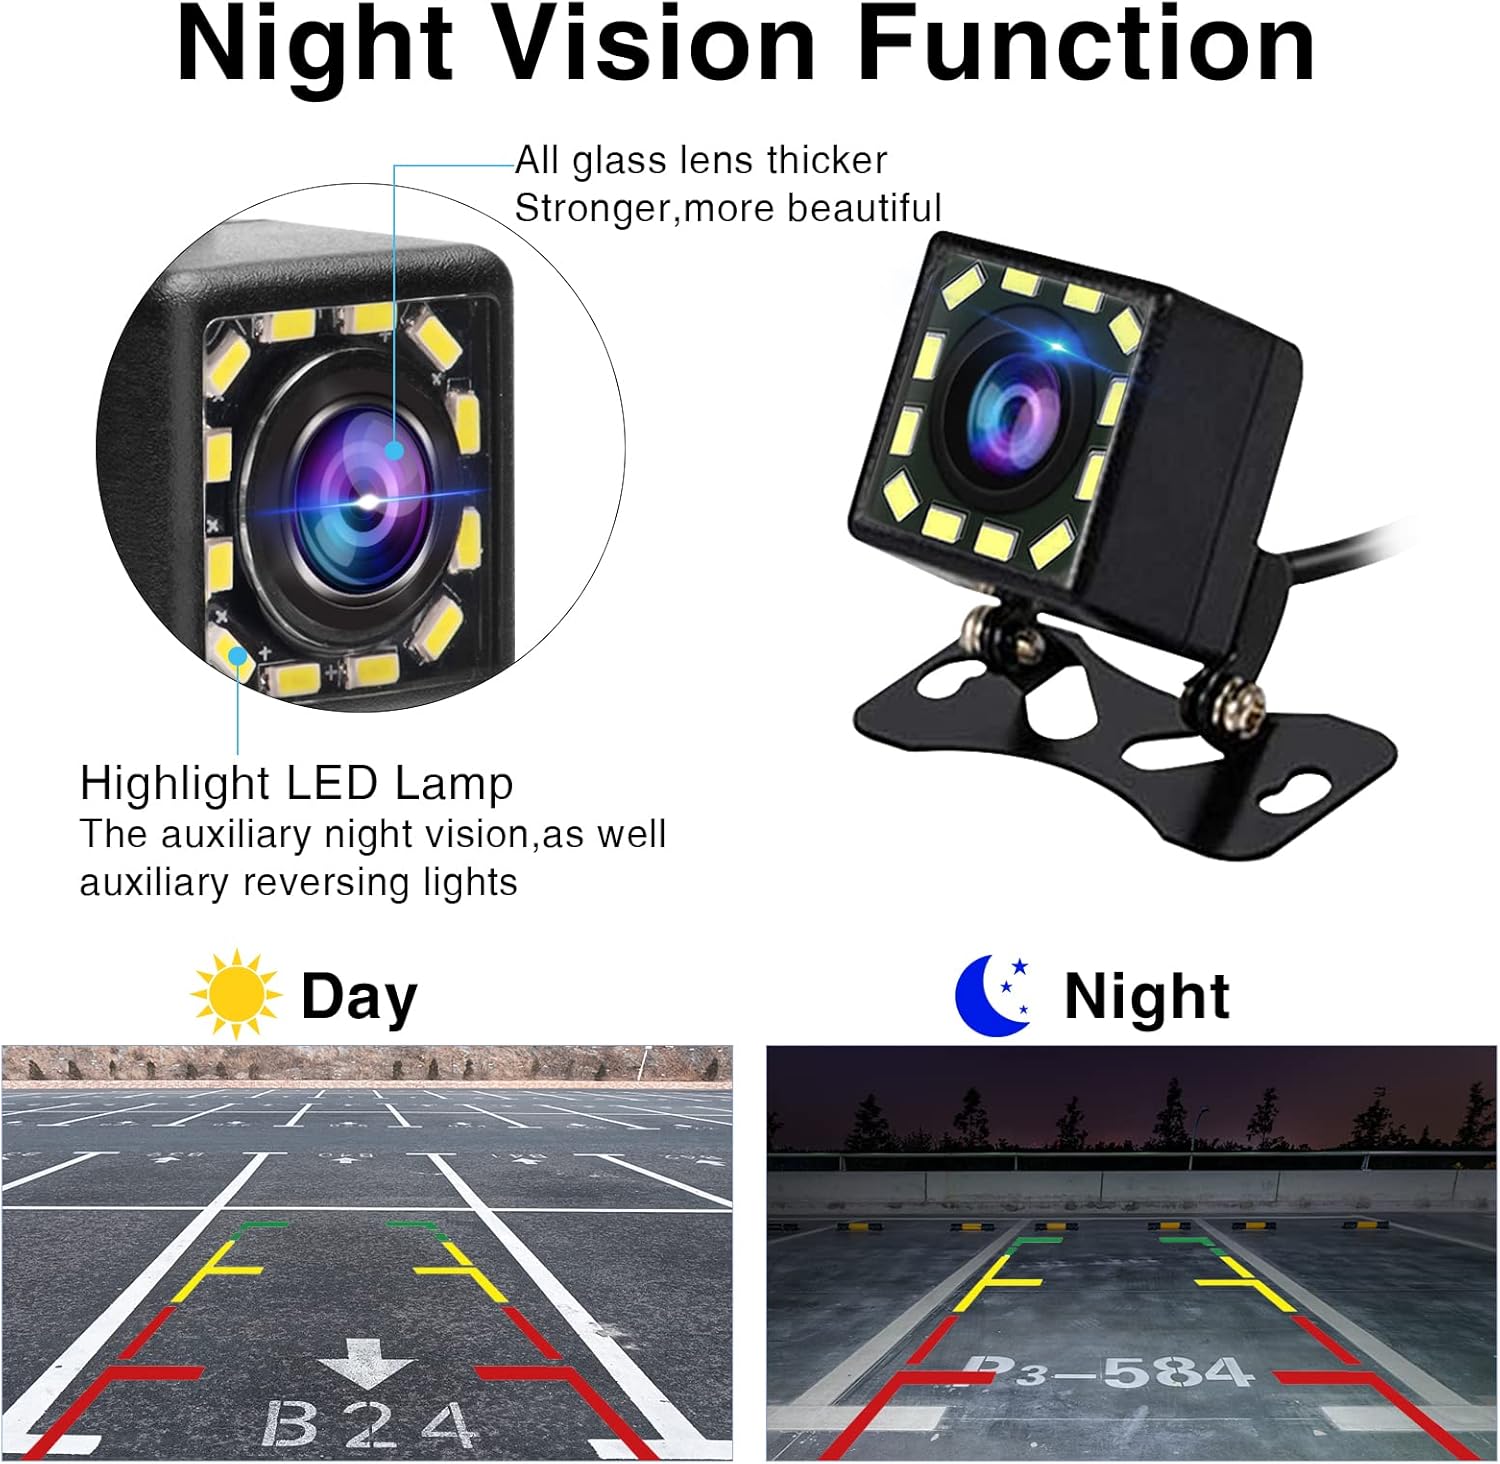
Image 5.1: Illustration of the camera's night vision capability, showing clear visibility in both day and night scenarios.
6. Maintenance
To ensure the longevity and optimal performance of your Carpuride backup camera, follow these maintenance guidelines:
- Cleaning: Regularly clean the camera lens with a soft, damp cloth to remove dirt, dust, or water spots that may obstruct the view. Avoid abrasive cleaners.
- Waterproof Design: The camera is designed to be waterproof, allowing it to withstand rain and car washes. However, avoid directing high-pressure water jets directly at the camera for extended periods.
- Cable Inspection: Periodically check all cables for any signs of wear, fraying, or damage. Ensure connections remain secure.
- Mounting Security: Verify that the camera's mounting bracket remains secure and tight. Re-tighten screws if necessary.

Image 6.1: The camera's waterproof construction ensures durability in various weather conditions.
7. Troubleshooting
If you encounter issues with your Carpuride backup camera, refer to the following common problems and solutions:
- No Image on Monitor:
- Ensure the monitor is powered on and set to the correct input channel.
- Check all cable connections (power and video) for looseness or damage.
- Verify that the camera's power wire is correctly connected to the reverse light's positive and negative terminals, and that the reverse light is receiving power when engaged.
- Confirm the 2.5mm jack is fully inserted into the monitor's input.
- Flickering or Distorted Image:
- Check for loose video cable connections.
- Ensure the video cable is not routed near strong electrical interference sources.
- Inspect the camera lens for dirt or condensation.
- Poor Night Vision:
- Clean the camera lens and the surrounding LED lights.
- Ensure there are no obstructions blocking the LED lights.
8. Warranty and Support
For warranty information or technical support, please refer to the official Carpuride website or contact their customer service directly. Keep your purchase receipt as proof of purchase.
Manufacturer: Carpuride
Date First Available: June 24, 2022
For further assistance, visit the Carpuride Store on Amazon.
Related documents2.5MM Jack Car Backup Camera

Ask a question about this manual
Ask about setup, troubleshooting, compatibility, parts, safety, or missing instructions. Manuals+ will review the question and use this page’s manual context to help answer it.