
1. Introduction and Overview
The Acer Nitro VG240Y Sbiip is a 23.8-inch Full HD (1920 x 1080) IPS gaming monitor designed for an immersive visual experience. It features AMD FreeSync Technology, a high 165Hz refresh rate, and a rapid response time of up to 0.5ms, providing smooth and tear-free gameplay. This manual provides essential information for setting up, operating, and maintaining your monitor.
Key Features:
- 23.8" Full HD (1920 x 1080) Widescreen IPS Monitor
- AMD FreeSync Technology for tear-free gaming
- 165Hz Refresh Rate for fluid visuals
- Response Time: 2ms (G to G) - Up to 0.5ms (G to G)
- 99% sRGB Color Gamut for vibrant and accurate colors
- Zero-Frame Design for a seamless multi-monitor setup
- VESA mounting compliant (100 x 100mm)
- Ergonomic Tilt: -5° to 20°
- Connectivity: 1 x Display Port 1.2 and 2 x HDMI 2.0
2. Setup Guide
2.1 What's in the Box
Before you begin, ensure all components are present:
- Acer Nitro VG240Y Sbiip Monitor
- Monitor Stand (Base and Neck)
- Power Cord
- Display Port Cable
2.2 Physical Assembly
Follow these steps to assemble the monitor stand:
- Carefully place the monitor face down on a soft, clean surface to prevent scratches.
- Attach the stand neck to the back of the monitor, aligning the mounting points and securing with screws if provided.
- Connect the stand base to the neck, ensuring it clicks into place or is secured with the designated screw.
- Gently lift the monitor and place it on a stable, flat surface.
Alternatively, the monitor supports VESA mounting (100 x 100mm) for wall mounts or monitor arms. Ensure the VESA mount is compatible and securely fastened.

Front view of the Acer Nitro VG240Y Sbiip monitor with its stand.
Side profile of the Acer Nitro VG240Y Sbiip monitor, showing its slim design.

Diagram illustrating the physical dimensions of the Acer Nitro VG240Y Sbiip monitor.
2.3 Connecting the Monitor
Connect the monitor to your computer or other devices using the appropriate cables:
- Power Connection: Connect the power cord to the monitor's power input and then to a power outlet.
- Display Port: For optimal performance, connect the included Display Port cable from your computer's graphics card to the Display Port input on the monitor. This connection supports the full 165Hz refresh rate.
- HDMI: Alternatively, use an HDMI 2.0 cable to connect your computer or other devices (e.g., gaming consoles) to one of the two HDMI 2.0 inputs on the monitor.

Rear view of the Acer Nitro VG240Y Sbiip monitor, highlighting the Display Port and HDMI inputs.
3. Operating Instructions
3.1 Power On/Off
To power on the monitor, press the power button, typically located on the bottom right side or rear of the monitor. Press it again to power off.
3.2 Adjusting Display Settings
The Acer Nitro VG240Y Sbiip monitor offers various settings to optimize your viewing experience. These can be accessed via the On-Screen Display (OSD) menu.
- Refresh Rate (165Hz): For gaming, ensure your computer's display settings are configured to 165Hz to take full advantage of the monitor's capabilities. This provides smoother motion and reduced input lag.
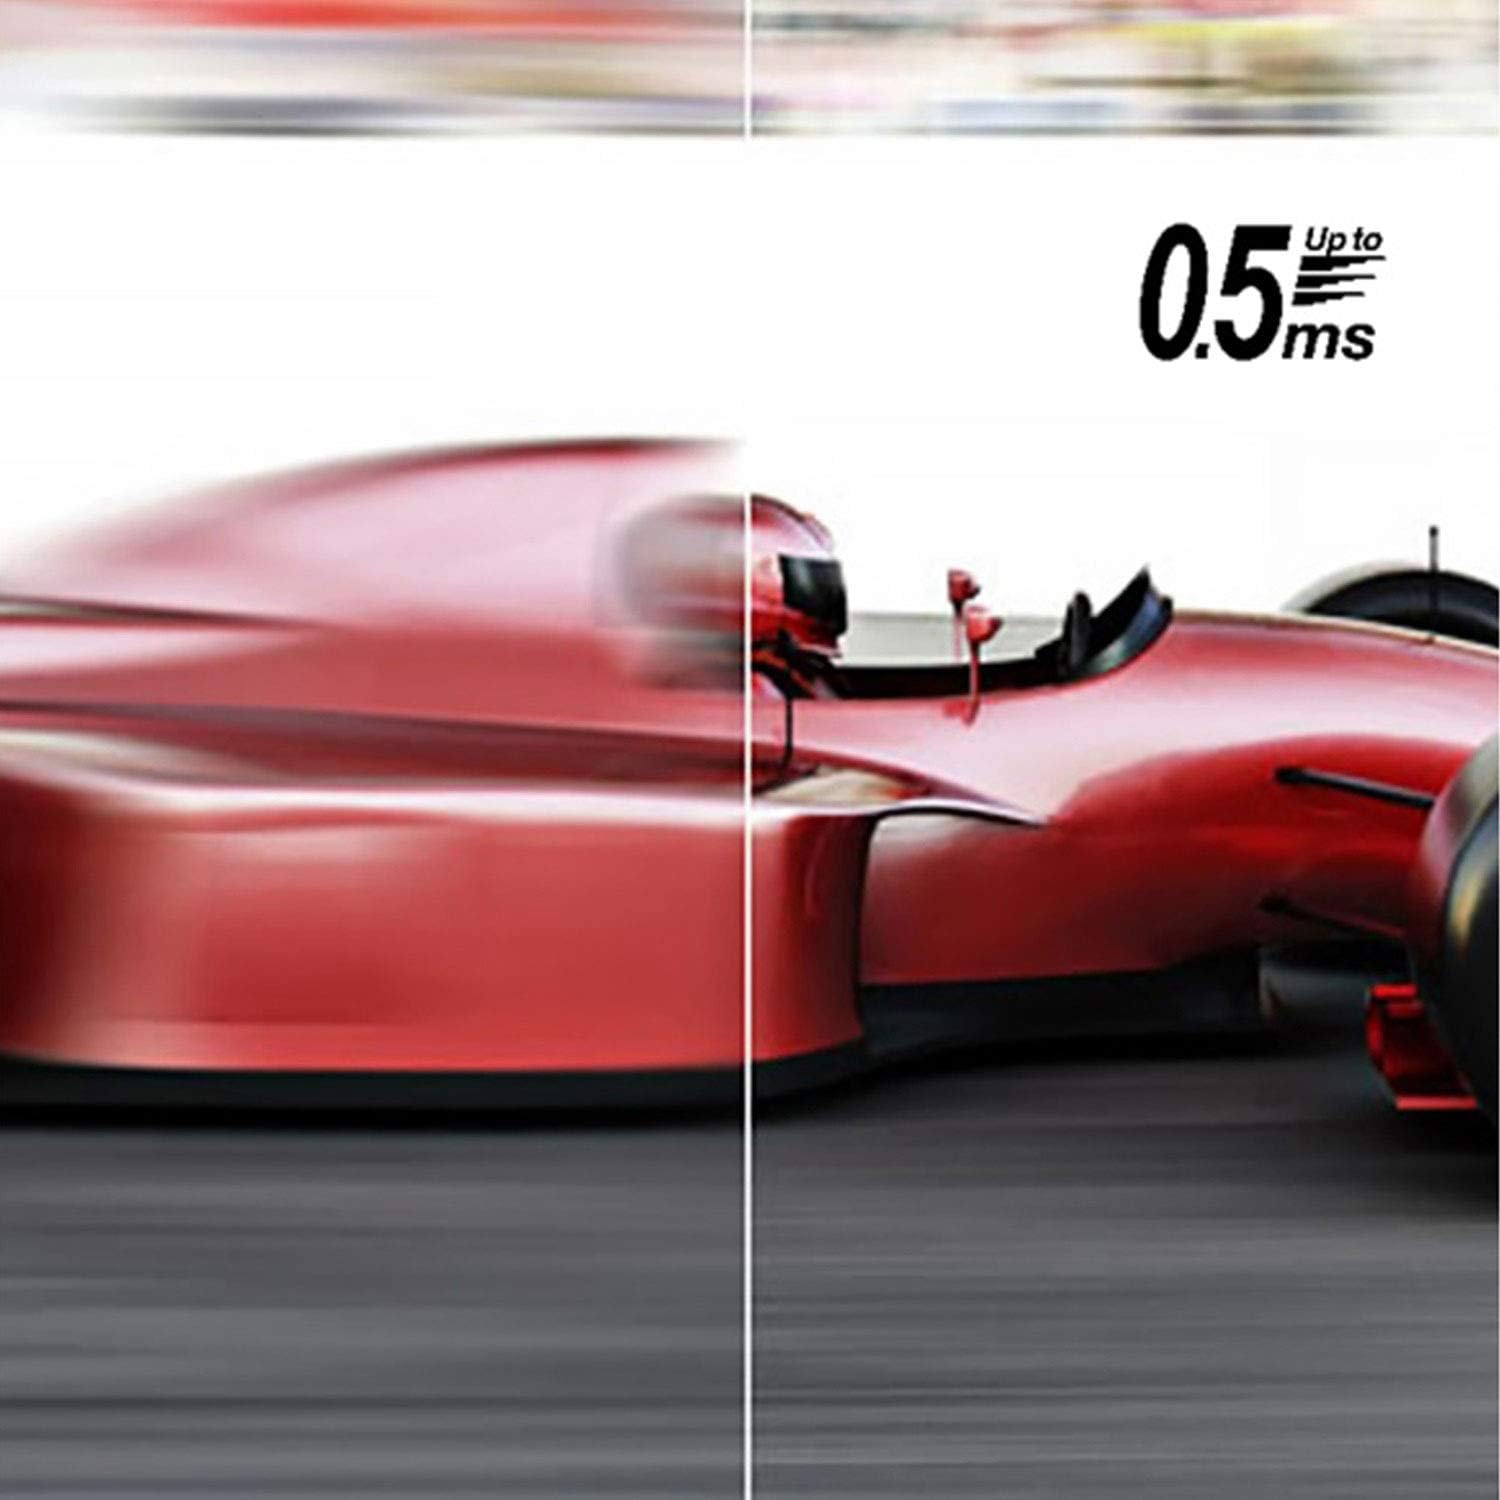
- Response Time (Up to 0.5ms): The monitor features a fast response time to minimize ghosting and motion blur, crucial for fast-paced games.
- AMD FreeSync Technology: This technology synchronizes the monitor's refresh rate with your AMD graphics card's frame rate, eliminating screen tearing and stuttering. Ensure FreeSync is enabled in both the monitor's OSD and your graphics card's control panel.
- Color Gamut (99% sRGB): The wide sRGB coverage ensures accurate and vibrant color reproduction for both gaming and content creation.
- BlueLightShield™: This feature reduces blue light emissions to help protect your eyes during extended viewing periods. It can be adjusted or enabled through the OSD menu.

Visual comparison demonstrating the elimination of screen tearing with AMD FreeSync technology.

Illustration showing the improved clarity and smoothness at a 165Hz refresh rate compared to lower rates.

Demonstration of reduced motion blur and sharper images with a 0.5ms response time.

Diagram explaining how Acer BlueLightShield technology works to reduce eye strain.
3.3 On-Screen Display (OSD) Menu
The OSD menu allows you to configure various monitor settings. The navigation buttons are typically located on the back or bottom right of the monitor. Use these buttons to navigate through the menu options, adjust values, and confirm selections. Refer to the detailed user guide for specific OSD menu layouts and functions.
4. Care and Maintenance
To ensure the longevity and optimal performance of your monitor, follow these maintenance guidelines:
- Cleaning the Screen: Gently wipe the screen with a soft, lint-free cloth. For stubborn marks, lightly dampen the cloth with water or a non-abrasive screen cleaner. Avoid spraying liquid directly onto the screen.
- Cleaning the Casing: Use a soft, dry cloth to clean the monitor casing. Do not use strong detergents or solvents.
- Ventilation: Ensure the ventilation openings on the monitor are not blocked to prevent overheating.
- Storage: When not in use for extended periods, store the monitor in a cool, dry place, away from direct sunlight and extreme temperatures.
- Handling: Always handle the monitor by its edges or stand. Avoid applying pressure directly to the screen.
5. Troubleshooting
If you encounter issues with your Acer Nitro VG240Y Sbiip monitor, refer to the table below for common problems and their solutions:
| Problem | Possible Cause | Solution |
|---|---|---|
| No image / Black screen | Power cable disconnected; Video cable disconnected or loose; Incorrect input source selected; Computer in sleep mode. | Check power cable connection; Ensure video cable (DisplayPort/HDMI) is securely connected to both monitor and computer; Press the monitor's input select button to cycle through sources; Wake up computer. |
| "Input Not Recognized" message | Incorrect input source selected; Graphics card not outputting signal; Cable issue. | Verify the correct input source is selected on the monitor; Check if your computer's graphics card is functioning correctly; Try a different video cable. |
| Image is blurry or distorted | Incorrect resolution; Cable quality issue. | Set the display resolution to 1920 x 1080 in your computer's display settings; Use a high-quality DisplayPort or HDMI 2.0 cable. |
| Refresh rate is not 165Hz (e.g., 60Hz or 120Hz) | Computer display settings not configured; Cable limitation. | Go to your computer's display settings and set the refresh rate to 165Hz; Ensure you are using a DisplayPort cable or an HDMI 2.0 cable. Older HDMI versions may not support 165Hz at 1080p. |
| No sound (if external speakers connected to monitor) | Audio cable disconnected; Volume too low; Incorrect audio output device. | Check audio cable connection; Adjust volume on monitor and computer; Select the monitor as the audio output device in your computer's sound settings. |
6. Technical Specifications
Detailed specifications for the Acer Nitro VG240Y Sbiip monitor:
| Feature | Specification |
|---|---|
| Screen Size | 23.8 Inches |
| Panel Type | IPS |
| Resolution | Full HD (1920 x 1080) |
| Refresh Rate | 165Hz |
| Response Time | 2ms (G to G) - Up to 0.5ms (G to G) |
| Aspect Ratio | 16:9 |
| Color Gamut | 99% sRGB |
| Connectivity | 1 x Display Port 1.2, 2 x HDMI 2.0 |
| VESA Mount Compatibility | 100 x 100mm |
| Ergonomic Tilt | -5° to 20° |
| Dimensions (LxWxH) | 9.45 x 23.62 x 16.1 inches |
| Item Weight | 11.18 pounds |
| Model Number | UM.QV0AA.S03 |
7. Warranty and Support
For warranty information, please refer to the warranty card included with your product or visit the official Acer website. Keep your proof of purchase for warranty claims.
For further assistance, technical support, or to download the full user guide, please visit the Acer support website or refer to the provided User Guide PDF: