1. Introduction
This manual provides detailed instructions for the setup, operation, and maintenance of your ciciglow Wireless Barcode Scanner. Designed for efficiency and reliability, this scanner offers dual connectivity modes and broad compatibility, making it suitable for various applications such as warehouses, supermarkets, hotels, and retail environments.
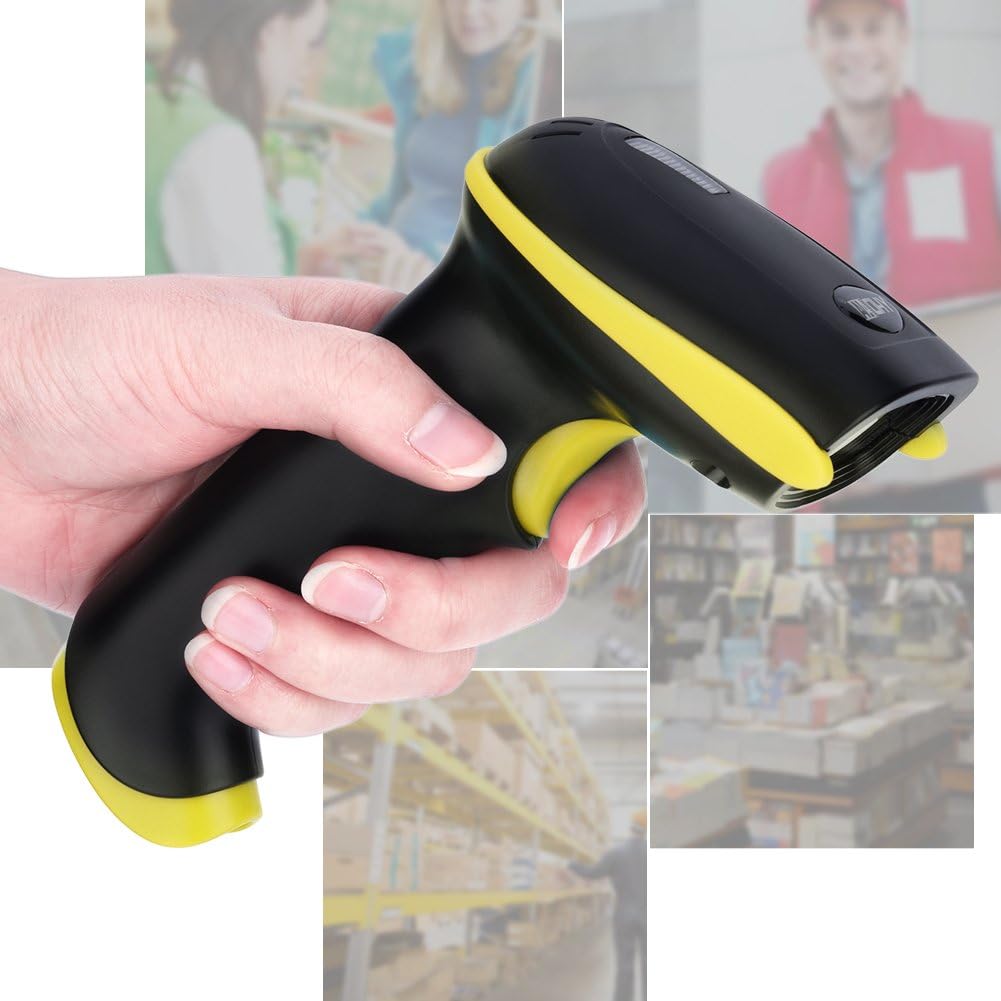
Figure 1.1: ciciglow Wireless Barcode Scanner in typical use environments.
2. Product Overview
2.1 Key Features
- Dual Connection Modes: Supports 2.4 GHz wireless and USB wired transmission for versatile connectivity.
- Wide Compatibility: Compatible with Android and Windows 7/8/10/XP systems.
- Durable Design: Constructed from ABS plastic and silicone for shock-resistance, drop-resistance, and a comfortable ergonomic grip.
- High Performance: Equipped with a 32-bit ARM microprocessor, offering a scanning speed of 300 scans per second and high accuracy, capable of reading imperfect codes.
- Flexible Scanning: Supports both manual and automatic scanning modes.
- Extensive Decoding: Decodes UPC/EAN, Code128, Code39, Code39Full ASCLL, Code bar, industrial/Interleaved 2 of 5, Code39, MSI, Code11, ISBN, ISSN, China post, GS1 Databar, Code32, and more.
- Long Button Lifespan: Button life rated for 8 million presses.
- Environmental Adaptability: Operates effectively under strong light and direct sunshine without interference.
- Feedback: Provides feedback via a buzzer and LED indicator.

Figure 2.1: Scanner compatibility with various operating systems.
2.2 Package Contents
Please verify that all items are present in the package:
- 1 x ciciglow Wireless Barcode Scanner
- 1 x USB Cable
- 1 x USB Receiver
- 1 x User Manual (this document)

Figure 2.2: Package contents of the ciciglow Wireless Barcode Scanner.
3. Setup
The ciciglow Wireless Barcode Scanner offers two primary connection methods: 2.4 GHz wireless and USB wired.
3.1 2.4 GHz Wireless Connection
- Insert the USB receiver into an available USB port on your computer or compatible device.
- Turn on the barcode scanner. The scanner will automatically attempt to pair with the receiver.
- A successful connection is indicated by a specific sound from the buzzer and/or an LED indicator on the scanner. Refer to the quick start guide included in the package for specific pairing instructions if needed.
3.2 USB Wired Connection
- Connect one end of the provided USB cable to the scanner's USB port.
- Connect the other end of the USB cable to an available USB port on your computer or compatible device.
- The scanner will be recognized as a standard HID keyboard device, and no additional drivers are typically required for basic operation.
4. Operating Instructions
The scanner supports both manual and automatic scanning modes.
4.1 Scanning a Barcode
- Ensure the scanner is powered on and connected to your device (via wireless receiver or USB cable).
- Open an application on your computer or device where you want the scanned data to appear (e.g., a text editor, spreadsheet, or POS software).
- Point the scanning window of the barcode scanner at the barcode you wish to read.
- Manual Mode: Press the trigger button to activate the laser and scan the barcode.
- Automatic Mode: In this mode, the scanner will continuously emit the laser and automatically read barcodes when they are presented within its scanning range. (Refer to the quick start guide for instructions on switching between manual and automatic modes, usually by scanning specific configuration barcodes).
- Upon successful scan, the scanner will emit a beep (buzzer feedback) and/or an LED indicator will flash, and the barcode data will appear in your active application.

Figure 4.1: Scanning a barcode from a digital display.
4.2 Decoding Capabilities
The scanner is capable of decoding a wide range of 1D barcodes, including but not limited to:
- UPC/EAN
- Code128
- Code39, Code39Full ASCLL
- Code bar
- Industrial/Interleaved 2 of 5
- MSI
- Code11
- ISBN, ISSN
- China Post
- GS1 Databar
- Code32

Figure 4.2: High-precision scanning head for various barcode conditions.
5. Maintenance
Proper care and maintenance will ensure the longevity and optimal performance of your barcode scanner.
5.1 General Care
- Avoid dropping the scanner from excessive heights, although it is designed to be drop-resistant up to 2.0 meters.
- Keep the scanning window clean and free from dust or smudges. Use a soft, lint-free cloth to gently wipe the surface. Do not use harsh chemicals or abrasive materials.
- Store the scanner in a dry, cool environment when not in use.
- The trigger button is designed for durability with a lifespan of 8 million presses.
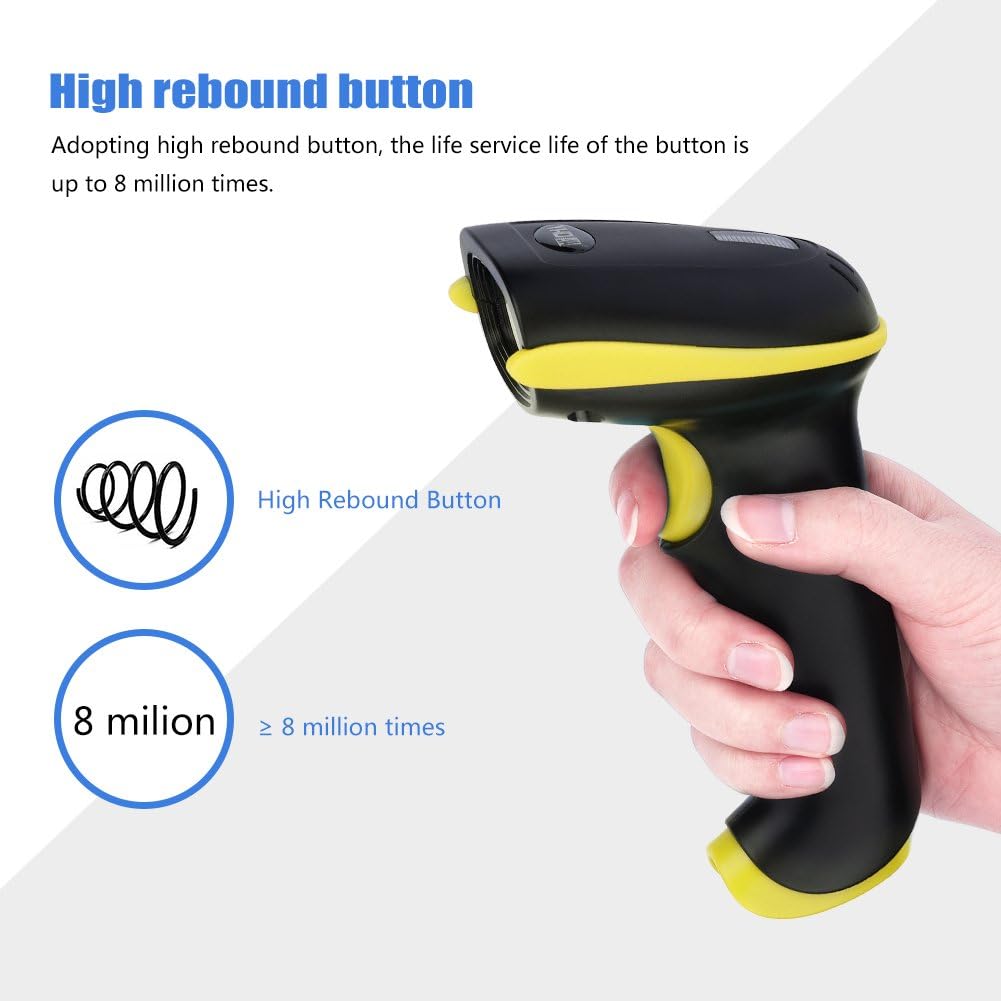
Figure 5.1: Durable high rebound button.
6. Troubleshooting
If you encounter issues with your ciciglow Wireless Barcode Scanner, please refer to the following common troubleshooting steps:
- Scanner Not Connecting:
- Ensure the scanner is fully charged.
- For wireless connection, ensure the USB receiver is securely plugged into the host device. Try a different USB port.
- For wired connection, ensure the USB cable is firmly connected to both the scanner and the host device. Try a different USB cable if available.
- Restart both the scanner and the host device.
- Scanner Not Reading Barcodes:
- Ensure the scanning window is clean and free from obstructions.
- Verify that the barcode is not damaged or poorly printed.
- Check the distance and angle between the scanner and the barcode. Adjust for optimal reading.
- Confirm that the barcode type is supported by the scanner (refer to Section 4.2).
- Ensure the scanner is in the correct operating mode (manual or automatic).
- No Data Output:
- Confirm the scanner is successfully connected to the host device.
- Ensure an application is open and active on your host device that can receive keyboard input.
- Check the host device's settings to ensure USB HID devices are recognized.
7. Specifications
| Feature | Specification |
|---|---|
| Model | ciciglowx1wunt27ed2307 |
| Color (as reviewed) | Yellow |
| Dimensions | 16 x 9 x 7 cm (6.3 x 3.5 x 2.8 in) |
| Material | ABS + Silicone |
| Frequency | 2.4 GHz |
| Charging Power | 5V - 400mA |
| Transmission Distance | 100m (approx. 328 ft) |
| Working Current | 3.5V 40mA |
| Standby Current | 18uA - 5mA |
| Scan Type | Bidirectional |
| Light Source | 650nm VLD |
| CPU | ARM 32-bit |
| Feedback | Buzzer and LED |
| Read Accuracy | 3 mil |
| Scan Width | 30 cm (approx. 11.8 in) |
| Decoding Speed | 300 scans / second |
| Bit Error Rate | 1/200 million |
| Scanning Modes | Manual mode, Automatic mode |
| Scan Depth | 3 mil: 2 mm - 100 mm 10 mil: 2 mm - 350 mm 15 mil: 5 mm - 500 mm 30 mil: 10 mm - 800 mm |
| Scan Angle | Rotation ± 30°, Tilt ± 45°, Declination ± 60° |
| Anti-interference | No influence when working under strong light and sunshine |
| Button Lifespan | 8,000,000 presses |
| Product Lifespan | 12,000 hours |
| Drop Test | 2.0 m |
| Certificates | CE, FCC, RoHS, IP54 |
| Package Weight | 268g (approx. 9.45 oz) |

Figure 7.1: Physical dimensions of the scanner.

Figure 7.2: Location of the buzzer for audio feedback.
8. Warranty and Support
For warranty information or technical support, please refer to the documentation provided with your purchase or contact your retailer. Keep your proof of purchase for any warranty claims.