Introduction
This manual provides detailed instructions for the installation, operation, and maintenance of your briidea T9300 Thermostat. Please read this manual thoroughly before installation and use to ensure proper function and safety.
Safety Information
- Always disconnect power at the main circuit breaker before installing or servicing the thermostat.
- Installation should be performed by a qualified electrician in accordance with local electrical codes.
- Do not expose the thermostat to water or excessive humidity.
- Ensure the voltage supply matches the thermostat's specifications (230 Volts).
- Keep out of reach of children.
Package Contents
Upon opening the package, verify that all components are present and undamaged:
- briidea T9300 Thermostat Unit
- NTC Temperature Remote Sensor (external sensor)
- Mounting Screws
- User Manual (this document)
Product Features
The briidea T9300 Thermostat offers a range of features designed for efficient temperature control:
- 5+2 Programmable Modes: Allows for customized heating schedules for weekdays and weekends.
- Memory Function: Retains settings even after power loss.
- LCD Display with Backlight: Provides clear visibility of temperature and settings.
- Child Lock: Prevents unauthorized changes to settings.
- Frost Protection: Automatically activates heating to prevent freezing temperatures.
- Dual Temperature Detection: Utilizes both an internal and external NTC sensor for accurate temperature measurement.
- Overheat Protection: Ensures safe operation by preventing excessive heating.
- Temperature Calibration: Allows for fine-tuning of temperature readings.
- High-Quality Construction: Made with ABS+30% PC flame-retardant material and high-quality internal chips for durability and safety.

Image Description: This image illustrates the key features of the briidea T9300 Thermostat, including its 5+2 programmable schedule, memory function, backlit LCD, child lock, frost protection, dual temperature sensing, overheat protection, and temperature calibration capabilities. The thermostat is shown in a modern living space.
Setup and Installation
Important: Ensure power is disconnected before beginning installation. This device is designed for 230V 50/60Hz electrical systems.
Wiring Diagram
Follow the wiring diagram carefully. The thermostat supports an internal NTC room temperature sensor and an external NTC temperature remote sensor, typically used for floor heating applications.

Image Description: This image displays the wiring diagram for the briidea T9300 Thermostat. It clearly labels connections for the neutral wire, live wire (firewire), load (up to 3680W), and both the built-in NTC room temperature sensor and the external NTC temperature remote sensor. The diagram shows the thermostat connected to an underfloor heating system.
Mounting Considerations
The briidea T9300 Thermostat is designed for specific mounting box dimensions. Please note that it may not fit standard 68mm flush-mounted boxes and is typically suitable for larger 100mm boxes or surface mounting. Verify your wall box dimensions before installation to ensure compatibility.

Image Description: This image provides detailed dimensions of the briidea T9300 Thermostat. It shows the front face measuring 86mm by 86mm, with a total depth of 28mm, and a visible depth of 13mm when mounted. This helps users assess compatibility with their wall boxes.
Operating Instructions
The T9300 Thermostat features a user-friendly interface with five control buttons:

Image Description: This image shows the front of the briidea T9300 Thermostat, highlighting its LCD screen which displays the current room temperature (24°C) and the set temperature (31°C). Below the screen are five buttons: Mode (M), Clock, Power, Up arrow, and Down arrow.
Button Functions:
- M (Mode) Button: Switches between manual mode, programmable mode, and other operational modes.
- Clock Button: Used to set the current time and date, and to access programming settings.
- Power Button: Turns the thermostat ON or OFF.
- Up Arrow (▲) Button: Increases the set temperature or navigates through menu options.
- Down Arrow (▼) Button: Decreases the set temperature or navigates through menu options.
Setting the Temperature:
- Ensure the thermostat is in manual mode (usually indicated by a specific icon or absence of a program icon).
- Press the Up Arrow (▲) or Down Arrow (▼) buttons to adjust the desired temperature. The 'SET' temperature will flash as you adjust it.
- The thermostat will automatically save the new setting after a few seconds of inactivity.
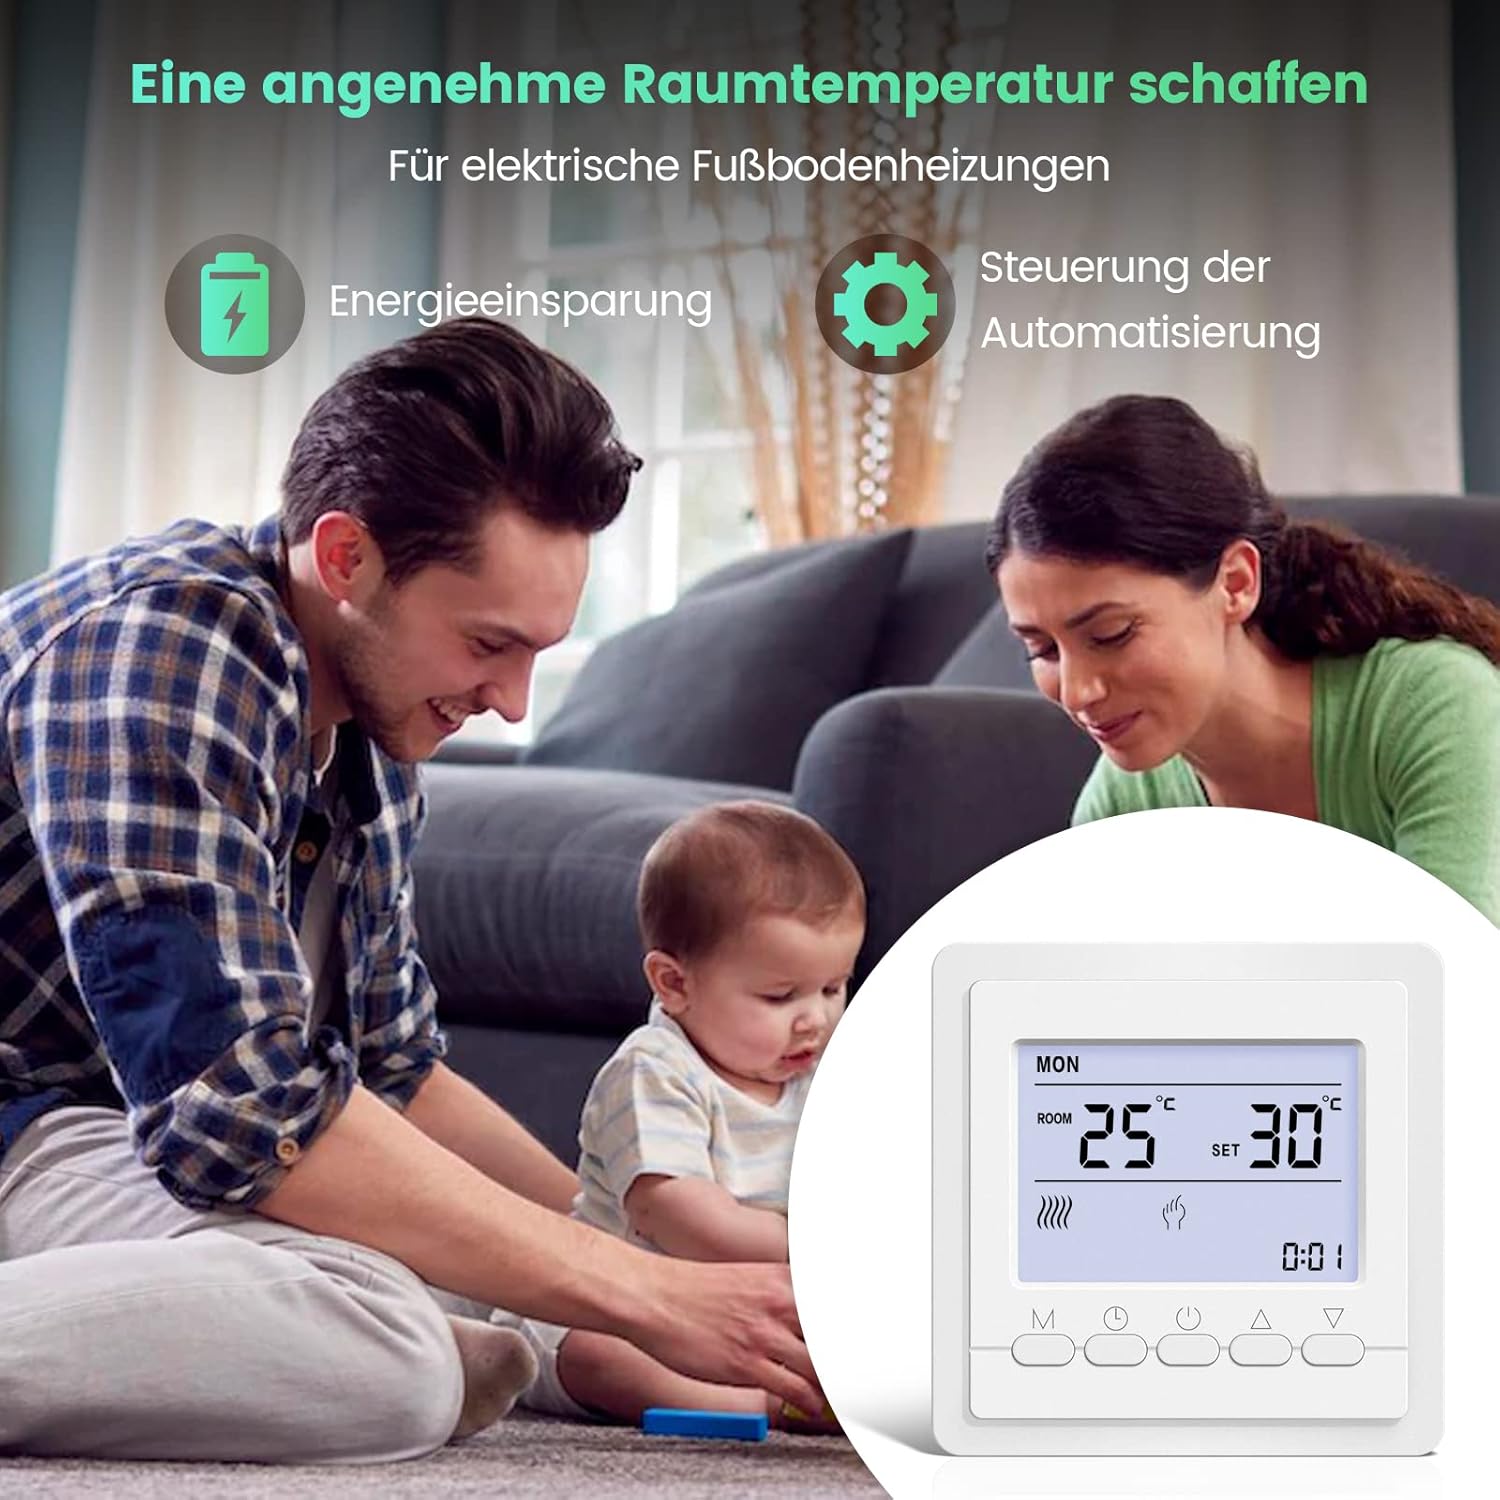
Image Description: This image shows a hand interacting with the briidea T9300 Thermostat, demonstrating how to adjust settings. The LCD screen clearly displays the current room temperature at 25°C and the desired set temperature at 30°C, with the backlight illuminated for easy reading.
Programming (5+2 Mode):
The 5+2 programming mode allows you to set different temperature schedules for weekdays (5 days) and weekends (2 days). Refer to the detailed programming section in the full manual for step-by-step instructions on setting time periods and temperatures.
Child Lock Function:
To activate or deactivate the child lock, typically press and hold a combination of buttons (e.g., Up and Down arrows simultaneously) for a few seconds until a lock icon appears or disappears on the display. This prevents accidental changes to settings.
Maintenance
- Cleaning: Wipe the thermostat's surface with a soft, dry cloth. Do not use abrasive cleaners, solvents, or chemical sprays.
- Inspection: Periodically check the wiring connections for any signs of wear or damage. Ensure the thermostat is securely mounted.
- Sensor Care: Keep the temperature sensors (both internal and external) free from dust and obstructions to ensure accurate readings.
Troubleshooting
| Problem | Possible Cause | Solution |
|---|---|---|
| Thermostat not powering on. | No power supply; incorrect wiring; circuit breaker tripped. | Check main power supply. Verify wiring connections. Reset circuit breaker. |
| Heating system not responding. | Incorrect mode selected; set temperature too low; wiring issue to heating unit. | Ensure thermostat is in heating mode. Increase set temperature above room temperature. Check wiring to heating system. |
| Inaccurate temperature reading. | Sensor obstructed or faulty; thermostat placed in direct sunlight or draft. | Ensure sensors are clear. Relocate thermostat if exposed to external influences. Consider temperature calibration. |
| Thermostat does not fit wall box. | Wall box dimensions are smaller than thermostat requirements (e.g., 68mm box). | This thermostat is designed for larger wall boxes (e.g., 100mm) or surface mounting. A different mounting solution or thermostat may be required if your box is 68mm. |
Specifications
| Feature | Detail |
|---|---|
| Brand | briidea |
| Model Number | T9300 |
| Voltage | 230 Volts |
| Control Type | Button Control |
| Backlight | Yes |
| Product Dimensions | 86 x 86 x 28 mm (approximate, based on image) |
| Weight | 240 g |
| ASIN | B0B4WSCWYK |
| UPC | 779288407787 |
Warranty and Support
For warranty information and technical support, please refer to the documentation provided with your purchase or contact briidea customer service through their official website or your retailer.


