
ClocTeck CT-002
ClocTeck Nixie Tube Clock Instruction Manual
Model: CT-002 | Brand: ClocTeck
1. Introduction
Welcome to the ClocTeck Nixie Tube Clock user manual. This unique clock blends cutting-edge technology with a classic retro design, offering a visually stunning way to tell time. Featuring customizable RGB lighting, Wi-Fi time synchronization, and convenient alarm and timer functions, your ClocTeck clock is designed to enhance any space.
What's in the Box
- ClocTeck Nixie Tube Clock Unit
- USB Type-C Power Cable
- Cleaning Cloth
- Instruction Manual
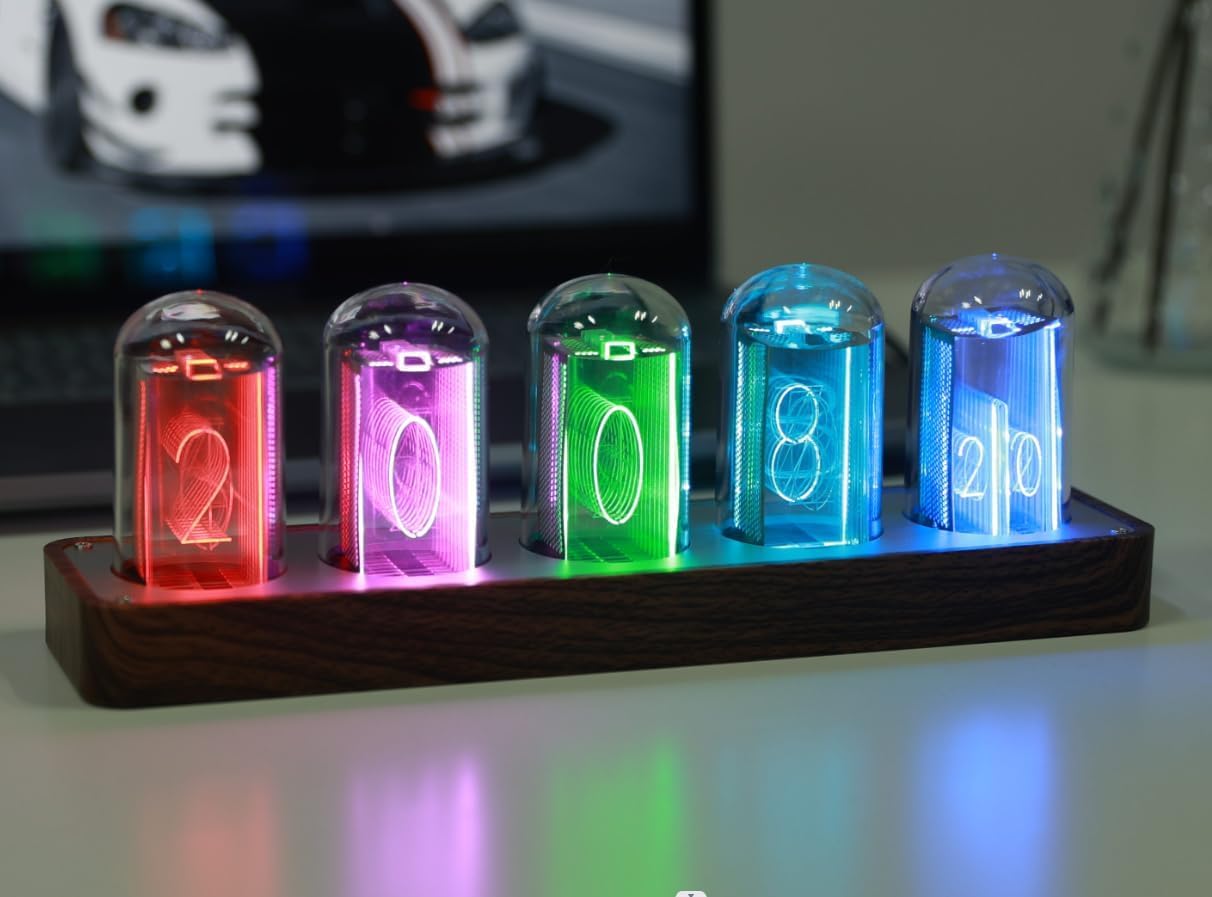
Image: The ClocTeck Nixie Tube Clock unit alongside its black product packaging.
2. Setup
Your ClocTeck Nixie Tube Clock comes fully assembled and ready to use. No complex assembly is required.
2.1 Power Connection
Connect the provided USB Type-C cable to the port on the back of the clock unit and plug the other end into a compatible USB power adapter (not included) or a USB port on a computer. The clock will power on automatically.
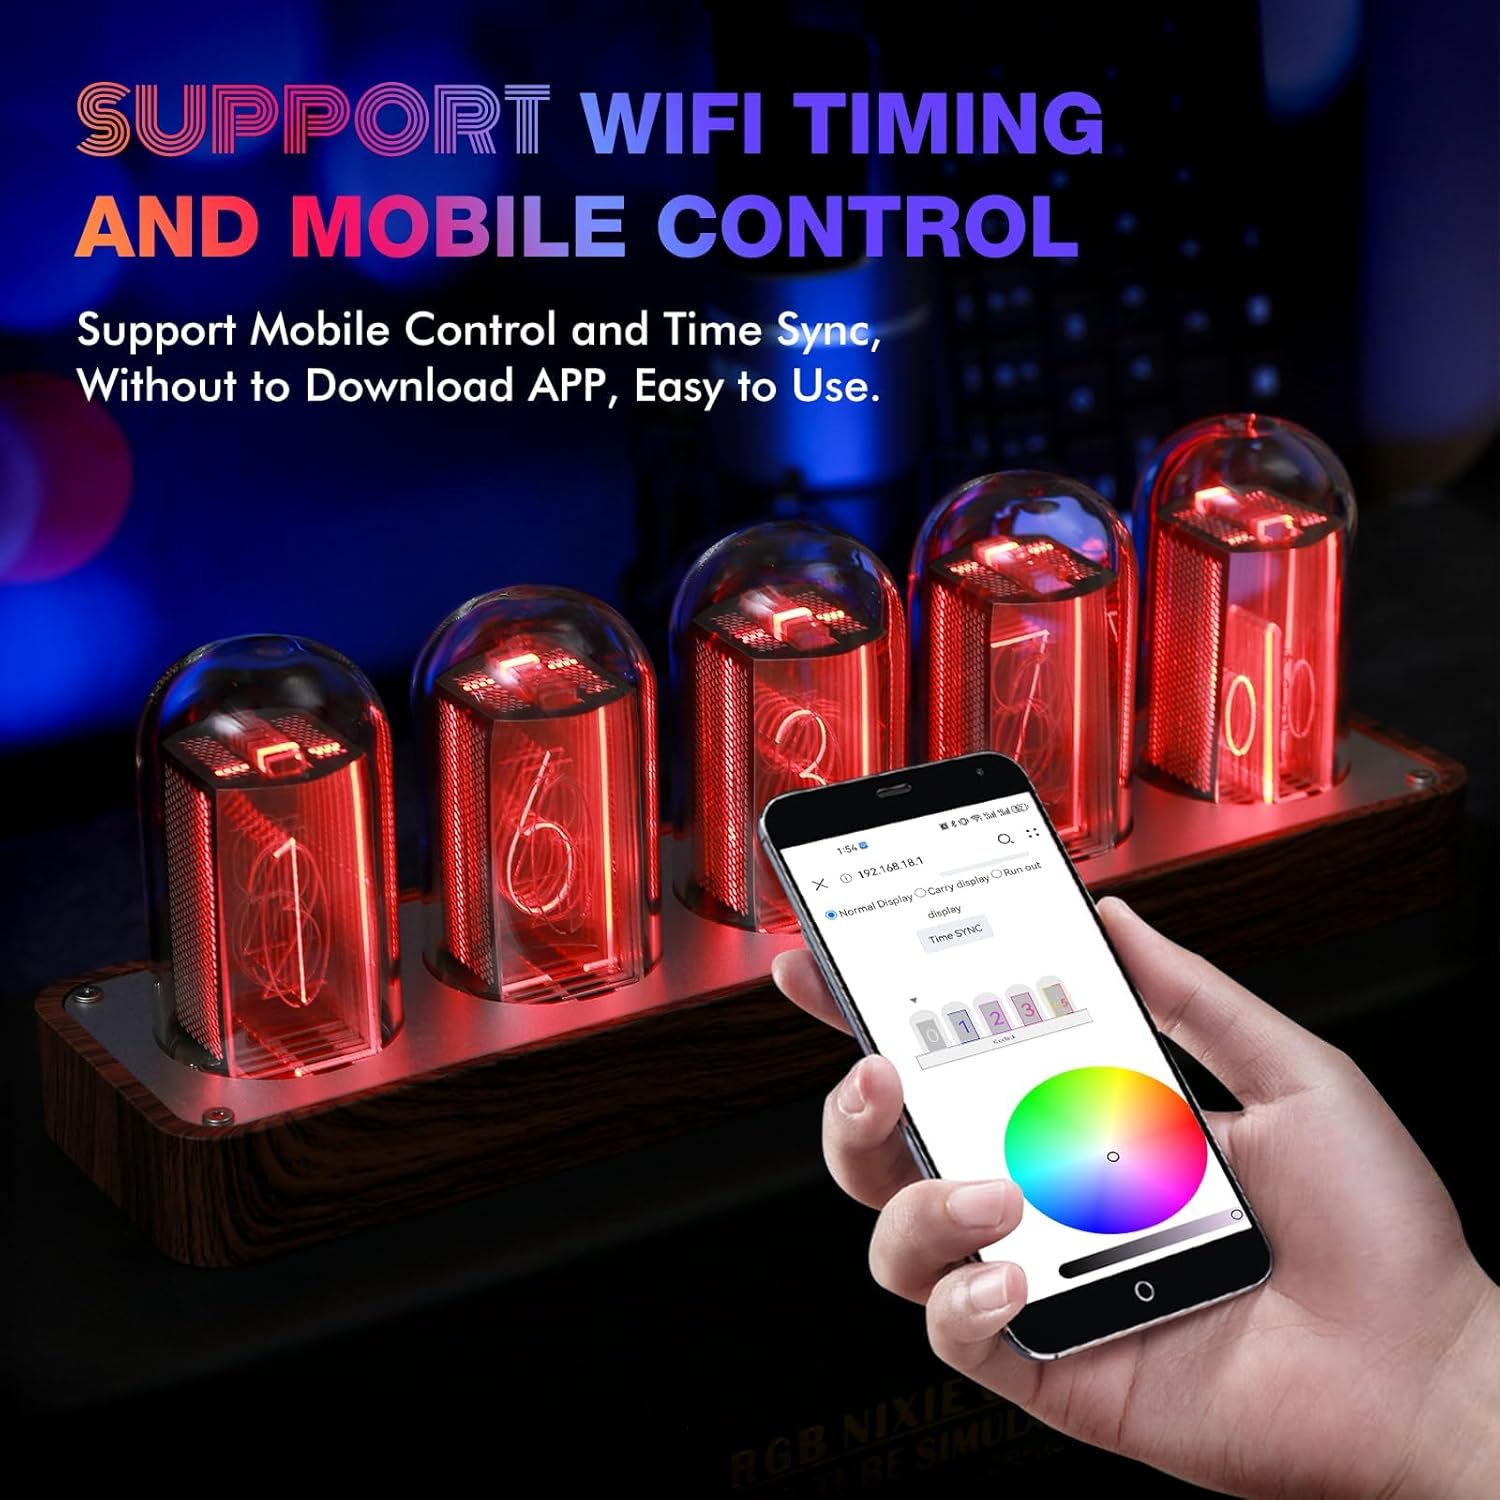
Image: Rear view of the clock highlighting the USB-C power input and control buttons.
2.2 Initial Time Synchronization (Wi-Fi)
For the most accurate time, it is recommended to connect your clock to Wi-Fi. This allows for automatic time calibration and access to mobile control features. Refer to section 3.4 for detailed Wi-Fi setup instructions.
3. Operating Instructions
The ClocTeck Nixie Tube Clock features intuitive controls located on the back of the unit. These buttons allow you to adjust various settings and modes.
3.1 Control Buttons Overview
| Button | Function (Short Press) | Function (Long Press) |
|---|---|---|
| Brightness Switch / Up | Select Brightness Level | N/A |
| 12/24 Hour Display / Down | Switch between 12-hour and 24-hour format | N/A |
| TIME | Activate Countdown Mode | Set Time (Blue) and Alarm (Red) |
| MODE | Select Display Mode | Access Color Settings |
3.2 Display Modes and Color Customization
The clock offers various display modes and full RGB color customization for each display group.
- Selecting Display Mode: Short press the MODE button to cycle through available display modes, including Check mode, Single color mode, Monochrome alternate display mode, Breathing mode, Rainbow flashing mode, and Water flowing mode.
- Customizing Colors: Long press the MODE button to enter color settings. You can then use the 'Brightness Switch / Up' and '12/24 Hour Display / Down' buttons to adjust colors.
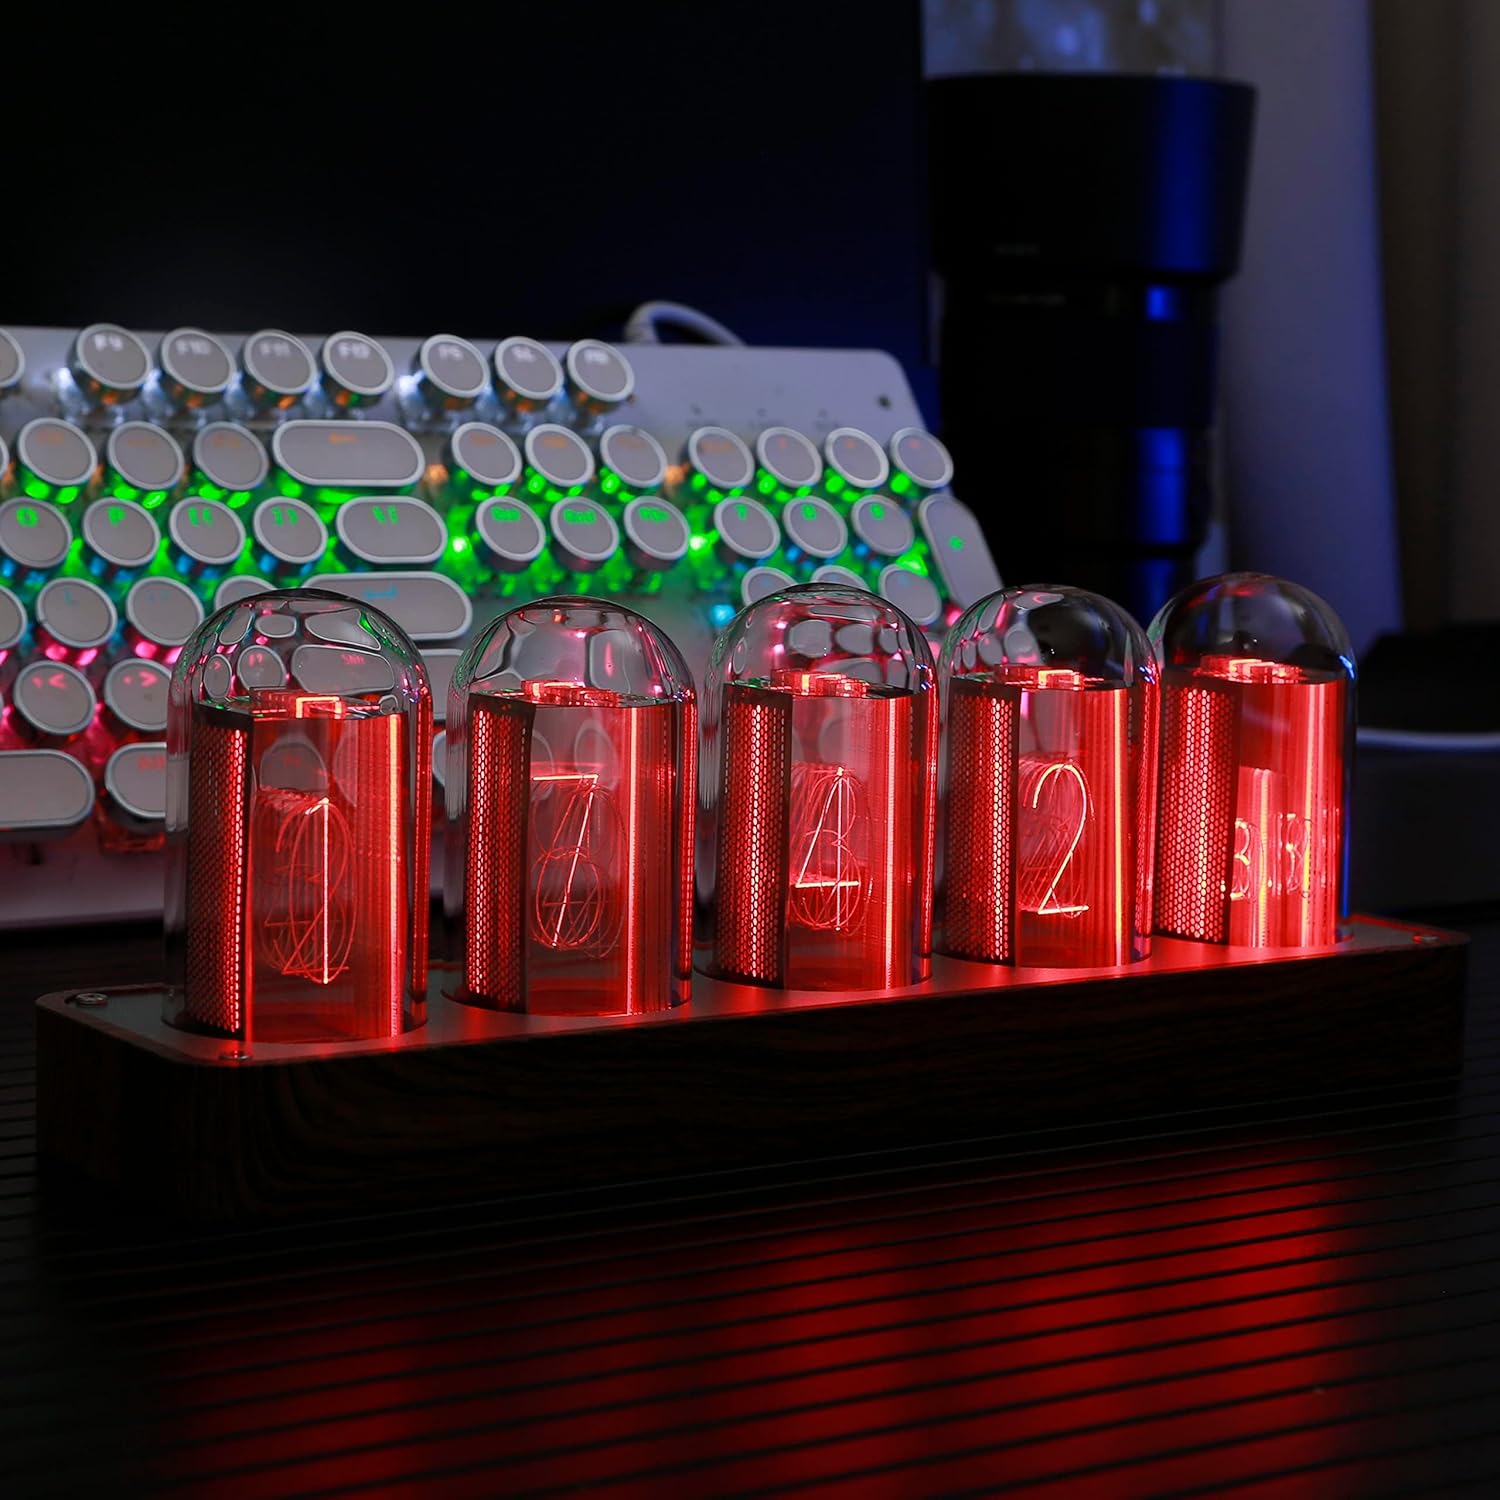
Image: The clock showcasing its vibrant RGB LED tube simulation.
3.3 Alarm and Timer Functions
- Alarm Setting: Long press the TIME button. The display will show red numbers, indicating you are in alarm setting mode. Use the 'Brightness Switch / Up' and '12/24 Hour Display / Down' buttons to set the desired alarm time.
- Timer Function: Short press the TIME button to activate the timer function. The maximum timer duration is 99 minutes.
3.4 Wi-Fi Connectivity and Mobile Control
The clock supports Wi-Fi for time calibration and mobile control without needing to download a dedicated app.
- Wi-Fi Setup: The clock broadcasts its own Wi-Fi signal. Connect your mobile phone or computer to this network.
- Mobile Control: Once connected, open a web browser and navigate to the IP address provided in the quick start guide (usually 192.168.4.1). This web interface allows you to calibrate time, set colors, and change display modes conveniently from your device.
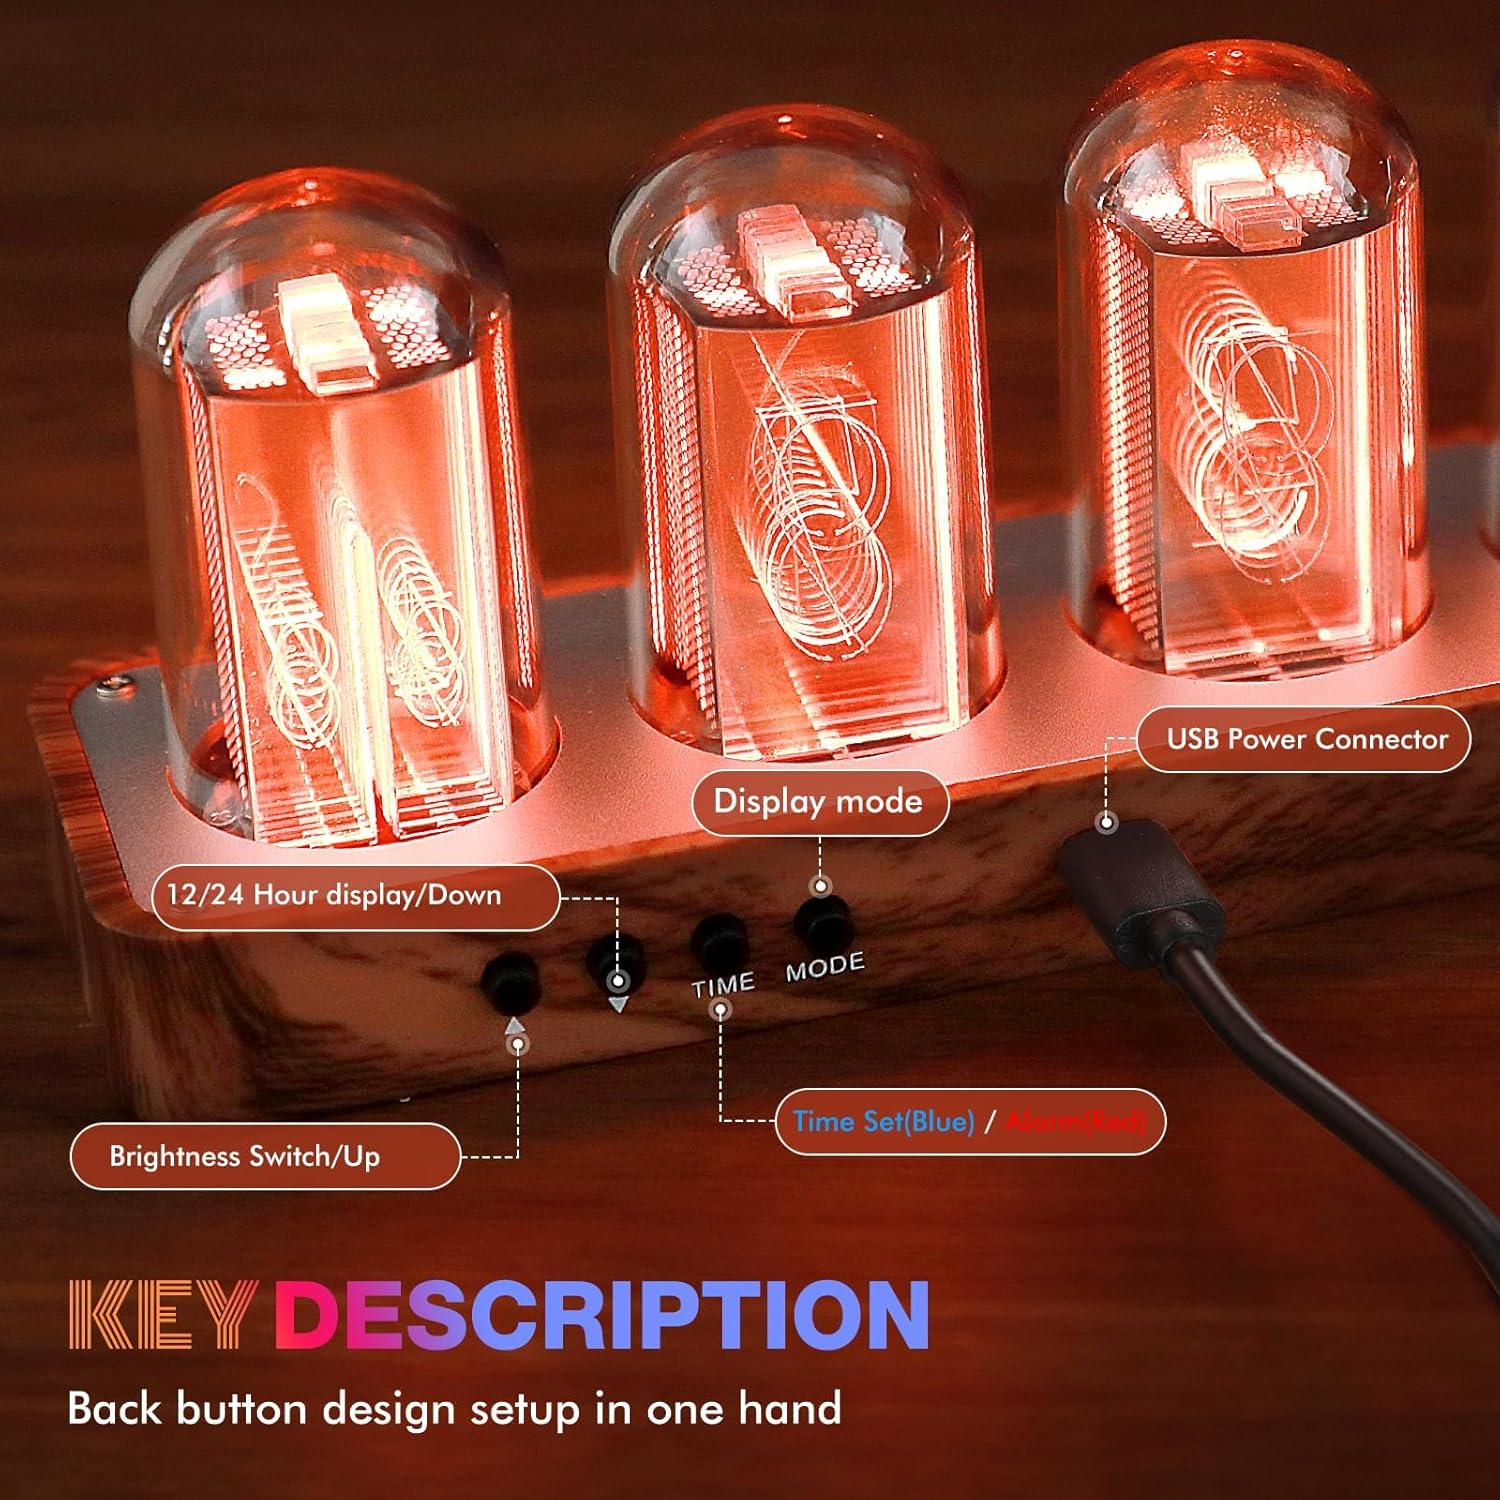
Image: Mobile phone controlling the clock's settings via Wi-Fi.
3.5 Official Operation Tutorial Videos
Video: ClocTeck Tube Clock Operation Tutorial. This video demonstrates how to use the clock's buttons for various settings.
Video: ClocTeck Nixie Tube Clock (5 Tubes). An overview of the clock's features and aesthetic appeal.
4. Maintenance
To ensure the longevity and optimal appearance of your ClocTeck Nixie Tube Clock, follow these simple maintenance guidelines:
- Cleaning: Use the provided cleaning cloth or a soft, dry, lint-free cloth to gently wipe the display tubes and the clock's body. Avoid using abrasive cleaners, solvents, or spray cleaners directly on the unit.
- Placement: Place the clock on a stable, flat surface away from direct sunlight, excessive heat, or moisture.
- Handling: Handle the clock with care to avoid dropping or impacting the display tubes.
5. Troubleshooting
If you encounter any issues with your ClocTeck Nixie Tube Clock, please refer to the following common problems and solutions:
5.1 Wi-Fi Connectivity Issues
- Cannot Connect to Clock's Wi-Fi: Ensure your mobile device's Wi-Fi is enabled and you are selecting the correct network broadcast by the clock (e.g., "ClocTeck_XXXX"). During initial setup, temporarily disable mobile data on your phone to ensure it connects to the clock's local Wi-Fi network.
- Difficulty Connecting to Home Network: Double-check your Wi-Fi password. Ensure the clock is within range of your Wi-Fi router. Note that the clock's own Wi-Fi hotspot may remain active even after connecting to your home network; the default password for this hotspot is '12345678'.
5.2 Time Display Issues
- Incorrect Time: Ensure the clock is connected to Wi-Fi for automatic time synchronization. If not, manually set the time using the TIME button (long press).
- 12/24 Hour Format Not Sticking: Use a short press on the '12/24 Hour Display / Down' button to toggle between formats. If the setting reverts, try re-syncing via Wi-Fi.
5.3 Display Not Lighting Up
- No Power: Verify the USB Type-C cable is securely connected to both the clock and the power source. Try a different USB power adapter or port.
- Brightness Too Low: Short press the 'Brightness Switch / Up' button to increase the display brightness.
6. Specifications
| Feature | Detail |
|---|---|
| Brand | ClocTeck |
| Model Number | CT-002 |
| Product Dimensions | 12"W x 2.5"H |
| Item Weight | 1.74 pounds |
| Material | Aluminum, Acrylic |
| Power Source | Corded Electric (USB Type-C) |
| Display Type | Digital (LED Tube Simulation) |
| Special Features | Loud Alarm, Large Display, Timer, Adjustable Brightness, Mood Light, Wi-Fi SYNC |
| UPC | 749212833616 |
7. Warranty and Support
For warranty information and technical support, please refer to the contact details provided with your purchase or visit the official ClocTeck website. Keep your proof of purchase for any warranty claims.
Related documentsCT-002


Ask a question about this manual
Ask about setup, troubleshooting, compatibility, parts, safety, or missing instructions. Manuals+ will review the question and use this page’s manual context to help answer it.