
Introduction
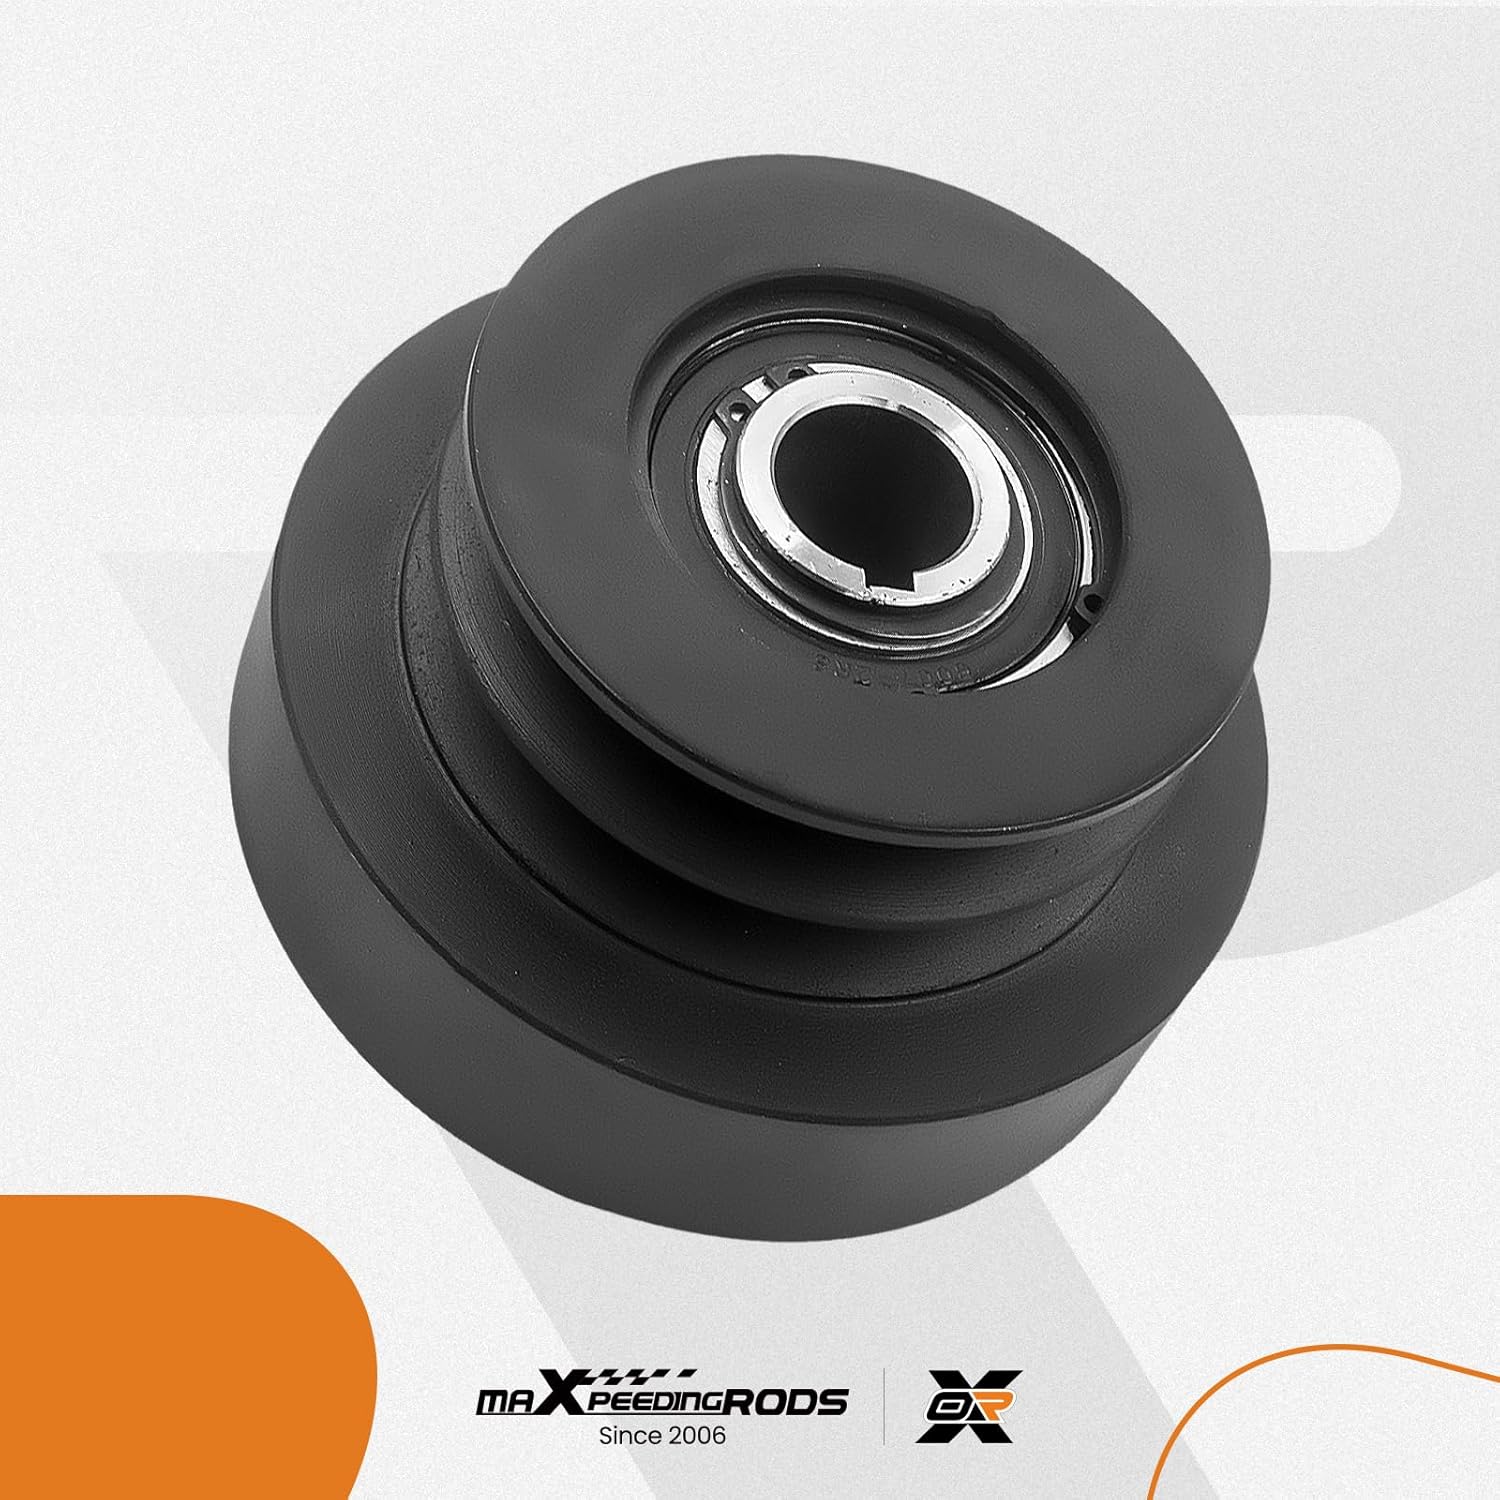
This manual provides essential information for the safe and effective installation, operation, and maintenance of your maXpeedingrods 1-inch (25.4mm) Bore Centrifugal Pulley Clutch. This clutch is designed for 8-16HP engines and is suitable for various transportation vehicles, including three-wheelers, ATVs, LTVs, and Go Karts. Please read this manual thoroughly before attempting any installation or operation.
Safety Information
Always prioritize safety when working with mechanical components. Failure to follow safety instructions can result in serious injury or damage to equipment.
- Professional Installation Recommended: Due to the technical nature of this product, professional installation is highly recommended.
- Read All Instructions: Ensure you understand all instructions before proceeding with installation or operation.
- Wear Protective Gear: Always wear appropriate personal protective equipment, including safety glasses and gloves, during installation and maintenance.
- Engine Off: Ensure the engine is completely off and cooled before performing any work on the clutch or engine.
- Secure Vehicle: Secure the vehicle to prevent accidental movement during installation.
- Correct Tools: Use only the correct tools for the job.
- Inspect Regularly: Periodically inspect the clutch for wear, damage, or loose components.
Package Contents
Verify that all components are present and undamaged upon opening the package.
- 1x maXpeedingrods Centrifugal Pulley Clutch (1-inch / 25.4mm Bore)
Note: No additional instructions are included in the package. This manual serves as the primary instruction guide.
Specifications
| Feature | Specification |
|---|---|
| Clutch Bore | 1 inch (25.4 mm) |
| Key Way | 1/4 inch (6.35 mm) flat key way |
| Engine Compatibility | 8HP - 16HP engines |
| Rotate Speed Range | 2000 to 3600 RPM |
| Belt Section | 2B |
| Item Weight | 7.72 pounds (approx. 3.5 kg) |
| Product Dimensions | 6.3 x 5.91 x 4.72 inches (approx. 16 x 15 x 12 cm) |
| Manufacturer Part Number | BX44MP |
| OEM Part Number | 200630 |

Installation
Proper installation is crucial for the performance and longevity of the centrifugal clutch. If you are unsure about any step, consult a qualified mechanic.
Required Tools and Materials:
- Appropriate wrenches or sockets
- Torque wrench
- Key stock (if not already present on engine shaft)
- Shaft cleaner/degreaser
- Loctite (optional, for set screws if applicable)
Installation Steps:
- Prepare the Engine Shaft: Ensure the engine crankshaft is clean, free of burrs, and has the correct 1/4 inch (6.35 mm) keyway. The shaft diameter must be 1 inch (25.4 mm).
- Install Key: Insert the 1/4 inch key into the keyway on the engine crankshaft.
- Slide Clutch onto Shaft: Carefully slide the centrifugal clutch onto the engine crankshaft, aligning the clutch's keyway with the key on the shaft. Ensure the clutch slides on smoothly without excessive force. The clutch should be oriented correctly for belt engagement.
- Secure the Clutch: Depending on your engine and clutch design, secure the clutch using the appropriate retaining bolt and washer on the end of the crankshaft. Tighten to the engine manufacturer's specified torque. Some clutches may also use set screws; if present, tighten them securely.
- Install Drive Belt: Route the appropriate 2B section drive belt around the clutch pulley and the driven pulley of your application (e.g., transmission, axle). Ensure the belt is properly tensioned according to your vehicle's specifications.
- Verify Alignment: Check that the clutch pulley and the driven pulley are perfectly aligned to prevent premature belt wear and clutch damage.
- Initial Test: Before full operation, perform a brief test run at low RPMs to ensure smooth engagement and disengagement. Listen for unusual noises or vibrations.


Operation
The centrifugal clutch operates automatically based on engine RPM. As the engine speed increases, centrifugal force causes the clutch shoes to engage the outer drum, transferring power to the drive belt.
- Engagement Speed: The clutch is designed to engage within a speed range of 2000 to 3600 RPM. This means that below this range, the clutch will be disengaged, allowing the engine to idle without transmitting power.
- Smooth Acceleration: Apply throttle smoothly to allow for gradual clutch engagement. Rapid acceleration can cause excessive wear.
- Avoid Overloading: Do not operate the vehicle with loads exceeding its design capacity, as this can strain the clutch and engine.

Maintenance
Regular maintenance ensures optimal performance and extends the lifespan of your centrifugal clutch.
- Keep Clean: Periodically clean the clutch assembly to remove dirt, dust, and debris that can interfere with its operation. Use compressed air or a brush.
- Inspect for Wear: Regularly check the clutch shoes, drum, and bearings for signs of wear or damage. Replace components as necessary.
- Check Belt Condition: Inspect the drive belt for cracks, fraying, or excessive wear. Ensure it is the correct 2B section belt and replace if damaged.
- Lubrication: Some centrifugal clutches require periodic lubrication of the bearing. Consult your engine or vehicle manual for specific lubrication requirements. Avoid getting lubricant on the clutch shoes or drum, as this will cause slippage.
- Tightness: Ensure all mounting bolts and set screws (if applicable) remain tight.
Troubleshooting
This section addresses common issues you might encounter with your centrifugal clutch.
| Problem | Possible Cause | Solution |
|---|---|---|
| Clutch not engaging | Engine RPM too low; Worn clutch shoes; Broken springs; Oil/grease on shoes/drum | Increase engine RPM; Replace clutch shoes; Replace springs; Clean clutch shoes and drum thoroughly |
| Clutch engaging too early/late | Incorrect spring tension; Worn components | Inspect and replace springs if necessary; Consult a professional for adjustment or replacement |
| Excessive noise or vibration | Worn bearings; Misaligned pulleys; Loose components; Damaged clutch shoes/drum | Inspect and replace bearings; Check and correct pulley alignment; Tighten all fasteners; Inspect and replace damaged clutch parts |
| Clutch slipping | Worn clutch shoes; Oil/grease on shoes/drum; Incorrect belt tension; Incorrect belt type | Replace clutch shoes; Clean clutch shoes and drum; Adjust belt tension; Ensure 2B section belt is used |
| Overheating | Constant slipping; Overloading; Insufficient airflow | Address slipping issues; Reduce load; Ensure adequate ventilation around the clutch |
Support and Contact
For further assistance, technical support, or inquiries regarding replacement parts, please contact maXpeedingrods customer service through their official channels or the retailer where the product was purchased.
Please have your product model number (BX44MP) and OEM part number (200630) available when contacting support.