1. Introduction
This manual provides detailed instructions for the assembly, operation, and maintenance of your Gorilla 200' Aluminum Zero-Rust Upright Hose Reel. Please read all instructions carefully before use to ensure safe and efficient operation. This hose reel is designed for durability and ease of use, featuring a high-strength anodized aluminum frame, forged brass fittings, and a high-impact blow-molded reel.

Figure 1.1: Overview of the Gorilla 200' Aluminum Zero-Rust Upright Hose Reel.
2. Safety Information
- Always ensure the hose reel is placed on a stable, level surface to prevent tipping.
- Do not exceed the maximum hose capacity of 200 feet.
- Turn off the water supply before connecting or disconnecting hoses.
- Avoid using aluminum hose connectors directly with this reel, as specified by the manufacturer. Ensure compatible hose fittings are used.
- Keep hands and clothing clear of moving parts during winding and unwinding.
- Do not allow children to operate the hose reel unsupervised.
3. Package Contents
Verify that all components are present before beginning assembly:
- Hose Reel Frame (Aluminum)
- Hose Reel Drum (Blow-molded)
- Crank Handle
- Wheels (2)
- Leader Hose (6 ft.)
- Hardware Kit (bolts, nuts, washers, extra hose gaskets)
- Accessory Tray
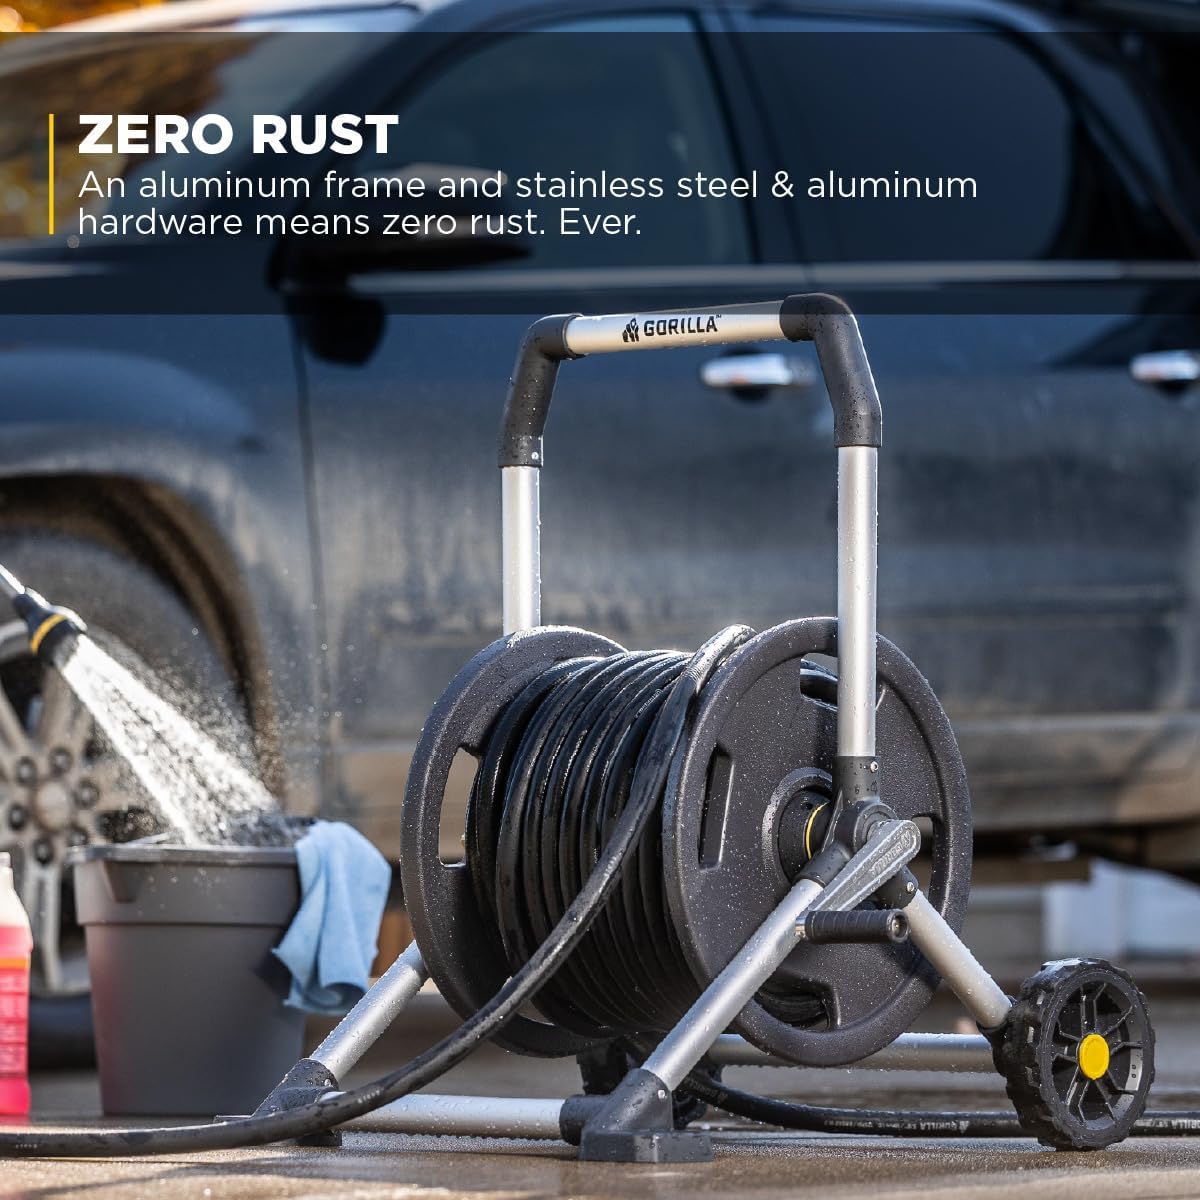
Figure 3.1: Key components and features of the hose reel.
4. Assembly Instructions
Follow these steps for proper assembly. Some steps may require careful attention to detail, as noted by other users.
- Attach Wheels: Secure the two wheels to the main frame using the provided hardware. Ensure they are firmly attached.
- Assemble Reel Drum: Connect the two halves of the blow-molded reel drum around the central axle. Ensure the internal brass fittings are correctly aligned.
- Install Reel Drum onto Frame: Carefully slide the assembled reel drum onto the frame's axle. Important: Align the Gorilla icon on the reel drum first, as indicated by the manufacturer. This ensures correct orientation.
- Attach Crank Handle: Install the crank handle. Note that the bolt for the crank handle has a left-hand thread. Turn counter-clockwise to tighten.
- Attach Accessory Tray: Clip the accessory tray to the bottom frame. Ensure the tray is oriented correctly, as the clips have different spacings for the front and rear tubes.
- Connect Leader Hose: Attach the 6-foot leader hose to the internal brass fitting on the reel drum. Use one of the provided extra hose gaskets to ensure a watertight seal.

Figure 4.1: Detail of the leader hose connection to the reel's brass fitting.
5. Setup
- Position the Reel: Place the hose reel on a flat, stable surface near your water source.
- Connect to Water Source: Attach the free end of the 6-foot leader hose to your outdoor spigot. Hand-tighten to prevent leaks, using a wrench only if necessary and with caution to avoid overtightening.
- Load Main Hose: Connect your garden hose (up to 200 ft.) to the external brass fitting on the reel drum. Ensure a secure, leak-free connection.
- Wind Hose onto Reel: Slowly turn the crank handle to wind the main hose onto the reel. Guide the hose evenly across the drum to prevent tangling and ensure proper capacity utilization.
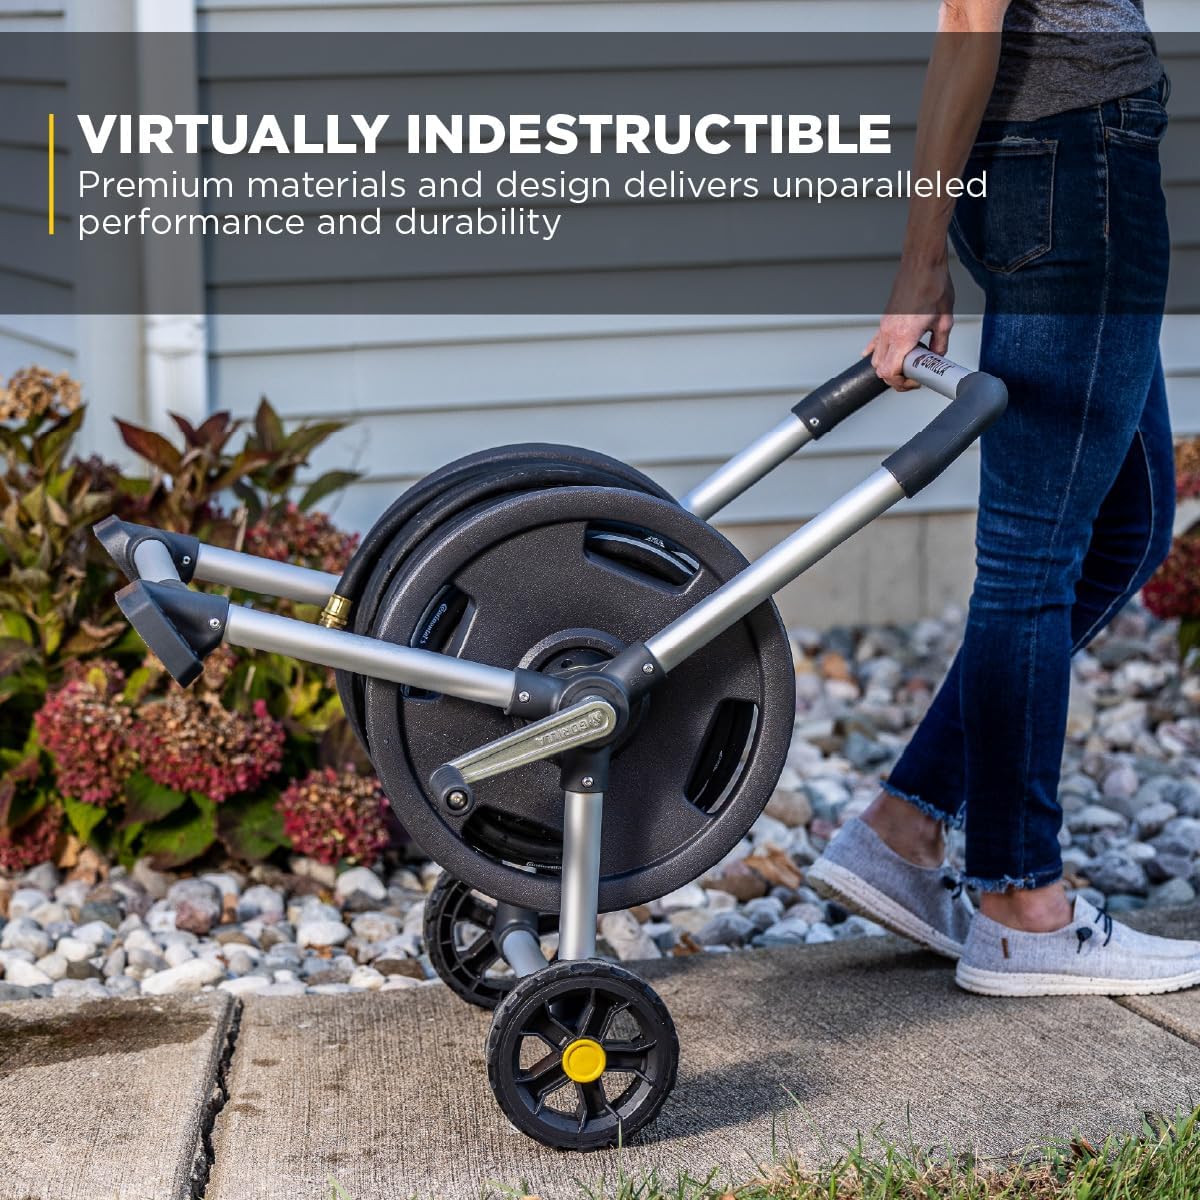
Figure 5.1: The no-leak system with forged brass connections.
6. Operating Instructions
6.1. Unwinding the Hose
- Ensure the water supply is off before unwinding if the hose is under pressure.
- Pull the desired length of hose from the reel. The built-in hose alignment guide assists in smooth unwinding and prevents kinks.
- Once the desired length is extended, turn on the water supply at the spigot.
6.2. Winding the Hose
- Turn off the water supply at the spigot and relieve any pressure in the hose by opening the nozzle.
- Begin turning the crank handle clockwise. Guide the hose onto the reel evenly to prevent kinks and ensure a neat coil. The cast aluminum crank handle and alignment guide facilitate easy winding.

Figure 6.1: The crank handle and hose alignment guide for kink-free operation.

Figure 6.2: Moving the hose reel using the upright comfort handle and wheels.
7. Maintenance
- Cleaning: Periodically clean the hose reel with mild soap and water. Rinse thoroughly and dry. Avoid abrasive cleaners.
- Connection Checks: Regularly inspect all hose connections for tightness and signs of wear. Replace gaskets as needed (extra gaskets are provided).
- Storage: During freezing temperatures, drain all water from the hose and reel. Store the reel in a protected area to prevent damage from ice expansion.
- Rust Prevention: The aluminum frame and stainless steel/aluminum hardware are designed for zero rust. However, regular cleaning helps maintain its appearance and integrity.
8. Troubleshooting
| Problem | Possible Cause | Solution |
|---|---|---|
| Water leaks from connections | Loose connections, worn gaskets, incompatible fittings | Tighten connections. Replace worn gaskets. Ensure brass fittings are used. |
| Difficulty winding/unwinding hose | Hose tangled, reel mechanism obstructed, hose capacity exceeded | Ensure hose is guided evenly. Check for obstructions. Verify hose length does not exceed 200 ft. |
| Reel unstable or tips easily | Uneven surface, improper assembly | Place on a level surface. Recheck assembly steps, especially frame and wheel attachment. |
9. Specifications
- Model: GRS-200H
- Material: Aluminum frame, high-impact blow-molded reel, forged brass fittings
- Hose Capacity: Up to 200 feet
- Operation Mode: Manual
- Installation Type: Freestanding
- Item Weight: 22.6 pounds
- Package Dimensions: 24 x 19.5 x 17 inches
- UPC: 722571014995

Figure 9.1: Product dimensions for the Gorilla hose reel.
10. Warranty Information
The Gorilla 200' Aluminum Zero-Rust Upright Hose Reel is backed by a 7-year manufacturer's warranty. This warranty covers defects in materials and workmanship under normal use. Please retain your proof of purchase for warranty claims. For specific terms and conditions, refer to the warranty card included with your product or contact Gorilla Carts customer support.
11. Support
For further assistance, technical support, or to inquire about replacement parts, please contact Gorilla Carts customer service. Refer to the contact information provided on the product packaging or the official Gorilla Carts website.


