
1. Introduction
Thank you for choosing the PaiPaitek Cat Training Collar. This device is designed to assist in training your cat by providing safe and effective feedback through beep, vibration, and static stimulation modes. Please read this manual thoroughly before use to ensure proper operation and the safety of your pet.
2. Important Safety Information
- Not for Aggressive Cats: Do not use this product on aggressive cats. If your cat exhibits aggressive behavior, consult a professional trainer or veterinarian.
- Age and Health: This collar is intended for healthy cats over 6 months old. Do not use on sick, injured, or pregnant cats.
- Skin Irritation: Prolonged wear or improper fit can cause skin irritation. Check your cat's neck daily for any signs of redness or sores. If irritation occurs, discontinue use and consult a veterinarian.
- Supervised Use: Always supervise your cat when the collar is in use.
- Water Exposure: The receiver is water-resistant, but the remote may not be. Avoid submerging the remote in water.
- Static Stimulation: Use static stimulation only as a last resort and at the lowest effective level. It is a corrective tool, not a punishment.
- Children: Keep the device and its components out of reach of children.
3. Package Contents
Please check the package for the following items:
- Cat Training Collar Receiver
- Remote Transmitter
- Adjustable Nylon Collar Strap
- USB Charging Cable
- Test Light Tool
- User Manual
4. Product Overview
Familiarize yourself with the components of your PaiPaitek Cat Training Collar system.
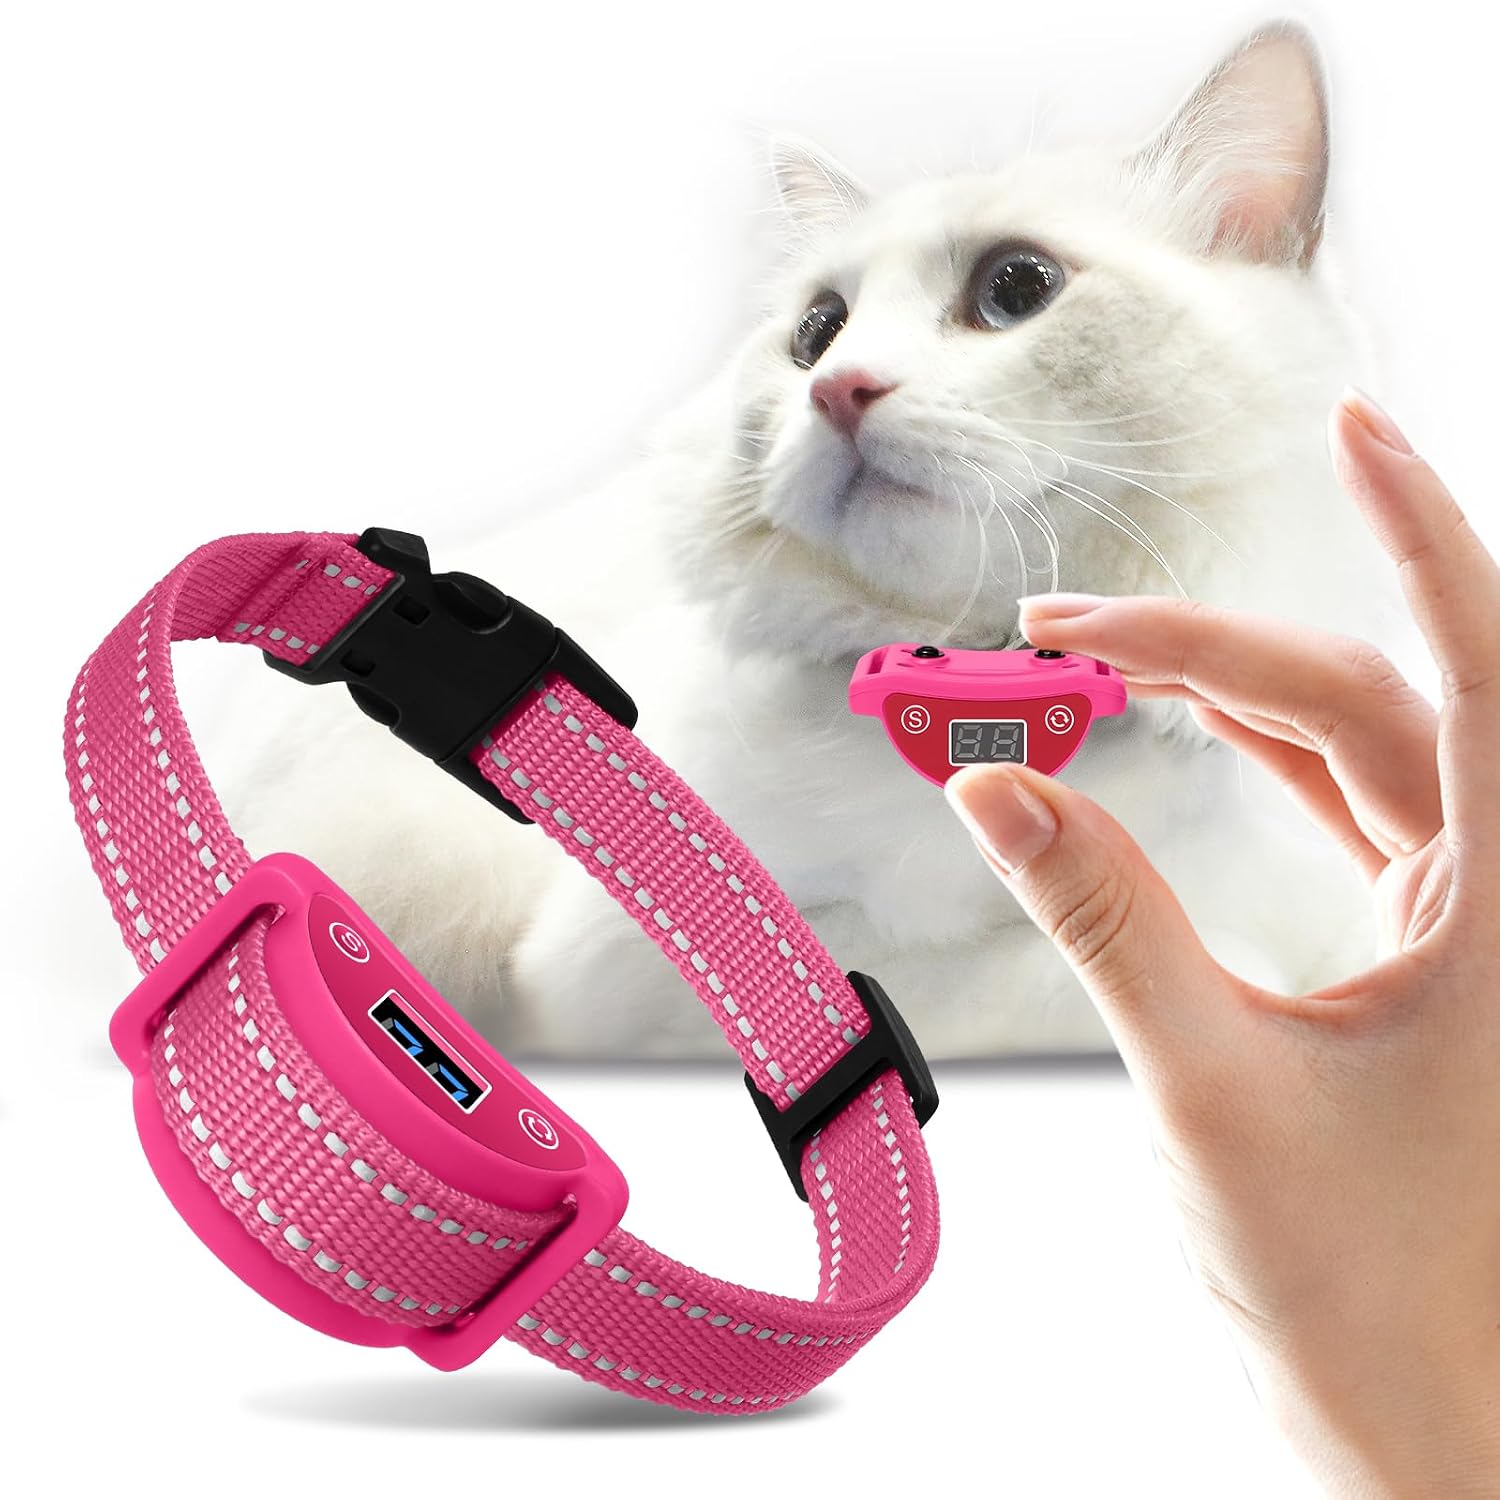
Image 1: Overview of the PaiPaitek Cat Training Collar receiver and remote.
Receiver Collar
- Contact Points: Deliver static stimulation.
- Charging Port: For recharging the receiver battery.
- Indicator Light: Shows battery status and mode.
- Adjustable Strap: Secures the receiver to your cat's neck.
Remote Transmitter
- LCD Display: Shows mode, intensity level, and battery status.
- Mode Button: Switches between Beep, Vibration, and Static modes.
- +/- Buttons: Adjust intensity levels.
- Correction Button: Activates the selected correction mode.
- Channel Button: For pairing with multiple collars (if applicable).
5. Setup
5.1 Charging the Devices
Before first use, fully charge both the receiver and the remote transmitter.
- Connect the USB charging cable to the charging port on the receiver and remote.
- Plug the other end into a standard USB power adapter (not included).
- The indicator light on the receiver will show charging status (e.g., solid red while charging, green when full). The remote's display will indicate charging.
- Charging typically takes 2-3 hours.
5.2 Pairing the Remote and Receiver
The devices are usually pre-paired. If they are not, or if you need to re-pair:
- Ensure both devices are fully charged and turned off.
- Turn on the remote transmitter.
- Press and hold the power button on the receiver until the indicator light flashes rapidly.
- Within 10 seconds, press the correction button on the remote. The receiver's indicator light will stop flashing and remain solid, indicating successful pairing.
6. Operating Instructions
6.1 Turning On/Off
- Receiver: Press and hold the power button until the indicator light turns on/off.
- Remote: Press any button to wake up, or press and hold the power button to turn on/off.
6.2 Selecting Modes
Press the Mode button on the remote to cycle through the available training modes:
- Beep Mode: Delivers an audible tone.
- Vibration Mode: Delivers a gentle vibration.
- Static Stimulation Mode: Delivers a static pulse.
6.3 Adjusting Intensity Levels
For Vibration and Static Stimulation modes, use the +/- buttons on the remote to adjust the intensity level. Start at the lowest level and gradually increase until your cat responds.
6.4 Delivering Correction
Once the desired mode and intensity are selected, press the Correction button on the remote to deliver the feedback to the collar.
7. Fitting the Collar
Proper fit is crucial for effectiveness and your cat's comfort and safety.

Image 2: Illustration of collar dimensions and receiver attachment.
- Positioning: Place the receiver on the underside of your cat's neck, directly below the chin. The contact points should touch the skin.
- Tightness: The collar should be snug, but not too tight. You should be able to fit one finger comfortably between the collar strap and your cat's neck.
- Trim Excess Strap: If the collar strap is too long, you can trim the excess after ensuring the correct fit. Seal the cut edge with a lighter to prevent fraying.
- Daily Check: Do not leave the collar on for more than 12 hours per day. Reposition the collar every 1-2 hours to prevent pressure sores.
8. Charging
Both the receiver and remote are rechargeable. Use the provided USB cable.
- Receiver: A full charge provides approximately 7-10 days of use, depending on frequency.
- Remote: A full charge provides several weeks of standby time.
- Low Battery Indicator: The receiver's indicator light will flash red, and the remote's display will show a low battery icon when charging is needed.
9. Maintenance
- Cleaning: Wipe the receiver and remote with a damp cloth. Do not use harsh chemicals.
- Contact Points: Regularly clean the contact points on the receiver to ensure good contact with your cat's skin.
- Strap: Wash the nylon strap with mild soap and water as needed.
- Storage: Store the device in a cool, dry place when not in use.
10. Troubleshooting
| Problem | Possible Solution |
|---|---|
| Collar not working/no correction. |
|
| Cat shows no response to correction. |
|
| Remote display is blank. |
|
| Skin irritation on cat's neck. |
|
11. Specifications
- Brand: PaiPaitek
- Model: B0B4NSZRGP
- Modes: Beep, Vibration, Static Stimulation
- Collar Material: Nylon
- Receiver Weight: Approximately 1.13 ounces (32g)
- Battery Type: Rechargeable Lithium-ion
- Water Resistance: Receiver is water-resistant (not submersible)
- Target Audience: Cats (All Breed Sizes)
12. Warranty and Support
PaiPaitek products come with a standard warranty. For specific warranty details, technical support, or customer service inquiries, please refer to the contact information provided with your product packaging or visit the official PaiPaitek website.
Note: Warranty terms may vary by region and retailer. Please retain your proof of purchase.


