
1. Introduction
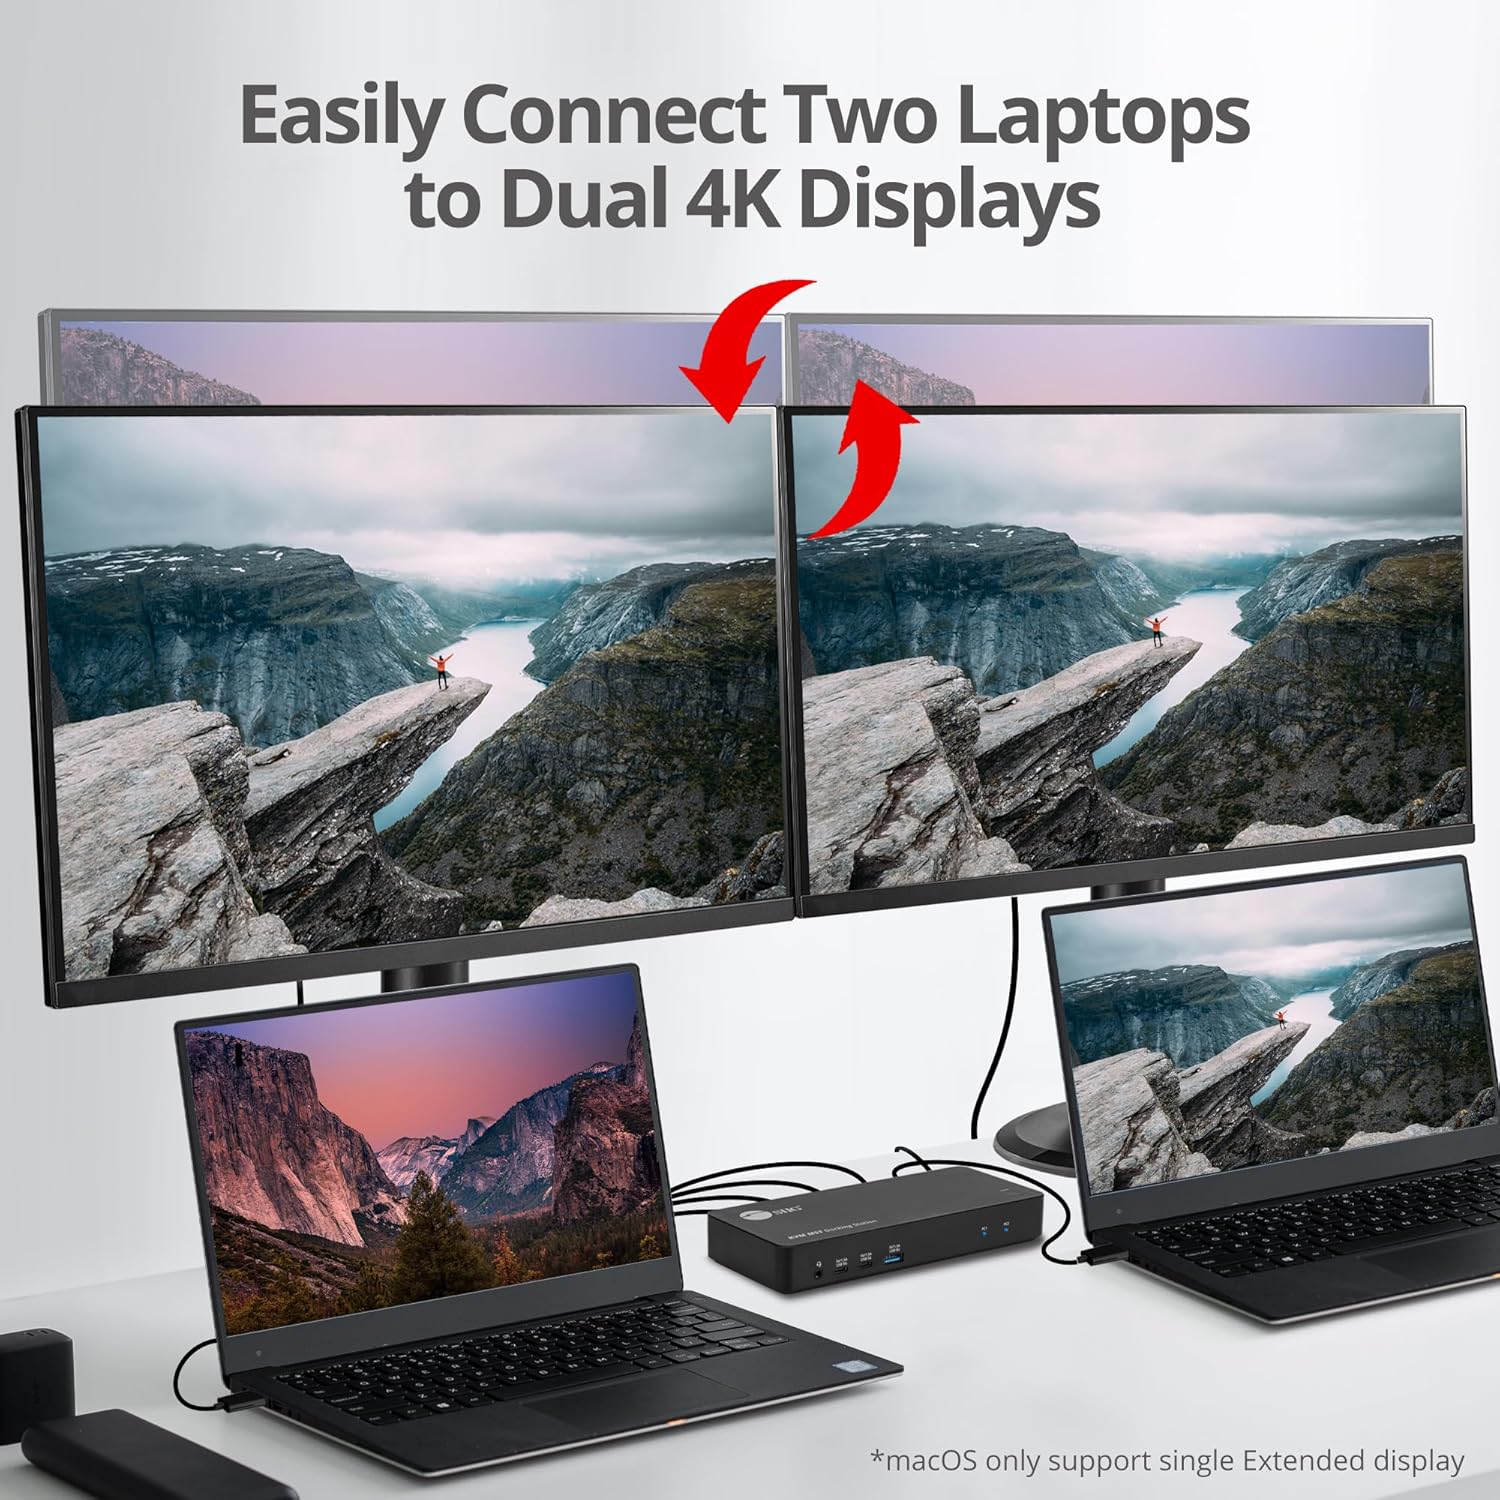
This manual provides detailed instructions for the installation, operation, and maintenance of your SIIG 2-Port USB-C KVM Docking Station (Model: CE-DK0111-S1). This device allows you to connect two laptops (Windows, macOS, or ChromeOS) to multiple displays and shared peripherals, enhancing productivity by enabling seamless switching between systems.

Front view of the SIIG 2-Port USB-C KVM Docking Station, highlighting its compact design and front-facing ports.
Official product video demonstrating the features and setup of the SIIG 2-Port USB-C KVM Docking Station.
2. Package Contents
Please verify that your package contains the following items:
- SIIG 2-Port USB-C KVM Docking Station (CE-DK0111-S1)
- Power Adapter
- USB-C to USB-C Cables (x2)
- 3.5mm Switch Cable
- User Manual (this document)
3. Product Overview and Interface
Familiarize yourself with the ports and indicators on your KVM docking station.

Diagram showing the top view of the KVM docking station with labels for the 3.5mm headset jack, USB-A 5Gbps ports, USB-C 5Gbps ports, PC1/PC2 link LEDs, and power/switch button.
Detailed diagram illustrating the front and back ports of the KVM docking station, including USB-C host ports, DisplayPort, HDMI, RJ45 Ethernet, USB-A, and power input.
Front Panel Ports:
- 3.5mm Headset Jack: For connecting headphones or speakers.
- USB-C 5Gbps (5V/1.5A): Two ports for data transfer and fast charging.
- USB-A 5Gbps (5V/1.5A): One port for data transfer and fast charging.
- PC1/PC2 Link LEDs: Indicate which computer is currently active.
- Power/Switch Button: Long press to power On/Off, short press to switch between PC1 and PC2.
Rear Panel Ports:
- DC 20V Power Jack: For connecting the power adapter (up to 65W for PC2 charging).
- USB-C Host (PC2): Connects to your second computer.
- USB-C Host (PC1): Connects to your first computer.
- 3.5mm Switch Input: For connecting the external switch cable.
- DisplayPort Output: Connects to a monitor for video output.
- HDMI Output: Connects to a monitor for video output.
- RJ45 Gigabit Ethernet: For wired network connection.
- USB-A 5Gbps: Two ports for connecting peripherals like keyboards and mice.
- USB-C PD Input (100W for PC1): For connecting your laptop's power adapter to charge PC1.
4. Setup Instructions
Follow these steps to set up your KVM docking station:
- Connect Power: Plug the provided power adapter into the DC 20V Power Jack on the rear of the KVM and then into a wall outlet.
- Connect Monitors: Connect your primary monitor to the DisplayPort output and your secondary monitor to the HDMI output on the KVM.
- Connect Peripherals: Connect your keyboard, mouse, and other USB devices to the available USB-A and USB-C ports on the KVM.
- Connect Network (Optional): For a stable wired internet connection, connect an Ethernet cable from your router/modem to the RJ45 Gigabit Ethernet port on the KVM.
- Connect Computers:
- Connect your first laptop (PC1) to the USB-C Host (PC1) port using a USB-C to USB-C cable. If your laptop supports Power Delivery, you can connect its power adapter to the USB-C PD Input (100W for PC1) on the KVM to charge it.
- Connect your second laptop (PC2) to the USB-C Host (PC2) port using a USB-C to USB-C cable. The KVM will provide up to 65W charging to PC2 via the DC 20V power jack.
- Connect Switch Cable (Optional): If desired, connect the 3.5mm switch cable to the 3.5mm Switch Input port on the KVM for remote switching.
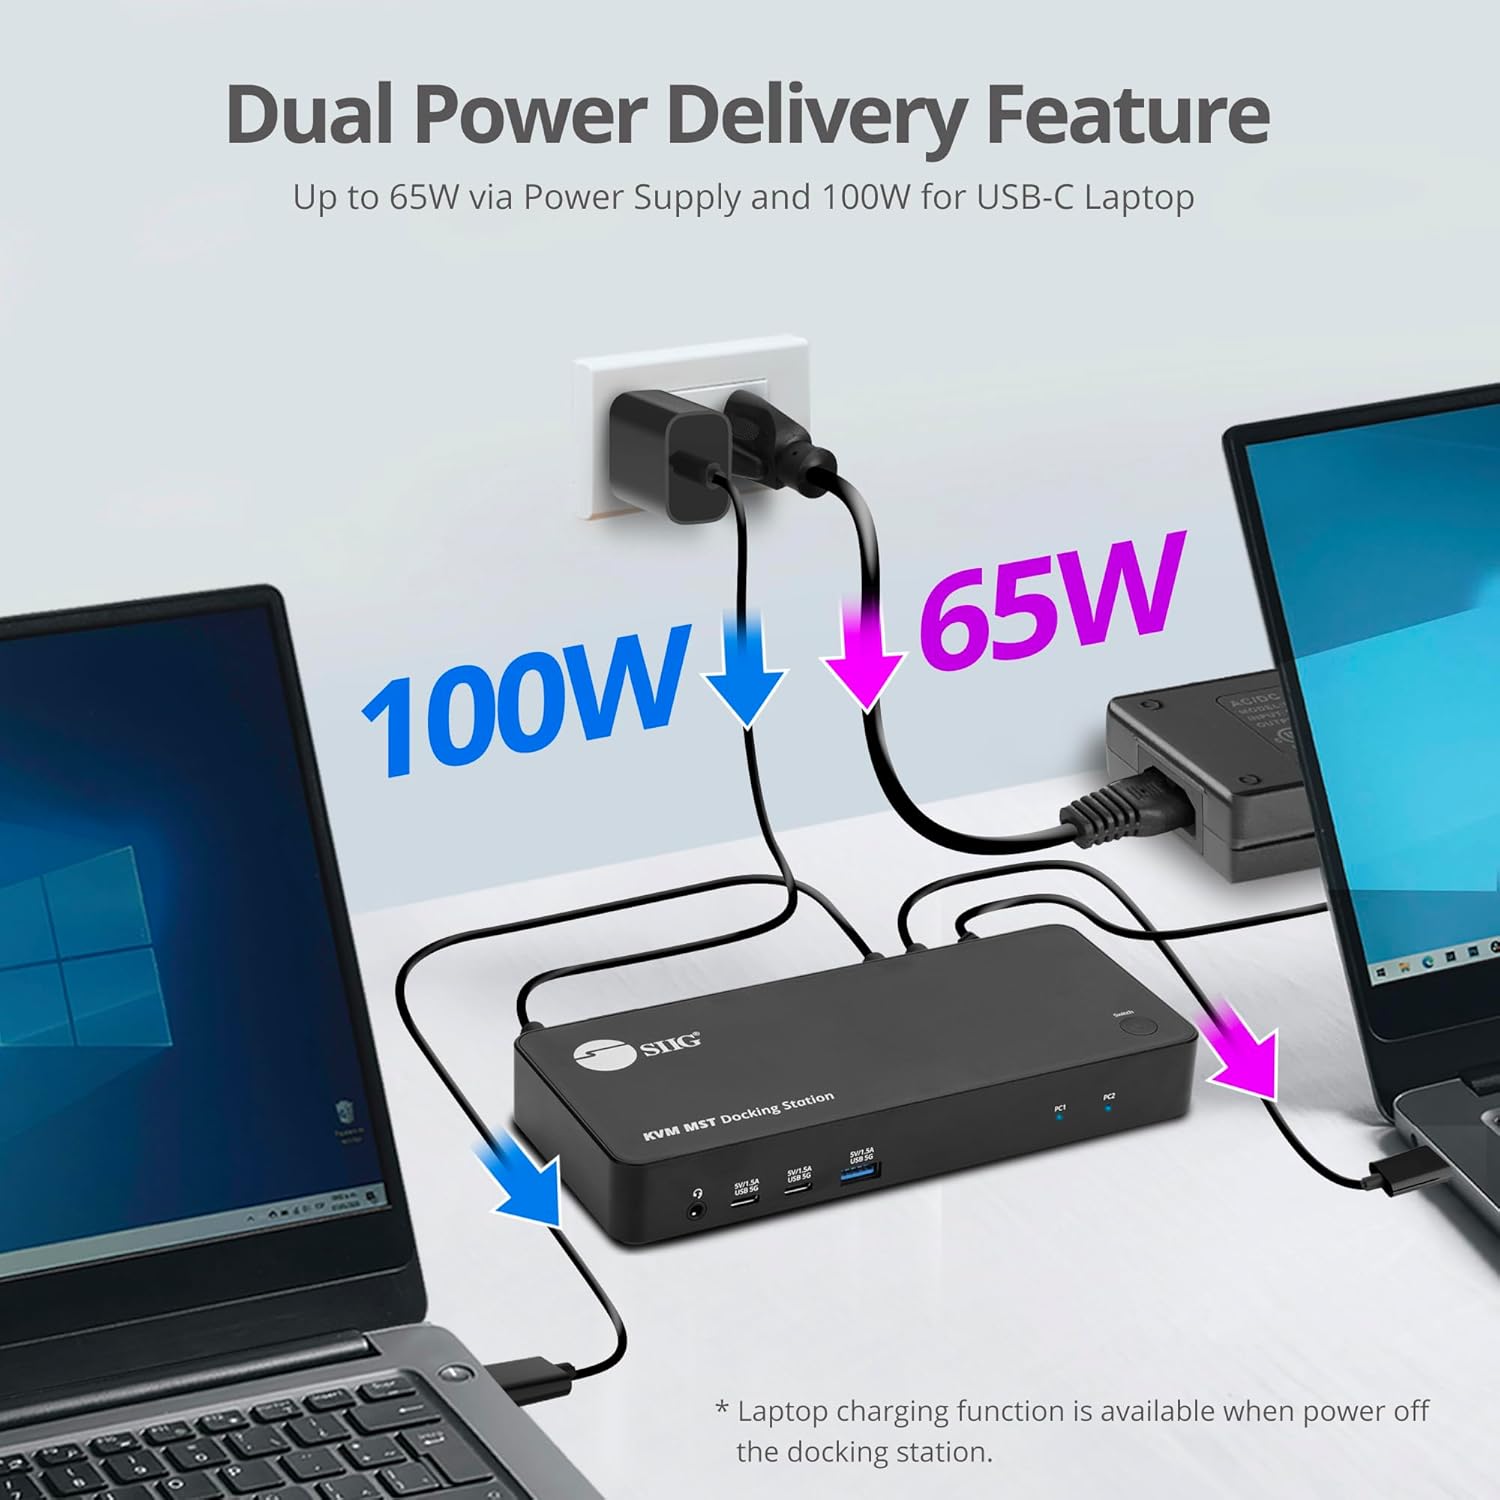
The KVM docking station provides power delivery, supplying up to 100W to PC1 (via PD Input) and up to 65W to PC2 (via DC 20V charging port).
Important Compatibility Notes:
- Ensure your laptops have an available USB-C port with DP 1.4 Alt mode or Thunderbolt 3/4 port for full functionality.
- Mac M1/M2/M3 Pro/Max systems are compliant with ONLY SINGLE extended video output. Dual extended displays are not supported on these specific Mac models.
- Only one computer can be displayed on the monitors simultaneously.
5. Operating Instructions
Once setup is complete, you can begin using your KVM docking station.
Switching Between Computers:
You can switch between the two connected computers using one of two methods:
- Power/Switch Button: Briefly press the Power/Switch button on the front panel of the KVM. The PC1 or PC2 LED will illuminate to indicate the active computer.
- External Switch Cable: Press the button on the connected 3.5mm switch cable.

This image shows how to switch between two connected laptops using either the physical button on the docking station or the included 3.5mm switch cable for convenience.
Display Modes:
The KVM docking station supports various display configurations depending on your operating system and laptop capabilities.

This diagram illustrates the supported display modes for both Windows and macOS systems, detailing how single and dual monitors can be configured. Note that Mac M1/M2/M3 Pro/Max systems support only single extended video output.
6. Maintenance
To ensure the longevity and optimal performance of your KVM docking station, follow these maintenance guidelines:
- Cleaning: Use a soft, dry cloth to clean the exterior of the device. Avoid liquid cleaners or abrasive materials.
- Ventilation: Ensure the device is placed in a well-ventilated area to prevent overheating. Do not block any ventilation openings.
- Storage: When not in use for extended periods, store the device in a cool, dry place away from direct sunlight and extreme temperatures.
- Cable Management: Keep cables organized and free from kinks or excessive bending to prevent damage.
7. Troubleshooting
If you encounter issues with your KVM docking station, refer to the following common problems and solutions:

Important information regarding system requirements, compatibility with various operating systems (Windows, macOS, MS Surface), DisplayPort version, video drivers, and limitations concerning bandwidth and the number of displays supported.
Common Issues and Solutions:
- No Display Output:
- Ensure all video cables (HDMI, DisplayPort) are securely connected to both the KVM and your monitors.
- Verify that the correct input source is selected on your monitors.
- Check if your laptop's USB-C port supports DP Alt Mode or is a Thunderbolt 3/4 port.
- Update your laptop's video drivers to the latest version.
- For Mac M1/M2/M3 Pro/Max systems, remember that only a single extended video output is supported.
- Cannot Switch Between Computers:
- Ensure both laptops are powered on and properly connected to the KVM's USB-C Host ports.
- Verify that the KVM is powered on (check the power LED).
- Try pressing the switch button firmly or using the external switch cable if connected.
- Peripherals (Keyboard/Mouse) Not Responding:
- Ensure USB devices are securely plugged into the KVM's USB ports.
- Try connecting the peripheral directly to the laptop to confirm it functions independently.
- Restart the KVM and the connected computers.
- No Power Delivery/Charging:
- Confirm the KVM's power adapter is correctly connected and receiving power.
- Ensure your laptop's USB-C port supports Power Delivery.
- For PC1, ensure your laptop's power adapter is connected to the KVM's USB-C PD Input.
- Intermittent Connection/Flickering Displays:
- Check all cables for damage or loose connections. Replace if necessary.
- Ensure your system meets the recommended DisplayPort version (1.4 or later).
- Reduce the display resolution or refresh rate to see if the issue persists, indicating a potential bandwidth limitation.
8. Specifications
| Model Number | CE-DK0111-S1 |
| Product Dimensions | 7.28"L x 3.11"W x 1.1"H |
| Item Weight | 9 Ounces |
| Hardware Interface | HDMI, USB, USB Type C |
| Total USB Ports | 5 |
| Total HDMI Ports | 1 |
| Total DisplayPort Outputs | 1 |
| Wattage (PC2 Charging) | 65 watts |
| Wattage (PC1 PD Input) | Up to 100 watts |
| Compatible Devices | Desktop or laptop with an available USB-C with DP 1.4 Alt mode or Thunderbolt 3/4 port, Windows® 11 / 10, macOS® 12 / 11 / 10.15 to 10.13, Compliant with Mac® M1, M2, M3 Pro, & Max systems for single extend video output. |
9. Warranty and Support
SIIG stands by the quality of its products. This KVM docking station comes with a manufacturer warranty. For any issues, technical assistance, or warranty claims, please contact SIIG customer support through Amazon or visit the official SIIG store for more information.
Visit the SIIG Store on Amazon.


