1. Introduction
Thank you for choosing the Paris Rhône Nugget Ice Maker. This machine is designed to provide soft, chewable nugget ice quickly and efficiently, perfect for a variety of beverages. This manual provides essential information for the safe and effective operation, maintenance, and troubleshooting of your new ice maker. Please read it thoroughly before first use and retain it for future reference.
2. Key Features
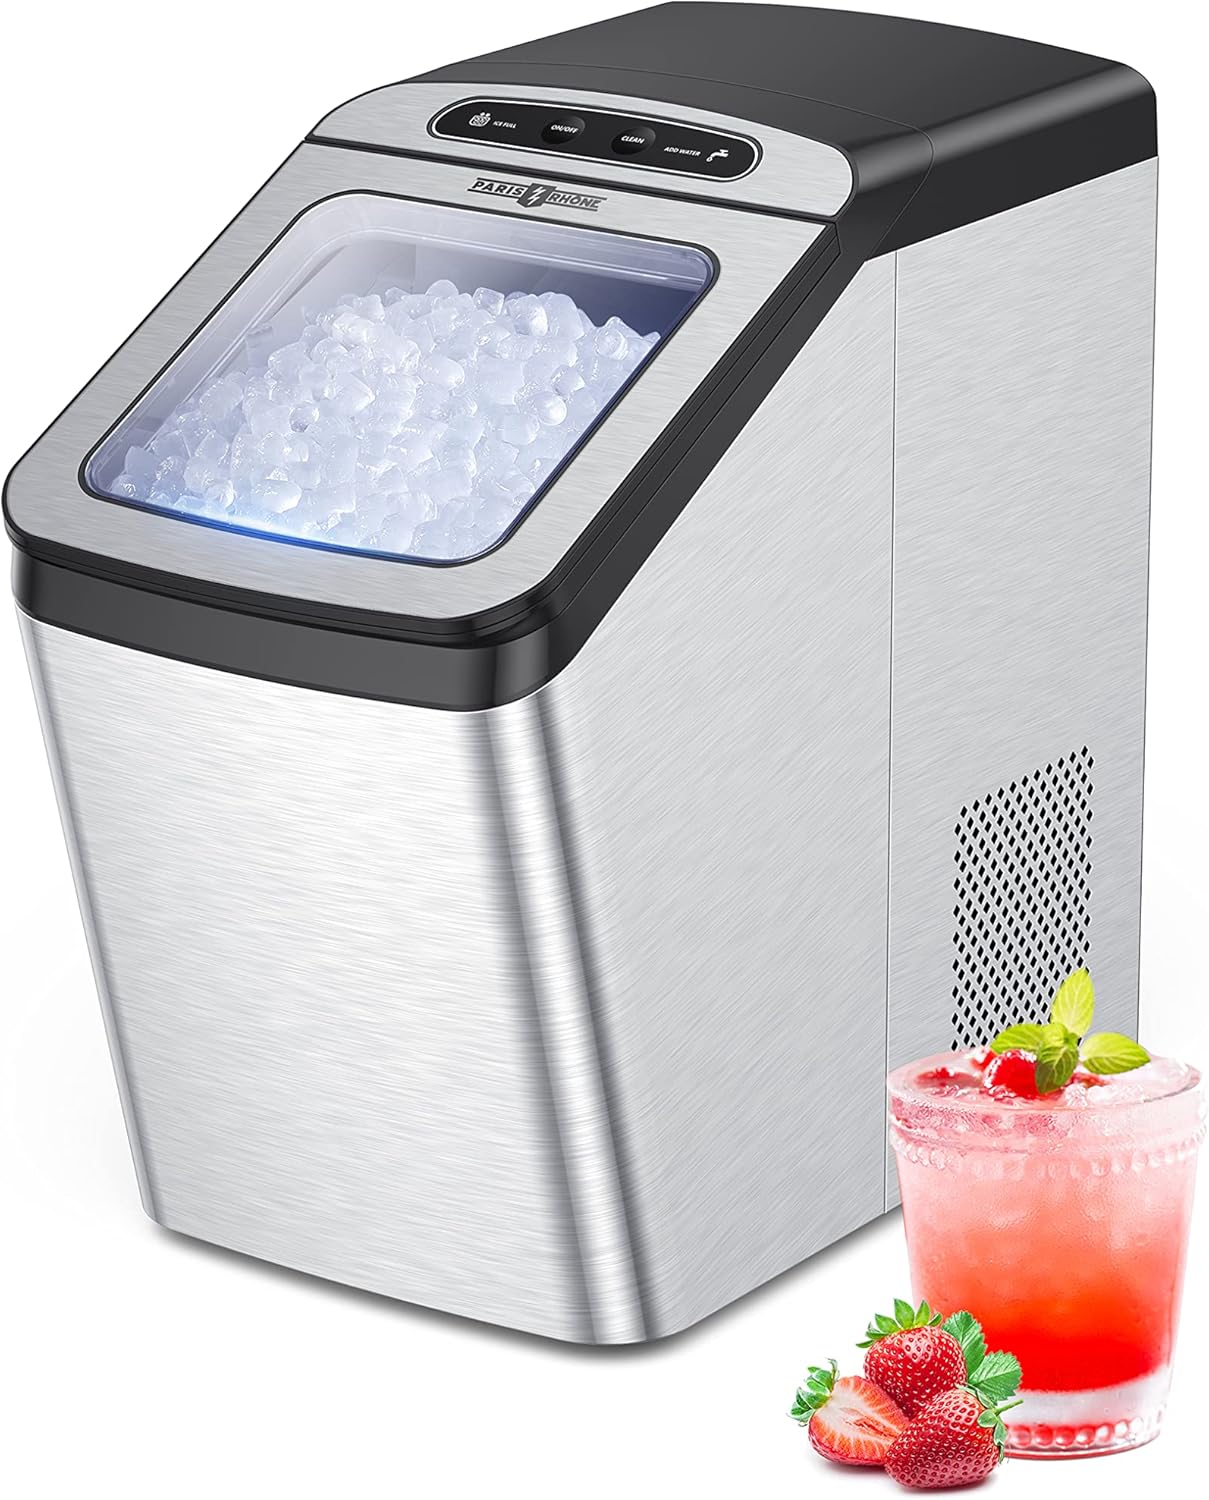
- Soft & Chewable Nugget Ice: Produces crunchy, chewable ice that chills drinks quickly and retains freshness.
- Efficient Ice Making: Capable of producing a batch of ice in approximately 14 minutes, with a daily production capacity of up to 30 lbs.
- Intelligent & Innovative Design: Features indicators for low water and full ice basket, automatic restart, and recycling of melted ice for continuous production.
- Easy to Use and Clean: Supports manual water addition or direct water supply connection. Includes an intuitive control panel and a self-cleaning function.
- Low Noise Operation: Engineered for quiet performance, with a working noise level below 45dB.
- Superior Design: Compact footprint and elegant stainless steel appearance suitable for any countertop.
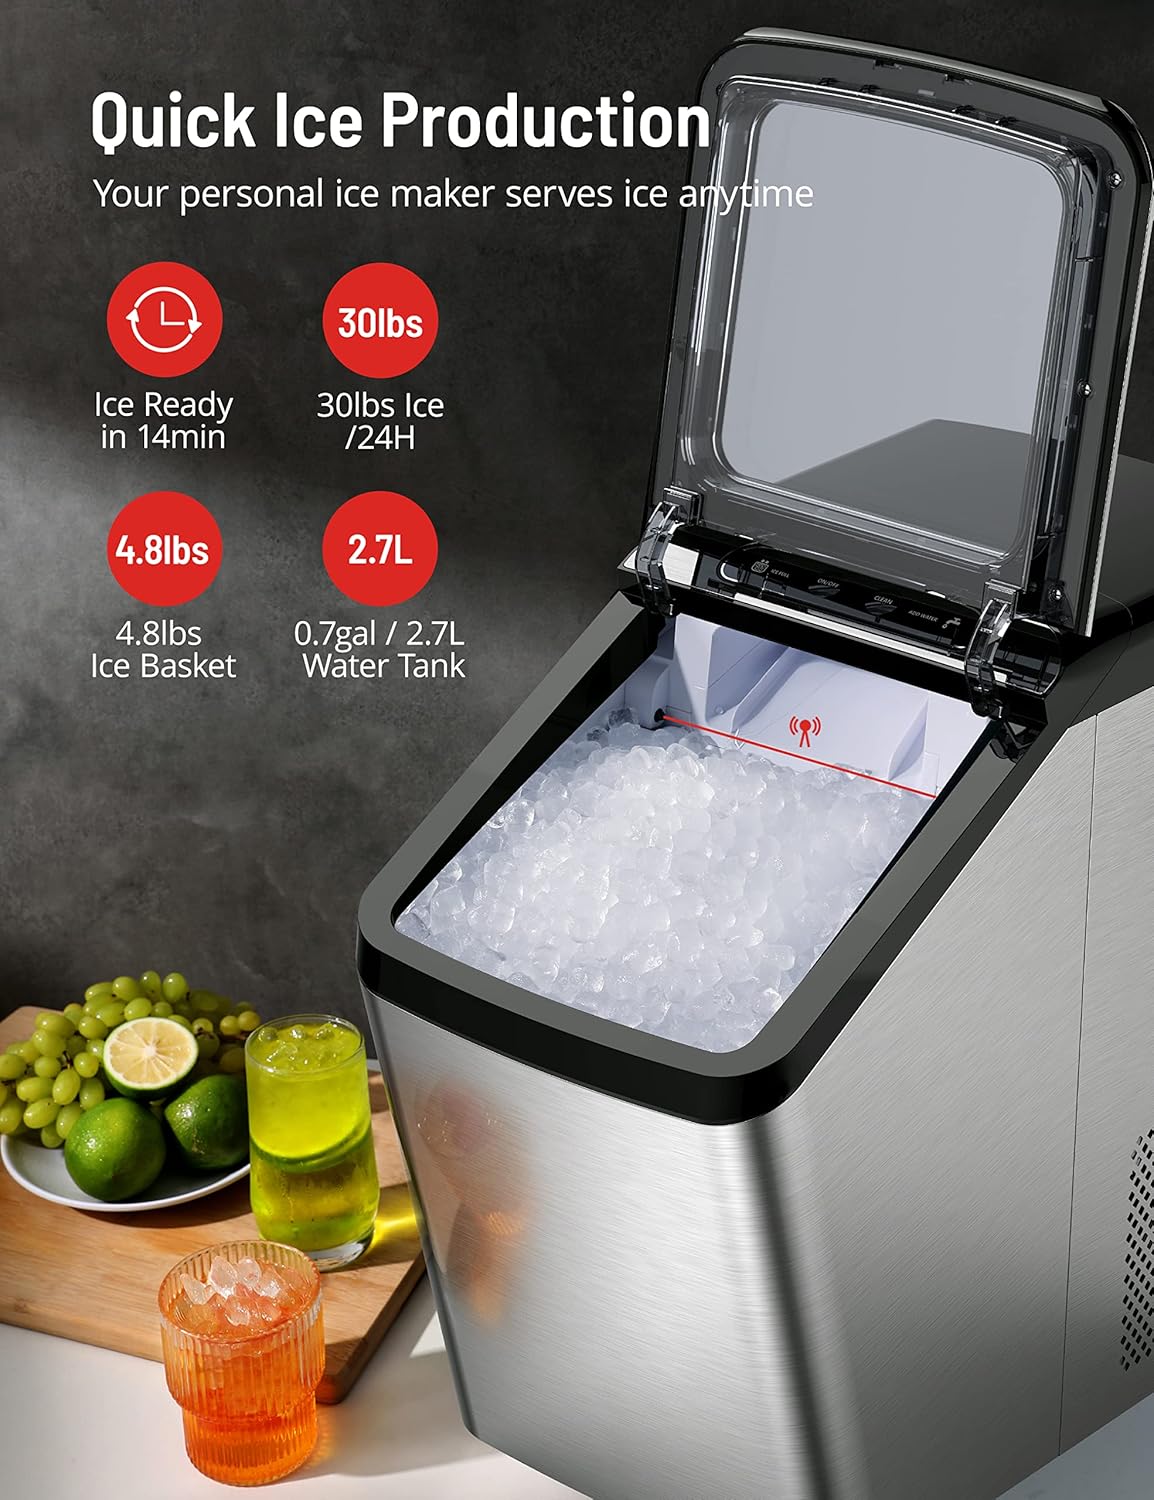
Image: An infographic illustrating the ice maker's efficiency, highlighting 'Ice Ready in 14min', '30lbs Ice / 24H', '4.8lbs Ice Basket', and '0.7gal / 2.7L Water Tank'.
3. Setup
3.1 Unpacking and Placement
- Carefully remove the ice maker from its packaging. Keep all packaging materials for potential future transport or storage.
- Place the ice maker on a stable, level surface away from direct sunlight and heat sources. Ensure adequate ventilation around the unit.
- Allow the unit to stand upright for at least 2-4 hours before plugging it in. This allows the refrigerant to settle, preventing potential damage to the compressor.
3.2 Initial Cleaning
Before first use, it is recommended to clean the interior of the ice maker.
- Open the lid and remove the ice basket.
- Clean the interior with a soft cloth dampened with warm water and a mild detergent. Rinse thoroughly.
- Ensure the drain plug at the bottom of the unit is securely closed.

Image: A visual representation of the ice maker's self-cleaning function, showing water circulating within the unit.
3.3 Water Connection
Your ice maker offers two methods for water supply:
- Manual Fill: Open the lid and pour clean, potable water directly into the water reservoir up to the MAX fill line.
- Direct Water Supply (Optional): For continuous operation, connect the ice maker to a potable water line using the provided hose and follow the instructions in the full user manual for proper installation. Ensure all connections are secure to prevent leaks.

Image: A composite image demonstrating how to manually add water, locate the drain plug, and scoop ice from the basket.
4. Operation
4.1 Starting Ice Production
- Ensure the water reservoir is filled with water.
- Plug the power cord into a grounded electrical outlet.
- Press the "ON/OFF" button on the control panel to start the ice making cycle. The "ON/OFF" indicator will illuminate.
- The ice maker will begin producing ice. The first batch may take slightly longer.
4.2 Indicators and Functions
- "ADD WATER" Indicator: This light illuminates when the water reservoir is low. Refill the reservoir to continue ice production.
- "ICE FULL" Indicator: This light illuminates when the ice basket is full. The machine will automatically pause ice production until ice is removed.
- Automatic Restart: The machine will automatically resume ice production once the "ADD WATER" or "ICE FULL" conditions are resolved.
- Melted Ice Recycling: Any ice that melts in the basket will drain back into the water reservoir to be re-frozen, minimizing waste.
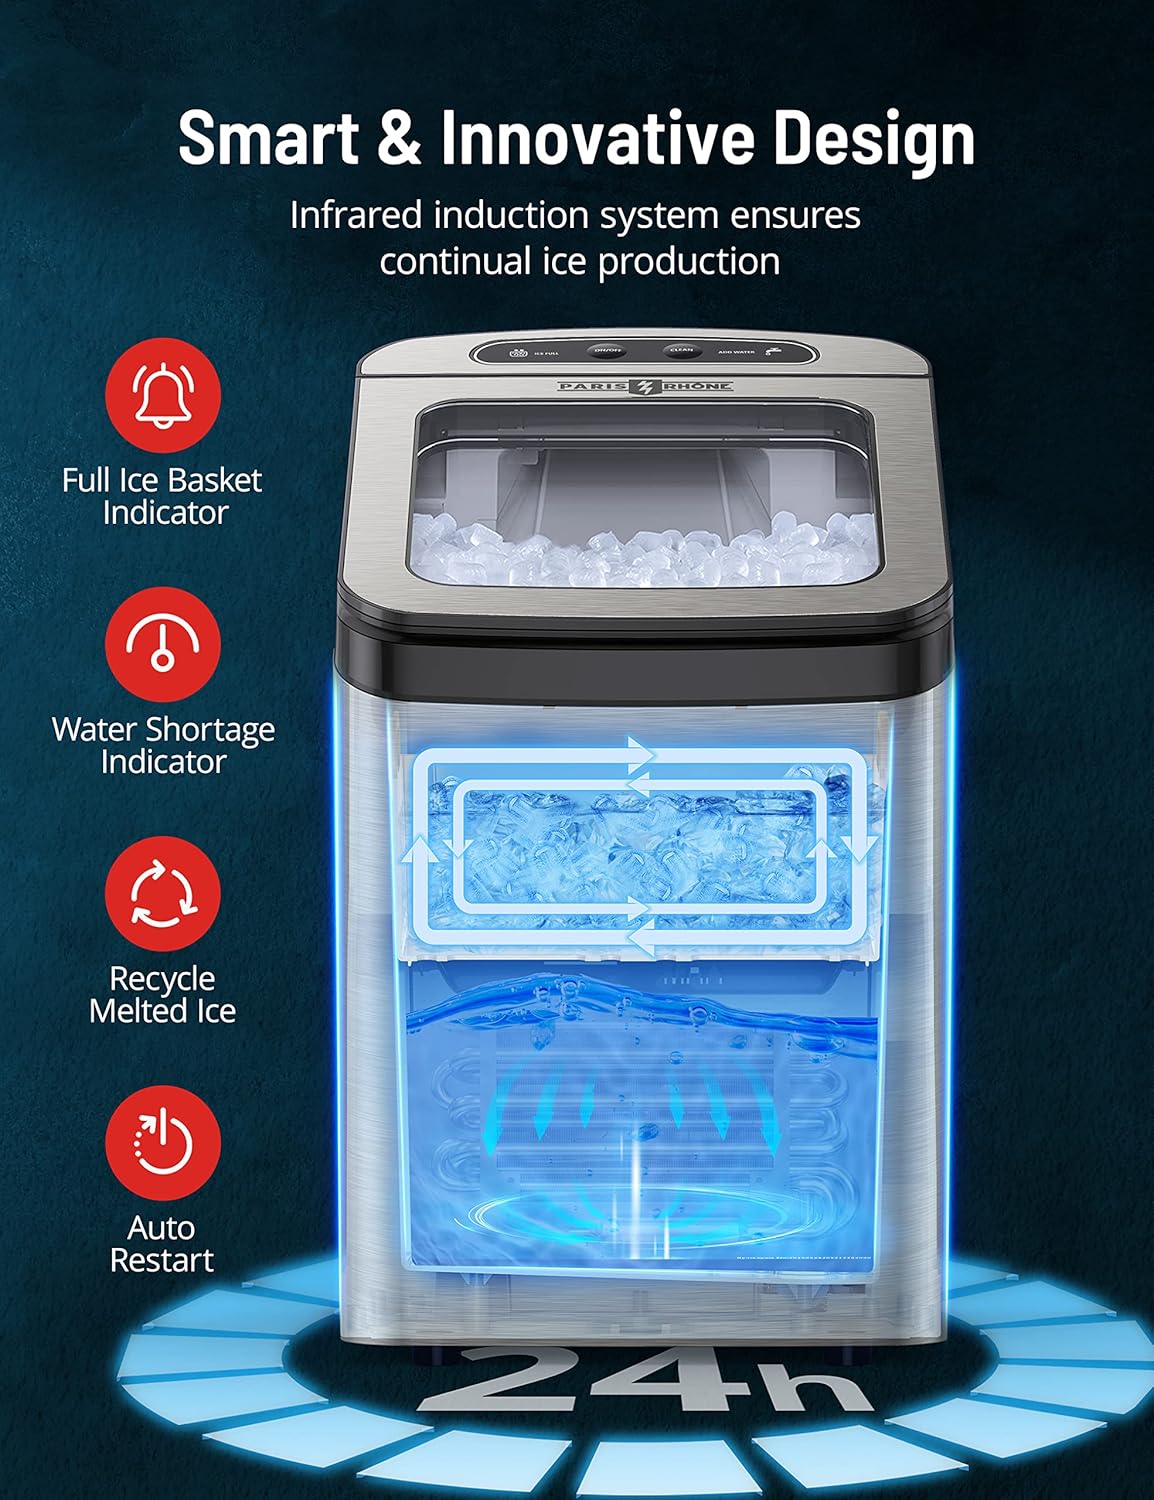
Image: A diagram illustrating the smart features of the ice maker, including the full ice basket indicator, water shortage indicator, melted ice recycling, and auto-restart function.
4.3 Enjoying Your Ice
Once ice is produced, use the provided ice scoop to retrieve the nugget ice. For best results, consume ice promptly or transfer it to a freezer for longer storage. Note that nugget ice may clump together if stored in a standard freezer due to its soft, moist nature.

Image: A woman smiling and enjoying a piece of soft, chewable nugget ice, emphasizing the product's unique ice texture.
5. Maintenance
5.1 Self-Cleaning Function
The ice maker features a convenient self-cleaning function to maintain hygiene and performance.
- Ensure the water reservoir is filled with clean water.
- Press and hold the "CLEAN" button for a few seconds to activate the self-cleaning cycle. The machine will circulate water to clean internal components.
- Once the cycle is complete, drain the water from the reservoir using the drain plug at the bottom of the unit.
5.2 Regular Cleaning and Draining
For optimal performance and hygiene, regular cleaning is essential:
- Daily Draining: If using the manual fill method, it is recommended to drain and refill the water reservoir daily to ensure fresh ice and prevent mineral buildup.
- Weekly Cleaning: Clean the ice basket, water reservoir, and ice scoop with warm, soapy water. Rinse thoroughly and dry before reassembling.
- Descaling (Monthly/Bi-monthly): Depending on water hardness, mineral deposits may accumulate. Use a descaling solution specifically designed for ice makers or a mixture of water and vinegar to clean the internal components. Follow the product instructions for the descaling solution.

Image: A diagram illustrating the UV sterilization feature within the ice maker, contributing to cleaner ice production.
5.3 Storage
If the ice maker will not be used for an extended period:
- Drain all water from the reservoir.
- Clean and dry the interior thoroughly.
- Unplug the unit and store it in a cool, dry place, preferably in its original packaging.
6. Troubleshooting
Before contacting customer support, please refer to the following common issues and solutions:
| Problem | Possible Cause | Solution |
|---|---|---|
| "ADD WATER" indicator is on. | Water reservoir is empty or water level is too low. | Fill the water reservoir with clean, potable water. |
| "ICE FULL" indicator is on. | Ice basket is full. | Remove ice from the basket. The machine will resume production automatically. |
| Ice maker not producing ice. | No water, ice basket full, or unit not plugged in. | Check water level, empty ice basket, ensure power connection. If issues persist, refer to the full manual or contact support. |
| Ice is clumping together. | Ice is melting and refreezing, or stored in a standard freezer. | This is normal for nugget ice. Use ice promptly or store in an airtight bag in the freezer to minimize clumping. |
| Unusual noise during operation. | Normal compressor or water pump sounds, or unit not level. | Ensure the unit is on a stable, level surface. If the noise is excessive or unusual, contact customer support. |
7. Specifications
| Attribute | Value |
|---|---|
| Brand | PARIS RHÔNE |
| Model Name | PE-IC001 |
| Product Dimensions | 16.9"D x 9.7"W x 17.6"H |
| Capacity (Ice Bin) | 4.8 Pounds |
| Daily Ice Production | 30 lbs per day |
| Water Tank Capacity | 0.7 gal / 2.7 L |
| Wattage | 170W |
| Voltage | 120V |
| Refrigerant | R600a |
| Material | Stainless Steel |
| Item Weight | 34 pounds |
| Installation Type | Countertop |
8. Warranty and Support
PARIS RHÔNE is committed to your satisfaction. This product comes with a 12-month warranty, which can be extended by an additional 24 months upon registration. We also provide lifetime technical support for your ice maker.
Each unit undergoes strict inspection to ensure quality. If you encounter any problems with your ice maker or have questions not covered in this manual, please do not hesitate to contact our customer support team. Please have your model number (PE-IC001) and purchase information ready when contacting support.
For further assistance, please visit the official PARIS RHÔNE website or contact our customer service department directly.


