
coocaa 32S3U Pro
Coocaa 32S3U Pro Smart IPS LED TV Instruction Manual
Model: 32S3U Pro
1. Introduction
Welcome to the instruction manual for your new Coocaa 32S3U Pro Smart IPS LED TV. This manual provides essential information for setting up, operating, maintaining, and troubleshooting your television. Please read this manual thoroughly before using the product to ensure safe and optimal performance.

Figure 1.1: Coocaa 32S3U Pro Smart IPS LED TV showcasing its Coolita 2.0 operating system interface.
2. Safety Information
Always adhere to the following safety precautions to prevent electric shock, fire, damage to the TV, or personal injury:
- Do not expose the TV to rain or moisture.
- Do not open the TV casing. Refer all servicing to qualified personnel.
- Ensure proper ventilation around the TV.
- Protect the power cord from being walked on or pinched.
- Unplug the TV during lightning storms or when unused for long periods.
- Keep small objects and liquids away from the TV.
3. What's in the Box
Verify that all components are present before proceeding with the setup:
- 1 x Coocaa LED TV
- 1 x Remote Control
- 1 x Power Cord
- 1 x Start Guide
- 1 x Warranty Card
- 2 x AAA Batteries (for remote control)
- 1 x Set of Base Stands
- 4 x Screws (for base stands)
4. Setup
4.1 Physical Installation
Your Coocaa TV supports both table-top placement and wall mounting. Choose the method that best suits your needs.
Table-Top Installation:
- Carefully place the TV screen-down on a soft, flat surface to prevent scratches.
- Attach the base stands to the designated slots on the bottom of the TV using the provided screws. Ensure they are securely fastened.
- Carefully lift the TV and place it on a stable, level surface.
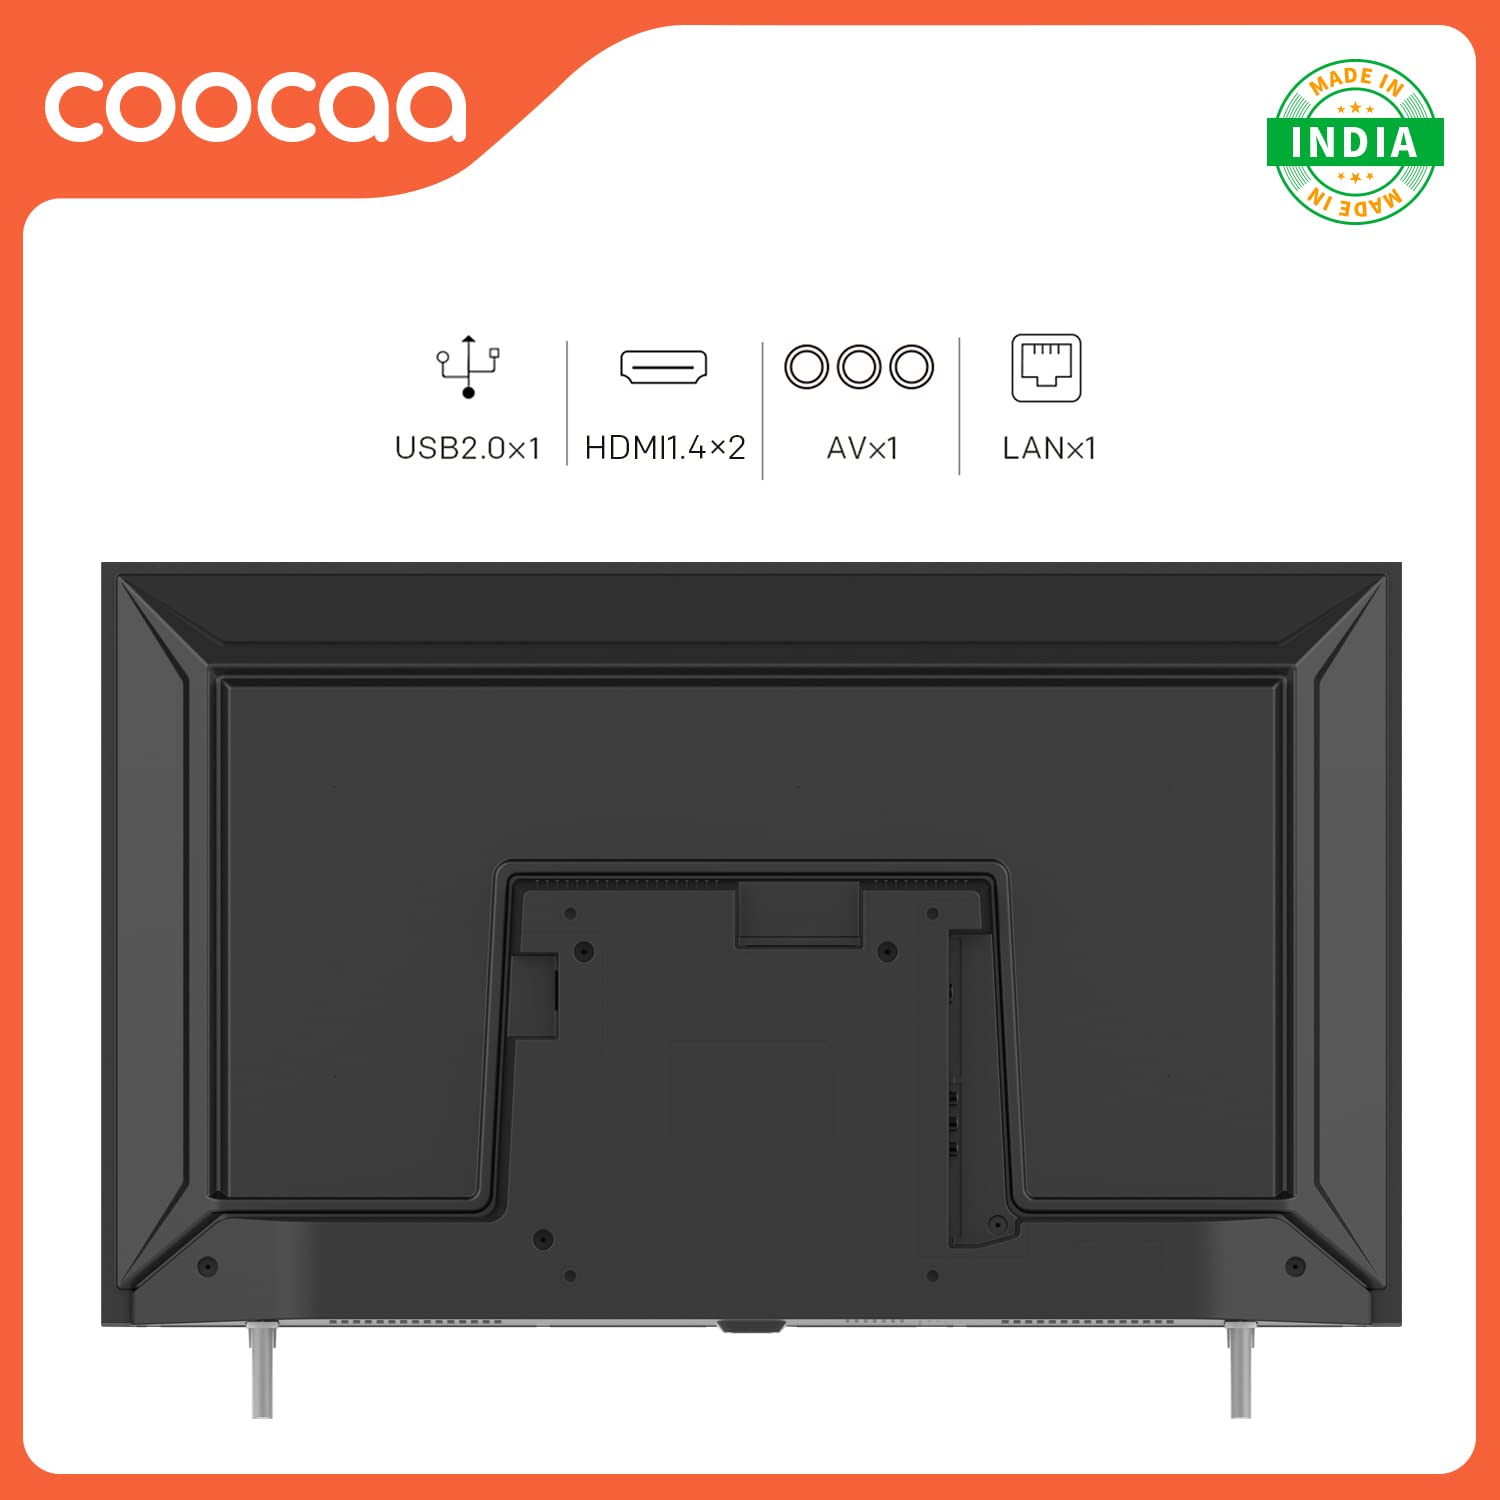
Figure 4.1: Rear panel connections including USB, HDMI, AV, and LAN ports for external devices.
4.2 Connecting Peripherals
Connect your external devices such as set-top boxes, gaming consoles, or sound systems to the TV's ports.
- HDMI: For high-definition audio and video. Your TV has 2 HDMI 1.4 ports.
- USB: For connecting USB storage devices. Your TV has 1 USB 2.0 port.
- AV: For older devices using composite video and stereo audio. Your TV has 1 AV port.
- LAN: For wired internet connection. Your TV has 1 LAN port.
4.3 Initial Power On and Network Setup
- Plug the power cord into the TV and then into a wall outlet.
- Press the Power button on the remote control or on the TV.
- Follow the on-screen instructions to select your language, region, and connect to your Wi-Fi network. You can also use a wired Ethernet connection via the LAN port.
- The TV features a fast startup time, with 1-second startup and 2-second app launch.

Figure 4.2: The Coocaa TV boasts quick startup and application launch times for a seamless user experience.
5. Operating the TV
5.1 Remote Control Functions
Familiarize yourself with the remote control for easy navigation and control of your TV.

Figure 5.1: The remote control features dedicated buttons for quick access to YouTube and C+ Plus streaming platforms.
- Power Button: Turns the TV on or off.
- Navigation Buttons (Up/Down/Left/Right): Navigate through menus and options.
- OK Button: Confirms selections.
- Back Button: Returns to the previous screen.
- Home Button: Accesses the main Coolita 2.0 OS interface.
- Volume Up/Down: Adjusts the volume.
- Channel Up/Down: Changes TV channels.
- Dedicated App Buttons: Quick access to YouTube, C+ Plus, and other pre-installed applications.
5.2 Coolita 2.0 Operating System
The Coocaa TV runs on the Coolita 2.0 OS, offering a user-friendly interface and access to various smart features.

Figure 5.2: The Coolita 2.0 OS provides access to a wide range of entertainment applications, including Prime Video, YouTube, SonyLIV, Zee5, and more.
Streaming Applications:
Access popular streaming services directly from your TV. Supported applications include Prime Video, SonyLIV, Zee5, YouTube, and more.

Figure 5.3: Enjoy one-click direct access to YouTube content for seamless video playback.
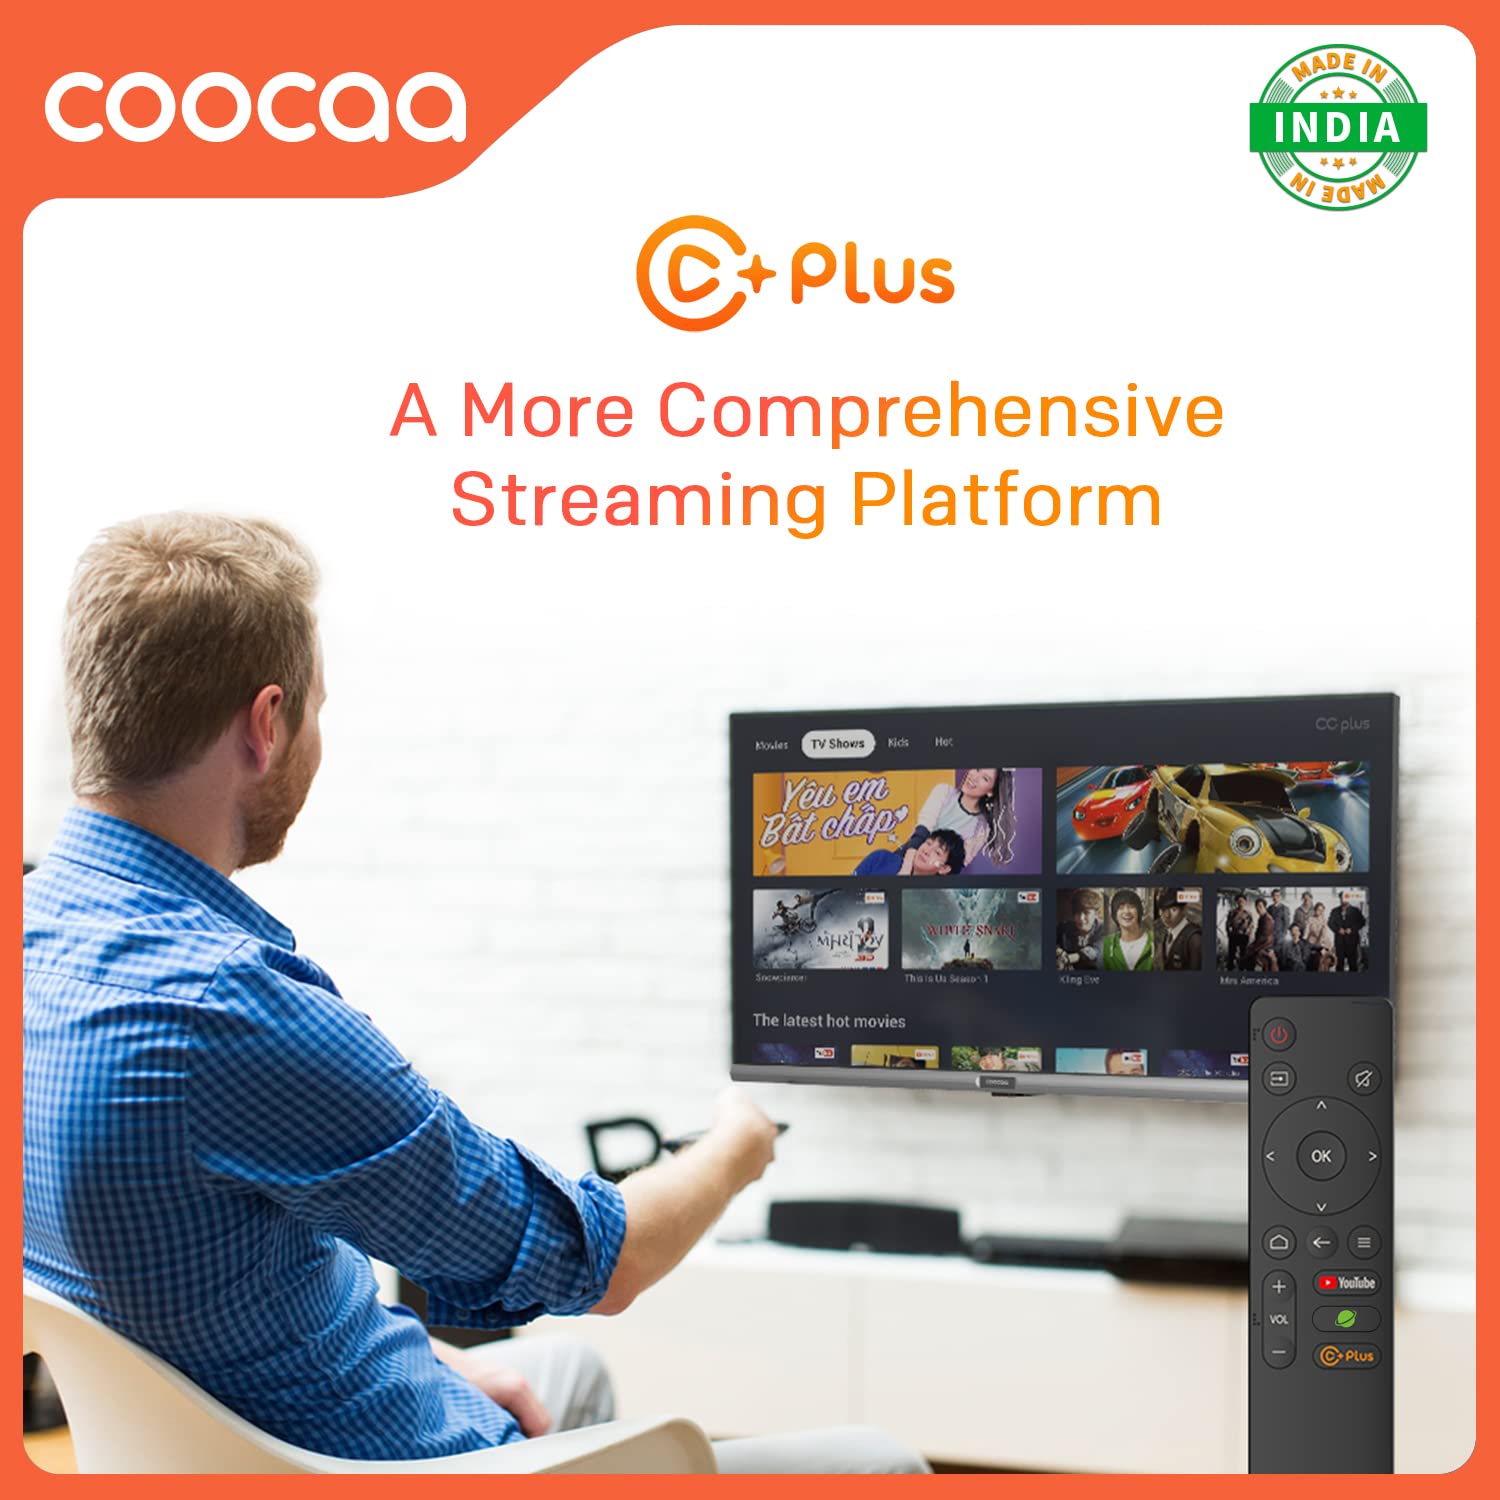
Figure 5.4: C+ Plus offers a more comprehensive streaming platform experience.
Open Browser:
Surf the internet directly on your TV's large screen. The integrated browser allows you to visit websites and access online content.
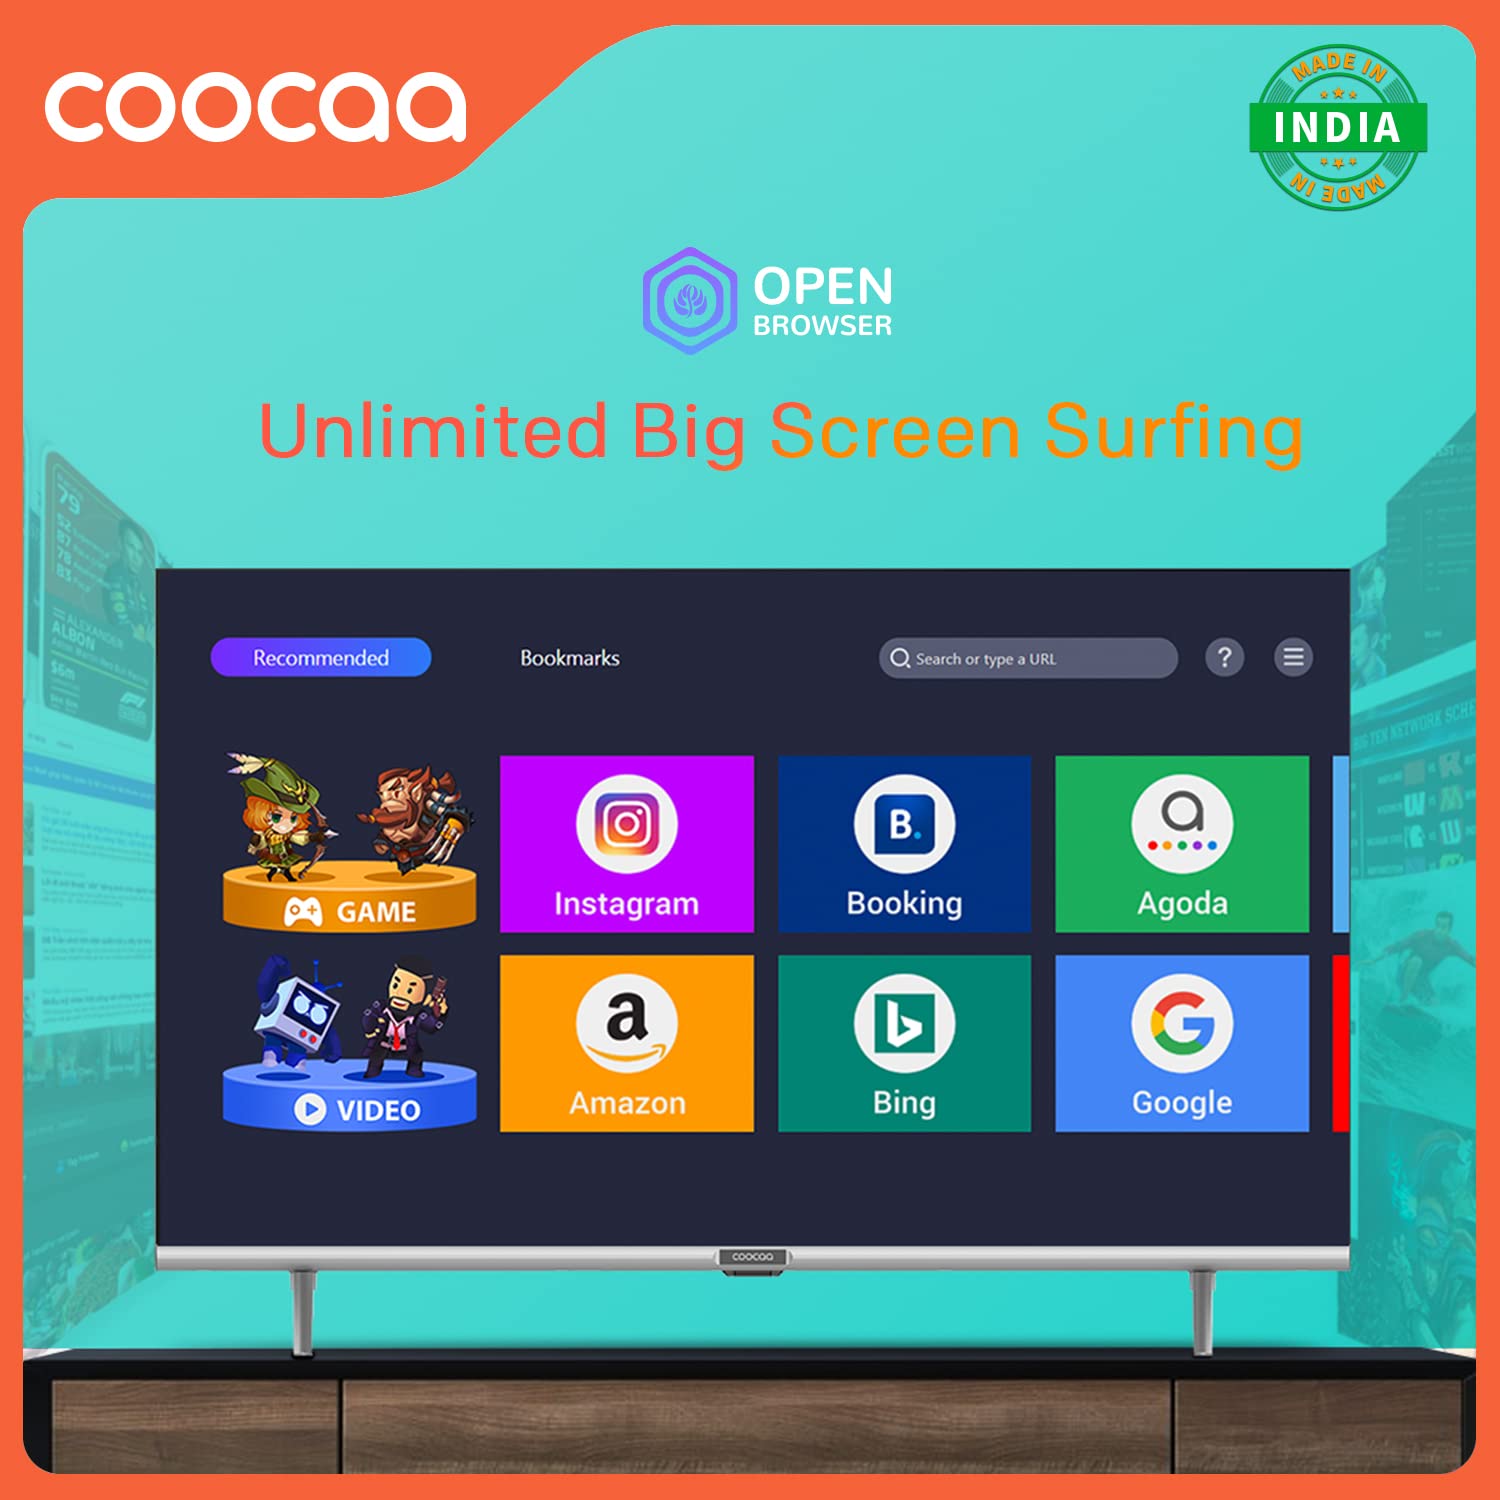
Figure 5.5: The Open Browser feature enables unlimited big-screen surfing, providing access to various online services.
CC Cast (Screen Sharing):
Mirror content from your mobile device to the TV screen using CC Cast. This feature helps save network bandwidth, money, and storage on your device.

Figure 5.6: Utilize CC Cast for seamless screen sharing from your mobile device to the TV, optimizing network usage and storage.
Swaiot HOME:
Integrate your Coocaa TV into your smart home ecosystem with Swaiot HOME, allowing for a connected smart life experience.
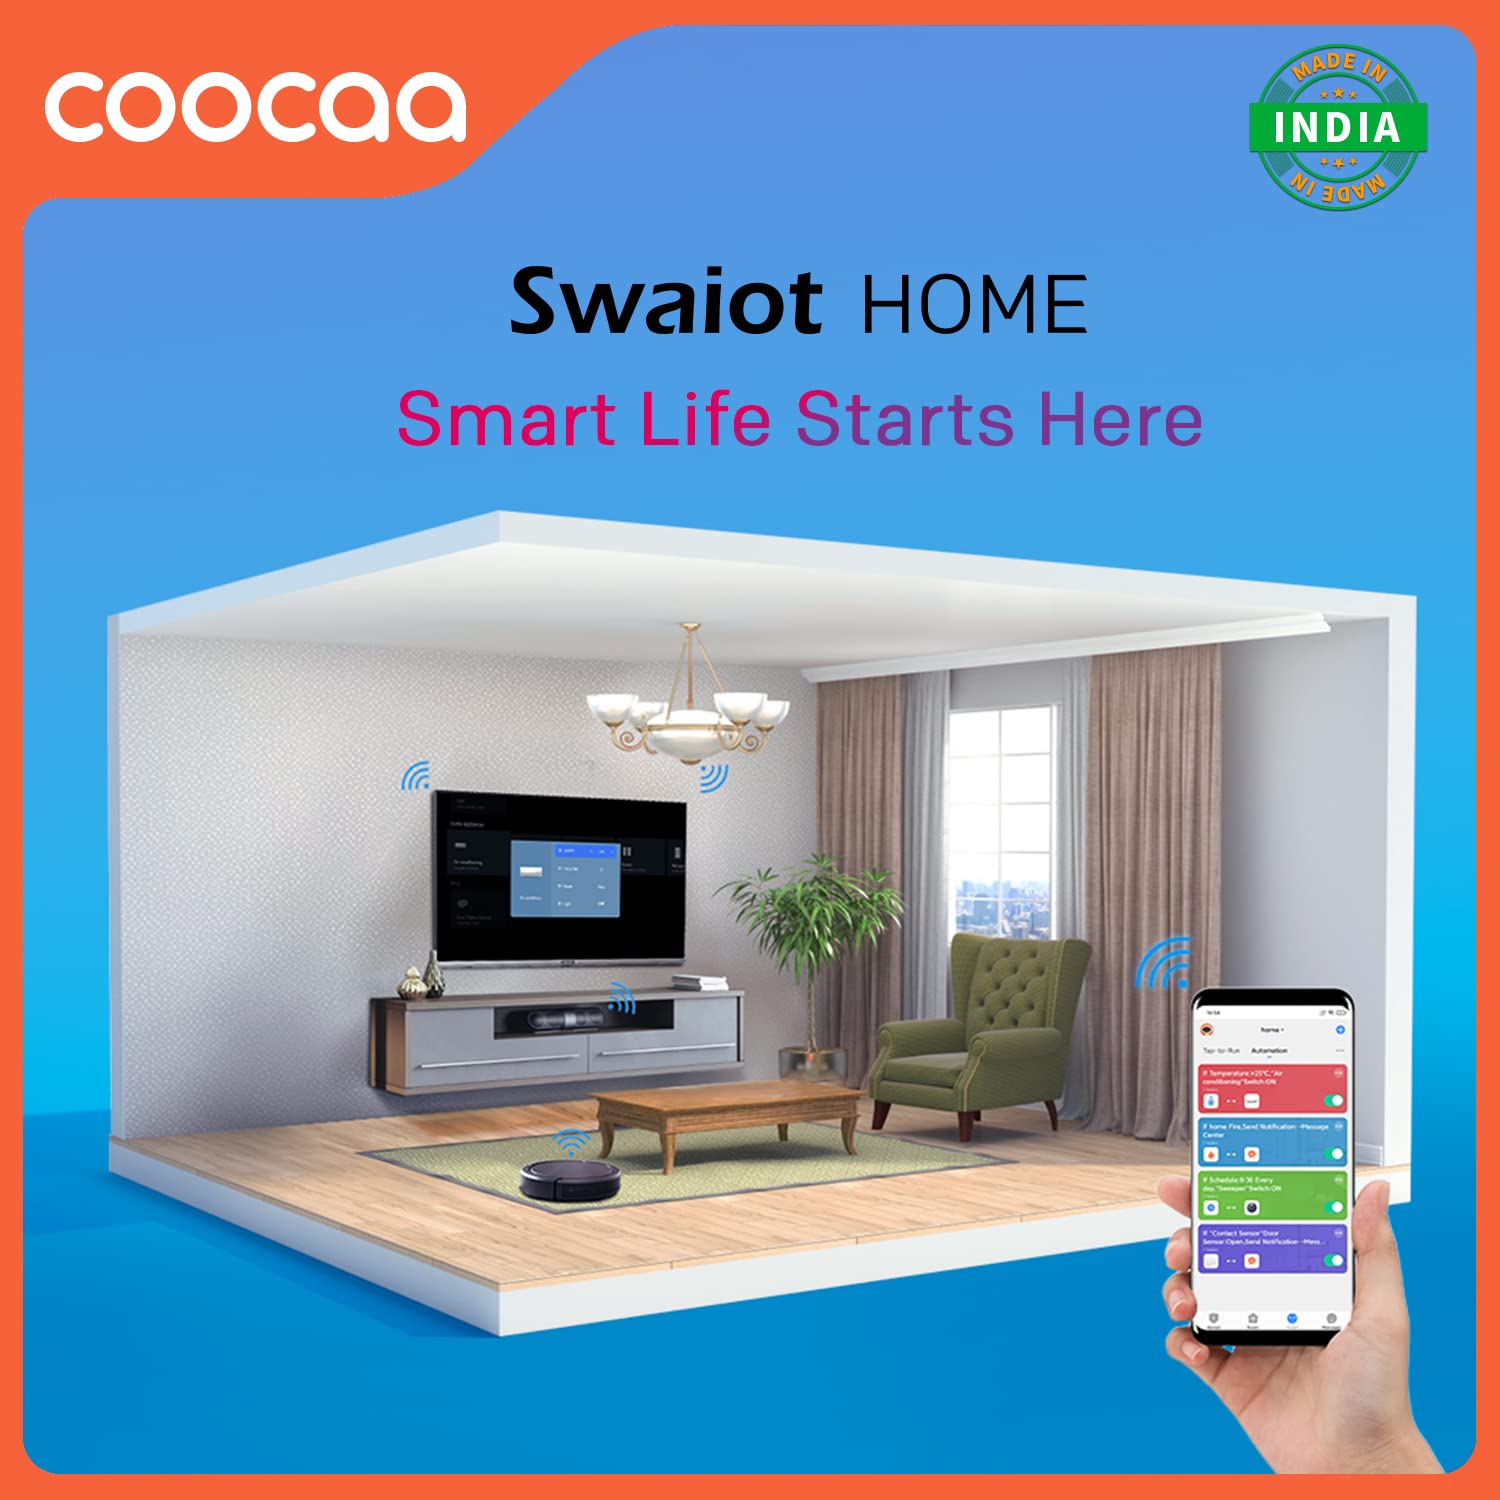
Figure 5.7: Swaiot HOME enables smart life integration, allowing control of smart devices through your TV.
Picture and Sound Settings:
Customize your viewing and listening experience through the TV's settings menu.
- Trochilus Extreme Picture Engine: Enhances picture quality for vibrant colors and sharp details.
- HDR 10: Supports High Dynamic Range content for improved contrast and color accuracy.
- Eye Protection Mode: Reduces blue light emission for comfortable viewing, especially during long sessions. The display is designed to be flicker-free.
- Dolby Audio: Provides immersive and clear sound quality. The TV features 20 Watts audio output with DTS Surround and Dolby Audio support.

Figure 5.8: The TV's flicker-free technology contributes to eye protection during extended viewing.

Figure 5.9: Experience enhanced audio quality with Dolby Audio support.

Figure 5.10: The TV features an A+ Grade Panel for superior display quality.
Game Mode:
Activate Game Mode for optimized performance during gaming, reducing input lag and enhancing responsiveness.
6. Maintenance
Proper care and maintenance will extend the life of your Coocaa TV.
- Cleaning the Screen: Gently wipe the screen with a soft, lint-free cloth. For stubborn marks, use a screen cleaning solution specifically designed for electronics, applied to the cloth, not directly to the screen.
- Cleaning the Casing: Use a soft, dry cloth to wipe the TV casing. Avoid using abrasive cleaners or solvents.
- Ventilation: Ensure the ventilation openings are not blocked to prevent overheating.
- Power Cord: Regularly check the power cord for any damage.
7. Troubleshooting
Before contacting customer support, try the following solutions for common issues:
| Problem | Possible Cause | Solution |
|---|---|---|
| No power | Power cord disconnected; no power from outlet | Check power cord connection; test outlet with another device. |
| No picture, but sound is present | Incorrect input source; loose HDMI/AV cable | Press the Source button on the remote to select correct input; re-connect cables securely. |
| No sound, but picture is present | Volume muted or too low; external audio system issue | Unmute volume or increase level; check connections to external audio devices. |
| Remote control not working | Batteries depleted or incorrectly inserted; obstruction between remote and TV | Replace batteries; ensure line of sight to TV's IR receiver. |
| Cannot connect to Wi-Fi | Incorrect password; router issue; TV too far from router | Verify Wi-Fi password; restart router; move TV closer or use wired connection. |
8. Specifications
Detailed technical specifications for the Coocaa 32S3U Pro Smart IPS LED TV:
| Feature | Detail |
|---|---|
| Model | 32S3U Pro |
| Screen Size | 32 Inches (80 cm) |
| Display Technology | IPS LED, A+ Grade Panel |
| Resolution | HD Ready (1366 x 768 Pixels) |
| Refresh Rate | 60 Hz |
| Viewing Angle | 178 Degrees |
| Operating System | Coolita 2.0 OS (Linux-based) |
| Memory Storage Capacity | 4 GB |
| RAM Memory Installed Size | 0.5 GB |
| Graphics Coprocessor | Mali-G31 GPU |
| Audio Output | 20 Watts, DTS Surround, Dolby Audio |
| Connectivity | Wi-Fi, USB (1x USB 2.0), Ethernet (1x LAN), HDMI (2x HDMI 1.4), AV (1x) |
| Special Features | Eye Protection, Open Browser, Trochilus Extreme Picture Engine, Game Mode, HDR 10, CC Cast, Swaiot HOME |
| Power Consumption (On-mode) | 60 Watts |
| Product Dimensions (LxWxH) | 71.8 x 16.2 x 44.6 cm |
| Item Weight | 3.5 kg |
9. Warranty and Support
Your Coocaa 32S3U Pro Smart IPS LED TV comes with a 1-Year Warranty from the date of purchase.
- For warranty claims or technical assistance, please refer to the contact information provided on your Warranty Card or visit the official Coocaa support website.
- Keep your purchase receipt as proof of purchase for warranty purposes.
Manufacturer: Radiant Appliances and Electronics Pvt Ltd
Address: Radiant Appliances and Electronics Pvt Ltd - Survey No.111,112, S-2 A1, Ecity, Fabcity, Maheshwaram Mandal, Raviryala Village, Ranga Reddy, Telengana-501141
Ask a question about this manual
Ask about setup, troubleshooting, compatibility, parts, safety, or missing instructions. Manuals+ will review the question and use this page’s manual context to help answer it.