1. Introduction
Thank you for purchasing the UNITED LED24TP60 24-inch HD Ready LED TV. This television is designed to provide high-quality visual and audio entertainment. This manual will guide you through the setup, operation, and maintenance of your new TV, ensuring you get the best possible experience. Please read these instructions carefully before operating the device and retain them for future reference.
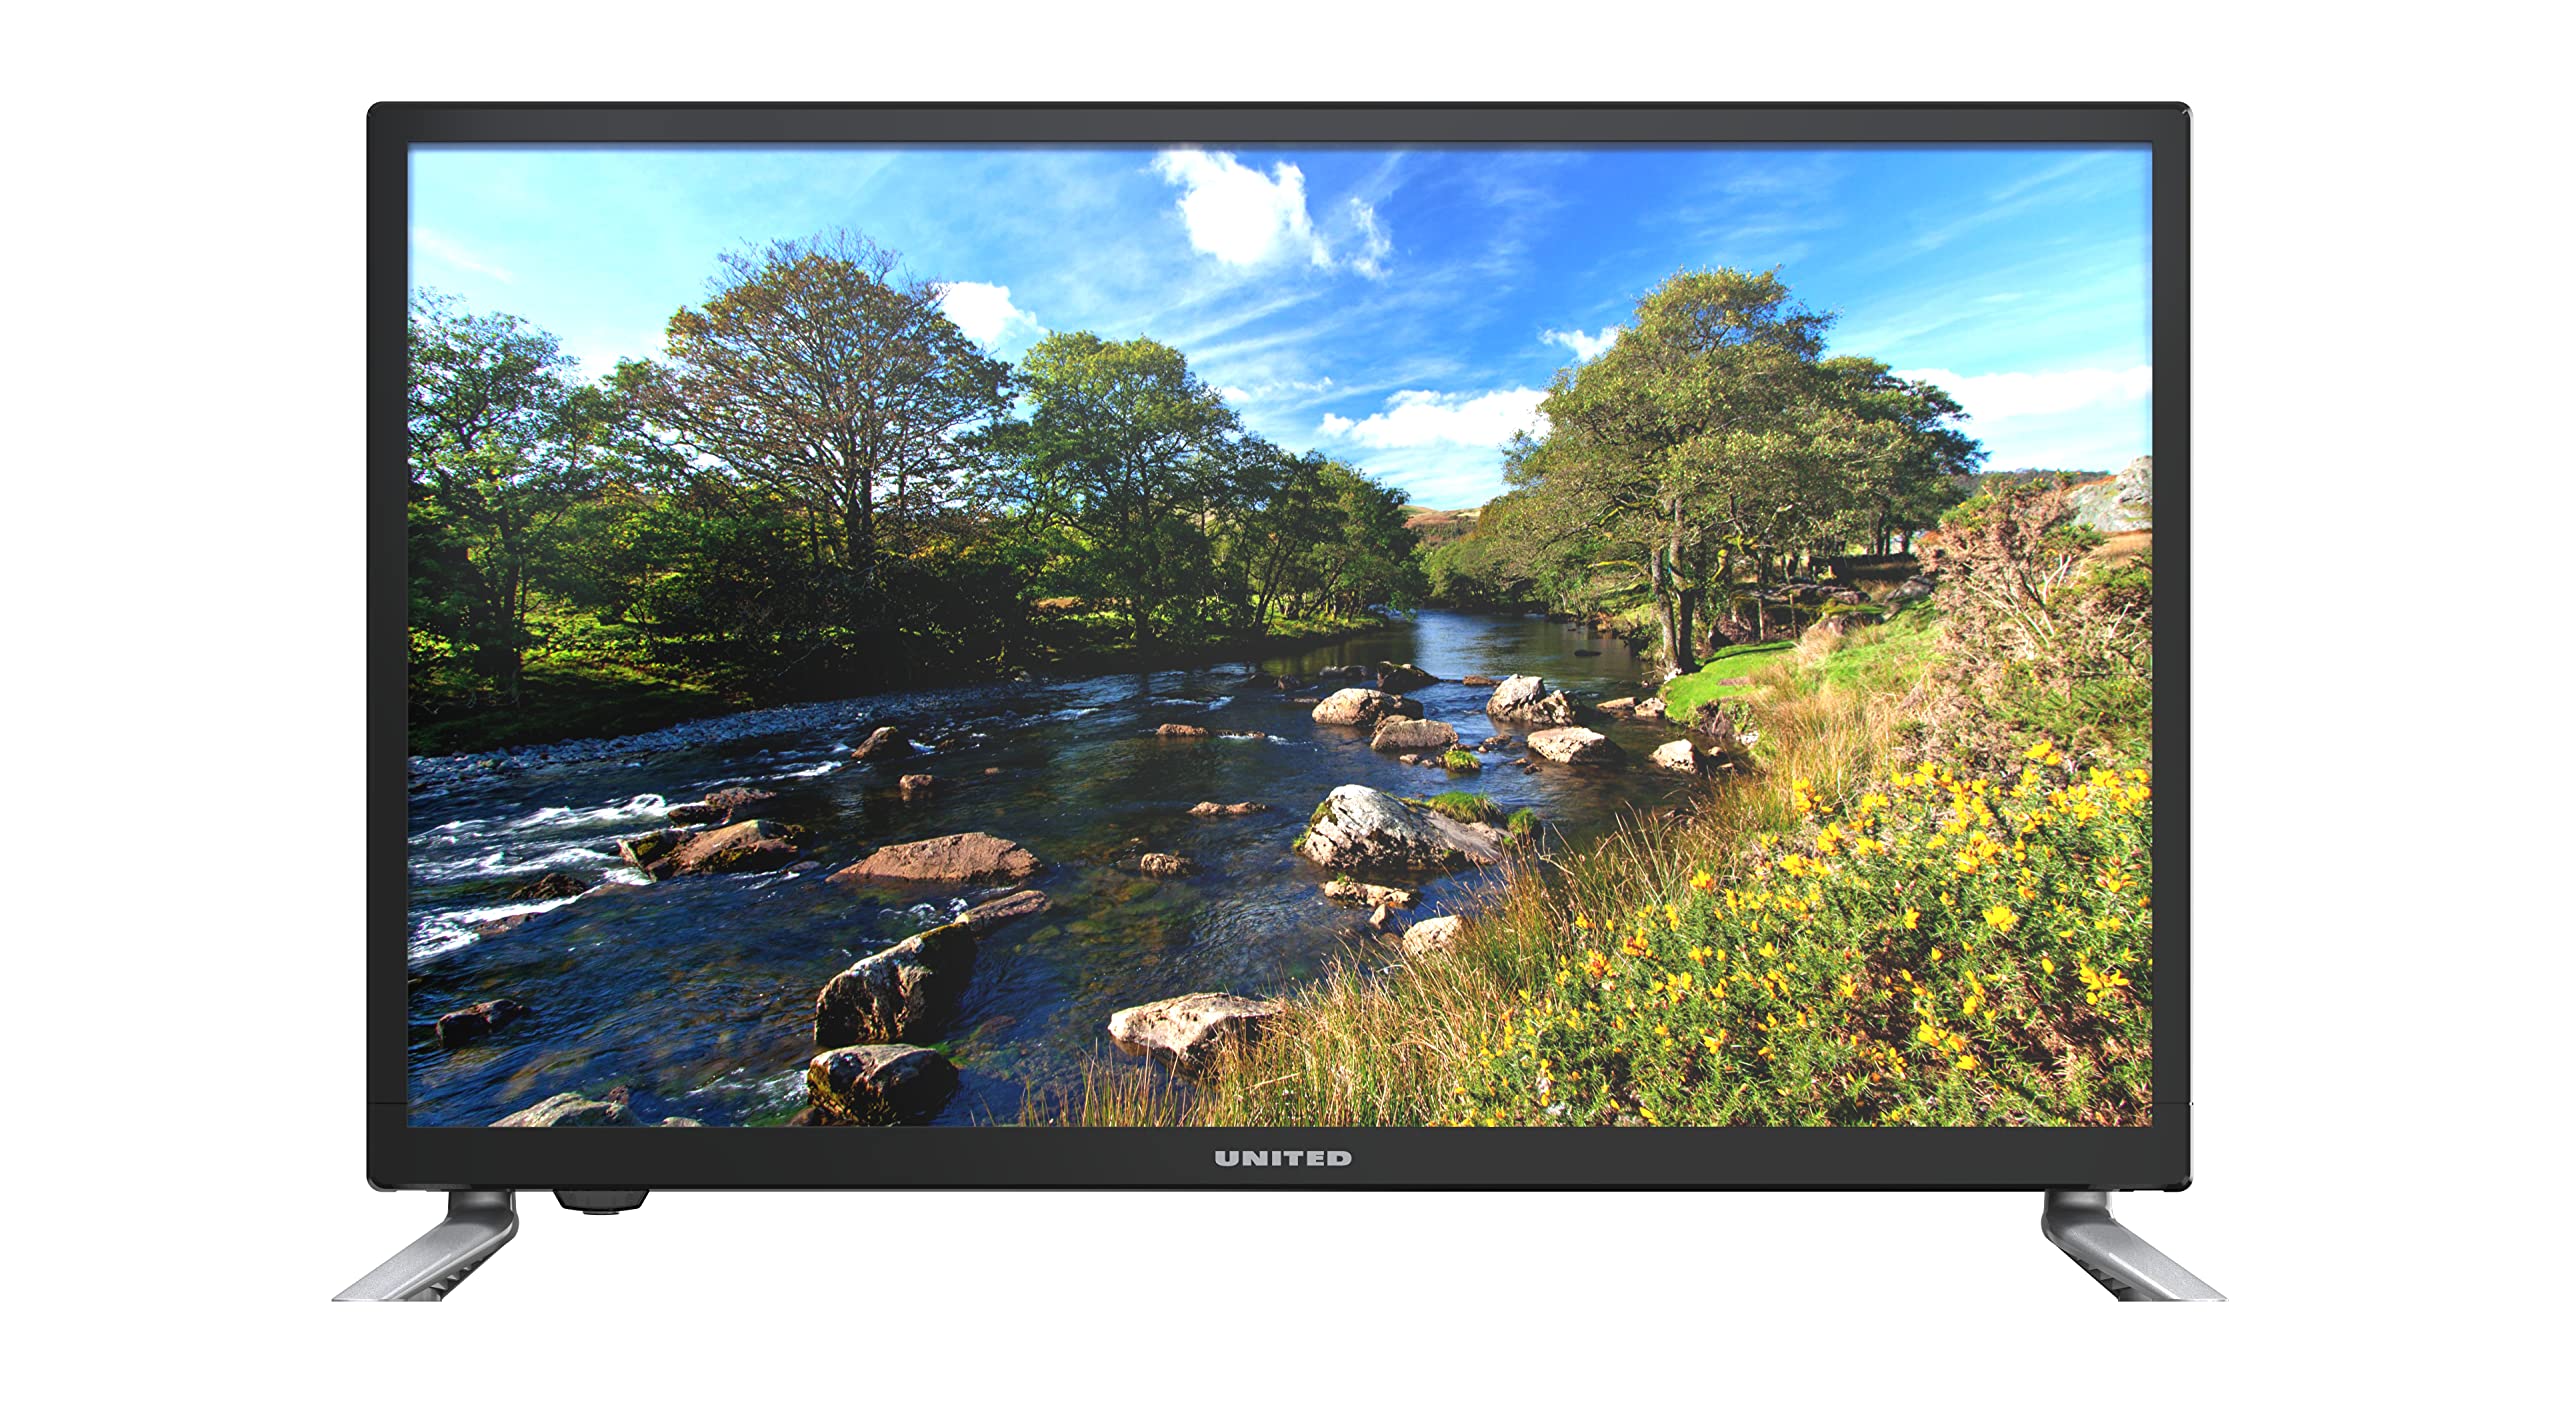
Figure 1.1: Front view of the UNITED LED24TP60 24-inch HD Ready LED TV. This image shows the television with its stand attached, displaying a vibrant nature scene.
2. Important Safety Information
To ensure safe operation and prevent damage, please observe the following safety precautions:
- Power Source: Connect the TV only to an AC power outlet of the specified voltage.
- Ventilation: Ensure adequate ventilation around the TV. Do not block ventilation openings.
- Water and Moisture: Do not expose the TV to rain or moisture. Do not place objects filled with liquids, such as vases, on the TV.
- Heat: Keep the TV away from heat sources such as radiators, heat registers, stoves, or other apparatus (including amplifiers) that produce heat.
- Cleaning: Unplug the TV from the wall outlet before cleaning. Use a soft, dry cloth. Do not use liquid cleaners or aerosol cleaners.
- Servicing: Do not attempt to service this product yourself. Refer all servicing to qualified service personnel.
- Batteries: Dispose of used batteries responsibly. Do not mix old and new batteries or different types of batteries.
3. Package Contents
Please check that all items are present in the packaging:
- UNITED LED24TP60 24-inch HD Ready LED TV
- Remote Control
- 2 x AAA 1.5V Batteries (for remote control)
- Power Cable
- TV Stand Components (if applicable)
- User Manual (this document)
4. Setup
4.1 Unpacking and Placement
- Carefully remove the TV from its packaging.
- Place the TV on a stable, flat surface or mount it on a wall using a compatible VESA mount (not included). Ensure the TV is placed in a well-ventilated area.
4.2 Attaching the Stand
If you are not wall-mounting the TV, attach the included stand components:
- Place the TV face down on a soft cloth or cushion to prevent screen damage.
- Align the stand components with the mounting holes on the bottom of the TV.
- Secure the stand using the provided screws. Do not overtighten.
4.3 Connecting External Devices
The UNITED LED24TP60 TV offers various connectivity options:
- HDMI: Connect high-definition devices such as Blu-ray players, game consoles, or set-top boxes using an HDMI cable.
- RF (Antenna/Cable): Connect an antenna or cable TV signal for broadcast channels.
- USB: Insert a USB drive to play media files (photos, music, videos).
4.4 Power On and Initial Setup
- Connect the power cable to the TV and then to a wall outlet.
- Insert the AAA batteries into the remote control, observing polarity.
- Press the power button on the remote control or on the TV.
- Follow the on-screen instructions to select your language, country, and perform an automatic channel scan for available broadcast channels.

Figure 4.1: Dimensions of the UNITED LED24TP60 TV. The image illustrates the TV's depth (12 cm), width (62.5 cm), and height (41.4 cm) with the stand.
5. Operating the TV
5.1 Remote Control Functions
The remote control allows you to access all TV functions. Common buttons include:
- Power: Turns the TV on or off.
- Input/Source: Selects the input source (HDMI, RF, USB).
- Volume +/-: Adjusts the volume level.
- Channel +/-: Changes TV channels.
- Menu: Opens the main menu for settings adjustments.
- Navigation Buttons (Up/Down/Left/Right): Navigate through menus.
- OK/Enter: Confirms selections.
- Exit/Back: Returns to the previous screen or exits the menu.
5.2 Input Selection
To switch between connected devices (e.g., a game console on HDMI and broadcast TV):
- Press the Input or Source button on the remote control.
- Use the navigation buttons to highlight the desired input (e.g., HDMI1, DTV, ATV, USB).
- Press OK to confirm your selection.
5.3 Menu Navigation and Settings
Press the Menu button to access various settings:
- Picture Settings: Adjust brightness, contrast, color, sharpness, and picture mode (e.g., Standard, Dynamic, Movie).
- Sound Settings: Adjust bass, treble, balance, and sound mode (e.g., Standard, Music, Movie).
- Channel Settings: Perform channel scans, edit channels, or set parental controls.
- Time Settings: Set the current time, sleep timer, or auto-off function.
- System Settings: Access language settings, software updates, and factory reset options.
5.4 Media Playback via USB
Insert a USB storage device into the USB port. The TV supports playback of various media formats, including those encoded with HEVC Main 10. Navigate to the USB input source to browse and play your files.
5.5 Supported Internet Services
This television supports Mediaset Infinity. Access to this service may require an internet connection and a subscription, depending on regional availability and service provider terms.
6. Maintenance
6.1 Cleaning the TV
- Always unplug the TV from the power outlet before cleaning.
- Use a soft, dry, lint-free cloth to gently wipe the screen and cabinet.
- For stubborn marks on the screen, lightly dampen the cloth with water or a specialized screen cleaner (ensure it is safe for LED screens) and wipe gently. Do not spray liquid directly onto the screen.
- Avoid using abrasive cleaners, waxes, or solvents as they can damage the TV's finish.
6.2 Storage
If you need to store the TV for an extended period, ensure it is unplugged, clean, and stored in a cool, dry place, preferably in its original packaging to protect it from dust and physical damage.
7. Troubleshooting
Before contacting customer support, please refer to the following common issues and solutions:
| Problem | Possible Solution |
|---|---|
| No power | Check if the power cable is securely connected to the TV and the wall outlet. Ensure the wall outlet is functioning. Try pressing the power button on the TV itself. |
| No picture, but sound is present | Ensure the correct input source is selected. Check cable connections (HDMI, RF). Adjust brightness and contrast settings. |
| No sound, but picture is present | Check the volume level and ensure the TV is not muted. Verify audio cable connections. Check sound settings in the menu. |
| Remote control not working | Replace the batteries in the remote control. Ensure there are no obstructions between the remote and the TV's IR sensor. |
| Poor picture quality | Check antenna or cable connections. Adjust picture settings (sharpness, noise reduction). If using an external device, check its output resolution. |
8. Specifications
Key technical specifications for the UNITED LED24TP60 TV:
| Feature | Specification |
|---|---|
| Model Number | LED24TP60 |
| Brand | UNITED |
| Screen Size | 24 inches (60 cm) |
| Resolution | HD Ready (1366 x 768 pixels) |
| Display Type | LED |
| Refresh Rate | 60 Hz |
| Aspect Ratio | 16:9 |
| Connectivity | HDMI, RF, USB (1 port) |
| Special Features | HEVC Main 10 support, Flat screen |
| Supported Internet Services | Mediaset Infinity |
| Dimensions (with stand) | 12P x 62.5L x 41.4H centimeters |
| Power Consumption (SDR) | 21.0 W |

Figure 8.1: Energy label for the UNITED LED24TP60 TV, indicating an energy efficiency class F and a power consumption of 21 kWh/1000h.
For more detailed product information, refer to the EPREL database: https://eprel.ec.europa.eu/qr/346372

Figure 8.2: Product information sheet for the UNITED LED24TP60 TV, detailing various technical specifications and compliance information.
9. Warranty and Support
The product information indicates a minimum technical assistance guarantee for the product until September 20, 2025. Specific details regarding warranty coverage, duration, and terms are typically provided with your purchase documentation or can be obtained directly from the manufacturer or your retailer.
For technical support, service, or warranty claims, please contact your retailer or the UNITED customer service department. Keep your proof of purchase for any warranty-related inquiries.
Information regarding the availability of spare parts and software updates is not provided in the product data.