Introduction
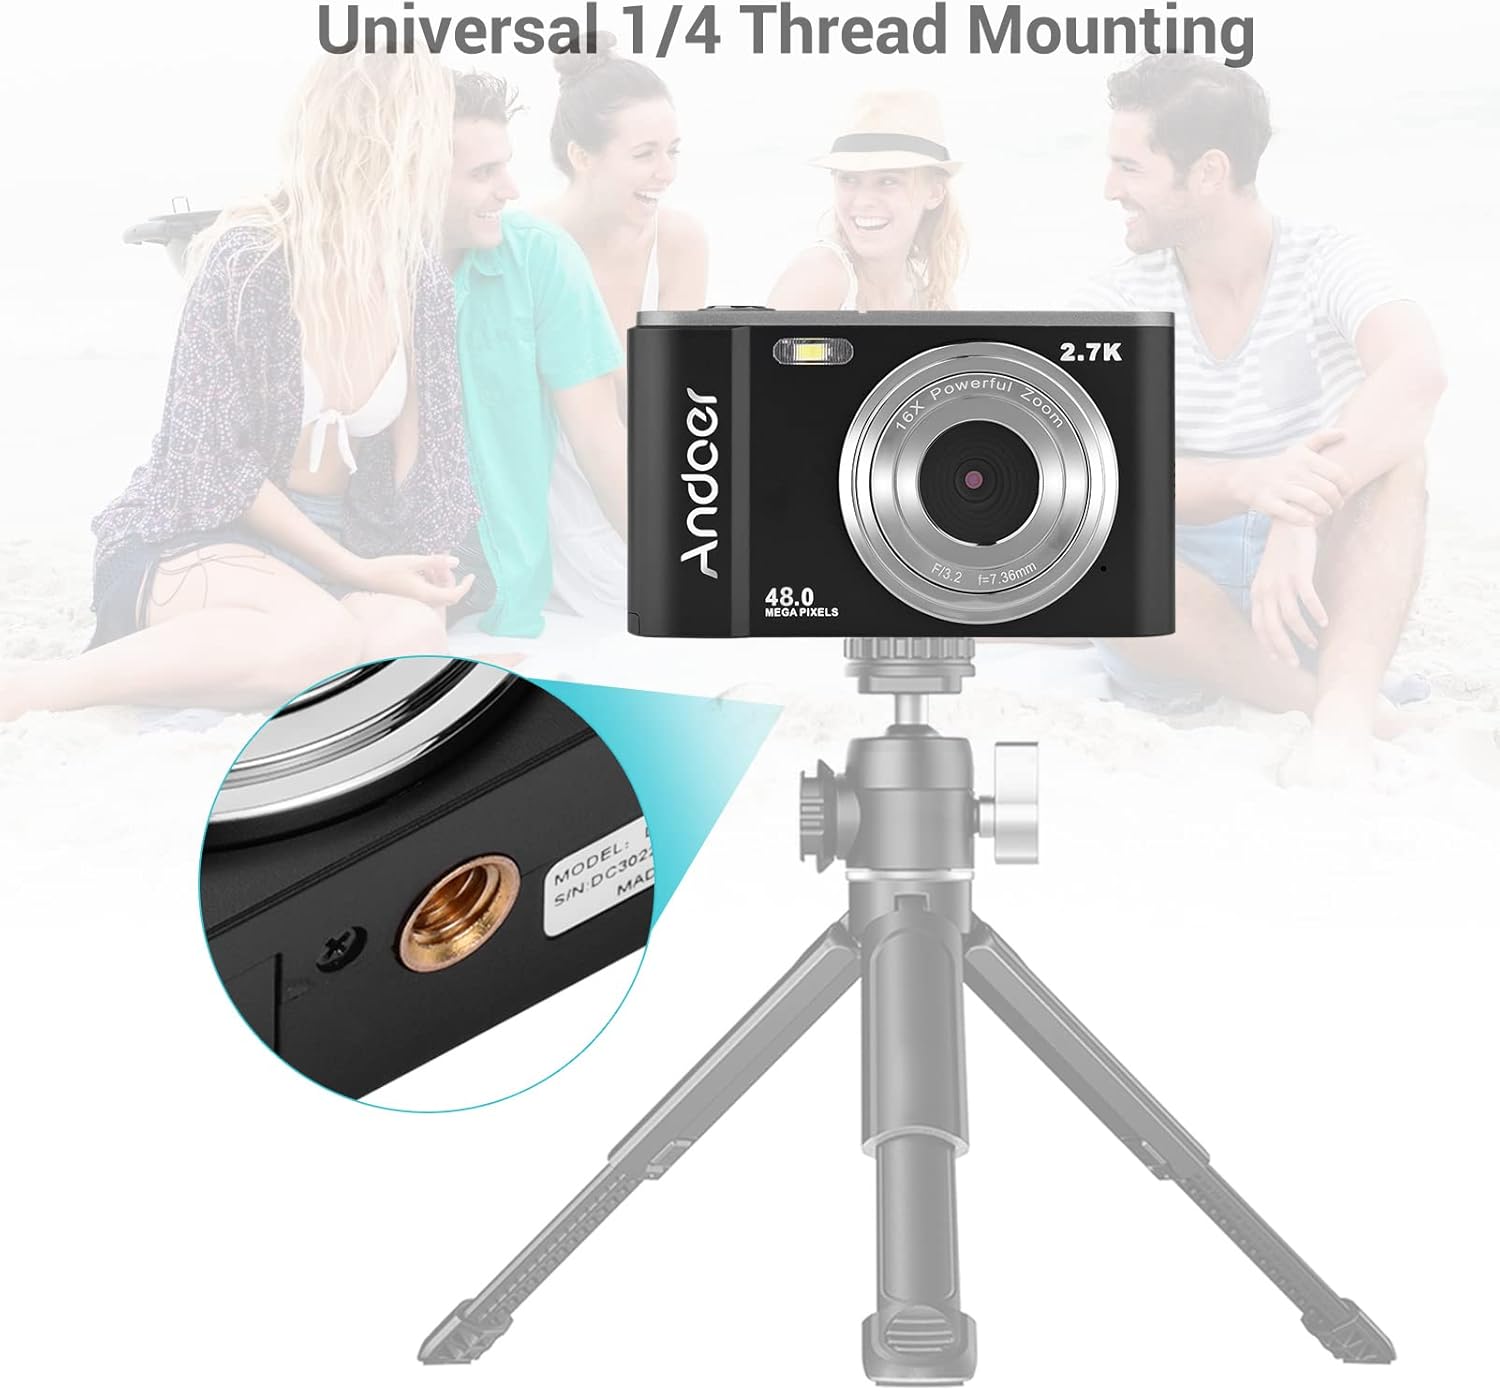
Thank you for choosing the Andoer Portable Digital Camera. This compact and lightweight camera is designed for ease of use, allowing you to capture high-quality photos and videos. Featuring a CMOS image sensor, it supports up to 1080P video resolution and 16MP (interpolation) image resolution, along with 16X digital zoom and a 2.7-inch rotatable LCD screen. It includes functions such as digital anti-shake, white balance adjustment, exposure control, and built-in speaker and microphone for a versatile shooting experience.

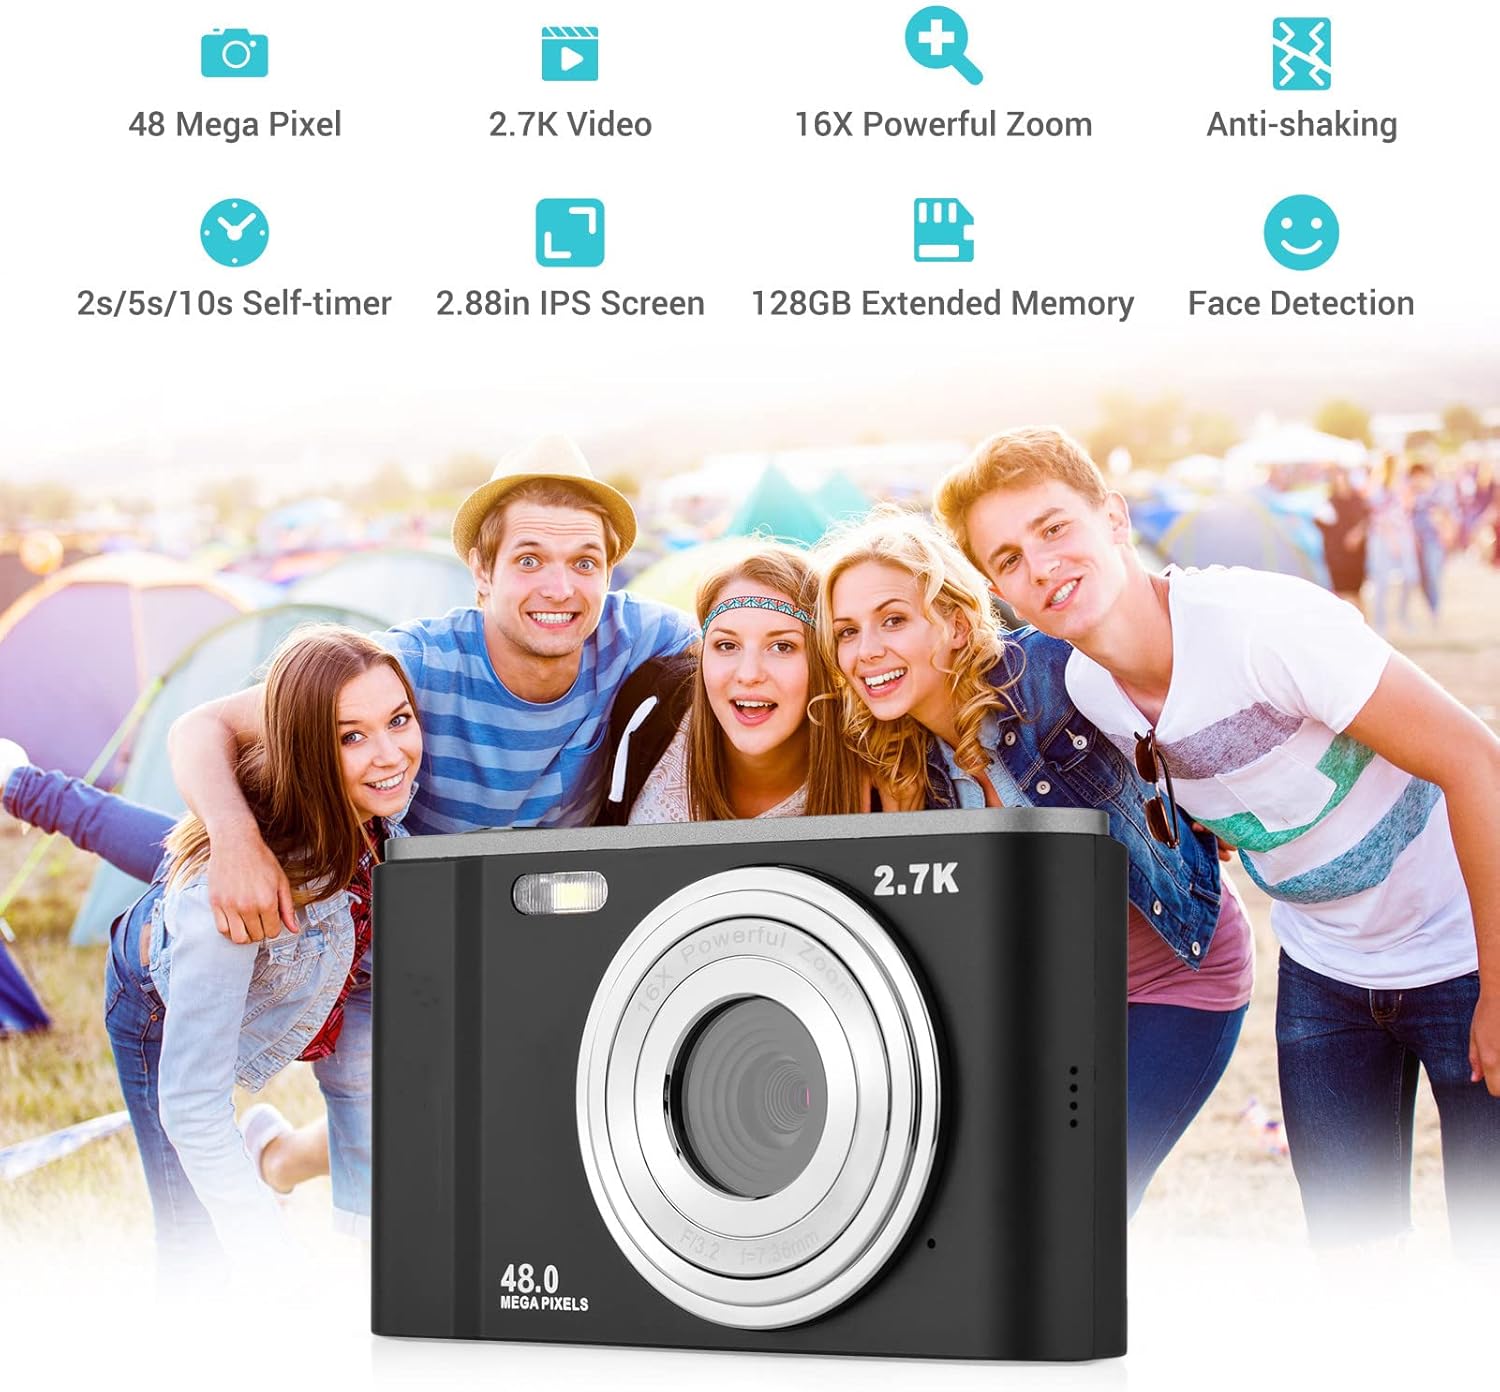
The Andoer Digital Camera offers a range of features including 48 Megapixel photos, 2.7K video recording, 16X powerful zoom, anti-shaking technology, self-timer options, a 2.88-inch IPS screen, 128GB extended memory support, and face detection.
What's in the Box
Please check the package contents to ensure all items are present:
- Digital Camera
- USB Cable
- Hand Strap
- Carry Pouch
- 2 x Batteries
- User Manual
The complete package includes the digital camera, USB cable, hand strap, carry pouch, two rechargeable batteries, and the user manual.
Setup
1. Battery Installation
The camera uses a BL-5C Li-ion Battery. Ensure the battery is charged before first use.
- Open the battery compartment cover located at the bottom of the camera.
- Insert the BL-5C battery into the compartment, ensuring the correct polarity.
- Close the battery compartment cover securely.

The camera uses a 700 mAh rechargeable lithium battery. Insert it into the designated compartment at the bottom of the camera.
2. Memory Card Installation
The camera supports memory cards up to 32GB. A Class 10 or higher memory card is highly recommended for optimal performance.
- Locate the SD card slot, usually next to the battery compartment.
- Insert the memory card into the slot with the metal contacts facing the correct direction until it clicks into place.
- To remove, gently push the card in until it springs out.
3. Charging the Battery
Charge the battery using the provided USB cable.
- Connect one end of the USB cable to the camera's USB port.
- Connect the other end to a USB power adapter (not included) or a computer's USB port.
- The charging indicator light will illuminate. It will turn off or change color once charging is complete.
Operating the Camera
1. Powering On/Off
Press and hold the power button (usually marked with a circle and a vertical line) to turn the camera on or off.
2. Basic Controls
Familiarize yourself with the camera's buttons and their functions:
- Shutter Button: Press halfway to focus, fully to take a photo or start/stop video recording.
- Mode Button (M): Switches between photo, video, and playback modes.
- Zoom Lever (W/T): Adjusts the digital zoom (Wide/Telephoto).
- Directional Pad/OK Button: Navigates menus and confirms selections.
- Menu Button: Accesses camera settings.
- Delete Button: Deletes selected files in playback mode.
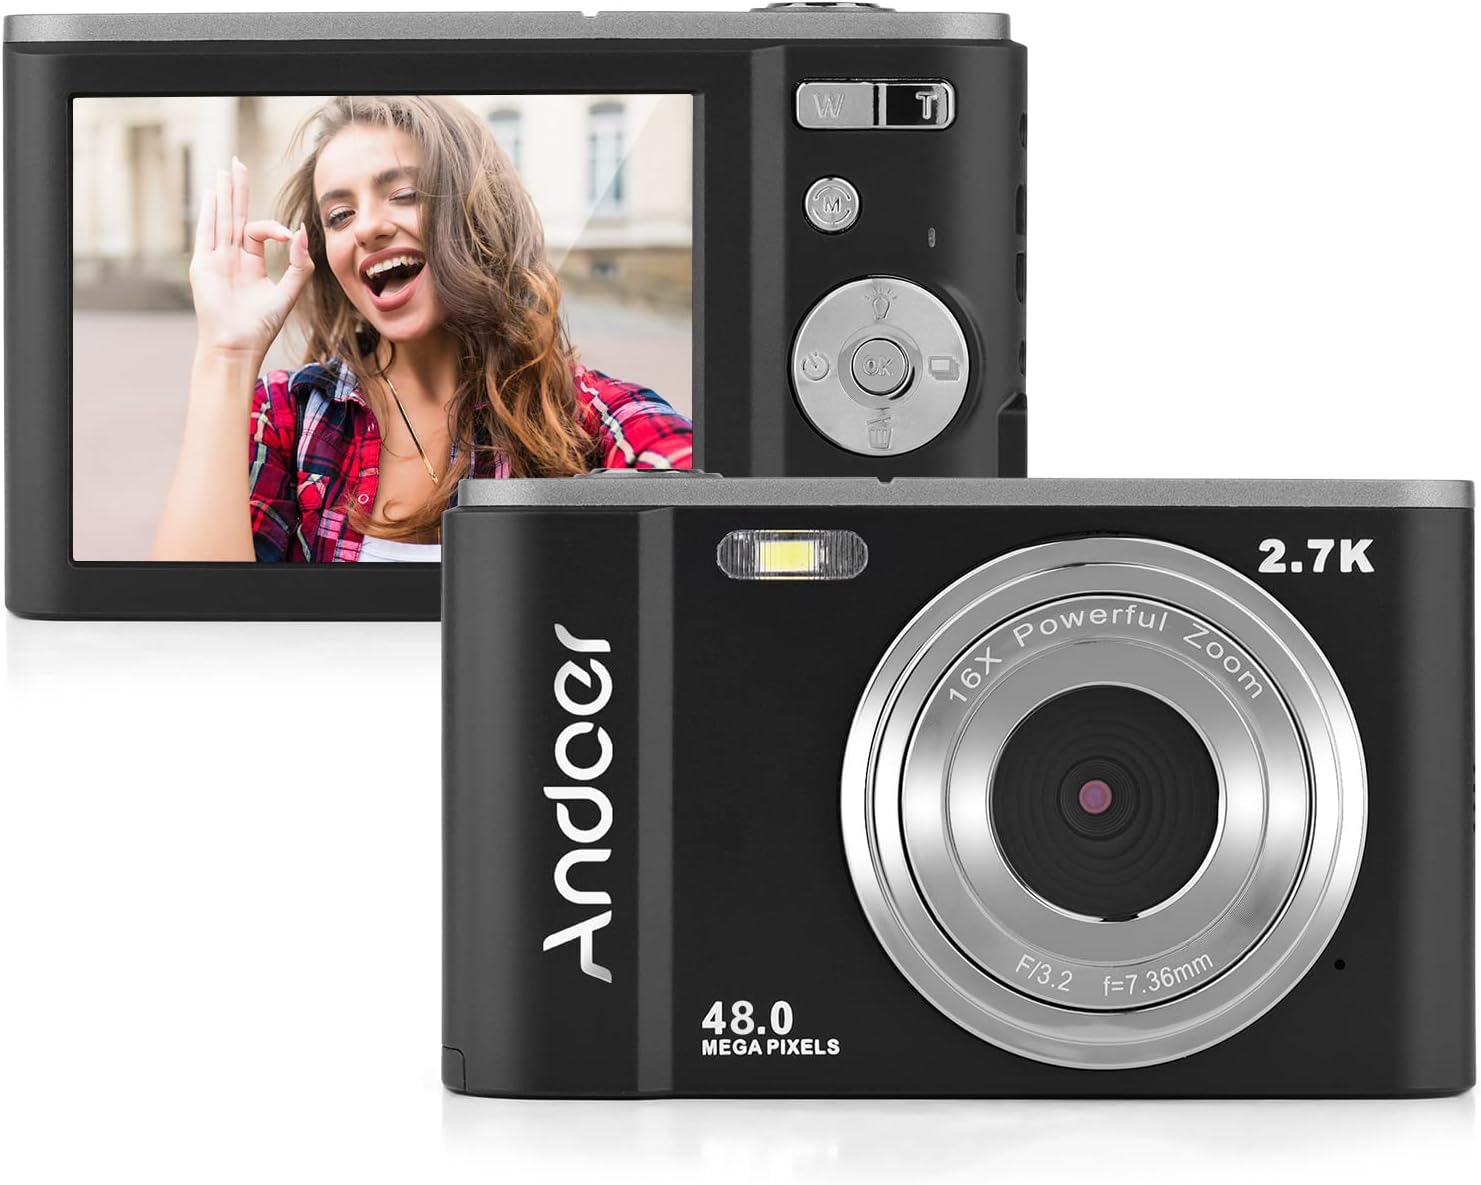
The camera features a 2.7-inch IPS screen and intuitive controls on the back for easy operation.
3. Taking Photos
In photo mode, frame your shot using the LCD screen. Press the shutter button halfway to focus, then fully to capture the image. Photos are saved in JPEG format with resolutions up to 16MP (interpolation).
4. Recording Videos
Switch to video mode using the Mode button. Press the shutter button to start recording, and press it again to stop. Videos are saved in AVI format with resolutions including 1080P, 720P, and VGA.

The camera supports both 2.7K video recording and 48 Megapixel photo capture for high-quality media.
5. Zoom Function
Use the W/T lever to adjust the 16X digital zoom. 'T' (Telephoto) zooms in, and 'W' (Wide) zooms out.

The 16X powerful zoom allows for detailed close-up shots.
6. Self-Timer
Access the self-timer option in the camera's menu. Available settings include off, 2 seconds, 5 seconds, and 10 seconds.
7. Smart Detection (Face Detection, Smile Capture)
The camera features smart detection capabilities, including face detection and smile capture, to assist in taking better portraits.
Smart detection features like face detection and smile capture enhance portrait photography.
8. Anti-Shaking
The digital anti-shake function helps reduce blur caused by camera movement, resulting in clearer images and videos.
9. Connecting to a Computer
Use the provided USB cable to connect the camera to a computer for transferring photos and videos.
- Connect the camera to your computer using the USB cable.
- The camera will appear as a removable disk drive on your computer.
- You can then access and transfer your files.
Maintenance
1. Cleaning the Camera
- Use a soft, dry cloth to clean the camera body.
- For the lens, use a specialized lens cleaning cloth and solution. Avoid touching the lens with your fingers.
- Do not use harsh chemicals or abrasive cleaners.
2. Battery Care
- Store batteries in a cool, dry place when not in use.
- Avoid fully discharging the battery frequently to prolong its lifespan.
- If the camera will not be used for an extended period, remove the battery.
3. Storage
- Store the camera in its carry pouch or a protective case to prevent scratches and dust accumulation.
- Keep the camera away from extreme temperatures, high humidity, and direct sunlight.
Troubleshooting
If you encounter issues with your camera, please refer to the following common problems and solutions:
| Problem | Possible Cause | Solution |
|---|---|---|
| Camera won't turn on | Battery is dead or incorrectly inserted. | Charge the battery fully. Ensure the battery is inserted with correct polarity. |
| Poor battery life | Battery degradation or frequent use of power-intensive features. | Ensure battery is fully charged. Reduce use of flash or prolonged video recording. Consider replacing the battery if it's old. |
| Images are blurry | Camera shake, dirty lens, or incorrect focus. | Hold the camera steady. Clean the lens. Ensure the camera has focused before taking the shot. |
| Memory card error | Card not inserted correctly, incompatible card, or corrupted card. | Reinsert the card. Ensure it's a compatible SD card (up to 32GB, Class 10 recommended). Try formatting the card (this will erase all data). |
Specifications
Detailed technical specifications for the Andoer Portable Digital Camera:
| Feature | Specification |
|---|---|
| Sensor | CMOS Sensor |
| Max. Image Resolution | 16MP (interpolation) |
| Video Resolution | 1080P / 720P / VGA |
| Screen | 2.7 inch LCD (rotatable) |
| Zoom | 16X Digital Zoom |
| Focus Distance | 1.2m to infinity |
| Memory Card Capacity | Max. 32GB (Not included, Class 10 or above recommended) |
| Photo Format | JPEG |
| Video Format | AVI |
| Exposure | ±2.0EV |
| Self-timer | Off, 2s, 5s, 10s |
| USB Port | USB2.0 |
| Power Supply | 1 * BL-5C Li-ion Battery |
| Product Dimensions | 0.98 x 3.78 x 2.2 inches |
| Item Weight | 3.28 ounces |

Physical dimensions of the camera for reference.
Warranty and Support
For warranty information and customer support, please refer to the documentation provided with your purchase or contact Andoer customer service through their official website. Keep your proof of purchase for any warranty claims.
