1. Introduction and Safety Information
This manual provides essential instructions for the safe and effective use, installation, and maintenance of your Morocca 16-inch Chainsaw Saw Chain. Please read this manual thoroughly before installation or operation. Always refer to your chainsaw's original instruction manual for specific safety guidelines and procedures related to your chainsaw model.
General Safety Warnings:
- Always wear appropriate personal protective equipment (PPE), including safety glasses, gloves, hearing protection, and sturdy footwear, when handling or installing chainsaw chains.
- Ensure the chainsaw is turned off, unplugged (electric models), or the spark plug cap is removed (gas models) before performing any maintenance, installation, or adjustments.
- Chainsaw chains are extremely sharp. Handle with extreme care to prevent injury.
- Never operate a chainsaw with a dull, damaged, or improperly installed chain.
- Keep children and bystanders away from the work area.
2. Product Overview
The Morocca 16-inch Chainsaw Saw Chain (Model-16-50-2) is a durable replacement chain designed for various chainsaw models. It features a 3/8" LP (Low Profile) pitch, 0.050" gauge, and 56 drive links, ensuring compatibility and efficient cutting performance.
Key Features:
- Length: 16 inches
- Pitch: 3/8" LP (Low Profile)
- Gauge: 0.050 inches
- Drive Links: 56
- Material: High-quality steel for durability and sharpness.
- Compatibility: Designed to fit various 16-inch chainsaws, including specific models from Ryobi (e.g., RY3716, RY40550, ZRRY3716, RY40HPCW02), Kobalt (e.g., KCS 180B-06), Echo (e.g., CS-310, CS-370, CS-400), Remington, Greenworks, Homelite, and Wen.
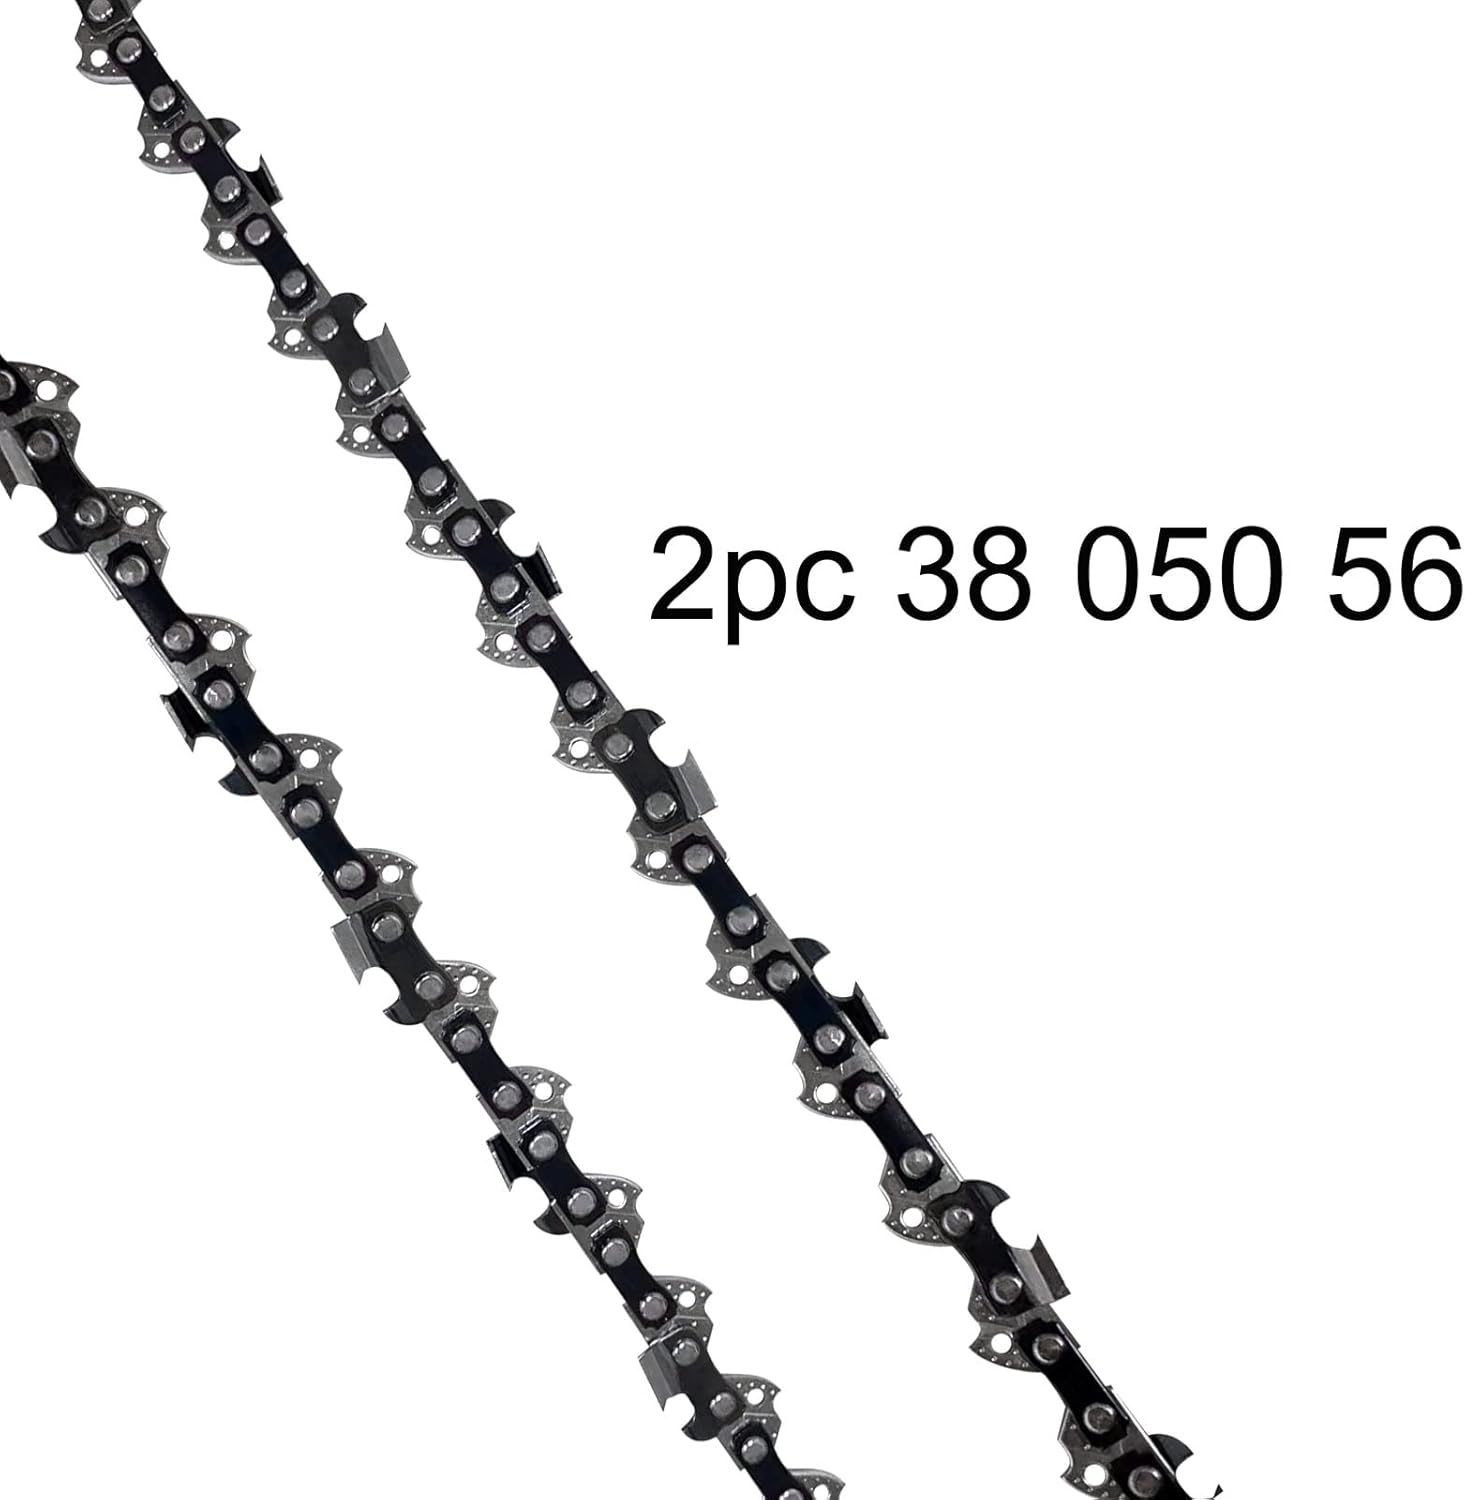
Image: Two Morocca 16-inch chainsaw chains, highlighting their design and length.

Image: Close-up views of the Morocca chainsaw chain, detailing the drive links and cutting teeth.
3. Setup and Installation
Proper installation is crucial for safe and efficient chainsaw operation. Always consult your chainsaw's specific manual for detailed instructions, as procedures may vary slightly between models.
Installation Steps:
- Ensure Safety: Turn off the chainsaw, disconnect the spark plug wire (gas models) or unplug it (electric models), and engage the chain brake. Wear heavy-duty gloves.
- Remove Bar Cover: Loosen the bar nuts or tensioning knob and remove the side cover that holds the guide bar in place.
- Remove Old Chain: Carefully remove the old chain from the guide bar and drive sprocket. Inspect the guide bar and sprocket for wear or damage. Replace if necessary.
- Install New Chain: Place the new Morocca chain onto the drive sprocket, ensuring the cutting edges of the teeth face forward (in the direction of rotation).
- Route Chain on Guide Bar: Carefully fit the chain into the groove of the guide bar, starting from the nose of the bar and working your way back to the sprocket.
- Reattach Bar Cover: Position the guide bar onto the chainsaw studs and replace the side cover. Hand-tighten the bar nuts or tensioning knob, but do not fully tighten yet.
- Adjust Chain Tension: Adjust the chain tensioning screw (usually located on the side cover or near the bar) until the chain is snug against the guide bar but can still be pulled freely by hand. There should be no slack on the underside of the bar, and the drive links should sit fully in the bar groove. A good test is to lift the chain from the top of the bar; the drive links should not come completely out of the bar groove.
- Tighten Bar Nuts: Once tension is correct, fully tighten the bar nuts or tensioning knob. Recheck chain tension after tightening.
- Lubricate: Ensure the chainsaw's oil reservoir is filled with appropriate bar and chain oil.

Image: A single Morocca chainsaw chain, illustrating its form for installation.
4. Operating Instructions
After proper installation and tensioning, the chain is ready for use. Always follow your chainsaw manufacturer's operating guidelines.
Initial Use and Break-in:
- Run the chainsaw at a moderate speed for a few minutes without cutting to allow the chain to seat properly and for oil to circulate.
- Periodically check chain tension during the first hour of operation, as new chains can stretch. Adjust tension as needed.
- Ensure the chain is always adequately lubricated by the chainsaw's automatic oiler. Check the oil level frequently.
5. Maintenance
Regular maintenance extends the life of your chainsaw chain and ensures safe, efficient cutting.
Key Maintenance Tasks:
- Sharpening: A sharp chain cuts efficiently and safely. Sharpen the chain regularly using a round file of the correct diameter (typically 5/32" for 3/8" LP chains) and a filing guide. Maintain the correct filing angle (usually 30-35 degrees). Sharpen all cutters evenly.
- Cleaning: Remove the chain and guide bar periodically for thorough cleaning. Use a brush and appropriate cleaning solution to remove sawdust, resin, and debris from the chain links and guide bar groove.
- Lubrication: Always ensure the chainsaw's automatic oiler is functioning correctly and the oil reservoir is filled with quality bar and chain oil. Proper lubrication reduces friction, heat, and wear.
- Tension Check: Check chain tension before each use and periodically during operation. A properly tensioned chain should be snug but still able to be pulled around the guide bar by hand.
- Inspection: Regularly inspect the chain for damaged or missing cutters, cracked links, or excessive wear. Replace the chain if any significant damage is found. Also, check the guide bar for burrs or uneven wear.
6. Troubleshooting
Addressing common issues can help maintain optimal performance.
Common Issues and Solutions:
- Chain Not Cutting Efficiently:
- Cause: Dull chain, incorrect sharpening angle, or chain installed backward.
- Solution: Sharpen the chain correctly, ensure cutters face the direction of rotation.
- Chain Comes Off Guide Bar:
- Cause: Incorrect chain tension (too loose), worn guide bar, or worn drive sprocket.
- Solution: Adjust tension, inspect and replace worn components.
- Excessive Smoke or Heat:
- Cause: Insufficient lubrication, dull chain, or incorrect chain tension (too tight).
- Solution: Check oiler, sharpen chain, adjust tension.
- Chain Jumps or Binds:
- Cause: Damaged chain links, bent guide bar, or debris in the chain groove.
- Solution: Inspect chain and guide bar for damage, clean thoroughly.
7. Specifications
| Specification | Detail |
|---|---|
| Brand | Morocca |
| Model Number | Model-16-50-2 |
| Item Length | 16 Inches |
| Chain Length | 16 Inches |
| Chain Type | Low Profile (LP) |
| Drive Link Count | 56 |
| Pitch | 3/8" LP |
| Gauge | 0.050" |
| Material | Steel |
| Item Weight | 13.4 ounces |
| Package Dimensions | 5.16 x 2.99 x 1.14 inches |
| Included Components | Case |
8. Warranty Information
Specific warranty details for Morocca products are typically provided with your original purchase or can be found on the manufacturer's official website. Please retain your proof of purchase for any warranty claims.
9. Support
For further assistance, technical support, or inquiries regarding your Morocca 16-inch Chainsaw Saw Chain, please refer to the contact information provided with your product packaging or visit the official Morocca brand website. Always provide your product model number (Model-16-50-2) when seeking support.


