
1. Introduction
Thank you for choosing the LoopTone DS-R08-UW Multifunction Vintage Radio. This device combines classic aesthetics with modern functionality, offering AM/FM radio, Bluetooth connectivity, and playback from USB drives and SD cards. This manual provides essential information for safe and effective use of your new radio.
2. Safety Information
- Do not expose the unit to rain or moisture to prevent fire or electric shock.
- Avoid placing the unit near heat sources such as radiators, heat registers, stoves, or other apparatus (including amplifiers) that produce heat.
- Use only attachments/accessories specified by the manufacturer.
- Unplug this apparatus during lightning storms or when unused for long periods.
- Do not attempt to service this product yourself. Refer all servicing to qualified service personnel.
- Ensure proper ventilation and do not block any ventilation openings.
3. Package Contents
Please check the package for the following items:
- LoopTone DS-R08-UW Vintage Radio
- Power Cord
- Owner's Manual (this document)
4. Product Overview


Controls and Ports:
- Tuning Dial: Used to select AM or FM radio frequencies.
- Mode Selector: Rotary switch to select between Bluetooth (BT/USB), FM, and AM modes.
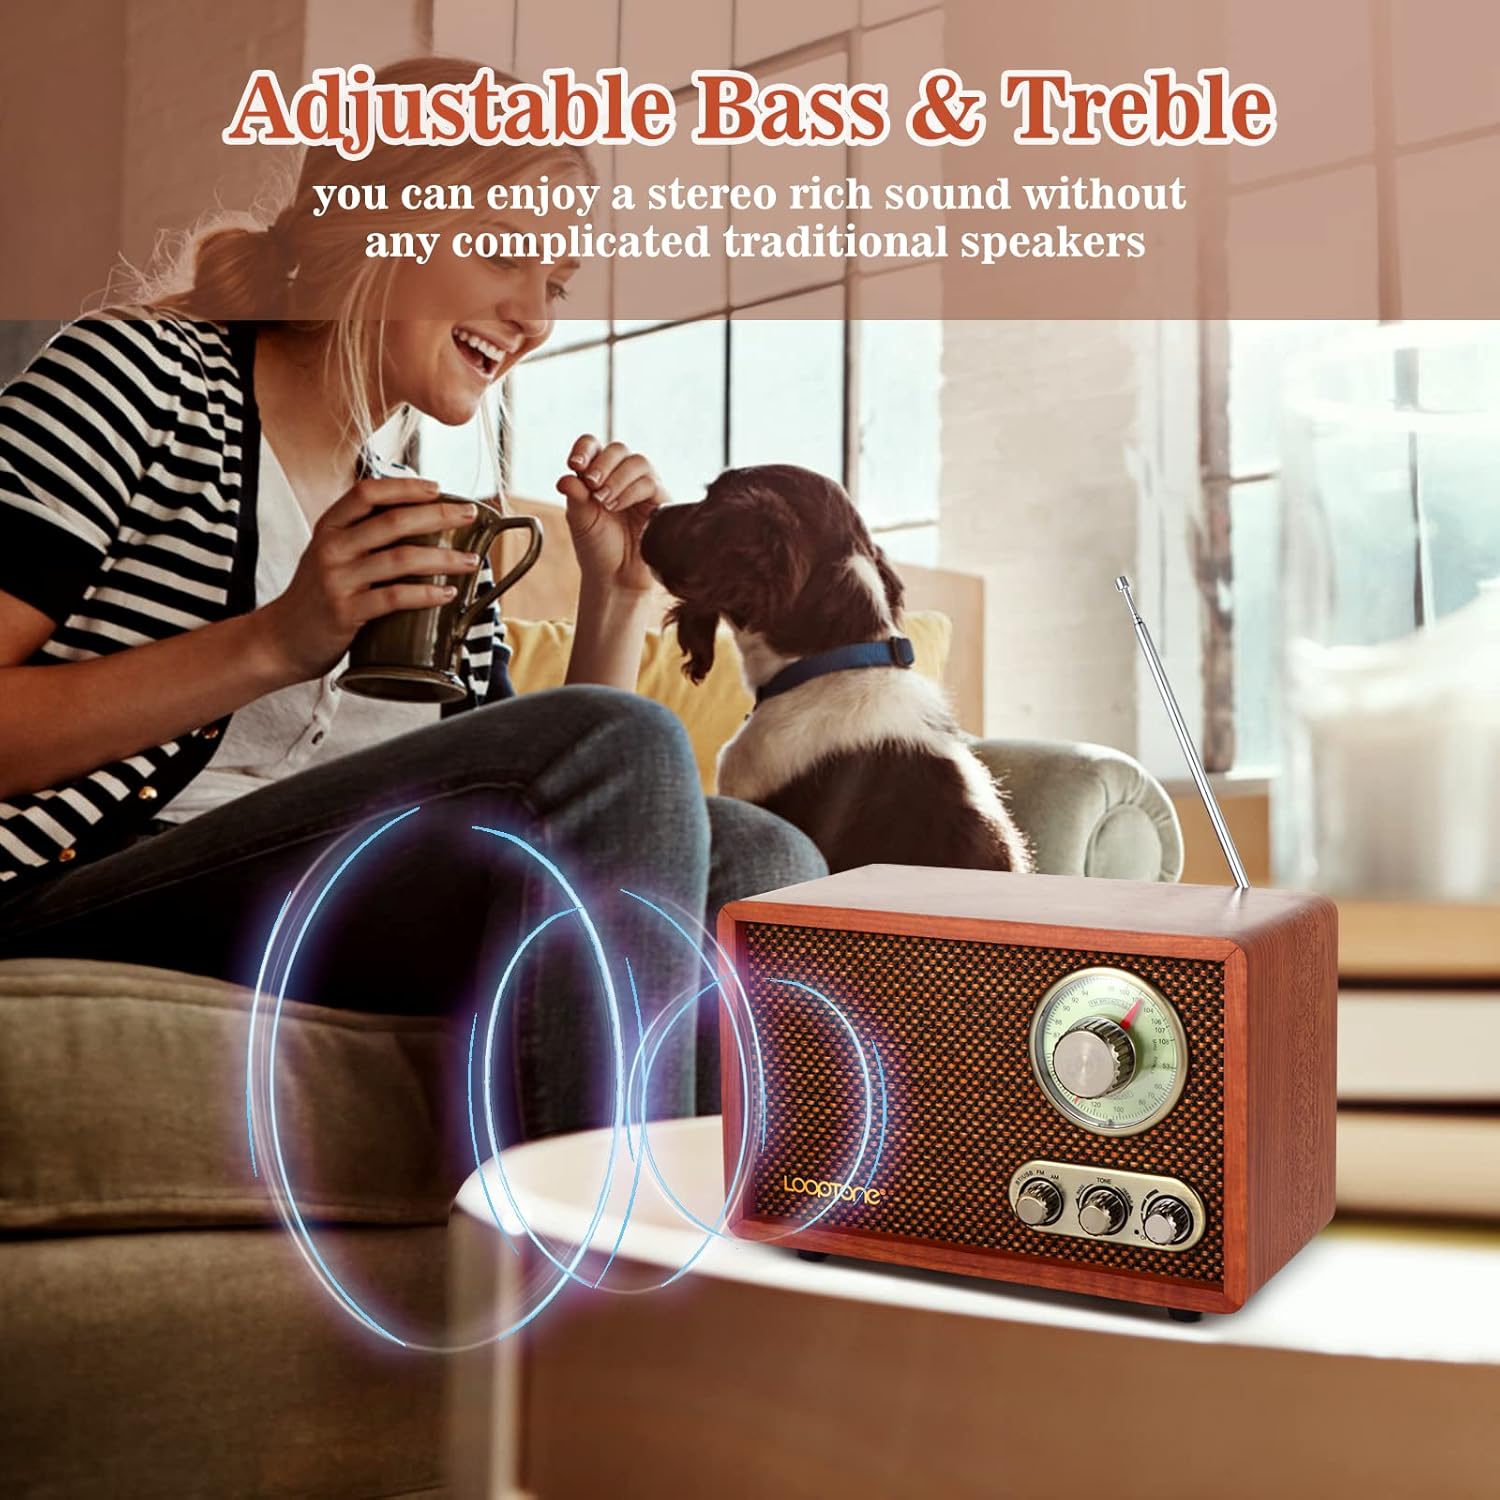
- Tone Control: Adjusts the bass and treble levels for desired audio output.
- Volume/Power Knob: Turns the unit on/off and controls the audio volume.
- FM Antenna: Telescopic antenna for improved FM reception.
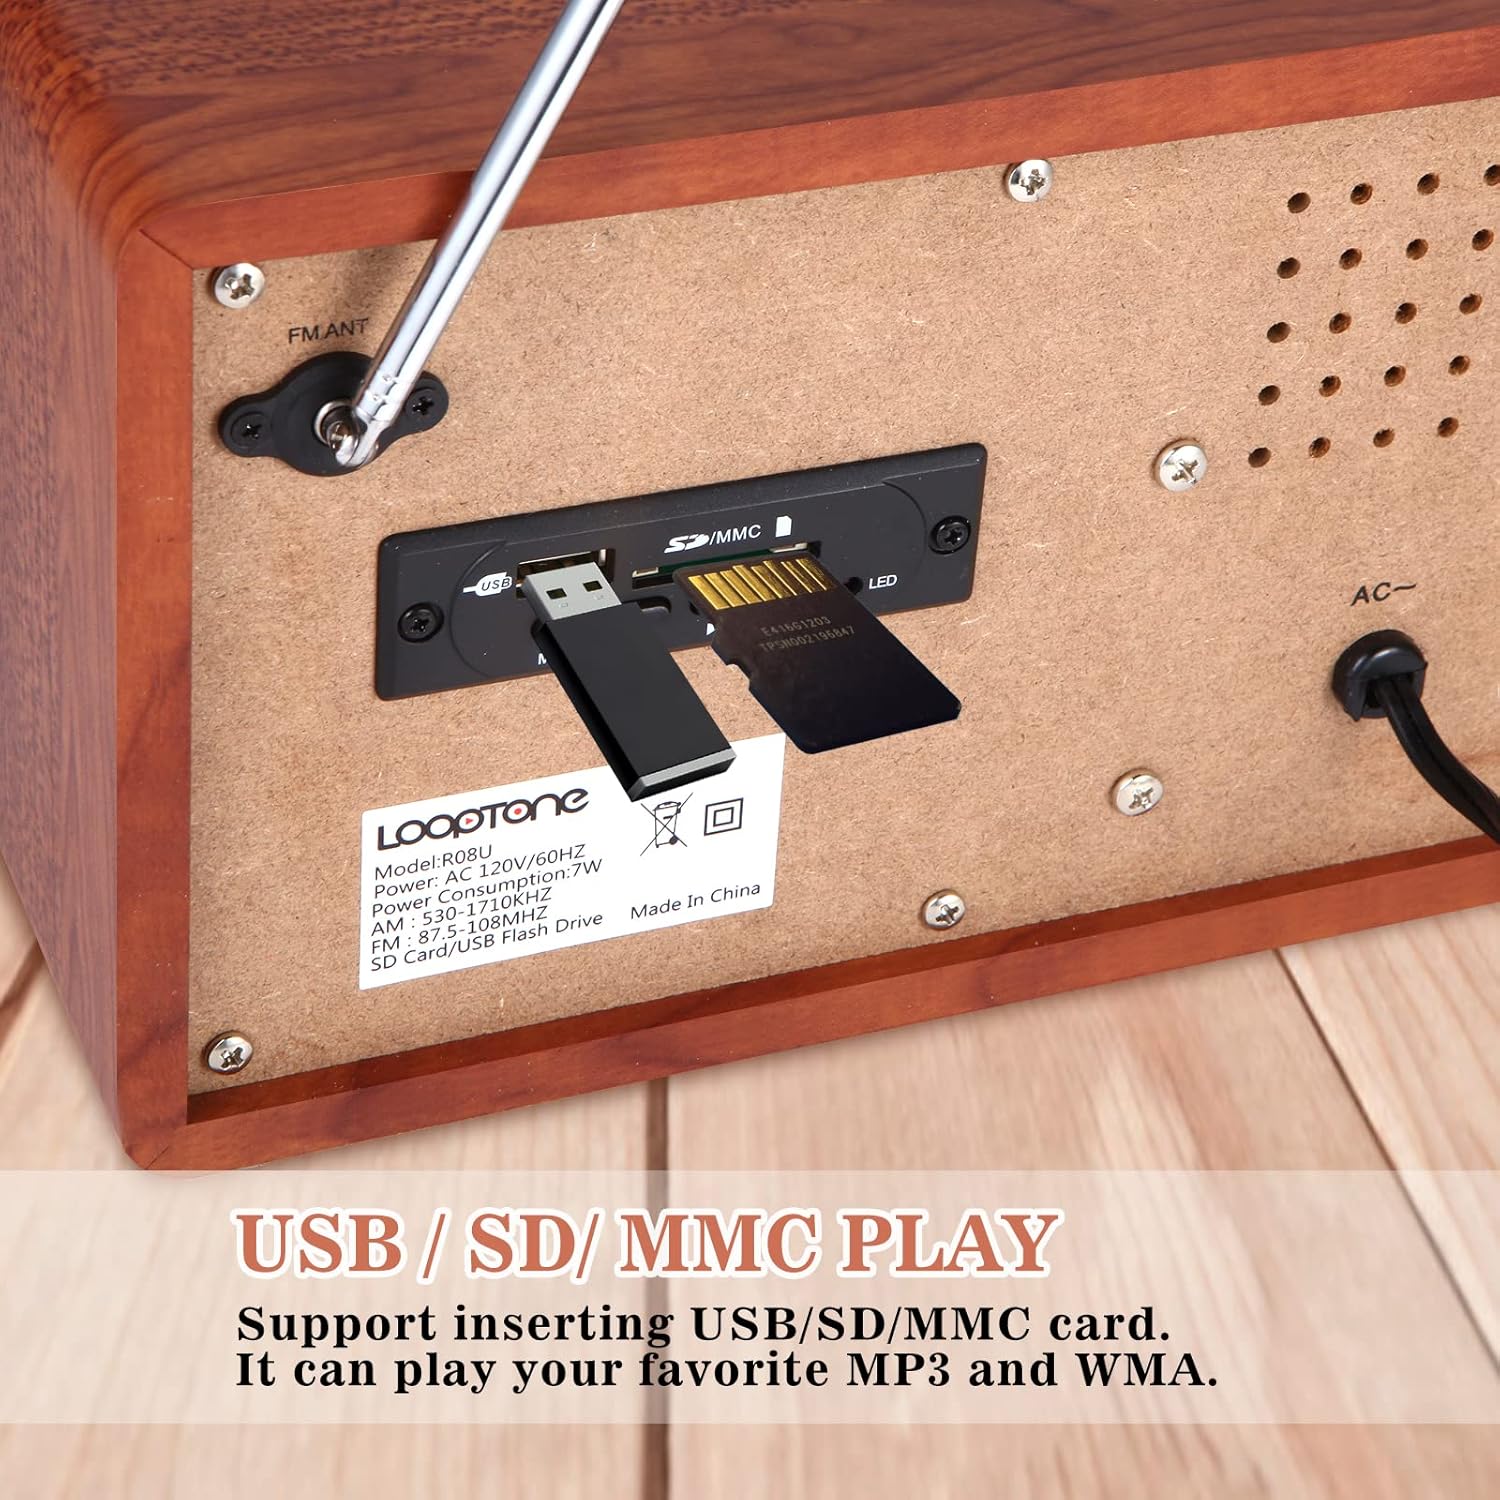
- USB Port: For playing MP3/WMA files from a USB flash drive.
- SD/MMC Card Slot: For playing MP3/WMA files from an SD or MMC memory card.
- AC Power Input: Connects the radio to a standard wall outlet for power.
5. Setup
- Power Connection: Connect the provided AC power cord to the AC power input on the back of the radio (Figure 3) and then plug it into a standard wall outlet.
- Antenna Setup: For optimal FM reception, extend the telescopic FM antenna located on the back of the unit. For AM reception, the radio has a built-in AM antenna.
Video 1: An official LoopTone video demonstrating the radio's features and setup, including power connection and antenna extension.
6. Operating Instructions
6.1. Power On/Off and Volume Control
Rotate the Volume/Power knob clockwise to turn the radio on. Continue rotating to increase the volume. Rotate counter-clockwise to decrease the volume and turn the radio off.
6.2. Radio Mode (AM/FM)
- Turn on the radio using the Volume/Power knob.
- Set the Mode Selector to 'FM' or 'AM' as desired.
- Rotate the Tuning Dial to search for radio stations. The frequency will be displayed on the dial.
- For FM reception, extend and adjust the telescopic antenna for the best signal.
6.3. Bluetooth Mode
- Turn on the radio.
- Set the Mode Selector to 'BT/USB'. The radio will enter Bluetooth pairing mode, indicated by a blue light.
- On your smart device (phone, tablet, etc.), enable Bluetooth and search for available devices.
- Select 'LoopTone' from the list to pair. Once paired, you will hear a confirmation sound.
- You can now play audio from your device through the radio.
6.4. USB/SD Playback
- Turn on the radio.
- Insert a USB flash drive or an SD/MMC card containing MP3/WMA audio files into the respective port on the back of the radio (Figure 3).
- Set the Mode Selector to 'BT/USB'. The radio will automatically detect and begin playing the audio files.
6.5. Tone Control
Use the 'Tone' knob on the front panel to adjust the audio's bass and treble. Rotate it to the left for more bass or to the right for more treble, customizing the sound to your preference.
7. Maintenance
- Cleaning: Use a soft, dry cloth to clean the exterior of the radio. Do not use liquid cleaners or aerosol sprays.
- Storage: When not in use for extended periods, store the radio in a cool, dry place away from direct sunlight and extreme temperatures.
- Antenna Care: Handle the telescopic antenna gently to avoid bending or breaking.
8. Troubleshooting
| Problem | Possible Cause | Solution |
|---|---|---|
| No power | Power cord not connected or outlet not working. | Ensure the power cord is securely plugged into the radio and a working wall outlet. |
| No sound | Volume too low or incorrect mode selected. | Increase the volume. Verify the correct mode (AM, FM, BT/USB) is selected. |
| Poor radio reception | Antenna not extended or weak signal. | Extend and adjust the FM antenna. Try relocating the radio to an area with better signal. |
| Bluetooth not connecting | Radio not in pairing mode or device out of range. | Ensure the radio is in 'BT/USB' mode and the blue light is flashing. Keep your device within 10 meters of the radio. |
| USB/SD not playing | Incorrect file format or mode. | Ensure audio files are in MP3 or WMA format. Verify the mode selector is set to 'BT/USB'. |
9. Specifications
- Model Number: DS-R08-UW
- Product Dimensions: 9.45"L x 4.72"W x 6.3"H (24 x 12 x 16 cm)
- Item Weight: 3.63 pounds (1.65 kg)
- Brand: LoopTone
- Color: Brown
- Connectivity Technology: Bluetooth
- Special Feature: Built-In AM Antenna
- Tuner Technology: FM/AM
- Power Source: Corded Electric
- Radio Bands Supported: AM/FM
10. Warranty and Support
LoopTone products are designed and manufactured to the highest quality standards. For warranty information or technical support, please refer to the contact details provided with your purchase or visit the official LoopTone website. Keep your proof of purchase for warranty claims.