
Introduction
The ZURU Smashers Dino Island Egg provides an exciting unboxing experience with over 10 surprises. This manual guides you through the setup, assembly, and play of your Dino Island adventure.
What's in the Box:
- 1 x Smashers Dino Island Egg
- Dinosaur parts for assembly
- Dino Sand
- Dino Slime
- Mystery Treasure Figure (e.g., Pirate)
- Instruction Guide (this manual)

Image: Child with the ZURU Smashers Dino Island Egg and assembled dinosaur.
Safety Warning:
CHOKING HAZARD - Small parts. Not for children under 3 years.
Setup
- Unwrap the Egg: Carefully remove the outer plastic packaging from the Dino Island Egg.
- Open the Egg: The egg is designed to be opened by pulling apart the two halves. A small dinosaur head may be visible at the top, indicating the opening point.
- Discover Surprise Packets: Inside the egg, you will find several mystery packets. These contain various components such as dinosaur parts, Dino Sand, Dino Slime, and a treasure figure.
- Prepare Play Area: It is recommended to open the Dino Sand and Dino Slime packets over a bowl or a protected surface to contain any potential mess.

Image: ZURU Smashers Dino Island Egg with dimensions.

Image: Contents of the Dino Island Egg, including sand, slime, and figures.
Operating
- Assemble Your Dinosaur: Locate all the dinosaur body parts from the surprise packets. Carefully connect the pieces to form your dinosaur figure. Some parts may require gentle force to snap into place. Refer to the included collector's guide for specific assembly instructions if needed.
- Explore Dino Sand: Open the Dino Sand packet and pour it into a bowl. The sand has a unique texture, similar to kinetic sand, allowing for molding and shaping. Search for hidden components within the sand.
- Uncover Dino Slime: Open the Dino Slime packet. The slime contains additional surprise elements. Carefully extract the slime and any embedded parts into a bowl.
- Engage in Play: Use your assembled dinosaur, treasure figure, and the Dino Sand and Slime to create your own Dino Island adventures.

Image: Dinosaur head emerging from Dino Sand.
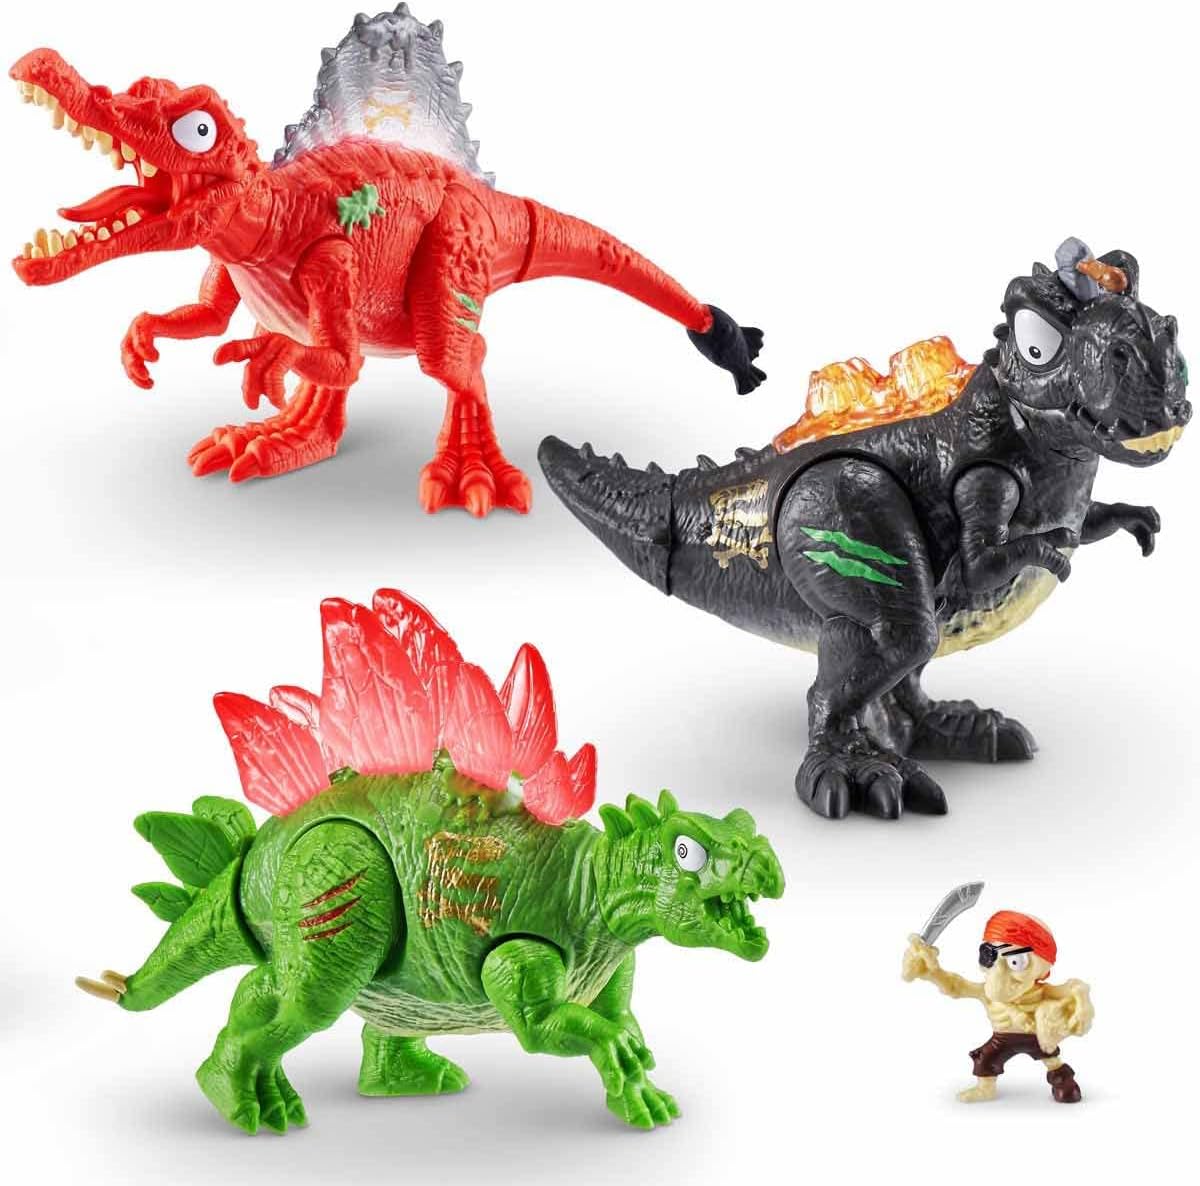
Image: Assembled dinosaur figures and pirate.
Maintenance
Cleaning:
Wipe plastic dinosaur figures and accessories with a damp cloth. Do not submerge electronic components (if any) in water. Dino Sand and Dino Slime are not washable.
Storage:
Store Dino Sand and Dino Slime in their original resealable packaging or airtight containers to prevent drying out. Keep all components in a cool, dry place away from direct sunlight.
Troubleshooting
Difficulty Assembling Dinosaur:
If parts are difficult to connect, ensure they are correctly aligned. Adult assistance may be required for younger children due to the small size and precise fitting of some components.
Dino Sand/Slime Consistency:
If Dino Sand or Slime becomes dry, it may not be possible to restore its original consistency. Ensure proper storage after each use.
Specifications
- Model Number: AZT7486SQ1
- Item Dimensions (L x W x H): 4 x 3 x 7 inches
- Material: Plastic
- Number of Pieces: 10 (including egg and surprises)
- Age Range: Kid (Recommended for ages 5+)
- Educational Objective: Develop fine motor skills, problem-solving, and understanding of prehistoric creatures and their habitats.
Warranty and Support
Warranty:
This product is sold without a manufacturer's warranty.
Support:
For additional product information or inquiries, please visit the official ZURU Store.
