Introduction
This manual provides detailed instructions for the setup, operation, and maintenance of your Rosonway 10 Port USB 3.1 Hub and RSHTECH 4 Port Powered USB 3.0 Hub. Please read this manual thoroughly before using the products to ensure proper functionality and safety.
Package Contents
Verify that all items are present in your package. If any items are missing or damaged, please contact customer support.
Rosonway 10 Port USB 3.1 Hub Package:
- 1 x Rosonway 10 Port USB 3.1 Hub (Model: RSH-A10S)
- 1 x 36W (12V/3A) Power Adapter
- 1 x USB-A to USB-B Cable
- 1 x USB-C to USB-B Cable
- 1 x User Manual

Image: Contents of the Rosonway 10 Port USB 3.1 Hub package, including the hub, power adapter, USB-A to USB-B cable, and USB-C to USB-B cable.
RSHTECH 4 Port Powered USB 3.0 Hub Package:
- 1 x RSHTECH 4 Port Powered USB 3.0 Hub
- 1 x Universal 5V AC Adapter
- 1 x USB 3.0 Data Cable
- 1 x User Manual
Setup Instructions
Rosonway 10 Port USB 3.1 Hub Setup:
- Connect Power Adapter: Plug the 36W (12V/3A) power adapter into the DC 12V input port on the Rosonway 10 Port USB 3.1 Hub. Then, plug the adapter into a power outlet.
- Connect to Computer: Use either the provided USB-A to USB-B cable or the USB-C to USB-B cable to connect the hub's upstream port (USB-B) to an available USB port on your computer.
- Device Connection: Connect your USB devices (e.g., external hard drives, flash drives, keyboards, mice) to the available USB 3.1 ports on the hub.

Image: Close-up view of the Rosonway 10 Port USB 3.1 Hub showing the DC 12V power input and USB upstream port.

Image: Rosonway 10 Port USB 3.1 Hub connected to a computer and external hard drives, illustrating data transfer.
RSHTECH 4 Port Powered USB 3.0 Hub Setup:
- Connect Power Adapter: Plug the 5V AC adapter into the DC 5V input port on the RSHTECH 4 Port Powered USB 3.0 Hub. Then, plug the adapter into a power outlet.
- Connect to Computer: Use the provided USB 3.0 data cable to connect the hub's upstream port (USB-B) to an available USB 3.0 port on your computer.
- Device Connection: Connect your USB devices to the available USB 3.0 ports on the hub. Each port has an individual on/off switch.

Image: Close-up view of the RSHTECH 4 Port Powered USB 3.0 Hub showing the DC 5V power input and USB upstream port.

Image: RSHTECH 4 Port Powered USB 3.0 Hub connected to a laptop, demonstrating device charging and data transfer.
Operating Instructions
Rosonway 10 Port USB 3.1 Hub:
- Power On/Off: The hub powers on automatically when connected to a power source and a computer. There are no individual power switches for ports.
- Data Transfer: Connect USB 3.1 compatible devices to achieve data transfer speeds up to 10Gbps. The hub is backward compatible with USB 3.0, USB 2.0, and USB 1.1 devices, operating at their respective maximum speeds.
- Power Delivery: The 36W power adapter ensures stable power delivery to all connected devices, supporting multiple power-hungry peripherals simultaneously.

Image: A computer screen displaying a file transfer progress, illustrating the 10Gbps super speed transmission capability of the Rosonway hub.
RSHTECH 4 Port Powered USB 3.0 Hub:
- Individual On/Off Switches: Each USB 3.0 port on the RSHTECH hub has an independent on/off switch. Press the button above a port to turn it on or off. An LED indicator will show the port's status.
- Data Transfer: Connect USB 3.0 compatible devices to achieve data transfer speeds up to 5Gbps. The hub is backward compatible with USB 2.0 and USB 1.1 devices.
- Power Delivery: The 5V AC adapter provides stable power to connected devices, ensuring reliable operation for peripherals.
- Compatibility: This hub is compatible with Windows, macOS, and Linux operating systems.

Image: A laptop connected to the RSHTECH 4 Port Powered USB 3.0 Hub, illustrating 5Gbps data transfer speed compared to USB 2.0.
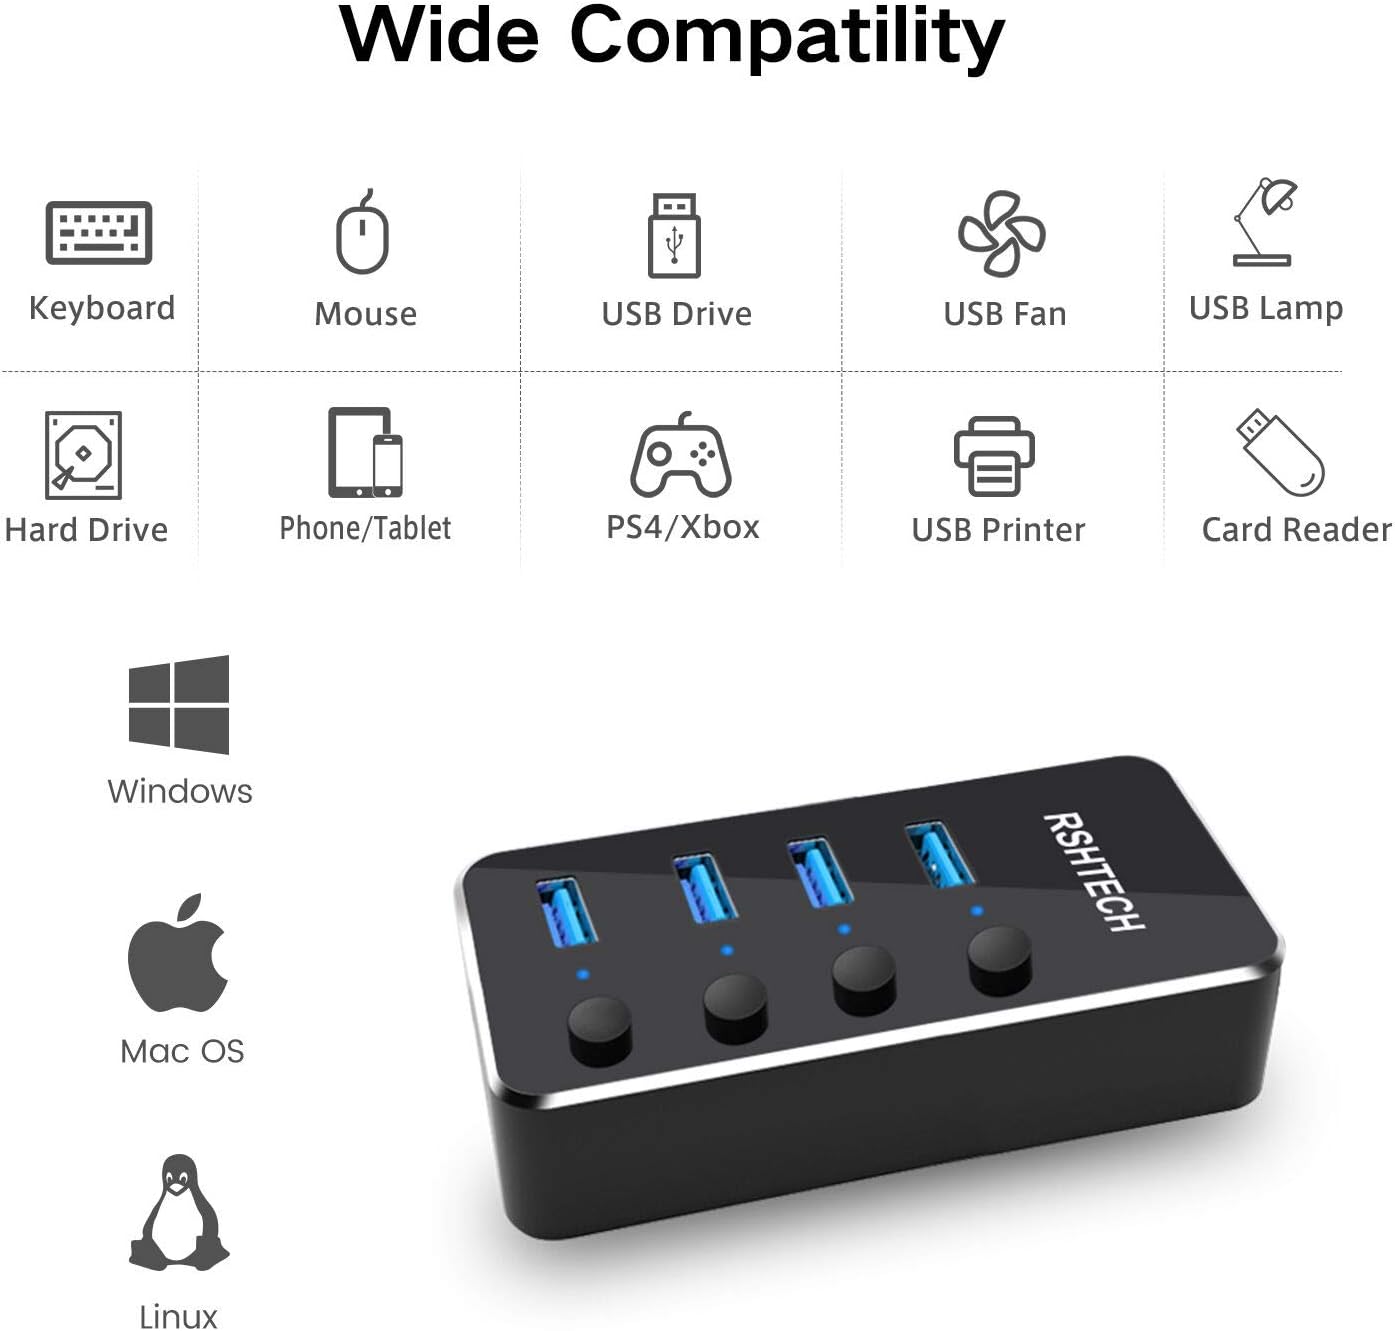
Image: Icons representing various compatible devices and operating systems (Windows, Mac OS, Linux) for the RSHTECH 4 Port Powered USB 3.0 Hub.
Maintenance
- Cleaning: Use a soft, dry cloth to clean the surface of the hubs. Avoid using liquid cleaners or aerosols, which may damage the devices.
- Storage: When not in use, store the hubs in a cool, dry place away from direct sunlight and extreme temperatures.
- Cable Management: Ensure cables are not excessively bent or tangled to prevent damage to the cables and ports.
- Power Disconnection: Always disconnect the power adapter from the wall outlet when the hubs are not in use for extended periods.
Troubleshooting
| Problem | Possible Cause | Solution |
|---|---|---|
| Hub not recognized by computer. |
|
|
| Devices connected to the hub are not working or disconnecting. |
|
|
| Slow data transfer speeds. |
|
|
Specifications
Rosonway 10 Port USB 3.1 Hub:
- Model: RSH-A10S
- Ports: 10 x USB 3.1 Gen 2 Type-A
- Data Transfer Speed: Up to 10Gbps
- Power Input: DC 12V/3A (36W)
- Compatibility: USB 3.1 Gen 2, backward compatible with USB 3.0, USB 2.0, USB 1.1
- Material: Aluminum alloy
- Features: Fast heat dissipation, stable transmission, overcurrent protection, overvoltage protection.
RSHTECH 4 Port Powered USB 3.0 Hub:
- Ports: 4 x USB 3.0 Type-A
- Data Transfer Speed: Up to 5Gbps
- Power Input: DC 5V (Universal AC Adapter)
- Compatibility: USB 3.0, backward compatible with USB 2.0, USB 1.1; Windows, macOS, Linux.
- Features: Individual On/Off Switches, Overheating protection, stable transmission.
Warranty and Support
Rosonway products come with a standard manufacturer's warranty. For specific warranty details, please refer to the warranty card included in your package or visit the official Rosonway website. If you encounter any issues or have questions regarding your product, please contact Rosonway customer support through their official channels.
Website: www.rosonway.com (Note: This is a placeholder URL, please refer to your product documentation for the correct support contact information.)