
1. Product Overview
The Ankilo Digital LED Alarm Clock is a versatile electronic desktop clock designed for bedrooms and other indoor spaces. It features a large, clear display, dual alarm settings, temperature display, and voice control capabilities. This manual provides detailed instructions for setting up and operating your new alarm clock.
Key Features:
- Large 6.7-inch LED Display: Provides clear visibility of time, alarm, and temperature.
- Dual Alarm & Snooze Function: Set two independent alarms with a 5-minute snooze option.
- USB & Battery Powered: Flexible power options (USB cable included, adapter and AAA batteries not included).
- Voice Control & Power Saving Mode: Activate the display by sound or touch when battery-powered, with automatic power-saving after 20 seconds of inactivity.
- Easy to Use: Simple 5-button interface for straightforward setup and operation.

Figure 1.1: Front view of the Ankilo Digital LED Alarm Clock.
2. Setup and Installation
2.1 Power Supply
The Ankilo Digital LED Alarm Clock offers two power options:
- USB Powered: Connect the included USB cable to the clock and a USB power adapter (not included). When powered by USB, the LED display will always remain on.
- Battery Powered: Insert 3 AAA batteries (not included) into the battery compartment. In battery mode, the clock will automatically enter power-saving mode after 20 seconds of inactivity to conserve power. The time memory function ensures settings are retained after power failure.
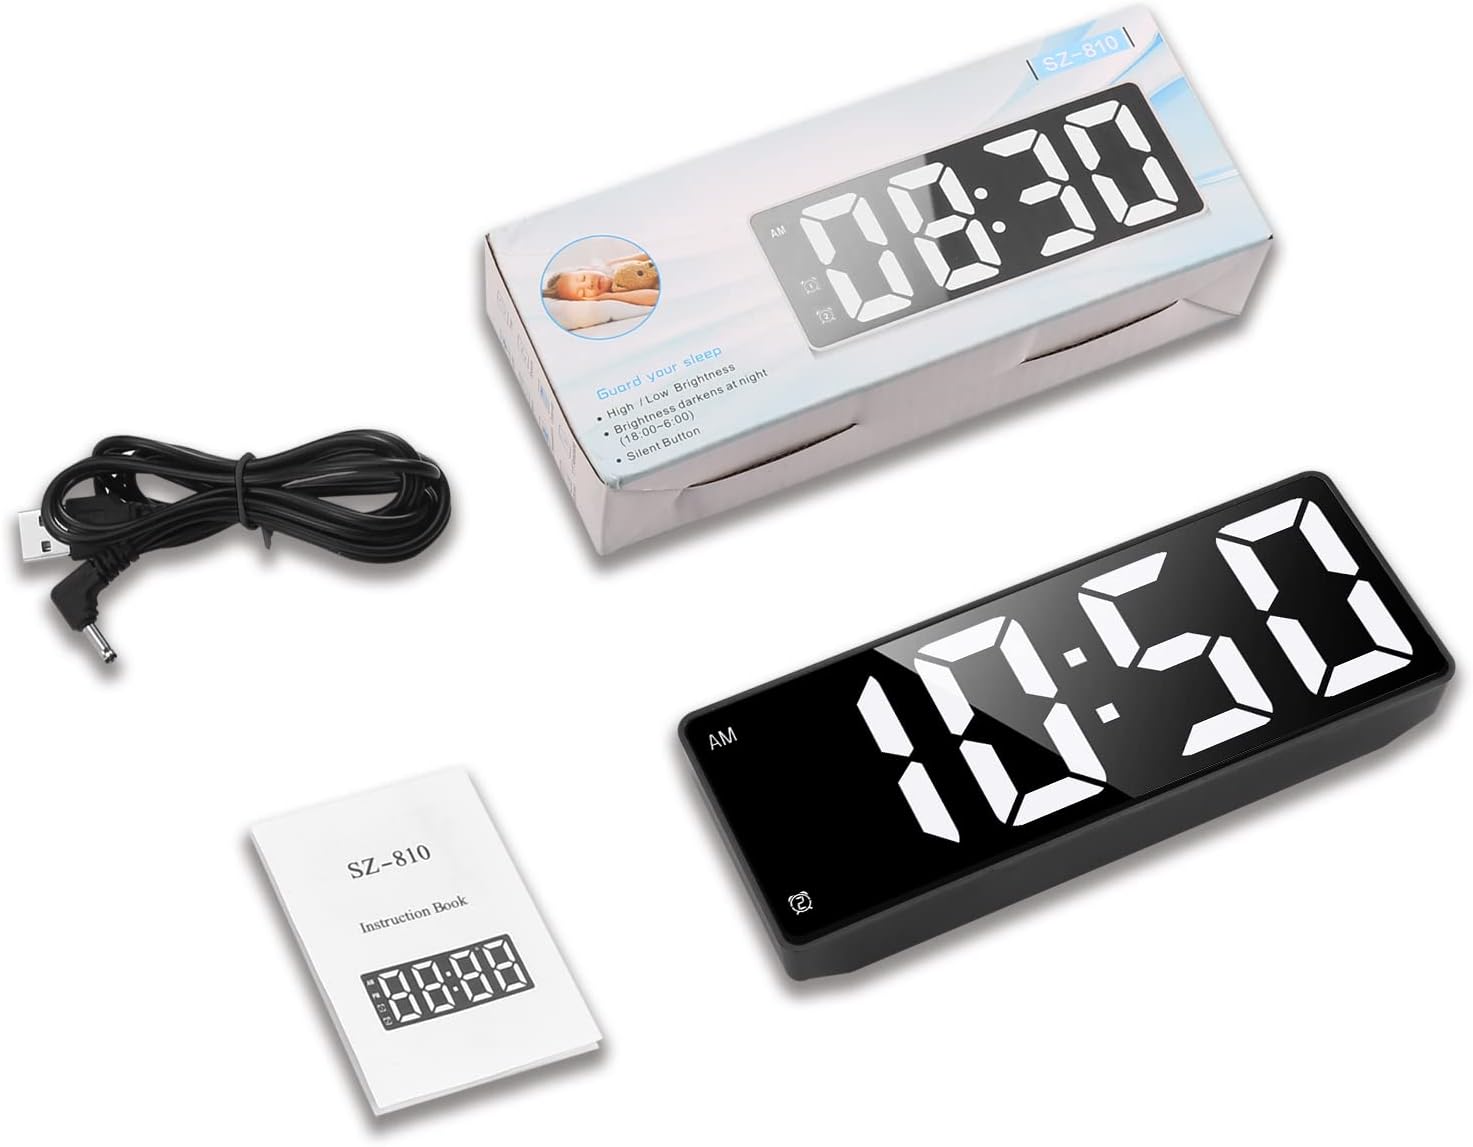
Figure 2.1: Rear view showing USB power input and AAA battery compartment.
2.2 Initial Setup
Before first use, ensure the clock is powered on using either USB or batteries.
Video 2.1: "How to Use Ankilo LED Alarm Clock?" - This video demonstrates the basic setup and operation of the clock, including power options and setting time.
3. Operating Instructions
3.1 Setting Time and 12/24H Format
- Press and hold the SET button (gear icon) for 3 seconds to enter time setting mode. The hour digits will flash.
- Use the UP (triangle up) or DOWN (triangle down) buttons to adjust the hour.
- Press SET again to move to minute adjustment. Use UP or DOWN to adjust minutes.
- Press SET again to switch between 12-hour (AM/PM) and 24-hour formats. Use UP or DOWN to select.
- Press SET one more time to confirm settings and exit.
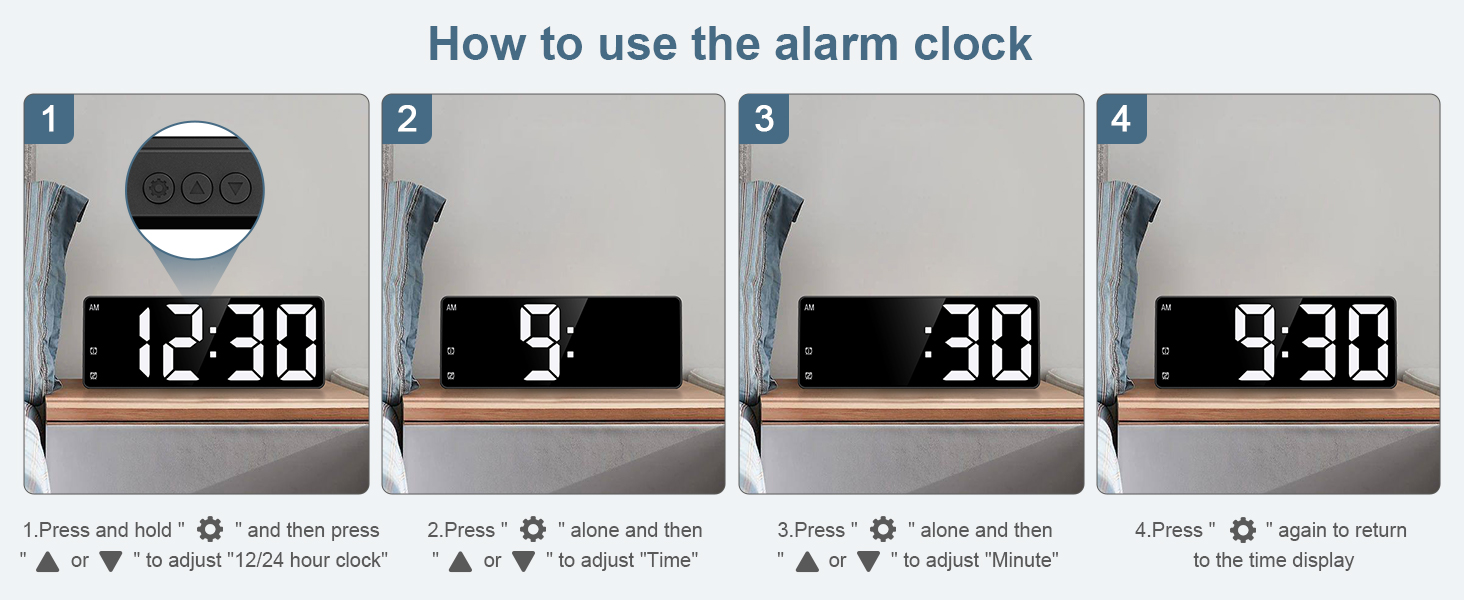
Figure 3.1: Visual guide for setting the time and 12/24 hour format.
3.2 Setting Dual Alarms
The clock supports two independent alarms (Alarm 1 and Alarm 2).
- Press the Alarm 1 button (bell icon with '1') to activate or deactivate Alarm 1. The alarm icon will appear/disappear on the display.
- Press and hold the Alarm 1 button for 3 seconds to enter Alarm 1 setting mode. The hour digits will flash.
- Use UP or DOWN to adjust the alarm hour.
- Press Alarm 1 again to move to minute adjustment. Use UP or DOWN to adjust minutes.
- Press Alarm 1 one more time to confirm and exit.
- Repeat the process using the Alarm 2 button (bell icon with '2') for Alarm 2.

Figure 3.2: Example of dual alarm settings.
3.3 Snooze Function
When an alarm sounds, press any button (except the alarm buttons) to activate the snooze function. The alarm will pause for 5 minutes and then sound again. To completely turn off the alarm, press the corresponding Alarm 1 or Alarm 2 button.
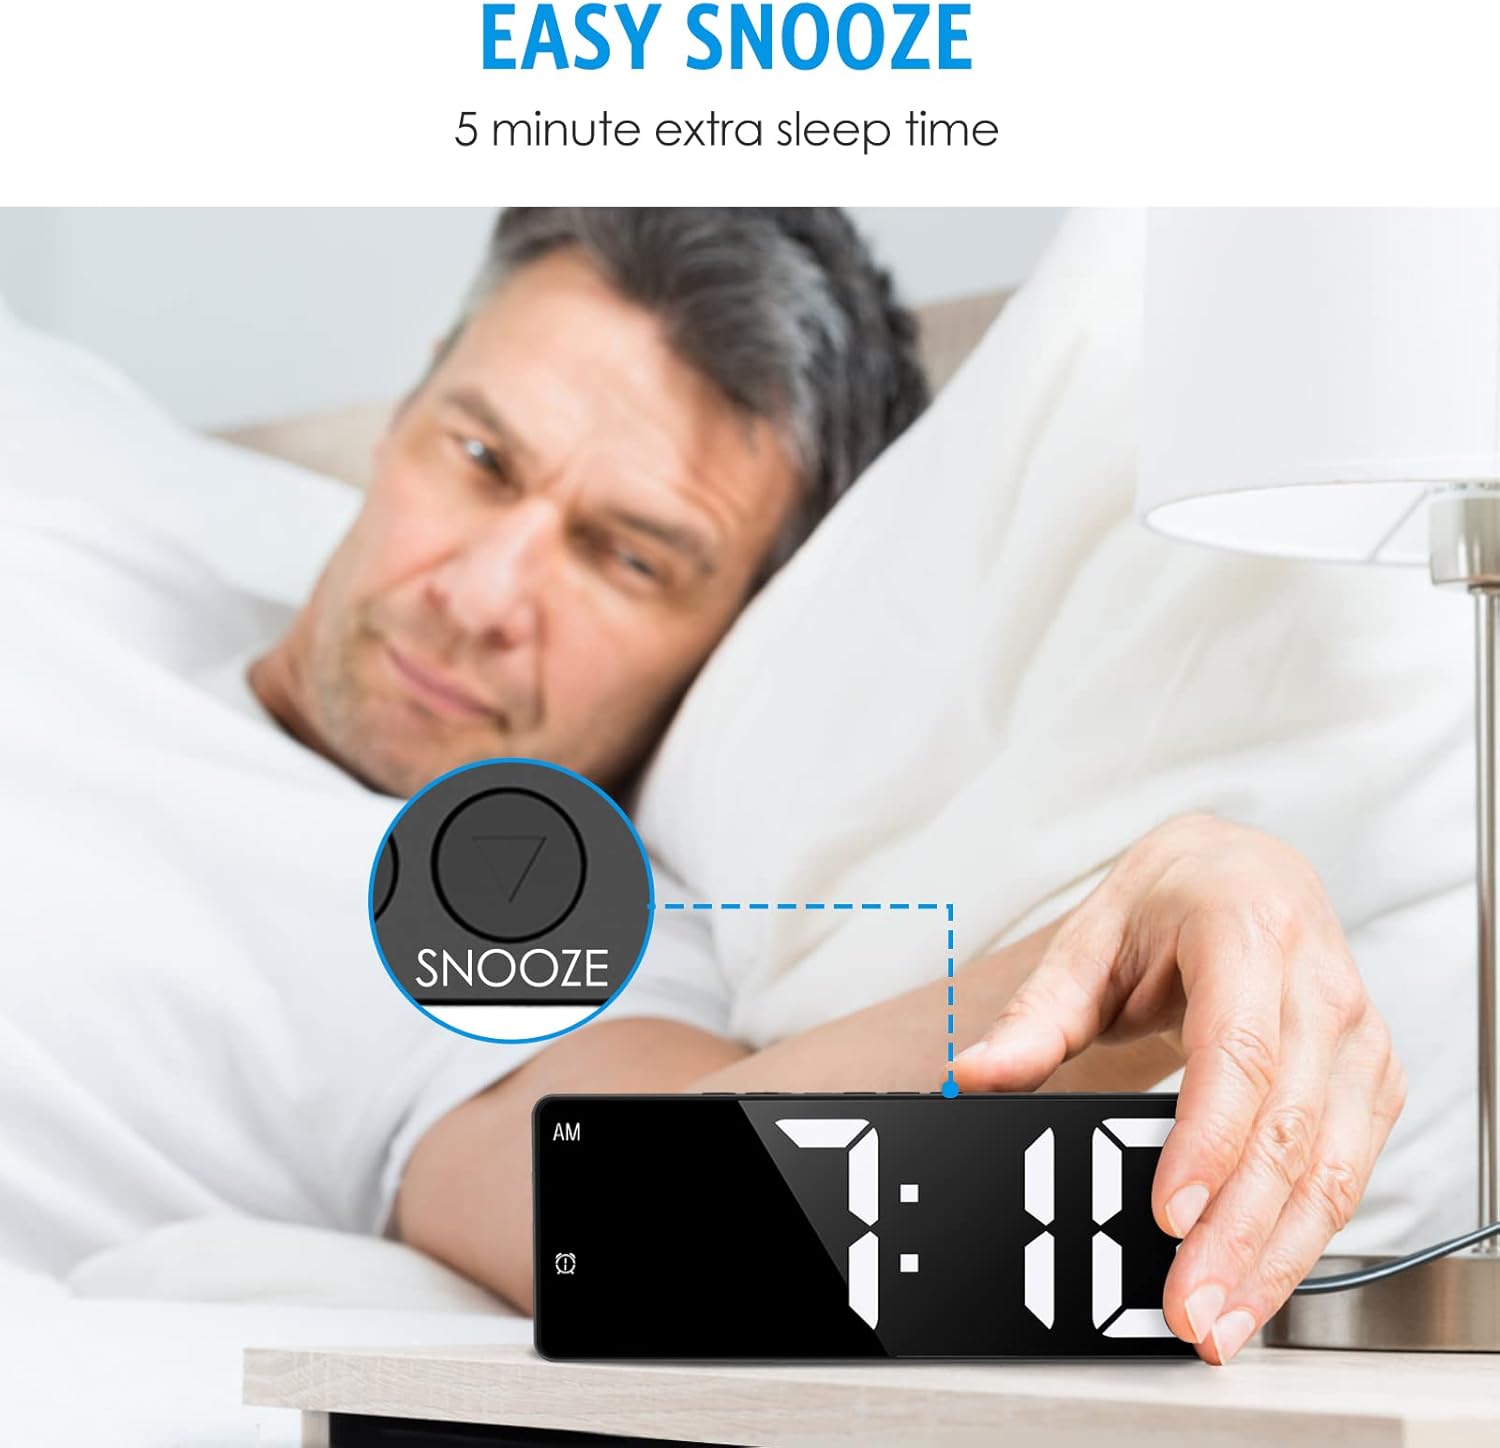
Figure 3.3: Activating the snooze function for an extra 5 minutes of sleep.
3.4 Voice Control and Power Saving Mode (Battery Powered Only)
When the clock is powered by batteries, it features a voice-activated function. You can wake up the display by clapping your hands, tapping the table, or touching the clock. The LED display will automatically turn off after 20 seconds of inactivity to save power, while the internal clock and temperature functions continue to operate.

Figure 3.4: Demonstrating voice control and touch activation.
3.5 Temperature Display
The clock displays the indoor temperature. Press the MODE button (M icon) to cycle through time, date, and temperature displays. The temperature can be displayed in Celsius or Fahrenheit.
Video 3.1: "Ankilo Digital Clock LED Desktop Alarm Clock for Bedroom" - This video provides a comprehensive overview of the clock's features, including temperature display and brightness adjustments.
4. Maintenance
To ensure optimal performance and longevity of your Ankilo Digital LED Alarm Clock, follow these maintenance guidelines:
- Cleaning: Wipe the clock surface with a soft, dry cloth. Avoid using abrasive cleaners or solvents, as they may damage the display or casing.
- Battery Replacement: If using battery power, replace all 3 AAA batteries when the display becomes dim or unresponsive. Ensure correct polarity when inserting new batteries.
- Storage: If storing the clock for an extended period, remove the batteries to prevent leakage and damage. Store in a cool, dry place.
- Environment: Avoid placing the clock in direct sunlight, extreme temperatures, or high humidity, as these conditions can affect its performance and lifespan.
5. Troubleshooting
| Problem | Possible Cause | Solution |
|---|---|---|
| Display is blank or dim. | No power, low batteries, or in power-saving mode. | Check USB connection. Replace batteries if using battery power. If in battery mode, clap hands or touch the clock to activate the display. |
| Alarm does not sound. | Alarm not set or deactivated. Volume too low. | Ensure alarm is activated (alarm icon visible). Check alarm time. Adjust volume if applicable (this model might not have volume control, so keep it general). |
| Time is inaccurate. | Time not set correctly or internal clock drift. | Reset the time following Section 3.1. If drift persists, ensure stable power supply. |
| Voice control not working. | Clock is USB powered or ambient noise is too high. | Voice control only works when battery powered. Reduce ambient noise or try a firmer clap/tap. |
6. Specifications
- Brand: Ankilo
- Model: B0B2NRD47B
- Display Type: Digital LED
- Product Dimensions: 6.3"W x 2.36"H x 0.7-1"D
- Power Source: Corded Electric (USB, adapter not included), 3x AAA Batteries (not included)
- Material: Acrylonitrile Butadiene Styrene (ABS)
- Special Features: Large Display, Temperature Display, Snooze, Dual Alarm, Voice Control, 12/24H Format
- Item Weight: 5.3 ounces

Figure 6.1: Product dimensions and button layout.
7. Warranty and Support
Ankilo is committed to providing high-quality products and customer satisfaction. Your Ankilo Digital LED Alarm Clock comes with the following:
- 6 Months Return Policy
- 24 Months Warranty
- Lifetime Support
For any inquiries, technical assistance, or warranty claims, please refer to the official product page or contact Ankilo customer support directly.

Figure 7.1: Ankilo's commitment to quality and customer support.
8. Additional Resources
For a comprehensive guide and further details, you can download the official User Guide:

