1. Important Safety Instructions
Read all instructions before using the appliance. Keep this manual for future reference. Always follow basic safety precautions to reduce the risk of fire, electric shock, or injury to persons.
- Ensure the washing machine is properly grounded.
- Do not operate the machine if it is damaged or malfunctioning.
- Keep children away from the appliance during operation.
- Do not wash items that are soiled with flammable substances.
- Unplug the appliance before cleaning or performing any maintenance.
2. Product Overview
The Haam HWM16S-21N is a 16 kg capacity inverter top-load washing machine designed for efficient and durable performance.
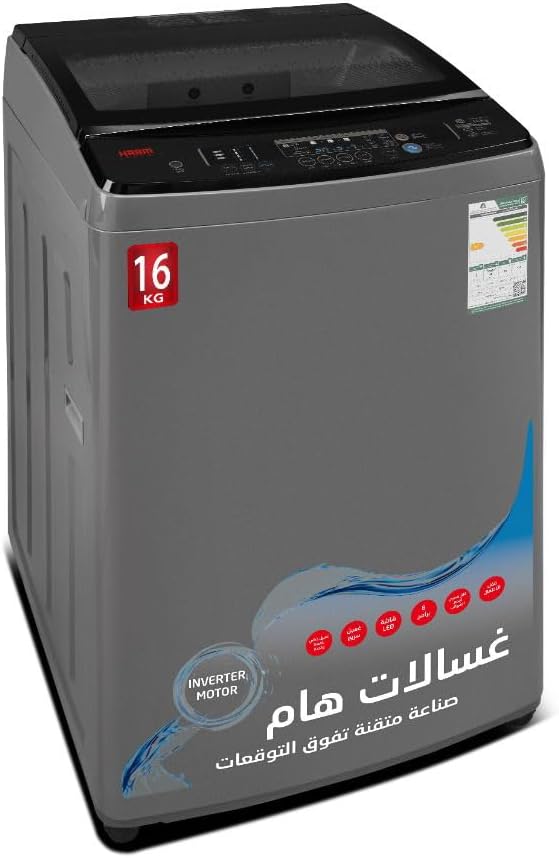
Image 1: Haam HWM16S-21N Inverter Top Load Washing Machine. This image displays a silver top-load washing machine with a dark, transparent lid. The front panel clearly indicates '16 KG' capacity and 'INVERTER MOTOR' technology. An energy efficiency label is visible on the upper right side of the machine.
Key Components:
- Control Panel: Located at the top rear, featuring buttons and a display for program selection and settings.
- Washing Tub: The main compartment for laundry.
- Detergent Dispenser: For adding detergent and fabric softener.
- Magic Filter: Collects lint and impurities during the wash cycle.
- Water Inlet: Connection point for the water supply hoses.
- Drain Hose: For expelling used water.
3. Setup and Installation
3.1 Unpacking
- Carefully remove all packaging materials, including the base packaging.
- Inspect the machine for any shipping damage. Contact your retailer immediately if damage is found.
3.2 Location Requirements
- Place the washing machine on a firm, level surface to prevent vibration and noise.
- Ensure adequate space around the machine for ventilation and access.
- Avoid direct sunlight or extreme temperatures.
3.3 Water Supply Connection
- Connect the cold water inlet hose to the cold water tap and the corresponding inlet on the machine.
- Ensure all connections are tight to prevent leaks.
- The water pressure should be between 0.05 MPa and 1 MPa.
3.4 Drain Hose Installation
- Position the drain hose into a standpipe or over the edge of a sink.
- Ensure the drain hose is securely fixed and not kinked. The height of the drain outlet should be between 60 cm and 90 cm from the floor.
3.5 Power Connection
- Plug the power cord into a grounded electrical outlet.
- Do not use extension cords or adapters.
4. Operating Instructions
4.1 Loading Laundry
- Sort laundry by fabric type, color, and degree of soiling.
- Open the lid and place items loosely into the washing tub. Do not overload the machine.
- Close the lid securely.
4.2 Adding Detergent and Softener
- Add the appropriate amount of detergent to the detergent dispenser.
- If using fabric softener, add it to the designated compartment in the dispenser.
4.3 Selecting a Wash Program
- Press the 'Power' button to turn on the machine.
- Use the 'Program' knob or buttons on the control panel to select the desired wash cycle (e.g., Normal, Heavy, Delicate, Quick Wash, Spin, Rinse).
- Adjust additional settings such as water level, temperature, or rinse cycles if available and desired.
4.4 Starting and Stopping a Cycle
- Press the 'Start/Pause' button to begin the selected wash cycle.
- To pause a cycle, press 'Start/Pause' again. Press it once more to resume.
- To cancel a cycle, press the 'Power' button or hold the 'Start/Pause' button for a few seconds (refer to specific model instructions for exact cancellation method).
4.5 End of Cycle
- The machine will signal when the cycle is complete.
- Remove laundry promptly to prevent wrinkles.
- Turn off the machine and close the water tap.
5. Maintenance and Cleaning
Regular maintenance ensures optimal performance and extends the lifespan of your washing machine.
5.1 Cleaning the Exterior
- Wipe the exterior with a soft, damp cloth. Do not use abrasive cleaners or solvents.
5.2 Cleaning the Washing Tub
- Run a 'Tub Clean' cycle (if available) or a hot wash cycle with no laundry and a cup of white vinegar or a washing machine cleaner.
5.3 Cleaning the Detergent Dispenser
- Remove the dispenser drawer and rinse it under running water to remove any residue.
- Clean the dispenser housing with a brush if necessary.
5.4 Cleaning the Magic Filter
- Locate the magic filter inside the tub (usually on the side).
- Remove the filter, open it, and clean out any lint or debris.
- Rinse thoroughly and reinsert. Clean regularly, ideally after every few washes.
6. Troubleshooting Guide
Before contacting service, refer to the following table for common issues and their solutions.
| Problem | Possible Cause | Solution |
|---|---|---|
| Machine does not start | Power cord unplugged; Lid not closed; No water supply. | Check power connection; Ensure lid is fully closed; Check water taps. |
| Water not draining | Drain hose kinked or blocked; Drain pump filter clogged. | Straighten drain hose; Clean drain pump filter (if accessible). |
| Excessive vibration/noise | Machine not level; Overloaded or unbalanced load. | Adjust leveling feet; Redistribute laundry evenly. |
| Water leaks | Hose connections loose; Detergent overdose. | Tighten hose connections; Use correct amount of detergent. |
If the problem persists after attempting these solutions, please contact customer service.
7. Specifications
Detailed technical specifications for the Haam HWM16S-21N Inverter Top Load Washing Machine.
| Feature | Specification |
|---|---|
| Brand | HAAM |
| Model Info | HWM16S-21N inverter |
| Capacity | 16 Kilograms |
| Product Dimensions (W x D x H) | 60 x 59.8 x 84.5 cm |
| Item Weight | 76.5 Kilograms |
| Efficiency | E |
| Annual Energy Consumption | 542 Kilowatt Hours |
| Installation Type | Freestanding |
| Special Features | Inverter Motor |
| Color | Silver |
| Control Console | Knob |
| Access Location | Top Load |
| Material Type | Plastic |
8. Warranty and Support
This Haam washing machine comes with a standard manufacturer's warranty. Please refer to the warranty card included with your purchase for specific terms and conditions, including coverage duration and what is covered.
For technical assistance, service requests, or to inquire about replacement parts, please contact Haam customer support through the contact information provided in your warranty documentation or on the official Haam website.


