
Introduction
This manual provides detailed instructions for the assembly, operation, and maintenance of your Spider Farmer 2x2x6 Grow Tent. Designed for optimal indoor plant growth, this tent offers a controlled environment for various hydroponic and soil-based cultivation methods. Please read this manual thoroughly before setting up and using your grow tent to ensure proper function and longevity.
Product Overview
The Spider Farmer 2x2x6 Grow Tent is engineered with high-quality materials and user-centric features to support a successful indoor growing experience. Key features include:
- Pro-Grade Lightproof Design: Premium SBS zippers with double protection and dual stitching effectively prevent light leakage, ensuring a completely controlled environment for your plants.
- Superior Material: Constructed from tear-proof and waterproof 1680D Oxford canvas with diamond reflective Mylar interior, maximizing light reflectivity and preventing light leaks.
- Enhanced Stability: Features 3x-thicker hardened steel poles and reinforced adapters, capable of supporting up to 120 lbs of equipment, including heavy grow lights and carbon filters.
- Convenient Access: Includes a view window (11.8"x11.8") for observation, a side buckle to secure the main door when open, and hooks for controller placement.
- Optimized Airflow: Multiple ventilation ports and cable holes are designed for efficient air extraction and cable management, promoting healthy plant growth.
- Waterproof Floor Tray: A removable and waterproof floor tray helps maintain a clean and organized growing environment.

Figure 1: Lightproof Technology. The tent's design ensures no light escapes or enters, crucial for plant growth cycles.

Figure 2: Superior Material Construction. Layers include 1680D Oxford fabric, a lightproof layer, and diamond reflective Mylar for maximum light efficiency.

Figure 3: User-Centric Design. Features like the viewing window and controller lanyard enhance convenience. Note: Controller is sold separately.
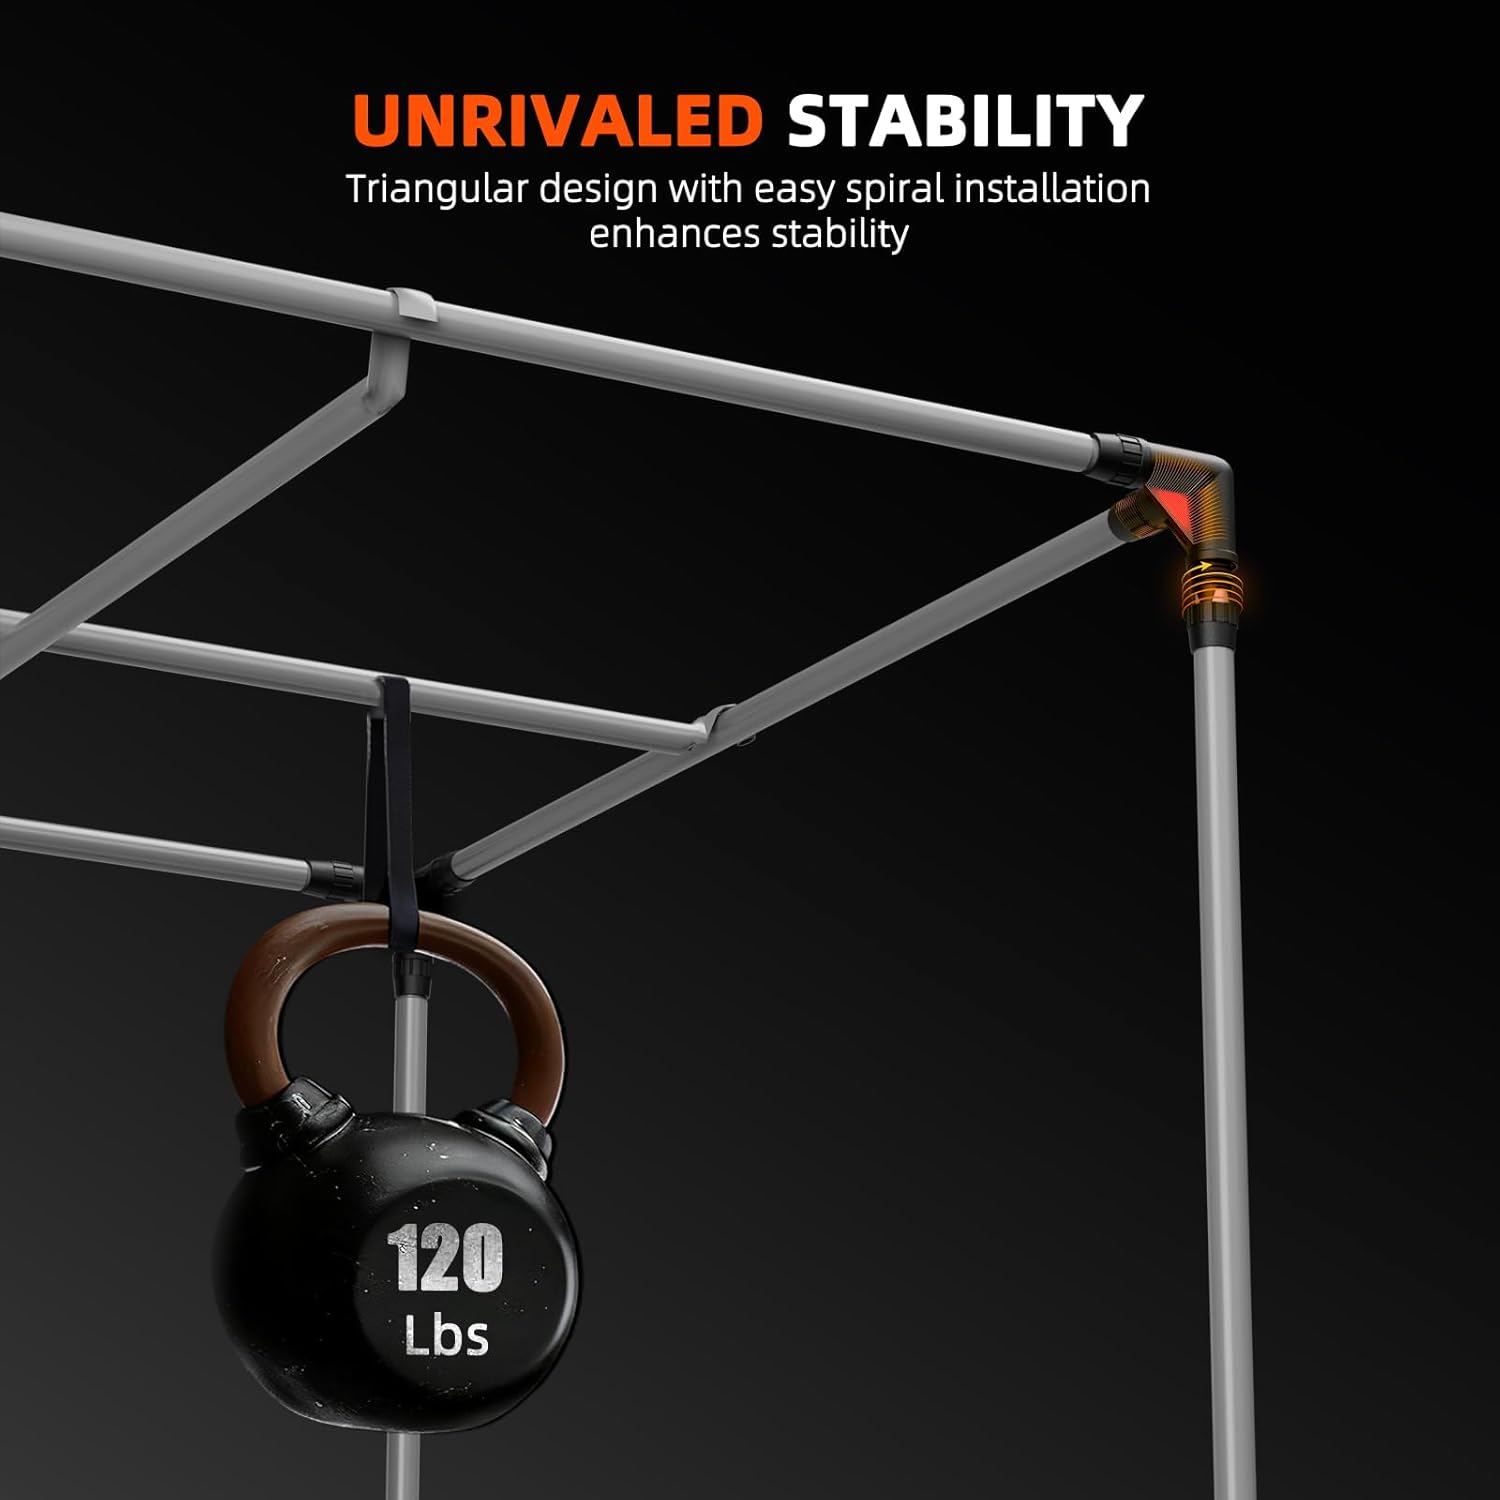
Figure 4: Unrivaled Stability. The robust steel frame and reinforced connectors support significant weight, up to 120 lbs.

Figure 5: Innovative Storage Solution. The side buckle allows the door to be fastened neatly for quick and secure access.
Setup Instructions
Follow these steps for a hassle-free assembly of your Spider Farmer Grow Tent:
- Unpack Components: Carefully remove all parts from the packaging. Verify that all components listed in the packing list are present.
- Assemble the Frame: Connect the metal poles (labeled E, F, G, H, J) using the corner adapters (labeled D). Ensure all connections are secure. The triangular design with spiral installation enhances stability.
- Install Hanging Bars: Attach the hanging bars (labeled I) to the top frame using the provided hooks. These bars will support your grow lights and other equipment.
- Drape the Tent Fabric: Carefully pull the tent fabric over the assembled frame. Ensure the zippers are fully open to facilitate fitting.
- Secure the Fabric: Zip up all zippers, ensuring the double protection zipper flap is properly aligned to prevent light leaks.
- Insert Floor Tray: Place the waterproof floor tray at the bottom of the tent.
- Position Ventilation and Cables: Utilize the cable hole ports and mesh ventilation ports for your fan, filter, and electrical cables.

Figure 6: Hassle-Free Assembly. A visual guide to connecting the frame components for quick setup.
Video 1: Pro-Grade Grow Tent Overview. This video demonstrates the features and quality of the Spider Farmer grow tent, including its light-blocking capabilities and sturdy construction.
Operating Instructions
To ensure optimal growing conditions within your Spider Farmer Grow Tent, consider the following operational aspects:
- Lighting: Install your grow light (e.g., SF1000, SE1500, G1500) using the hanging bars. Adjust the light height according to your plant's growth stage and light intensity requirements.
- Ventilation: Connect an inline fan (4-inch recommended) and carbon filter to the designated ports to manage temperature, humidity, and odor. Ensure proper airflow to prevent stale air and promote healthy plant development.
- Monitoring: Use the viewing window to observe your plants without disturbing the internal environment. Utilize the controller hooks to hang environmental monitors or light controllers for easy access and adjustments.
- Environment Control: Maintain consistent temperature and humidity levels suitable for your specific plants. The tent's lightproof and insulated design aids in stable environmental control.

Figure 7: Dimensions and Recommendations. This image provides the tent's dimensions and suggests compatible grow lights and fan sizes.
Maintenance
Regular maintenance ensures the longevity and optimal performance of your grow tent:
- Cleaning the Interior: Periodically wipe down the reflective Mylar interior with a damp cloth to remove dust and debris, maintaining maximum reflectivity.
- Floor Tray: The waterproof floor tray is detachable for easy cleaning. Remove and clean it regularly to prevent water accumulation and maintain hygiene.
- Zippers: Keep zippers clean and free of obstructions. Lubricate them occasionally with a silicone-based lubricant to ensure smooth operation and prevent wear.
- Frame Inspection: Periodically check the steel frame and connectors for any signs of loosening or damage. Tighten connections as needed to maintain structural integrity.
- Fabric Inspection: Inspect the Oxford canvas for any tears or damage. Small tears can be repaired with appropriate fabric repair kits to maintain lightproofing.
Troubleshooting
Here are some common issues and their solutions:
- Light Leaks: Ensure all zippers are fully closed and the zipper flaps are properly positioned. Check all ventilation ports and cable holes to confirm they are securely tightened or covered. Inspect the fabric for any small holes and repair if necessary.
- Unstable Frame: Verify that all steel poles are fully inserted into their connectors. Ensure the frame is assembled on a flat, level surface.
- Poor Airflow: Check if the inline fan is operating correctly and if the carbon filter is clean. Ensure all intake and exhaust ports are open and unobstructed.
- High Humidity: Increase ventilation by running the exhaust fan at a higher speed or opening passive intake vents. Consider using a dehumidifier if necessary.
- Low Humidity: Reduce ventilation or use a humidifier to increase moisture levels within the tent.
Specifications
| Feature | Specification |
|---|---|
| Brand | Spider Farmer |
| Model Number | A |
| Product Dimensions | 24"L x 24"W x 72"H (60x60x180cm) |
| Item Weight | 15.12 pounds (6.87 Kilograms) |
| Chamber Volume | 24 Cubic Feet |
| Frame Material | Metal, Steel |
| Inner Material | Diamond Reflective Mylar |
| Outer Material | 1680D Oxford canvas or heavy-duty polyester |
| Color | Black |
| Max Load Capacity | Up to 120 lbs |
Warranty and Support
For warranty information, product support, or any inquiries regarding your Spider Farmer Grow Tent, please refer to the official Spider Farmer website or contact their customer service directly. Keep your purchase receipt as proof of purchase for warranty claims.
You can visit the Spider Farmer Store on Amazon for more information and to explore other products.