1. Introduction
Thank you for choosing the Vivitar Digital Clip-On Web Camera VWC107-BLK. This high-definition 1080P webcam is designed to enhance your virtual meetings, online classes, and video calls with clear video and audio. It features a built-in microphone, auto white balance, auto-focusing, and a versatile 360-degree rotating clamp for easy placement on laptops, LCD monitors, or desktops. This manual provides essential information for setting up, operating, and maintaining your webcam.
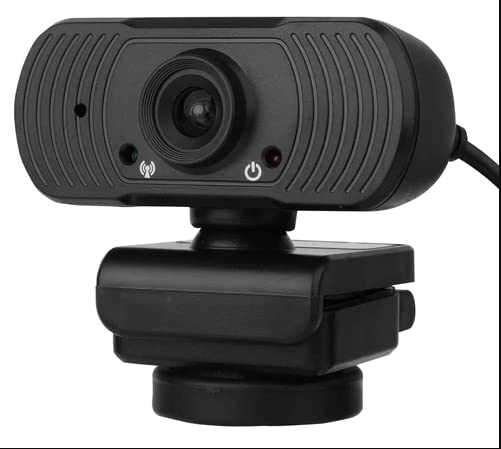
Image: The Vivitar Digital Clip-On Web Camera VWC107-BLK, showcasing its compact design and clip-on base.
2. Package Contents
Please ensure all items are present in your package:
- Vivitar Digital Clip-On Web Camera (VWC107-BLK)
3. Product Features
- HD 1080P Video: Delivers clear and sharp video resolution.
- High-Quality Microphone: Integrated microphone with Right Sound Technology for clear audio capture.
- Wide Compatibility: Works with Windows and Mac operating systems.
- Versatile Mounting: 360-degree rotating clamp design suitable for laptops, LCD monitors, and desktops.
- Automatic Adjustments: Features Auto White Balance and Auto-Focusing for optimal image quality.
- Durable Lens: Equipped with a 4-layer glass lens.
- Optimized for Communication: Ideal for Zoom, Microsoft Teams, Skype, and other virtual meeting platforms.
- Privacy Indicator: Light indicator shows when the camera is in use.
- Tripod Mount: Includes a tripod screw mount for additional placement options.
4. Setup
4.1 Connecting the Webcam
- Unpack the Vivitar Digital Clip-On Web Camera from its packaging.
- Locate an available USB port on your computer (desktop or laptop).
- Plug the USB cable from the webcam into the USB port on your computer.
- The computer should automatically detect and install the necessary drivers. This process may take a few moments.
- Once installed, the webcam will be ready for use with your preferred video conferencing software.
4.2 Mounting the Webcam
- For Laptops/LCD Monitors: Open the clip base of the webcam. Place the webcam on top of your laptop screen or LCD monitor, ensuring the front lip rests securely on the screen and the back of the clip supports it from behind. Adjust the angle for optimal viewing.
- For Desktops: The clip base can also be folded to sit flat on a desk or other flat surface.
- Tripod Mounting: If desired, attach the webcam to a compatible tripod using the integrated tripod screw mount on the bottom of the clip base.
- The webcam features a 360-degree rotating base, allowing you to adjust the camera's direction without repositioning the entire unit.
5. Operating Instructions
5.1 Using with Video Conferencing Software
- Open your preferred video conferencing application (e.g., Zoom, Microsoft Teams, Skype).
- Navigate to the application's settings or preferences menu, typically found under 'Audio & Video' or 'Devices'.
- Select the Vivitar VWC107-BLK as your primary camera and microphone device.
- Adjust any video or audio settings within the application as needed (e.g., resolution, volume).
- Begin your virtual meeting or video call. The webcam's light indicator will illuminate when the camera is active.
5.2 Light Indicator
The webcam is equipped with a light indicator. This light will illuminate when the camera is actively in use by an application, providing a visual cue for your privacy and operational status.
6. Maintenance
- Cleaning the Lens: Gently wipe the camera lens with a soft, lint-free cloth. For stubborn smudges, use a lens cleaning solution specifically designed for optical surfaces. Avoid abrasive materials or harsh chemicals.
- Cleaning the Body: Use a soft, dry cloth to clean the exterior of the webcam. Do not use liquid cleaners directly on the device.
- Storage: When not in use, store the webcam in a clean, dry place away from extreme temperatures and direct sunlight.
- Cable Care: Avoid bending or crimping the USB cable excessively to prevent damage.
7. Troubleshooting
| Problem | Solution |
|---|---|
| Webcam not detected by computer. |
|
| No video or black screen in application. |
|
| No audio or poor audio quality. |
|
| Image is blurry or out of focus. |
|
8. Specifications
| Feature | Detail |
|---|---|
| Model Number | VWC107-BLK |
| Video Capture Resolution | 1080p |
| Photo Sensor Technology | CMOS |
| Microphone | Built-in, High-Quality with Right Sound Technology |
| Focus Type | Auto-Focusing |
| White Balance | Auto White Balance |
| Lens Type | 4-Layer Glass Lens |
| Mounting Type | Clip-on (360-degree rotating), Tripod Screw Mount |
| Connectivity | USB (4.5 ft cable) |
| Compatibility | Windows, Mac |
| Item Weight | 6.1 ounces |
| Package Dimensions | 7.91 x 6.81 x 2.76 inches |
9. Warranty and Support
Vivitar products are designed for reliability and performance. For specific warranty information regarding your VWC107-BLK webcam, please refer to the warranty card included in your product packaging or visit the official Vivitar website.
If you encounter any issues or require technical assistance, please contact Vivitar Customer Support through their official channels. Have your product model number (VWC107-BLK) and purchase information ready when contacting support.


