1. Introduction
This manual provides essential information for the proper setup, operation, and maintenance of your DIYmall WS2812B RGB LED Rings (7 Bits). Please read this guide thoroughly before use to ensure optimal performance and longevity of the product.
2. Product Overview
The DIYmall WS2812B RGB LED Rings are compact, individually addressable full-color LED modules. Each ring features 7 WS2812B 5050 RGB LEDs with integrated drivers, allowing for precise control over each pixel's color and brightness. These rings are designed for integration with microcontrollers such as Arduino, ESP8266, Raspberry Pi, and ESP32, making them ideal for various DIY lighting and display projects.
3. Features
- Individually Addressable Pixels: Each LED can be controlled independently.
- Wide Voltage Range: Operates on DC 4-7V.
- Integrated Drivers: WS2812B LED chips with built-in control circuitry.
- Full Color Capability: Capable of emitting 256x256x256 = 16,777,216 colors.
- Single-Wire Communication: Simplified data transmission.
4. What's in the Box
Your package includes:
- 5 x 7-bit WS2812B 5050 RGB LED Rings
5. Setup
Setting up your WS2812B RGB LED Rings involves connecting them to a compatible microcontroller and providing power. The rings feature clearly labeled input and output pins for easy integration.
5.1 Pinout and Dimensions

Figure 5.1.1: Top view of the WS2812B LED ring, indicating Data Out, Data Input, 5V DC Power, and GND connections. The ring has a diameter of 23mm (0.9 inches).

Figure 5.1.2: Bottom view of the WS2812B LED ring, highlighting the individual LEDs and the IN, PWR, and GND connection pads for wiring.
5.2 Wiring with Arduino
To connect the LED ring to an Arduino board, follow these steps:
- Connect the 5V DC Power pin of the LED ring to the 5V pin on your Arduino.
- Connect the GND pin of the LED ring to a GND pin on your Arduino.
- Connect the Data Input pin of the LED ring to a digital pin on your Arduino (e.g., Pin 6).
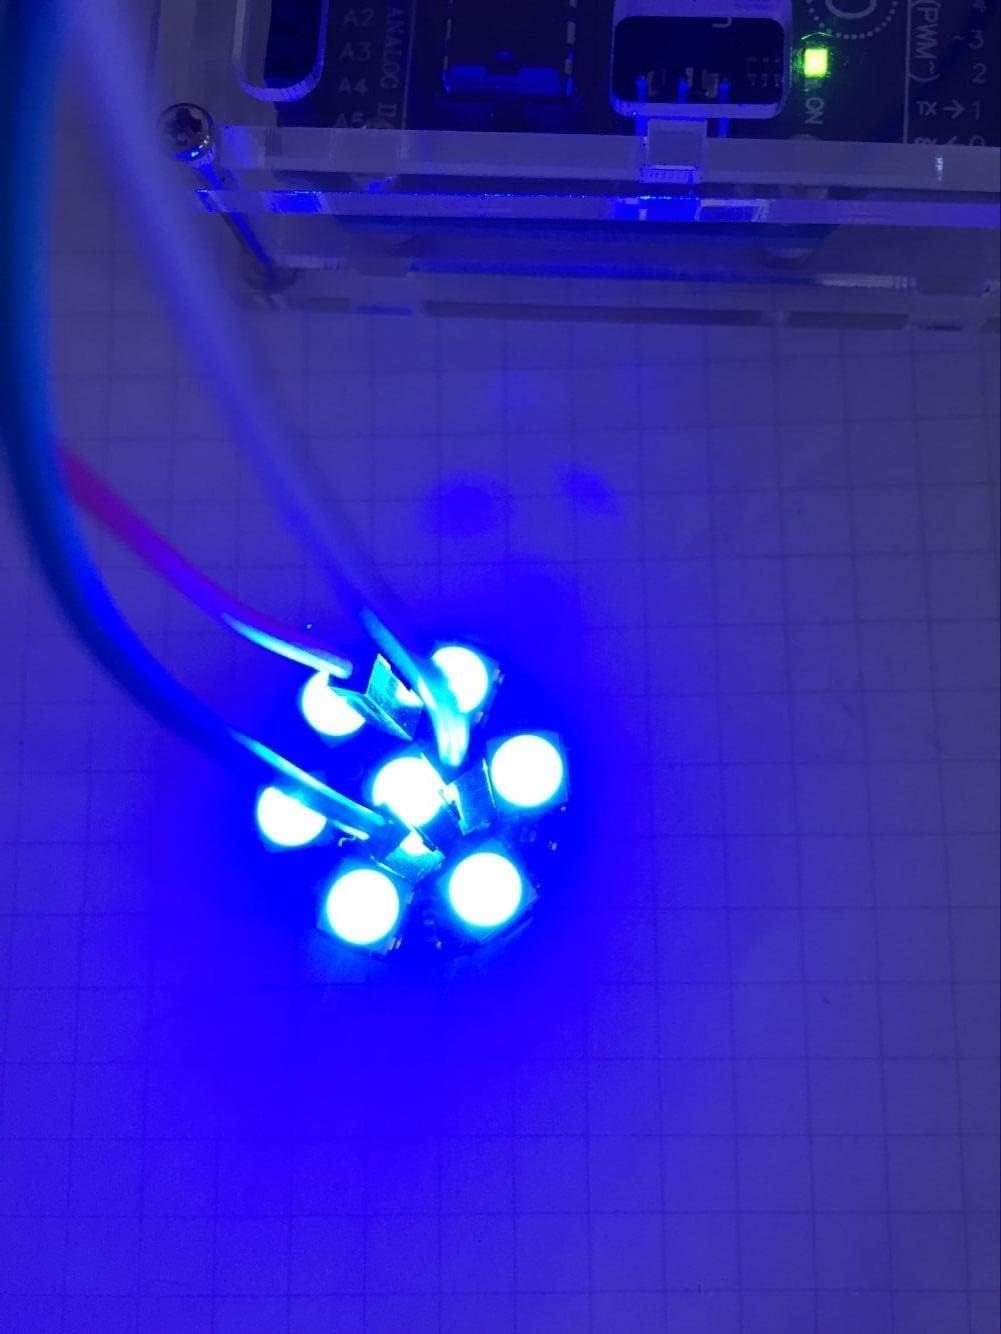
Figure 5.2.1: A visual representation of the wiring connections between a WS2812B LED ring and an Arduino Uno. The 5V, GND, and Data Input (Pin 6) connections are clearly shown.
For controlling the LEDs, you will typically use a library such as the Adafruit NeoPixel library. You can find the code link and examples at https://github.com/adafruit/Adafruit_NeoPixel.

Figure 5.2.2: The WS2812B LED ring successfully powered and displaying a pink color, demonstrating a functional setup with an Arduino.
5.3 Initial Testing
After wiring, upload a basic example sketch from the NeoPixel library to your Arduino to confirm the LEDs are functioning correctly. This will typically cycle through various colors or patterns.

Figure 5.3.1: The WS2812B LED ring displaying a vibrant green light, indicating successful operation after initial setup.

Figure 5.3.2: The WS2812B LED ring displaying a bright blue light, confirming proper functionality.
6. Operating the LED Rings
The WS2812B LED rings are controlled via a single data line from your microcontroller. Each LED has its own internal driver, allowing for individual color and brightness adjustments. Programming involves sending specific data sequences to the ring to set the desired color for each LED.
6.1 Basic Color Control
Using a library like Adafruit NeoPixel, you can easily set the color of individual LEDs or the entire ring. The library provides functions to set RGB values (Red, Green, Blue) for each pixel.
6.2 Chaining Multiple Rings
WS2812B LED rings can be daisy-chained. Connect the Data Out pin of the first ring to the Data Input pin of the next ring. Ensure all rings share a common ground and receive adequate power. When chaining multiple rings, consider the total power consumption and provide external power if the microcontroller cannot supply enough current.
Video 6.2.1: This video demonstrates the color-changing capabilities of multiple DIYmall WS2812B LED rings (7, 12, 16, and 24 bits) connected and displaying various dynamic lighting patterns. It showcases the vibrant full-color output and individual addressability.
Video 6.2.2: This video illustrates the interaction of a color sensor with a WS2812B RGB LED ring connected to an Arduino. It shows how the LED ring's color changes in response to different colored objects detected by the sensor, demonstrating a practical application of the individually addressable LEDs.
7. Maintenance
The WS2812B RGB LED Rings are low-maintenance components. Follow these guidelines to ensure their longevity:
- Handle with Care: Avoid bending or applying excessive force to the PCB to prevent damage to the traces or LEDs.
- Cleanliness: Keep the rings free from dust and debris. Use a soft, dry cloth for cleaning if necessary.
- Power Supply: Ensure a stable power supply within the specified voltage range (DC 4-7V). Over-voltage can damage the LEDs.
- Soldering: If soldering connections, use appropriate soldering techniques to avoid short circuits or overheating components.
- Storage: Store in a dry, anti-static environment when not in use.
8. Troubleshooting
If you encounter issues with your WS2812B RGB LED Rings, consider the following troubleshooting steps:
- LEDs Not Lighting Up:
- Check power connections (5V and GND) for proper voltage and polarity.
- Verify data line connection to the correct digital pin on your microcontroller.
- Ensure your code is correctly uploaded and the NeoPixel library is properly configured (e.g., correct number of LEDs, data pin).
- Test with a simple, known-working example sketch.
- Incorrect Colors or Flickering:
- Confirm the correct color order (RGB, GRB, etc.) in your NeoPixel library initialization.
- Check for loose connections or poor soldering joints on the data line.
- Ensure your power supply can provide sufficient current for all LEDs at full brightness. A capacitor (e.g., 1000uF) across the power lines near the first LED can help stabilize voltage.
- If chaining, ensure the Data Out of one ring connects to the Data In of the next.
- Only First Few LEDs Light Up:
- This often indicates a break in the data line or power connection further down the chain. Inspect connections between rings.
- Verify the number of LEDs specified in your code matches the actual number of LEDs in your chain.
- Overheating:
- Reduce the brightness of the LEDs in your code, especially if running many LEDs from a limited power supply.
- Ensure adequate ventilation if enclosed.
9. Specifications
| Feature | Specification |
|---|---|
| Brand | DIYmall |
| Model | WS2812B 7 Bits |
| LED Chip | WS2812B 5050 RGB |
| Number of LEDs | 7 per ring |
| Voltage | DC 4-7V (Nominal 5V) |
| Communication Interface | Single-wire |
| Color Depth | 24-bit (16.7 million colors) |
| Dimensions | 0.9"W x 0.9"H (23mm diameter) |
| Material | Plastic or Rubber (PCB) |
| Item Weight | 0.317 ounces (approx. per ring) |
10. Warranty
Specific warranty information for this product is not provided in the available data. Please refer to the retailer or manufacturer's website for details regarding warranty coverage and terms.
11. Support
For technical support, additional resources, or inquiries, please visit the DIYmall store on Amazon or their official website. Community forums for Arduino, ESP8266, and Raspberry Pi also offer extensive support for WS2812B LED integration.
DIYmall Store: https://www.amazon.com/stores/DIYmall/page/8D085B8E-092A-4BC1-9E36-15F4ED0C8B4F


