1. Introduction
This manual provides comprehensive instructions for the proper application and maintenance of DOMINATOR Polymeric Sand with Ceramic Flex Technology. This product is designed to stabilize joints and gaps in pavers, concrete, wetcast, stone, and clay surfaces, offering enhanced flexibility and durability.
The 10 Pound Camel Brown variant is formulated for joint widths ranging from 1/8 inch up to 4 inches. Adherence to these instructions will ensure optimal performance and longevity of the product.

Image: A 10-pound bag of DOMINATOR Polymeric Sand in Camel Brown, featuring Ceramic Flex Technology. The bag highlights its use for pavers, concrete, wetcast, stone, and clay, with joint widths from 1/8" to 4".
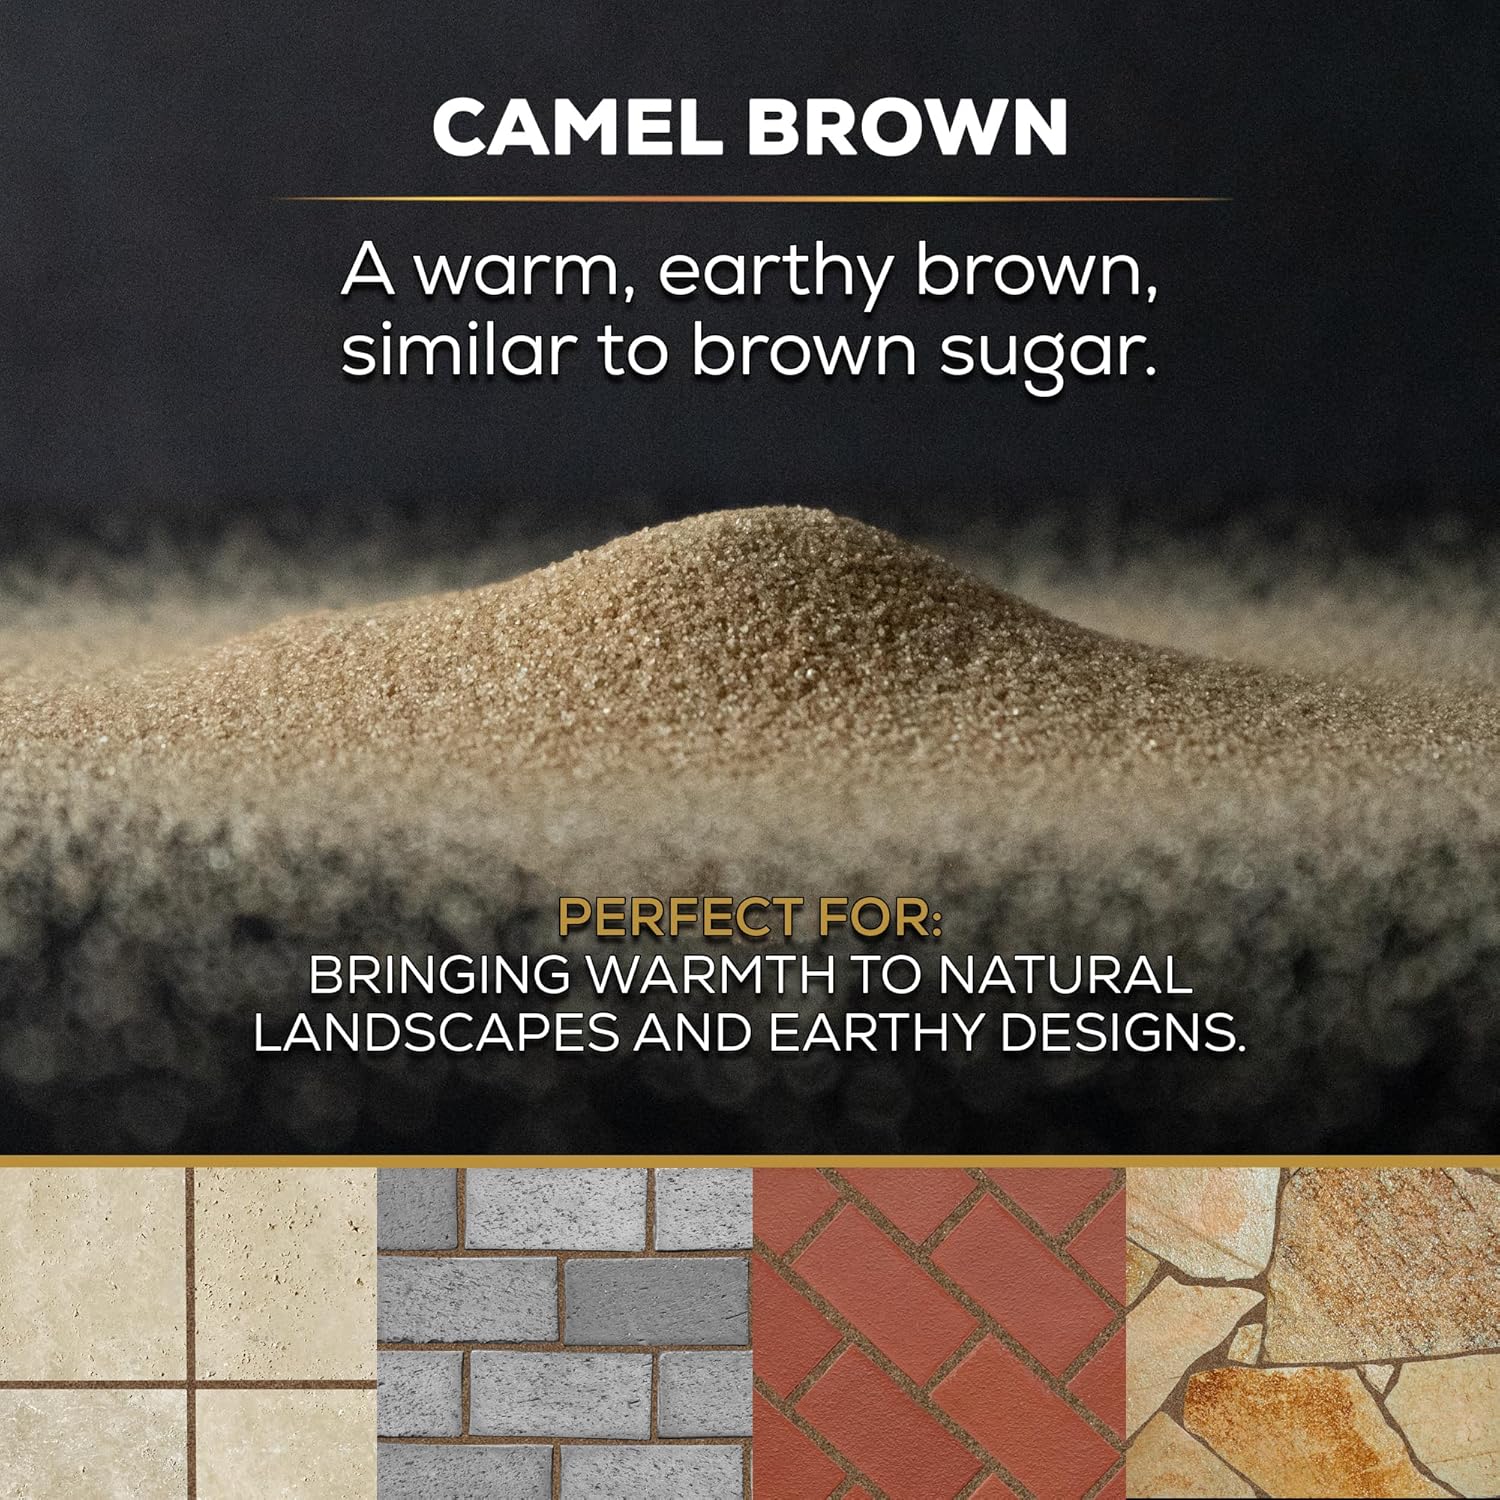
Image: A close-up of Camel Brown polymeric sand, described as a warm, earthy brown, similar to brown sugar, suitable for natural landscapes and earthy designs.
2. Safety Information
Always wear appropriate personal protective equipment, including gloves and eye protection, when handling polymeric sand. Avoid inhaling dust. In case of contact with eyes, rinse immediately with plenty of water and seek medical advice. Keep out of reach of children and pets. Refer to the product's Safety Data Sheet (SDS) for detailed safety information.
Proposition 65 Warning: This product may expose you to chemicals known to the State of California to cause cancer and birth defects or other reproductive harm. For more information, go to www.P65Warnings.ca.gov.
3. Preparation
Proper preparation is crucial for successful application and long-lasting results.
- Surface Condition: Ensure the paver surface and joints are completely dry. The area must remain dry for 48 hours after installation, with no rain forecast before application.
- Temperature: The ambient temperature must be above 50°F (10°C) for 48 hours before and after application.
- Cleanliness: Remove all existing weeds, debris, and old jointing material from the paver joints. Use a pressure washer for thorough cleaning if necessary, but allow sufficient drying time.
- Joint Depth: Ensure the joints are filled to a minimum depth of 1 inch (2.5 cm) from the bottom of the paver.
- Paver Stability: Confirm that all pavers are stable and properly installed. This product is not a replacement for grout, mortar, or paver edging.

Image: A person kneeling and carefully placing pavers on a prepared gravel base, illustrating the initial stage of paver installation before applying polymeric sand.

Image: A pressure washer being used to clean the surface and joints of pavers, demonstrating a method for preparing the area before polymeric sand application.
4. Application Instructions
Follow these steps for effective application of DOMINATOR Polymeric Sand:
- Pouring: Carefully cut the bag open using the designated "Cut Here for Easy Pour" line. Use the Easy Pour Handle for controlled distribution. Pour the polymeric sand directly onto the dry paver surface.
- Sweeping: Use a stiff-bristle broom to sweep the sand into the paver joints. Ensure the joints are completely filled. Sweep at 45-degree angles to the cracks to maximize filling.
- Compaction (Optional for some applications): For deeper joints or specific paver types, light compaction may be beneficial. However, DOMINATOR Polymeric Sand is designed to be self-compacting in many applications, reducing the need for heavy compaction.
- Remove Excess: Use a leaf blower on a gentle setting or a soft-bristle broom to remove all excess sand from the paver surface. Any sand left on the surface will cure and create a haze.
- First Watering: Lightly mist the entire surface with water using a fine spray nozzle. Do not flood the area. The goal is to activate the polymers without washing the sand out of the joints. Refer to the Activation Time Chart below for recommended watering durations based on joint width. Wait 1-3 minutes for water to absorb before the second watering.
- Second Watering: Apply a second, slightly heavier mist of water to ensure full activation. The water should penetrate the entire depth of the joint. Avoid over-watering.

Image: A hand pouring DOMINATOR Polymeric Sand from its bag onto a paver surface, demonstrating the initial step of application.

Image: A person using a broom to sweep polymeric sand into the joints of pavers, ensuring even distribution and filling.

Image: A leaf blower being used to gently remove excess polymeric sand from the surface of pavers after sweeping, preventing haze formation.

Image: A person watering a paver surface with a hose, demonstrating the activation step for polymeric sand.
Activation Time Chart
| Joint Width | 1st Watering | 2nd Watering |
|---|---|---|
| 1/8" - 1/4" | 5 - 7 seconds | 3 - 5 seconds* |
| 1/4" - 1/2" | 7 - 10 seconds | 5 - 8 seconds* |
| 1/2" - 3/4" | 10 - 12 seconds | 8 - 10 seconds* |
| 3/4" - 4" | 13 - 30 seconds | 10 - 15 seconds* |
| *Wait 1 - 3 minutes for water to absorb before second watering. | ||

Image: A chart detailing recommended watering times for DOMINATOR Polymeric Sand based on joint width, for both first and second watering stages.
5. Post-Application Care
After application and watering, observe the following guidelines:
- Foot Traffic: You may walk on the surface immediately after the second watering.
- Vehicle Traffic: Wait 48-72 hours before allowing vehicle traffic on the treated area to ensure proper curing.
- Pressure Washing: Wait a minimum of 14 days before pressure washing the pavers to allow the polymeric sand to fully cure and harden.
- Weather Conditions: Protect the area from rain for at least 48 hours after installation. If rain is expected, cover the area with a tarp.

Image: An infographic showing easy tips to follow before, during, and after a polymeric sand project, including temperature requirements, traffic wait times, and storage advice.
6. Maintenance
Regular maintenance helps preserve the integrity and appearance of your paver joints:
- Cleaning: Periodically clean the paver surface. For general cleaning, use a mild detergent and water. Avoid harsh chemicals that could degrade the polymeric sand.
- Weed Control: While polymeric sand significantly reduces weed growth, occasional weeds may still appear. Remove them promptly to prevent damage to the joints.
- Reapplication: Over time, environmental factors may cause some erosion or degradation of the polymeric sand. Inspect joints annually and reapply as needed to maintain stability and prevent weed intrusion.
7. Troubleshooting
- Haze on Paver Surface:
Cause: Excess polymeric sand left on the surface before watering, or insufficient rinsing after watering.
Solution: If the haze is fresh, try to remove it with a stiff brush and water. For cured haze, specialized polymeric sand haze removers may be required. Always ensure all excess sand is removed with a leaf blower or soft broom before watering.
- Sand Washes Out of Joints:
Cause: Over-watering during activation, or heavy rain before the sand has cured.
Solution: Reapply sand to affected areas, ensuring a fine mist is used for watering and protecting the area from rain for 48 hours post-application.
- Joints Remain Soft or Crumbly:
Cause: Insufficient water during activation, or application in temperatures below 50°F (10°C).
Solution: Ensure proper watering as per the Activation Time Chart. Verify ambient temperatures meet the minimum requirement. If the issue persists, remove and reapply in suitable conditions.
- Weed Growth in Joints:
Cause: Incomplete filling of joints, or degradation of the polymeric sand over time.
Solution: Remove weeds and any loose sand. Clean the joints thoroughly and reapply polymeric sand as per instructions.
8. Specifications
| Feature | Detail |
|---|---|
| Product Name | DOMINATOR Polymeric Sand |
| Model | 10 Pound Camel Brown |
| Brand | DOMINATOR |
| Technology | Ceramic Flex Technology |
| Material | Polymeric Sand |
| Weight | 10 Pounds (4.5 kg) |
| Product Dimensions (L x W x H) | 9.5 x 9.5 x 3 inches |
| Joint Width Compatibility | 1/8 inch up to 4 inches |
| Minimum Application Temperature | 50°F (10°C) for 48 hours before and after application |
| Manufacturer | Black Diamond Coatings Inc |
| Date First Available | May 9, 2019 |
For coverage rate calculations, please use the online "DOMINATOR Polymeric Sand Calculator" or refer to the Product Documentation available on the product listing page.
9. Support
For further assistance, questions regarding application, or product information, please contact Black Diamond Coatings Inc. customer support. Additional resources, including how-to videos and product documentation, may be available on the official DOMINATOR brand website or the product's listing page.
Black Diamond Coatings Inc. is a veteran-owned company committed to providing high-quality home improvement products.
Visit the DOMINATOR Store on Amazon for more products and information.


