1. Introduction
Thank you for choosing the EagleStone ES35 Basketball Hoop Arcade Game. This manual provides essential information for the safe assembly, operation, and maintenance of your new basketball game. Please read these instructions thoroughly before use and retain them for future reference.

Image 1.1: The EagleStone ES35 Basketball Hoop Arcade Game in use, showing a child shooting a basketball towards the hoop with an electronic scoreboard displaying a score.
2. Safety Information
- Adult supervision is recommended during assembly and play.
- Ensure all components are securely fastened before use.
- Do not hang or swing on the basketball hoop or frame.
- Keep small parts away from young children to prevent choking hazards.
- Use only the provided basketballs or similar soft, lightweight balls.
- Place the game on a flat, stable surface to prevent tipping.
3. Package Contents
Verify that all components listed below are present in your package. If any parts are missing or damaged, please contact customer support.

Image 3.1: An exploded view showing all individual components of the EagleStone ES35 Basketball Hoop Arcade Game, including the backboard with electronic scoreboard, hoop, net, four basketballs, a pump, and various red, blue, and yellow pipe segments and connectors with their respective quantities.
- Basketball Backboard with Electronic Scoreboard (x1)
- Basketball Hoop and Net (x1)
- Rubber Basketballs (x4)
- Air Pump (x1)
- Various Pipe Segments (Red, Blue, Yellow)
- Various Connectors (Yellow)
- Assembly Instructions (this manual)
4. Assembly Instructions
Follow these steps carefully to assemble your EagleStone ES35 Basketball Hoop Arcade Game. Assembly typically takes a few minutes.
- Unpack Components: Carefully remove all parts from the packaging and lay them out on a clean, flat surface. Refer to the "Package Contents" section to ensure all parts are present.
- Assemble the Base Frame: Connect the longer pipe segments using the appropriate yellow connectors to form the base of the arcade game. Ensure all connections are secure.
- Construct the Side Supports: Attach the vertical pipe segments to the base, building upwards. The design features thicker tubes for enhanced stability.
- Attach the Backboard and Hoop: Securely fasten the backboard, which includes the electronic scoreboard, to the top of the frame. Then, attach the basketball hoop and net to the backboard. The hoop is reinforced for durability.
- Install the Ball Return Net: Attach the high-density polyester net to the frame, creating the ball return chute.
- Inflate Basketballs: Use the provided air pump to inflate the four rubber basketballs. These are eco-friendly stretch PU basketballs.
- Adjust Height (Optional): The stand height is adjustable to accommodate different ages and preferences. Refer to the "Operating Instructions" for details on adjusting the height.

Image 4.1: A visual comparison highlighting the increased thickness of the EagleStone ES35's frame tubes (1.44mm) compared to standard tubes (0.8mm), indicating enhanced stability.

Image 4.2: Detailed view of the eco-friendly stretch PU basketball, the high-density polyester net, and the upgraded reinforced hoop, showcasing key material features.
5. Operating Instructions
5.1. Powering On the Electronic Scoreboard
The electronic scoreboard requires batteries (not included). Insert the required batteries into the compartment located on the back of the scoreboard. Once batteries are installed, the scoreboard will automatically power on or can be activated via a power button (if present, refer to specific label on scoreboard).
5.2. Playing the Game
Shoot the basketballs towards the hoop. The infrared sensing system will detect successful shots and automatically update the score on the digital LED display. The system also plays cheer sounds to enhance the arcade experience.

Image 5.1: A child enthusiastically playing the basketball game, with the electronic scoreboard clearly displaying a score and visual cues indicating sound effects.
5.3. Adjusting Height
The basketball stand features an adjustable height mechanism. To adjust the height, locate the adjustment points on the frame (typically marked with fasteners or quick-release pins). Loosen these, slide the upper frame section to the desired height, and then securely fasten the adjustment points. Ensure the frame is stable after adjustment.

Image 5.2: Two separate instances of children playing with the basketball hoop, demonstrating its adjustable height feature to suit different age groups and preferences.
5.4. Indoor and Outdoor Use
The EagleStone ES35 is designed for both indoor and outdoor use. When using outdoors, ensure it is placed on a level surface and consider bringing it indoors during inclement weather to prolong its lifespan.
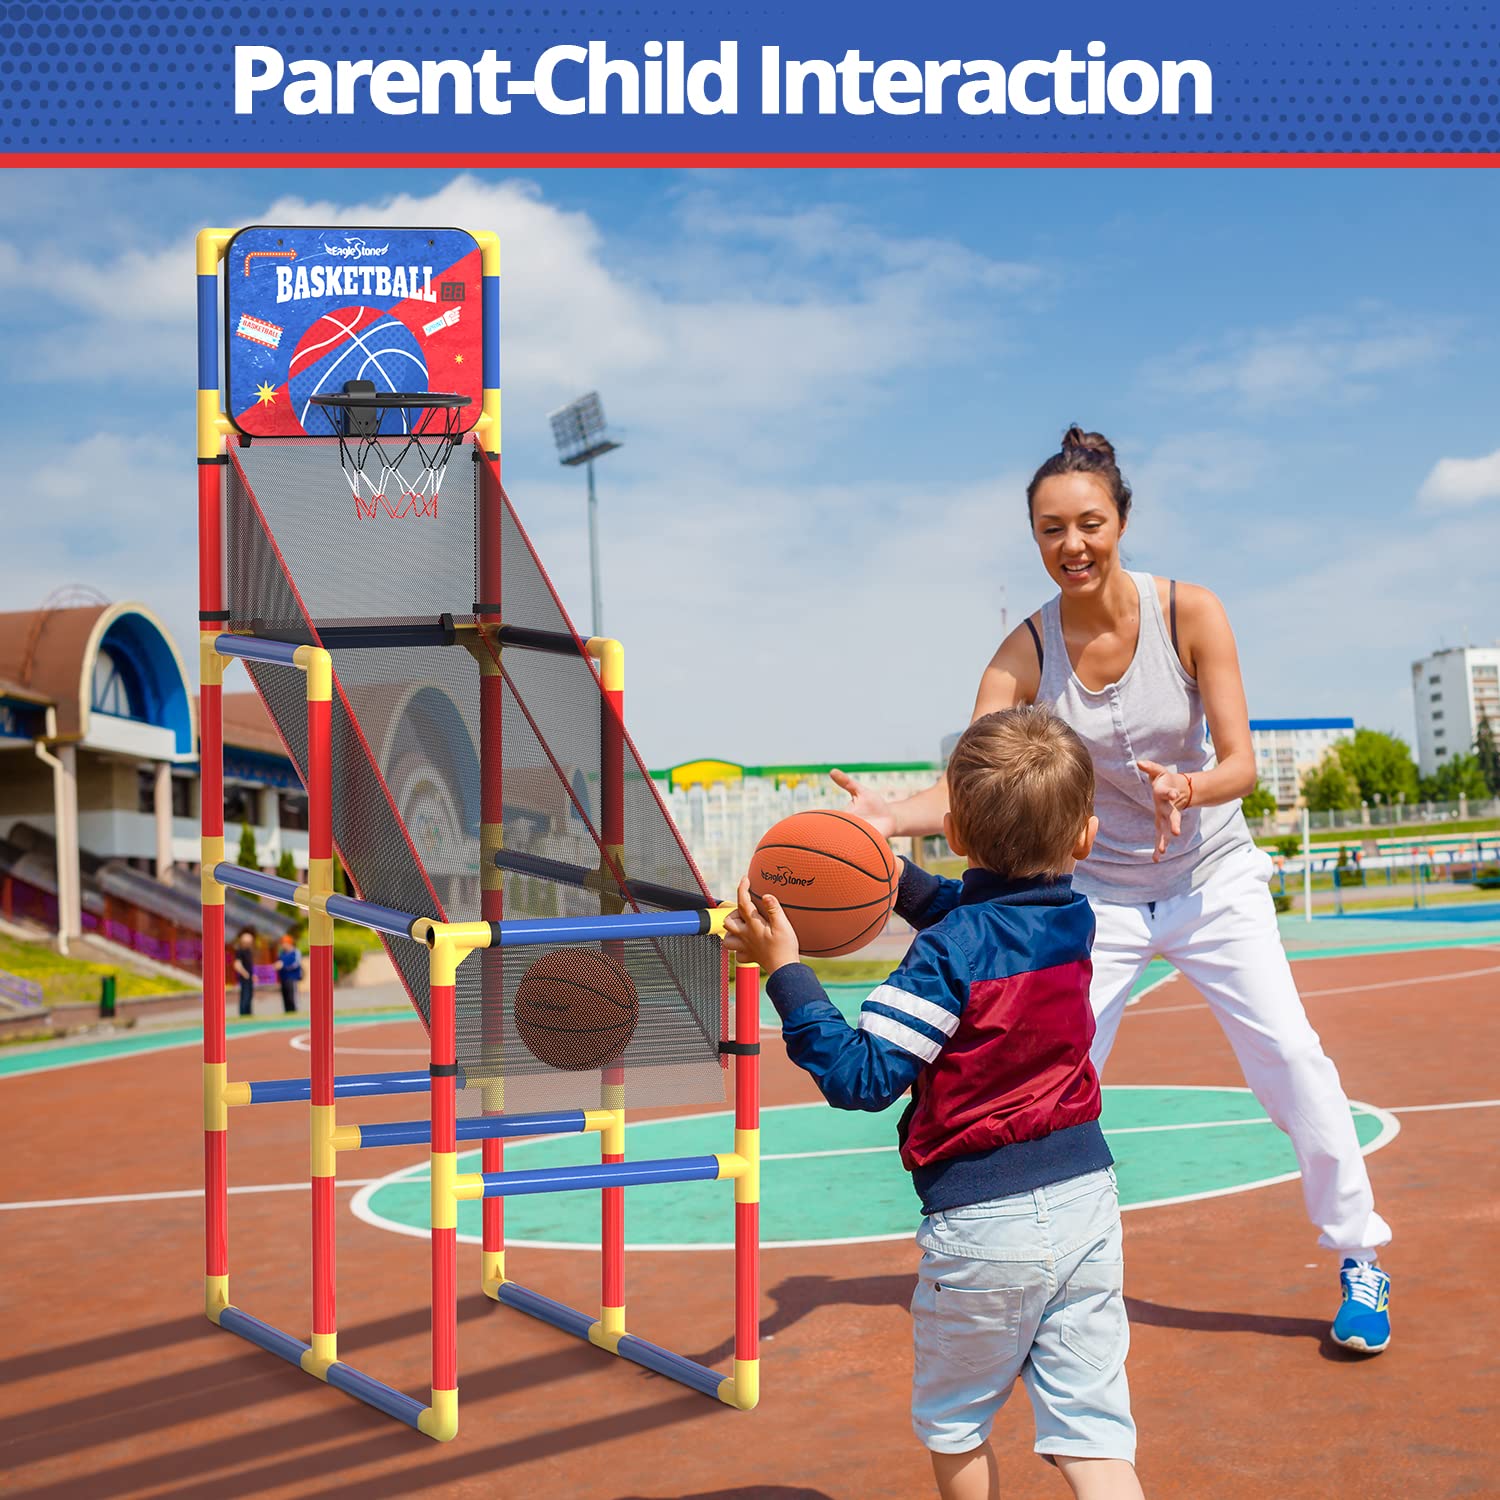
Image 5.3: A split image showing the basketball hoop being used by a child indoors on a carpeted floor and outdoors on a paved surface, illustrating its versatility.
6. Maintenance
- Cleaning: Wipe down the frame and backboard with a damp cloth. Avoid abrasive cleaners.
- Inspection: Periodically check all connections and fasteners to ensure they remain tight and secure.
- Storage: When not in use for extended periods, especially if stored outdoors, it is recommended to disassemble the unit or cover it to protect it from elements.
- Basketballs: Re-inflate basketballs as needed using the provided pump.
7. Troubleshooting
| Problem | Possible Cause | Solution |
|---|---|---|
| Scoreboard not working | No batteries, dead batteries, or incorrect battery insertion. | Ensure batteries are correctly inserted and replace if necessary. |
| Score not registering | Infrared sensor obstructed or dirty. | Check and clean the infrared sensor located near the hoop. Ensure the ball passes clearly through the sensor's path. |
| Game feels unstable | Loose connections or uneven surface. | Tighten all pipe connections. Move the game to a flat, stable surface. |
| Basketballs losing air | Under-inflated or minor puncture. | Re-inflate using the provided pump. If air loss persists, inspect for damage. |
8. Specifications
- Model: ES35
- Brand: EagleStone
- Dimensions (Assembled): Approximately 38"L x 20"W x 63"H (96.5 cm L x 50.8 cm W x 160 cm H)
- Adjustable Height: Yes
- Material: Durable plastic pipes, high-density polyester net, PU basketballs
- Scoring: Digital LED Electronic Scoreboard with infrared sensing
- Power: Batteries for scoreboard (not included)
- Weight: Approximately 2.86 kg (6.3 lbs)

Image 8.1: A detailed diagram illustrating the dimensions of the EagleStone ES35 Basketball Hoop Arcade Game, including length, width, and height measurements.
9. Warranty and Support
EagleStone products are designed for quality and durability. For any questions, missing parts, or support needs, please contact EagleStone customer service through your retailer's platform or the official EagleStone website. Please have your model number (ES35) and purchase information ready when contacting support.
Specific warranty details may vary by region and retailer. Please refer to your purchase documentation for warranty information.


