
Introduction
This manual provides comprehensive instructions for the safe and efficient use of your Nostalgia 1.5 Quart Tan Electric Ice Cream Maker. Designed for ease of use, this appliance allows you to create homemade ice cream, frozen yogurt, or gelato. Please read all instructions carefully before operation to ensure optimal performance and safety.
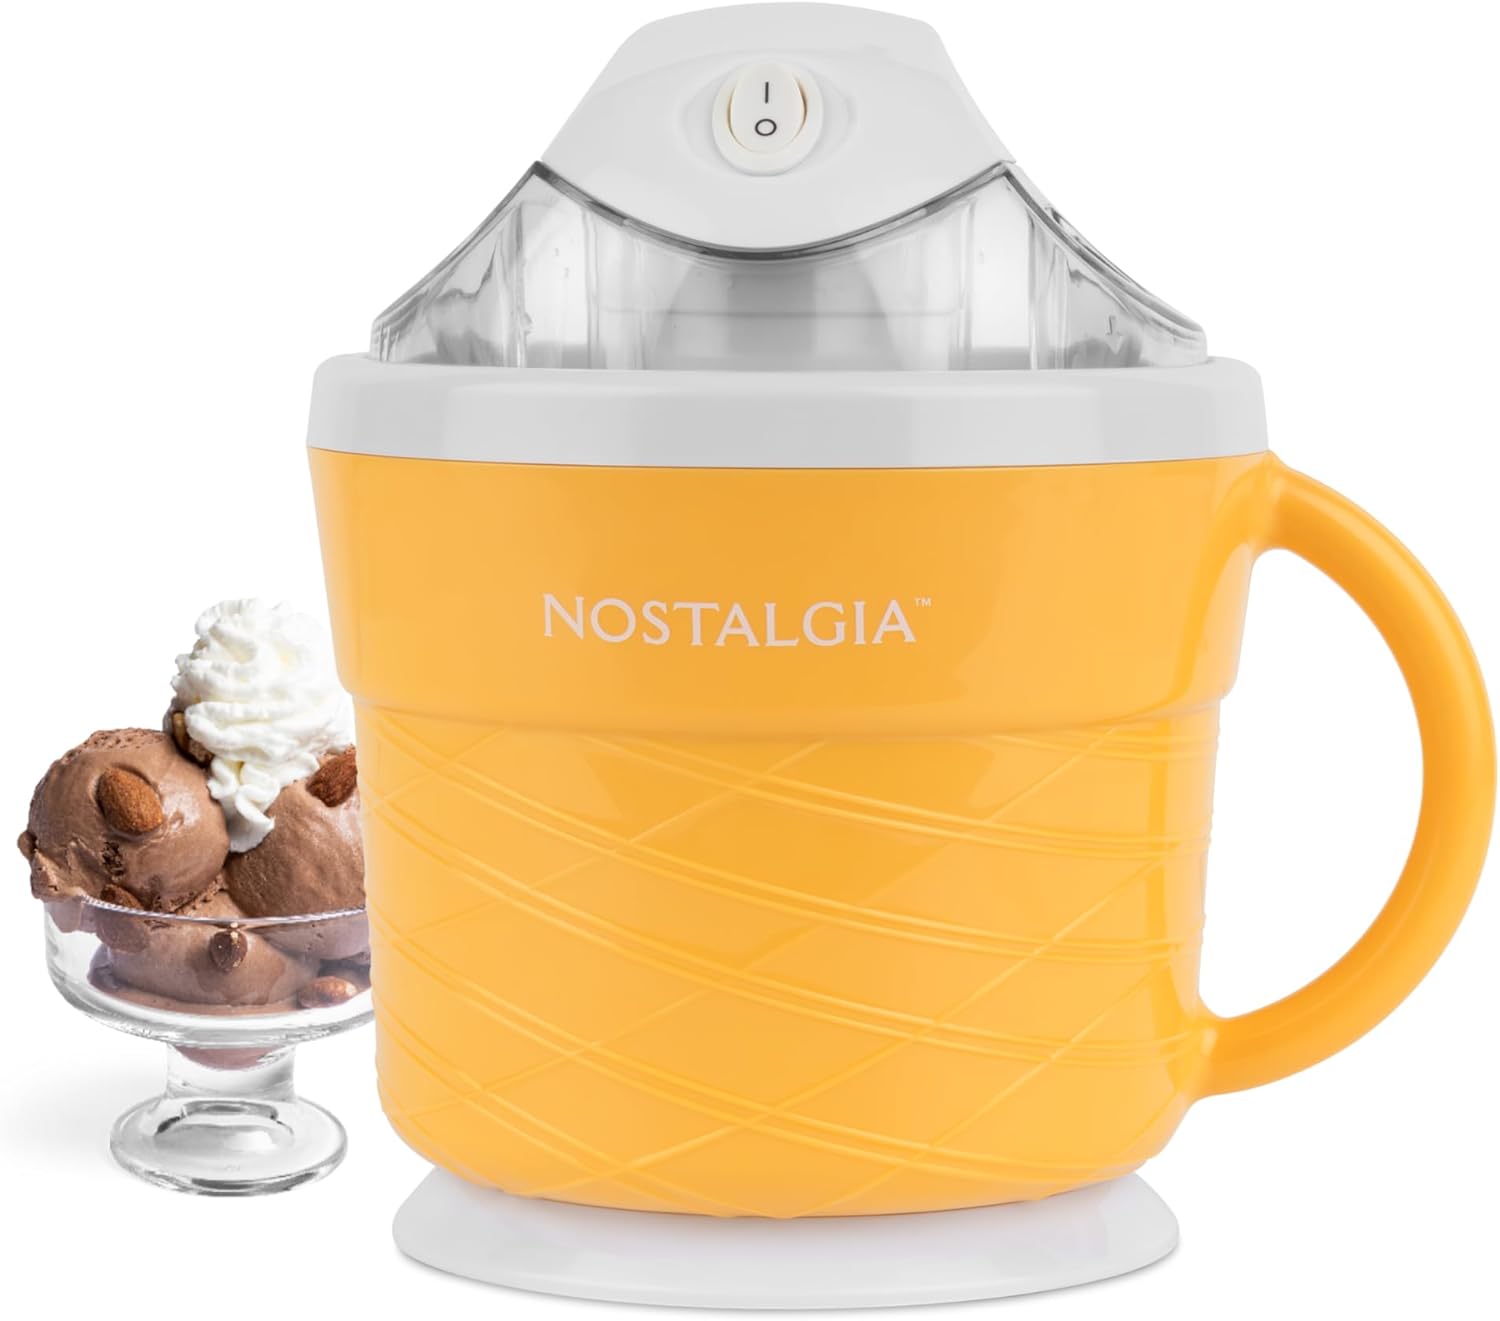
Image: The Nostalgia 1.5 Quart Tan Electric Ice Cream Maker, shown with a serving of chocolate ice cream.
Product Overview
The Nostalgia 1.5 Quart Electric Ice Cream Maker is designed for convenient homemade frozen desserts. Key features include a 1.5-quart capacity, an electric motor for automatic churning, and an easy on/off switch. The unit is compact, measuring approximately 5.25 inches wide and 8 inches tall.

Image: A graphic illustrating the dimensions of the Nostalgia Electric Ice Cream Maker, showing a width of 5.25 inches and a height of 8 inches, with text highlighting its 1.5 pint capacity, electric motor, and easy on/off switch.
Setup
- Prepare the Freezing Canister: Before first use, and for each subsequent use, ensure the inner freezing canister is completely frozen. Place the empty canister in a freezer set to 0°F (-18°C) or colder for a minimum of 24 hours. A fully frozen canister is crucial for proper ice cream consistency.
- Assemble the Unit: Place the outer bucket on a stable, flat surface. Carefully insert the frozen inner canister into the outer bucket.
- Prepare Ingredients: Prepare your desired ice cream, frozen yogurt, or gelato mixture. For best results, chill the mixture in the refrigerator for at least 2 hours before adding it to the machine.

Image: A hand placing the inner gel canister into a freezer, illustrating the chilling step before use.
Operating Instructions
- Pour Mixture: Once the inner canister is frozen and your mixture is chilled, pour the mixture into the inner canister. Do not fill past the maximum fill line to allow for expansion during freezing.
- Attach Dasher and Lid: Place the dasher (mixing paddle) onto the motor shaft located on the underside of the lid. Securely place the lid assembly onto the inner canister, ensuring it locks into place.
- Start Churning: Plug the unit into a standard electrical outlet. Press the ON/OFF switch to begin churning. The machine will automatically start the churning process.
- Set Timer (if applicable): The unit may feature a digital timer. You can adjust the churning time as needed. A typical churning cycle is approximately 20-40 minutes, depending on the recipe and desired consistency.
- Add Mix-ins: If adding solid mix-ins like chocolate chips, nuts, or candy pieces, do so during the last 5-10 minutes of churning through the designated chute on the lid.
- Check Consistency: Monitor the ice cream through the clear lid. Once the desired soft-serve consistency is reached, turn off the machine and unplug it.
- Serve or Store: Remove the lid and dasher. Carefully lift the inner canister out of the outer bucket. Serve immediately for soft-serve ice cream, or transfer to an airtight container and place in the freezer for a firmer consistency.

Image: A four-panel image showing the ice cream making process: 1. Chill the gel canister, 2. Prepare and pour mix, 3. Turn on the electric motor, 4. Allow mixture to churn until desired consistency.

Image: A hand adding crushed cookies through the chute on the lid of the ice cream maker, demonstrating how to incorporate mix-ins.
For a visual guide on assembly and operation, please refer to the video below:
Video: A demonstration of the Nostalgia Ice Cream Maker, showing the assembly, pouring of ingredients, starting the machine, and the final ice cream consistency. The video highlights the ease of use and the ability to adjust churning time.
Maintenance
- Unplug Before Cleaning: Always ensure the appliance is unplugged from the electrical outlet before cleaning.
- Hand Wash Removable Parts: The inner freezing canister, dasher, and lid should be hand washed with warm, soapy water. Rinse thoroughly and dry completely before storing.
- Clean Base Unit: Wipe the exterior of the motor base with a damp cloth. Do not immerse the motor base in water or any other liquid.
- Storage: Store all parts together in a clean, dry place.
Troubleshooting
If you encounter issues with your ice cream maker, consider the following common points:
- Ice Cream Not Freezing: Ensure the inner canister was frozen for a full 24 hours at 0°F (-18°C) or colder. Also, verify that your ice cream mixture was adequately chilled before churning.
- Machine Not Starting: Check that the unit is properly plugged into a working electrical outlet and that the lid is securely in place.
- Excessive Noise: Some operational noise is normal during churning. If the noise is unusually loud or grinding, ensure the dasher is correctly installed and not obstructed.
For further assistance, please refer to the complete troubleshooting section in your product manual or contact Nostalgia customer support.
Specifications
| Feature | Detail |
|---|---|
| Brand | Nostalgia |
| Color | Tan |
| Capacity | 1.5 Quarts |
| Material | Stainless Steel (inner canister) |
| Model Name | Electric Ice Cream Maker |
| Item Weight | 3.31 Pounds |
| Product Dimensions | 10.43 x 7.8 x 7.7 inches |
| Operation Mode | Automatic |
| Product Care Instructions | Hand Wash |
Warranty and Support
For information regarding product warranty, returns, or technical support, please visit the official Nostalgia website or contact their customer service department. Keep your purchase receipt for warranty claims.
You can find more information and products from Nostalgia by visiting their official store: Nostalgia Store