Introduction
This manual provides essential information for the safe assembly, operation, and maintenance of your Trailmaster Mini XRX/R+ Go Kart. Please read all instructions carefully before use to ensure optimal performance and safety.
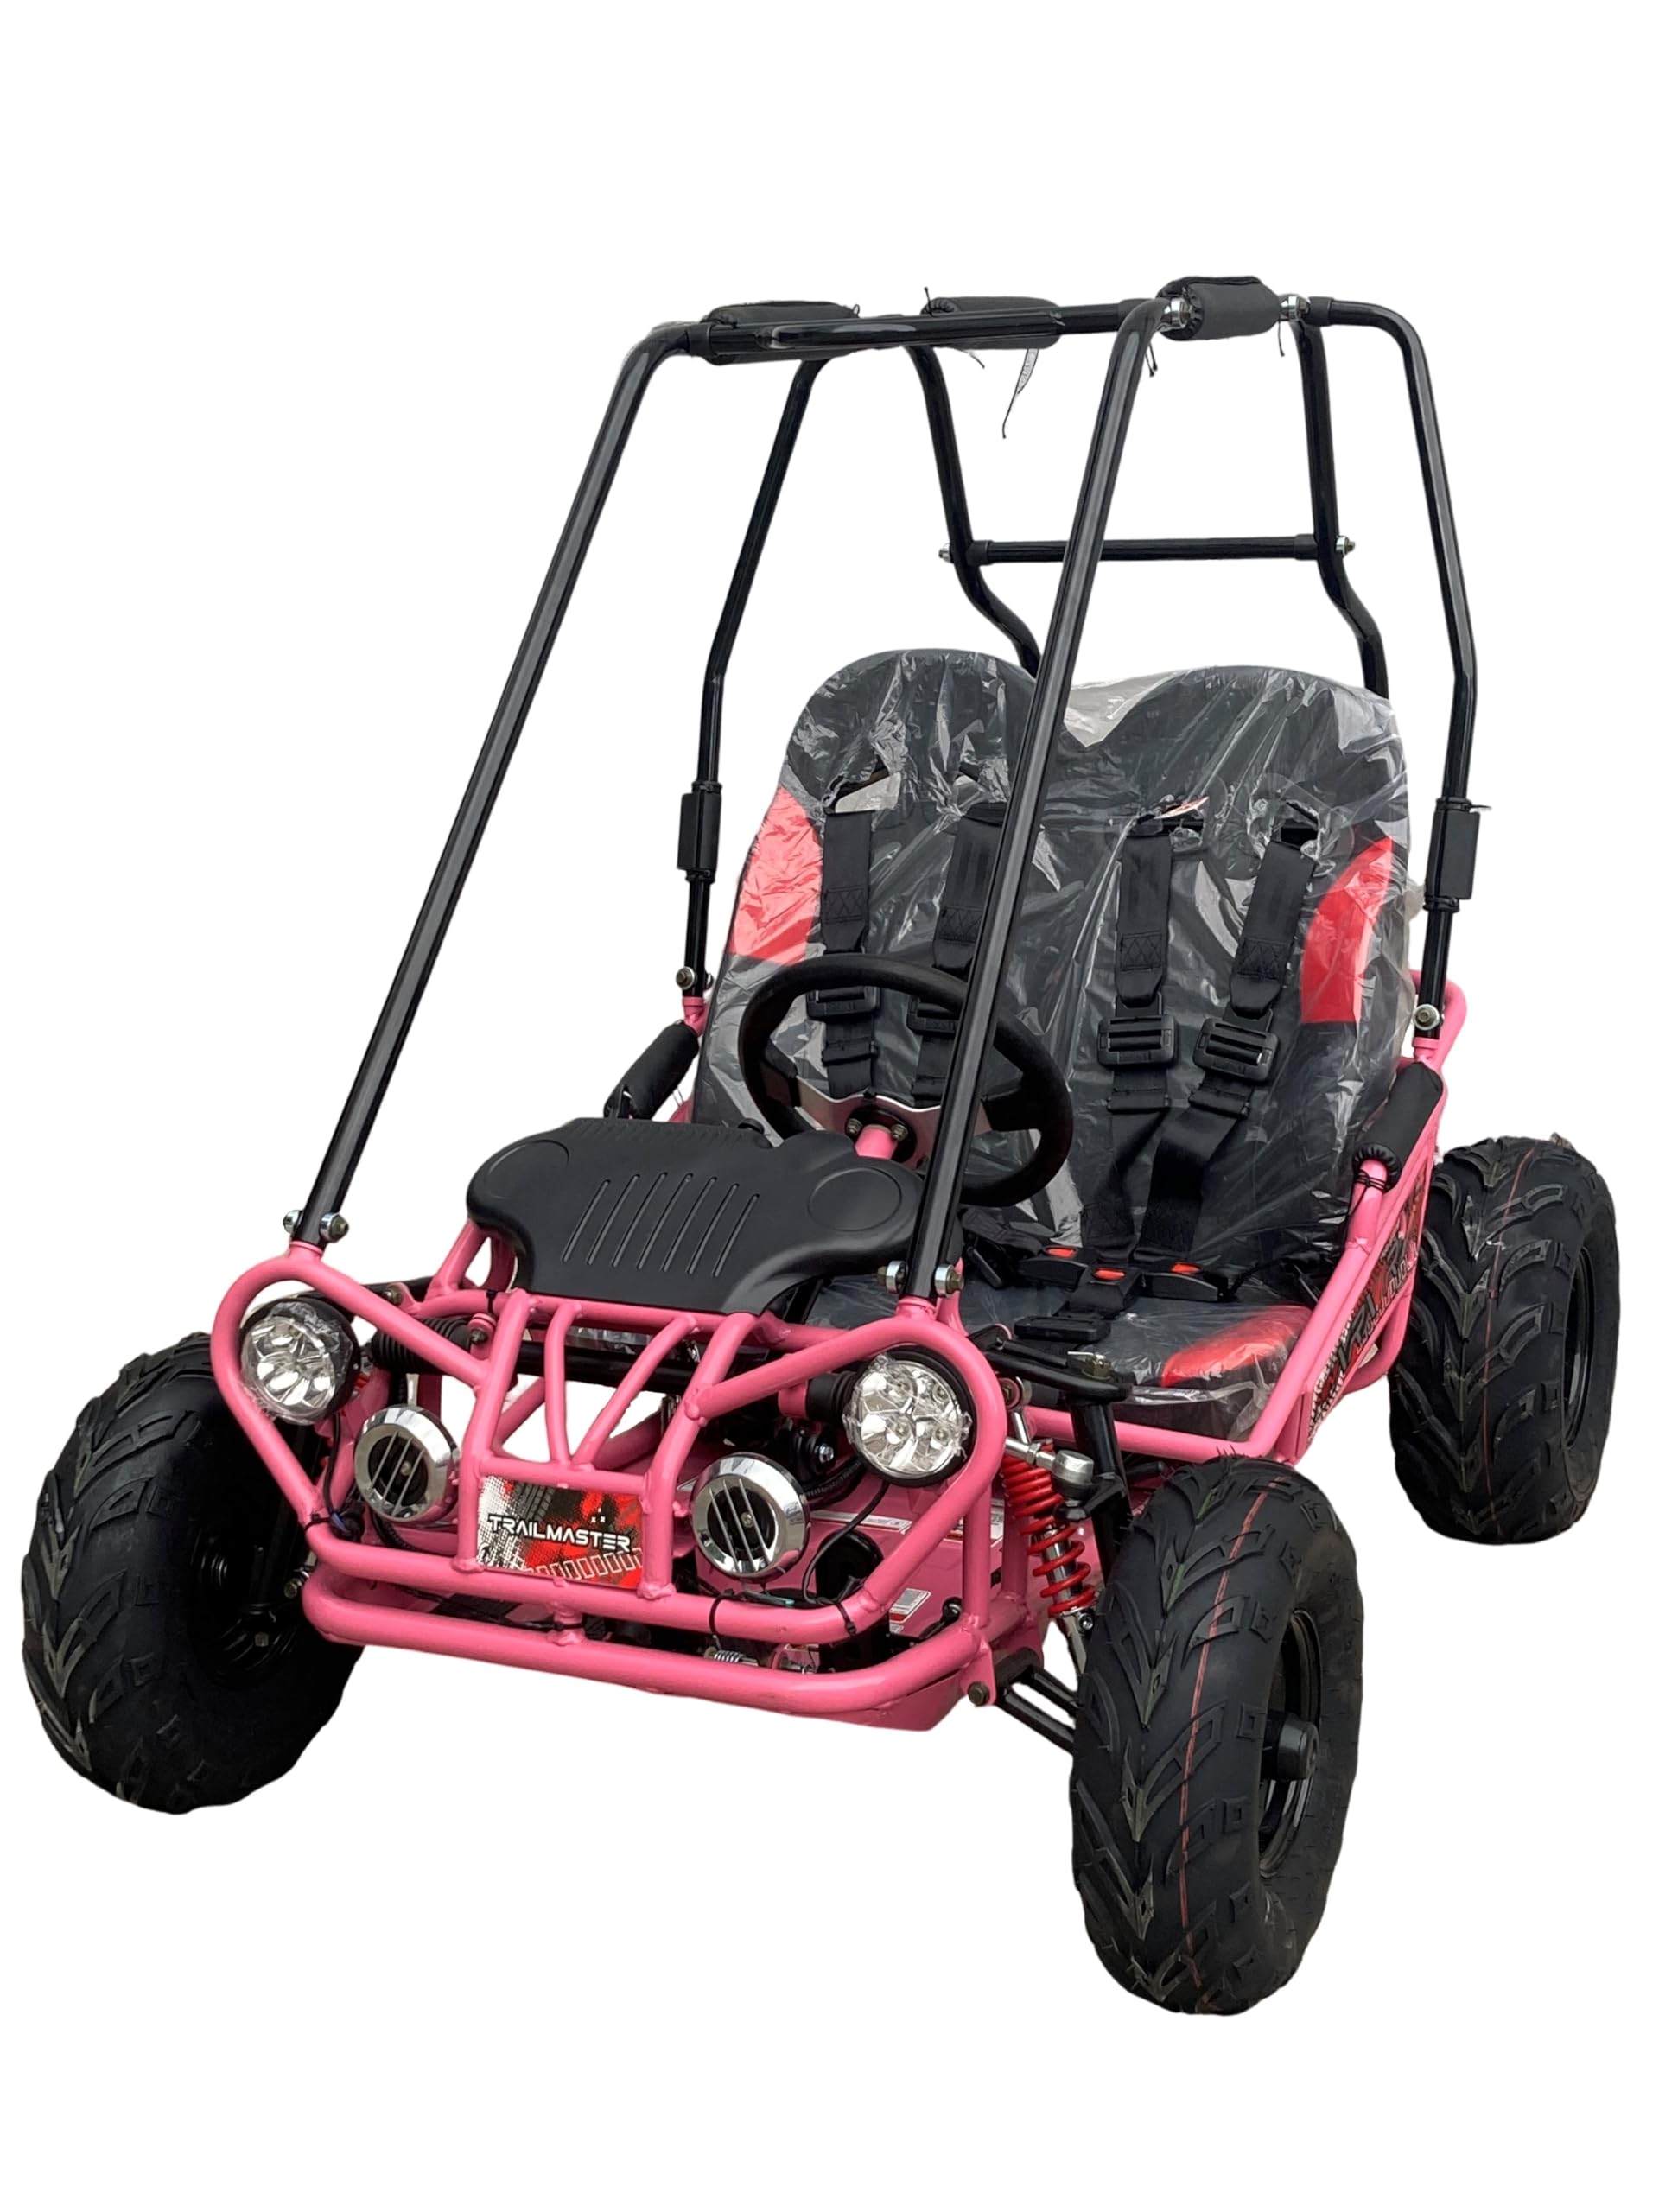
Figure 1: Trailmaster Mini XRX/R+ Go Kart (Black model shown)
Safety Features
The Trailmaster Mini XRX/R+ Go Kart is designed with several safety features to protect young riders:
- Speed Governor: Allows for speed control to match rider experience levels.
- Five-Point Safety Seatbelt: Provides secure restraint for the rider(s).
- Full Roll Cage: Offers protection in the event of a rollover.
- LED Headlights and Horn: Enhances visibility and allows for alerting others.
- Low Center of Gravity: Improves stability during turns.
Setup and Assembly
Follow these steps to assemble your Trailmaster Mini XRX/R+ Go Kart. Refer to the assembly video for visual guidance.
- Unboxing: Carefully cut the straps and open the cardboard box. Remove the top cardboard layer and any packaging materials to reveal the go-kart frame and components.
- Remove Packaging: Remove all bubble wrap and plastic bags from the go-kart frame and individual parts.
- Install Rear Shocks: Attach the red spring shocks to the rear frame of the go-kart. Secure them with the provided bolts and nuts.
- Install Steering Wheel: Attach the steering wheel to the steering column. Ensure all bolts are tightened securely.
- Install Front Suspension: Attach the front suspension components, including the tie rods and spindles, to the front frame. Secure with nuts and cotter pins.
- Install Tires: Mount the tires onto the axles. Secure each tire with a washer, nut, and cotter pin. Inflate tires to the recommended pressure (check tire sidewall for details).
- Install Roll Cage: Assemble the roll cage sections and attach them to the main frame using the provided bolts and nuts.
- Connect Safety Harness: Ensure the five-point safety harness is correctly routed and secured to the seat.
Video 1: Trailmaster Mini XRX/R+ Go Kart Assembly Guide. This video demonstrates the step-by-step process of unboxing and assembling the go-kart, including attaching the shocks, steering wheel, suspension, and tires.
Operating Instructions
Familiarize yourself with the controls and operating procedures before riding.
- Starting the Engine: The go-kart features an electric start with a pull start backup. Ensure the key is in the 'ON' position and use the electric start button. If needed, use the pull start.
- Throttle Control: The go-kart has a speed limiter on the gas pedal. This allows you to control the maximum speed until the rider gains more experience.
- Transmission: The go-kart has a fully automatic transmission with reverse. Use the gear selector to engage forward or reverse.
- Steering: The large steering wheel and rack and pinion steering system provide easy and responsive turns.
- Braking: Utilize the disc brake system for effective stopping.
- Safety Harness: Always ensure the five-point safety seatbelt is securely fastened before operating the go-kart.
- Remote Control: The remote control allows for remote kill functionality, providing an additional layer of safety for parents or supervisors.
Video 2: Kerry Yoo 24V Go Kart Controls Overview. This video provides a general overview of go-kart controls, including power, horn, gear, and headlight functions, which may be similar to your Trailmaster model.
Maintenance
Regular maintenance is crucial for the longevity and safe operation of your go-kart.
- Fuel: Always use ethanol-free fuel to prevent engine damage.
- Oil: Regularly check and change the engine oil (SAE 15W-40 recommended).
- Chain: Apply chain lubricant often to ensure smooth operation and prevent wear.
- Tires: Maintain correct tire pressure as specified on the tire sidewall.
- General Inspection: Periodically inspect all bolts, nuts, and moving parts for tightness and wear.
Troubleshooting
If you encounter issues with your go-kart, consider the following basic troubleshooting steps:
- Engine Not Starting: Check fuel level, ensure the key is in the 'ON' position, and verify battery connections for electric start. Try the pull start backup.
- Loss of Power: Check fuel quality and level. Inspect spark plug and air filter.
- Braking Issues: Inspect brake pads and cables for wear or damage. Ensure brake fluid levels are adequate if applicable.
- Unusual Noises: Stop operation immediately and inspect for loose parts, worn chains, or engine issues.
For persistent issues, contact customer support or a qualified technician.
Specifications
| Feature | Detail |
|---|---|
| Engine Type | 4-stroke, single cylinder, air cooled |
| Displacement | 163cc |
| Max HP | 5.5hp/3600rpm |
| Max Torque | 12.5N·m/3600rpm |
| Starting System | Electric Start with Pull Start Backup |
| Transmission | Fully Automatic with Reverse |
| Driveline / Driving Wheel | Chain / Dual wheel drive |
| Suspension (F / R) | Dual A-arm / Double Oil Damped Shock |
| Brakes | Disc |
| Tires (F / R) | 145X70-6 / 16 X8-7 |
| Fuel Capacity | 1.2 gal |
| Max Load | 300 lbs |
| OA L x W x H | 58.7 x 38.2 x 48.8 inches |
| Min Ground Clearance | 4.02 inches |
| Item Weight | 280 pounds |
Warranty and Support
For warranty information or technical support, please refer to the documentation included with your product or contact Trailmaster customer service directly. Keep your purchase receipt for warranty claims.