Product Overview
The AEGISLINK SC-RF220 is an advanced combination smoke and carbon monoxide alarm system designed to provide enhanced safety for your home. It integrates both photoelectric and electrochemical sensors to detect smoke and carbon monoxide, offering dual protection. The wireless interlinking capability ensures that all connected devices activate simultaneously when a hazard is detected, alerting you throughout your home. The clear digital display provides real-time CO levels and battery status, keeping you informed about your home's air quality and the device's operational status.

Image: Three AEGISLINK SC-RF220 units demonstrating wireless interconnection.
Setup and Installation
1. Battery Installation
The SC-RF220 units are battery-powered. To activate, remove the mounting bracket by twisting it counter-clockwise. Locate the battery compartment and remove the protective tab from the pre-installed CR123A lithium battery. Ensure the battery is properly seated according to the polarity markings. Replace the mounting bracket by aligning and twisting clockwise until secure.
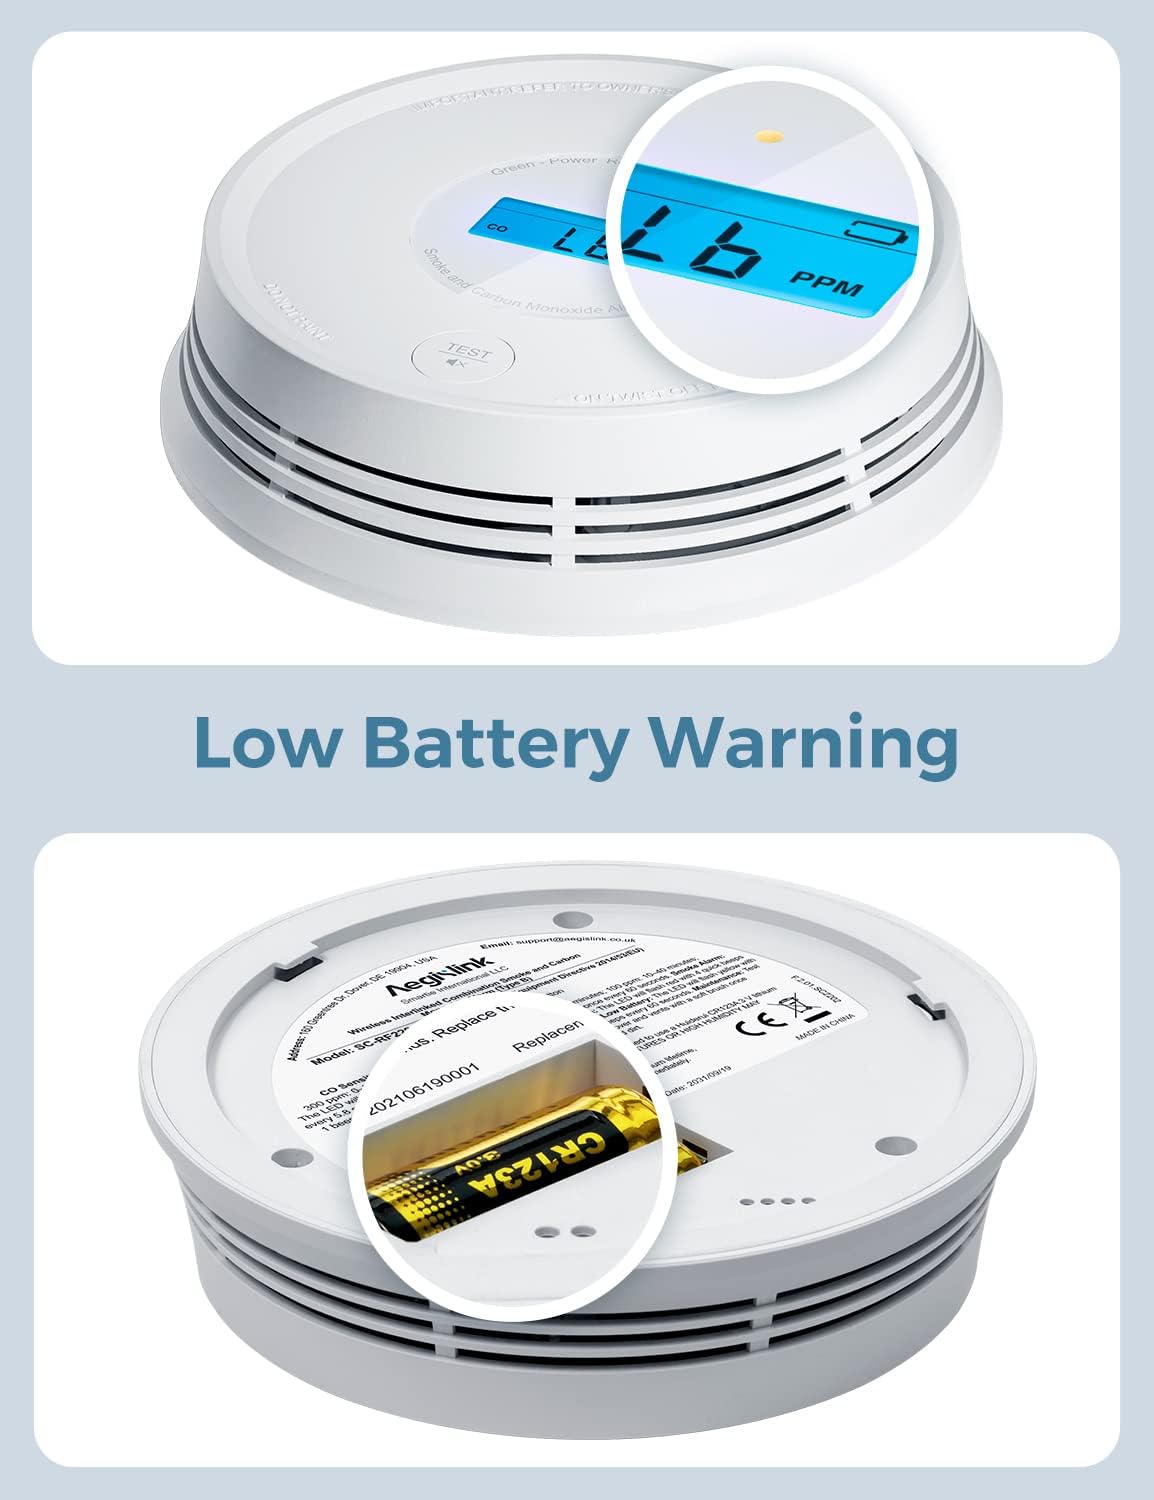
Image: Detailed view of the low battery warning on the digital display and the battery replacement process.
2. Wireless Interconnection (Pairing)
For full home coverage, you can connect up to 24 AEGISLINK wireless interlinked devices. To pair units:
- Ensure all units have batteries installed and are powered on.
- On the first unit, locate the small pinhole on the back. Insert a pin (such as a paperclip) into the pinhole and press and hold until the unit rapidly blinks red. This unit is now in pairing mode.
- On subsequent units, press the pin into the pinhole four times in succession. This will cause the detector to beep, flash its LED slowly, and wait for the first detector to find it.
- Once connected, the LED will return to its normal light (green for power).

Image: Illustrates the location of the pairing pinhole on the device.
3. Mounting
Attach the mounting bracket to your ceiling or wall using the provided screws and anchors. Once the bracket is secure, align the detector with the bracket and twist it clockwise until it clicks securely into place. Ensure the unit is firmly attached and does not wobble.

Image: Visual representation of up to 24 AEGISLINK wireless alarms interconnected throughout a home.
Operating Instructions
Digital Display and Indicators
The easy-to-read LCD displays the real-time carbon monoxide (CO) level in parts per million (PPM) and indicates battery life. The device also features LED indicators for different statuses:
- Green LED: Indicates normal operation (Power).
- Yellow LED: Indicates a fault or low battery.
- Red LED: Indicates an alarm condition (Smoke or CO).

Image: The detector displaying a CO level, illustrating its function in protecting against both smoke and carbon monoxide.
Interconnected Alarm Functionality
When one AEGISLINK interlinked device senses a dangerous situation (smoke or CO), all other interconnected devices will also sound an alarm. This ensures that you and your family are alerted throughout your entire home, regardless of where the hazard originates.

Image: Illustrates the interconnected alarm system where all units activate if one detects a hazard.
Customizable Wireless Network
You can customize your network by adding new devices to an existing network or disconnecting devices to create new, separate networks. This flexibility allows for optimal placement and coverage tailored to your home's layout.
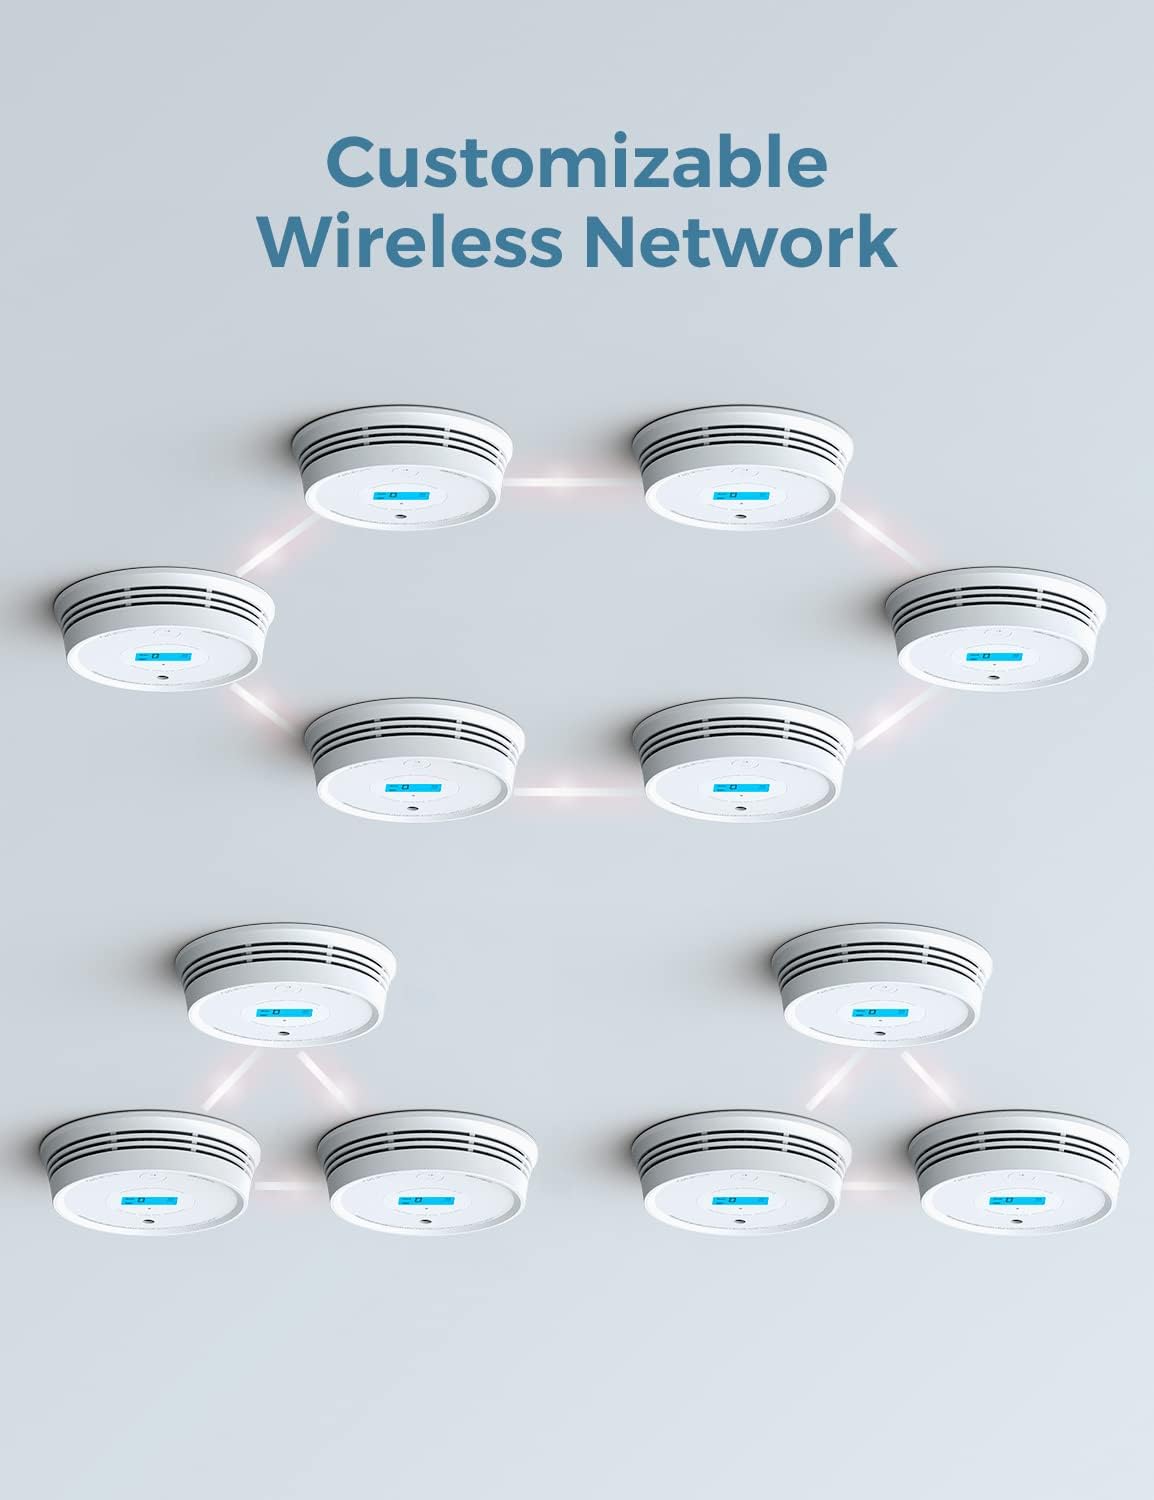
Image: Demonstrates the customizable wireless network capability of the detectors.
Broad Transmission Range
The devices offer an open-air transmission range of over 820 ft (250 m), ensuring smooth communication between interconnected alarms and providing comprehensive protection without blind spots throughout your home.

Image: Illustrates the broad transmission range of the AEGISLINK detectors within a home layout.
Maintenance
Battery Replacement
The SC-RF220 uses a replaceable lithium battery. The low-battery feature will warn you when the battery needs replacing, ensuring uninterrupted smoke and CO detection. Replace the battery promptly when indicated to maintain optimal performance.
Regular Testing
It is recommended to test your alarms regularly, at least once a month, to ensure they are functioning correctly. Press and hold the 'TEST' button on the device until the alarm sounds. All interconnected units should also sound their alarms.

Image: Demonstrates pressing the test button to activate the alarm and verify interconnection.
Troubleshooting
Pairing Issues
If you experience difficulty pairing units, the instructions for entering search mode might be misinterpreted. Instead of pressing and holding the pairing pin until the unit beeps (which may cause a rapidly flashing LED and prevent connection), try the following:
- For the first unit (to be found): Press the pairing pin into the pinhole four times in succession. This should cause the detector to beep, flash its LED slowly, and wait for a second detector to find it.
- For the second unit (to find): Press the pairing pin into the pinhole and hold until the unit beeps.
This method should facilitate successful pairing between units.
Specifications
| Feature | Detail |
|---|---|
| Brand | AEGISLINK |
| Model Number | SC-RF220 |
| Style | RF Interlinked |
| Power Source | Battery Powered (3 CR123A batteries included) |
| Sensor Type | Photoelectric, Electrochemical |
| Alarm Type | Audible |
| Product Dimensions | 1.34"D x 5.27"W x 5.27"H |
| Item Weight | 0.46 Pounds (7.4 ounces) |
| Material | Flame Retardant ABS |
| Coverage | >820 ft (250m) open-air transmission range |
| Voltage | 3 Volts |
Warranty and Support
The AEGISLINK SC-RF220 includes a 60-day return policy, a 5-year warranty, and lifetime technical support. For any inquiries or assistance, please refer to the official user manual or contact AEGISLINK customer service.
For a detailed user manual in PDF format, please visit: AEGISLINK User Manual (PDF)