
Keychron Q10
Keychron Q10 Wired Custom Mechanical Keyboard User Manual
Model: Q10 | Brand: Keychron
1. Introduction
The Keychron Q10 is a premium 75% Alice layout mechanical keyboard designed for ergonomic comfort and extensive customization. Featuring a split, curved frame, it aims to reduce wrist strain during prolonged use. This manual provides detailed instructions for setting up, operating, customizing, and maintaining your Keychron Q10 keyboard.

Image 1.1: Keychron Q10 Alice Layout Mechanical Keyboard with an example Gateron G Pro Blue Switch.
2. Package Contents
Please verify that all items listed below are included in your Keychron Q10 package:
- 1x Fully Assembled Keyboard (including Aluminum case, PCB, Steel Plate, Sound Absorbing Foam, 14x Gaskets, 5 sets Stabilizers, 1 set Keycaps (Double-Shot PBT), 1 set Switches (Gateron G Pro), 1x Acoustic Tape)
- 1x Type-C to Type-C Cable
- 1x Type-A to Type-C Adapter
- 1x Switch Puller
- 1x Keycap Puller
- 1x Screwdriver
- 1x Hex Key

Image 2.1: Visual representation of the Keychron Q10 keyboard and its included accessories.
3. Setup
- Unpack the Keyboard: Carefully remove the Keychron Q10 keyboard and all accessories from its packaging.
- Connect the Cable: Use the provided Type-C to Type-C cable to connect the keyboard to your computer. If your computer only has Type-A ports, use the included Type-A to Type-C adapter.
- Operating System Compatibility: The Keychron Q10 is compatible with Mac, Windows, and Linux operating systems. No additional drivers are typically required for basic functionality.
- Initial Test: Open a text editor or word processor and test typing on the keyboard to ensure all keys are functioning correctly.
4. Operating the Keyboard
4.1 Basic Typing
The Keychron Q10 functions as a standard mechanical keyboard. Its 75% Alice layout provides an ergonomic split design for comfortable typing. Familiarize yourself with the key placement, especially the split spacebar and modified bottom row.
4.2 Programmable Knob
The integrated programmable knob offers quick access to various functions. By default, it often controls volume (rotate) and mute (press). Its functions can be customized extensively using the QMK/VIA software.

Image 4.1: The programmable knob, typically used for volume control and muting audio.
4.3 RGB Backlighting
The keyboard features 22+ RGB backlight effects. These can be cycled through using specific key combinations (refer to the keyboard's default keymap or QMK/VIA software for details). The south-facing RGB lighting ensures compatibility with various keycap profiles.
5. Customization
The Keychron Q10 is designed for deep customization, allowing users to tailor the keyboard to their specific needs.
5.1 QMK/VIA Programmability
The keyboard fully supports QMK (Quantum Mechanical Keyboard) firmware and VIA software. This allows you to remap any key, create custom macros, and adjust lighting effects across multiple layers without needing to flash new firmware. The VIA configurator is a web-based tool for easy customization.

Image 5.1: The VIA web-based configurator for customizing keymaps and macros.
5.2 Hot-Swappable Switches
The Q10 features a hot-swappable PCB, allowing you to change mechanical switches without soldering. It is compatible with most MX-style 3-pin and 5-pin switches. This enables users to experiment with different switch types to find their preferred typing feel.
- Removing Switches: Use the provided switch puller to carefully grip the top and bottom clips of the switch and pull it straight up.
- Installing Switches: Align the pins of the new switch with the holes on the PCB. Gently press the switch down until it clicks into place. Ensure pins are not bent.

Image 5.2: A keycap removed, revealing the hot-swappable switch socket.
5.3 Keycaps
The keyboard comes with OSA Profile Double-Shot PBT Keycaps, known for their durability and comfortable feel. These can also be replaced with other MX-compatible keycap sets.
- Removing Keycaps: Use the provided keycap puller to gently pull keycaps straight up.
- Installing Keycaps: Align the keycap stem with the switch stem and press down firmly until it is seated.
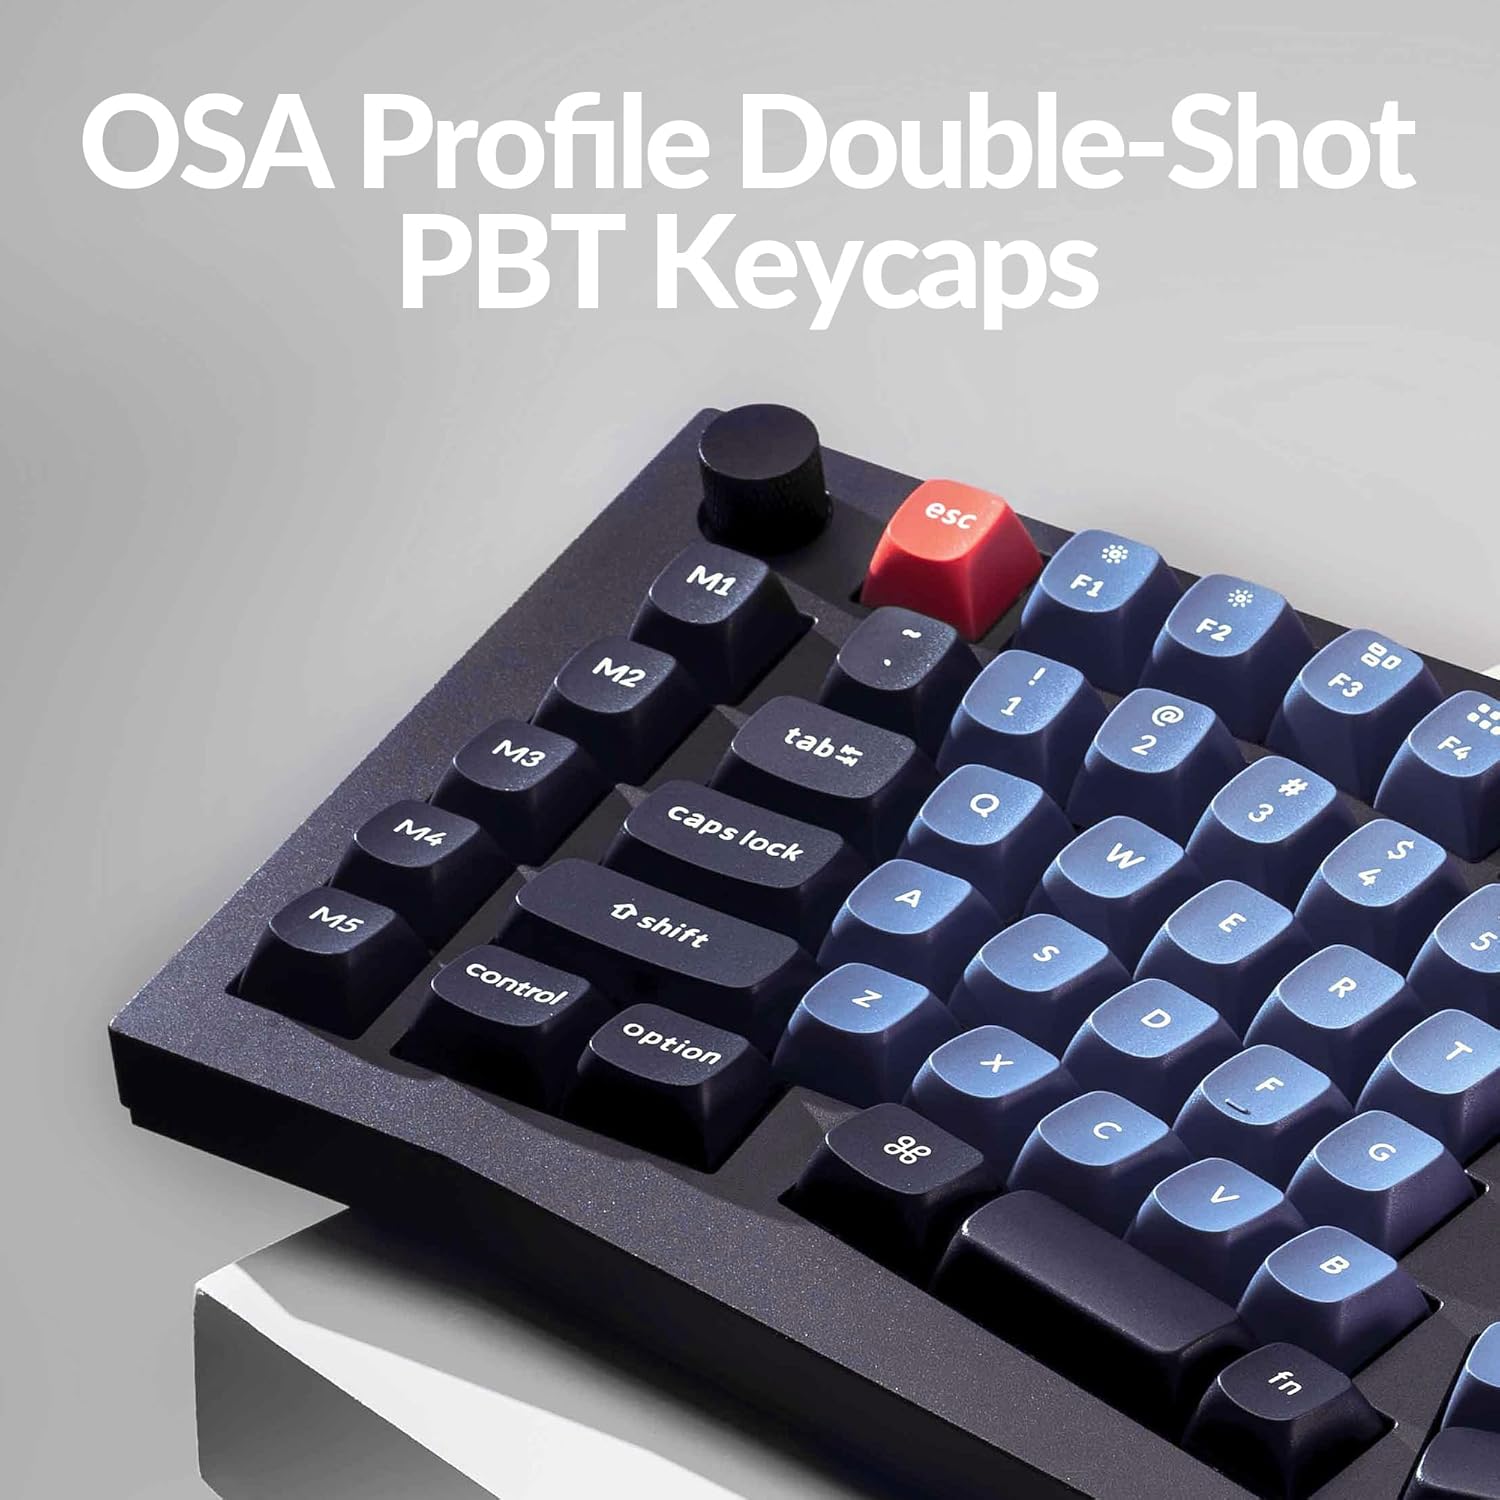
Image 5.3: The OSA Profile Double-Shot PBT Keycaps on the Keychron Q10.
6. Maintenance
6.1 Cleaning the Keyboard
Regular cleaning helps maintain the keyboard's performance and appearance.
- Disconnect the keyboard from your computer before cleaning.
- Use a can of compressed air to remove dust and debris from between the keycaps.
- For stubborn dirt, remove keycaps using the keycap puller and clean the exposed switches and plate with a soft brush or a damp cloth (ensure it's not dripping wet).
- Wipe keycaps with a mild cleaning solution on a cloth, then dry thoroughly.
6.2 Double Gasket Design
The keyboard features an innovative double-gasket design with silicone pads to minimize sound resonance and improve typing acoustics. This design requires no special maintenance from the user.

Image 6.1: Cross-section diagram showing the double-gasket structure for enhanced typing sound.
7. Troubleshooting
If you encounter issues with your Keychron Q10 keyboard, try the following troubleshooting steps:
- Keyboard Not Responding: Ensure the USB-C cable is securely connected to both the keyboard and your computer. Try a different USB port or cable.
- Specific Keys Not Working: If a single key is not functioning, it might be a faulty switch. Since the keyboard is hot-swappable, try replacing the switch with a known working one. Ensure the switch pins are straight before insertion.
- RGB Backlight Issues: Check if the backlight is enabled. If using VIA, ensure the lighting settings are correctly configured.
- Customization Not Applying: Ensure you have saved and applied changes within the VIA software. Sometimes, restarting the VIA application or reconnecting the keyboard can resolve this.
- Firmware Reset: If issues persist, a firmware reset might be necessary. Refer to the official Keychron website for specific instructions on how to reset or reflash the Q10 firmware.
For further assistance, please visit the official Keychron support page or contact their customer service.
8. Specifications
| Feature | Detail |
|---|---|
| Brand | Keychron |
| Model | Q10 |
| Layout | 75% Alice Layout |
| Connectivity | Wired (USB-C) |
| Switch Type | Gateron G Pro Blue (Hot-swappable) |
| Keycaps | Double-Shot PBT (OSA Profile) |
| Body Material | Full CNC Aluminum |
| Backlight | 22+ RGB Effects (South-facing) |
| Programmability | QMK/VIA Support |
| Special Features | Programmable Knob, Double Gasket Design |
| Compatible Devices | PC (Mac, Windows, Linux) |
| Item Weight | 7.1 pounds |
| Package Dimensions | 16.26 x 8.27 x 2.87 inches |

Image 8.1: The Keychron Q10 keyboard, highlighting its robust full CNC aluminum body.
9. Warranty and Support
Keychron products typically come with a limited warranty. For detailed warranty information, terms, and conditions, please refer to the official Keychron website or the warranty card included with your product.
For technical support, troubleshooting assistance, or any product-related inquiries, please visit the Keychron support page or contact their customer service team directly. You can usually find contact information on the official Keychron website: www.keychron.com
Related documentsQ10


Ask a question about this manual
Ask about setup, troubleshooting, compatibility, parts, safety, or missing instructions. Manuals+ will review the question and use this page’s manual context to help answer it.