
1. Introduction
This manual provides comprehensive instructions for the installation, operation, and maintenance of your REVODATA 5MP POE IP Camera (Model I704-P-TS). Please read this manual thoroughly before using the product to ensure proper setup and optimal performance. Keep this manual for future reference.
2. Safety Information
Observe the following safety guidelines to prevent damage to the product or injury to yourself and others:
- Ensure the power supply meets the camera's specifications (48V DC POE or 12V/2A auxiliary power).
- Do not expose the camera to extreme temperatures outside its operating range (-25°C to 60°C).
- Avoid direct exposure of the lens to strong light sources, which may cause damage to the image sensor.
- Do not attempt to disassemble or modify the camera. This will void the warranty and may cause damage.
- Handle the camera with care to prevent physical damage.
3. Package Contents
Verify that all items listed below are included in your package:
- 1 x REVODATA 5MP POE IP Camera
- 1 x User Manual
- 1 x Screws Set for installation

Figure 3.1: Contents of the product package. Note: Power unit is not included.
4. Product Overview
4.1. Physical Components

Figure 4.1: Physical dimensions and connection ports of the camera.
- PoE LAN Port (Data+Power): Connects to a PoE switch or NVR for both data transmission and power supply.
- Extra Power Port (DC 5.5x2.1mm): Optional port for connecting a 12V/2A power adapter if PoE is not used.
- Mounting Bracket: Adjustable bracket for ceiling or surface mounting.
- Screw Hole: Points for securing the camera during installation.
4.2. Key Features
- UltraHD 5MP Quality: Features a CMOS 1/3'' Image Sensor and 5.0 Megapixel (2880 x 1620P) resolution at 20 fps for clear and smooth images/videos with enhanced detail.
- Standard 48V POE 802.3af: Supports Power Over Ethernet (PoE) for simplified installation using a single Cat5/6 cable for both power and data. Includes an auxiliary power connector for 12V/2A power adapter connection for greater flexibility.
- 10M IR Night Vision: Equipped with 18PCS IR LEDs, providing up to 10 meters of night vision distance, enabling clear visibility in low light and total darkness.
- Compact Design: Small dimensions (8 x 6.5 x 6.7cm, 0.3kg) allow for discreet placement.
- H.265 Encoding: Utilizes H.265 video compression, which requires approximately half the bandwidth of H.264 for the same image quality, saving disk space.
- Good Compatibility: Designed to work with most Network Video Recorders (NVRs) on the market.
- IP65 Waterproof: Rated IP65 for protection against dust and water ingress, suitable for both indoor and outdoor use.
- Motion Detection: Provides smart motion detection capabilities with alarm notifications sent to your smartphone.
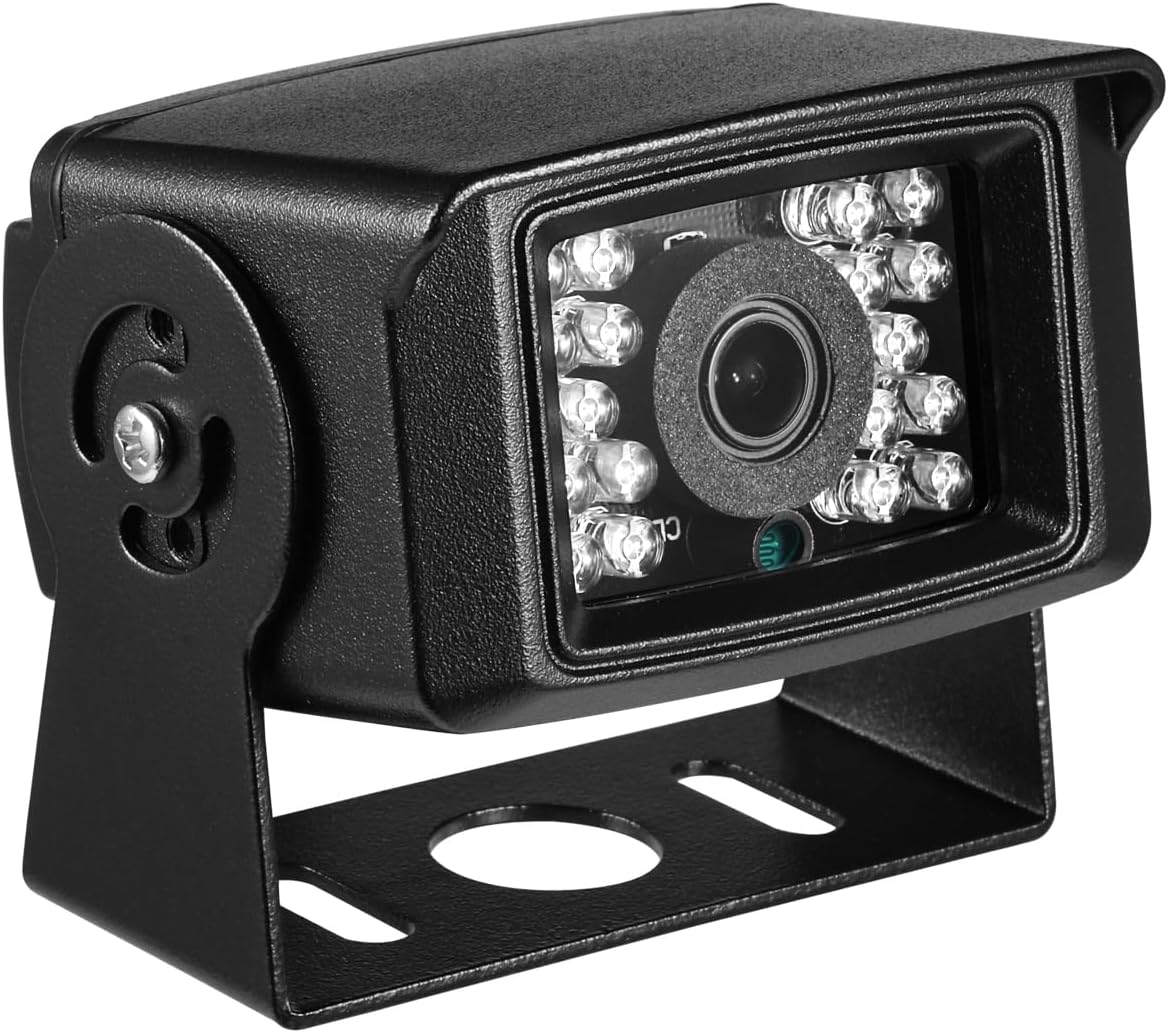
Figure 4.2: The REVODATA 5MP POE IP Camera.

Figure 4.3: IP65 Waterproof feature, suitable for outdoor environments.

Figure 4.4: Day and Night Vision capabilities of the camera.

Figure 4.5: Motion Detection notification on a smartphone.
Figure 4.6: H.265 Encoding for efficient data management.
Figure 4.7: ONVIF Compatible for broad NVR integration.
5. Setup
5.1. Mounting the Camera
- Choose a suitable location for installation, considering the desired viewing angle (75 degrees) and environmental conditions. The camera is designed for both indoor and outdoor use.
- Use the included screws and the mounting bracket to securely attach the camera to a ceiling or other flat surface. Ensure the mounting surface is stable enough to support the camera's weight (0.3 kg / 10.6 ounces).
- Adjust the camera's angle using the adjustable bracket to achieve the optimal viewing area.
5.2. Power and Network Connection
The camera supports two power options:
- Power Over Ethernet (PoE): Connect a Cat5/6 Ethernet cable from a PoE switch or PoE-enabled NVR directly to the camera's PoE LAN port. This single cable provides both power and network connectivity.
- Auxiliary Power: If PoE is not available, connect a 12V/2A DC power adapter (not included) to the camera's extra power port. Then, connect a standard Ethernet cable from your router or switch to the camera's PoE LAN port for network connectivity.
5.3. Software Setup
To access and manage your camera, you can use the dedicated smartphone app or VMS software for PC:
- Smartphone App (TSEYE): Download the