
1. Introduction
The Ninja JC101 Cold Press Pro Compact Slow Juicer is designed to extract maximum juice from fruits and vegetables with minimal heat buildup, preserving nutrients and flavor. Its compact design makes it suitable for any kitchen countertop. This manual provides essential information for safe operation, maintenance, and optimal performance of your juicer.


2. Important Safety Information
Always follow basic safety precautions when using electrical appliances to reduce the risk of fire, electric shock, serious injury, and/or damage to property. Read all instructions before using this appliance.
General Safety
- Do not operate the appliance with a damaged cord or plug.
- Keep hands, hair, and clothing away from moving parts during operation.
- Ensure all parts are correctly assembled before operating the juicer.
- Do not use the appliance for anything other than its intended use.
Electrical Safety
- This appliance is for household use only.
- Do not immerse the motor base in water or other liquids.
- Unplug from outlet when not in use and before cleaning.
Cleaning Safety
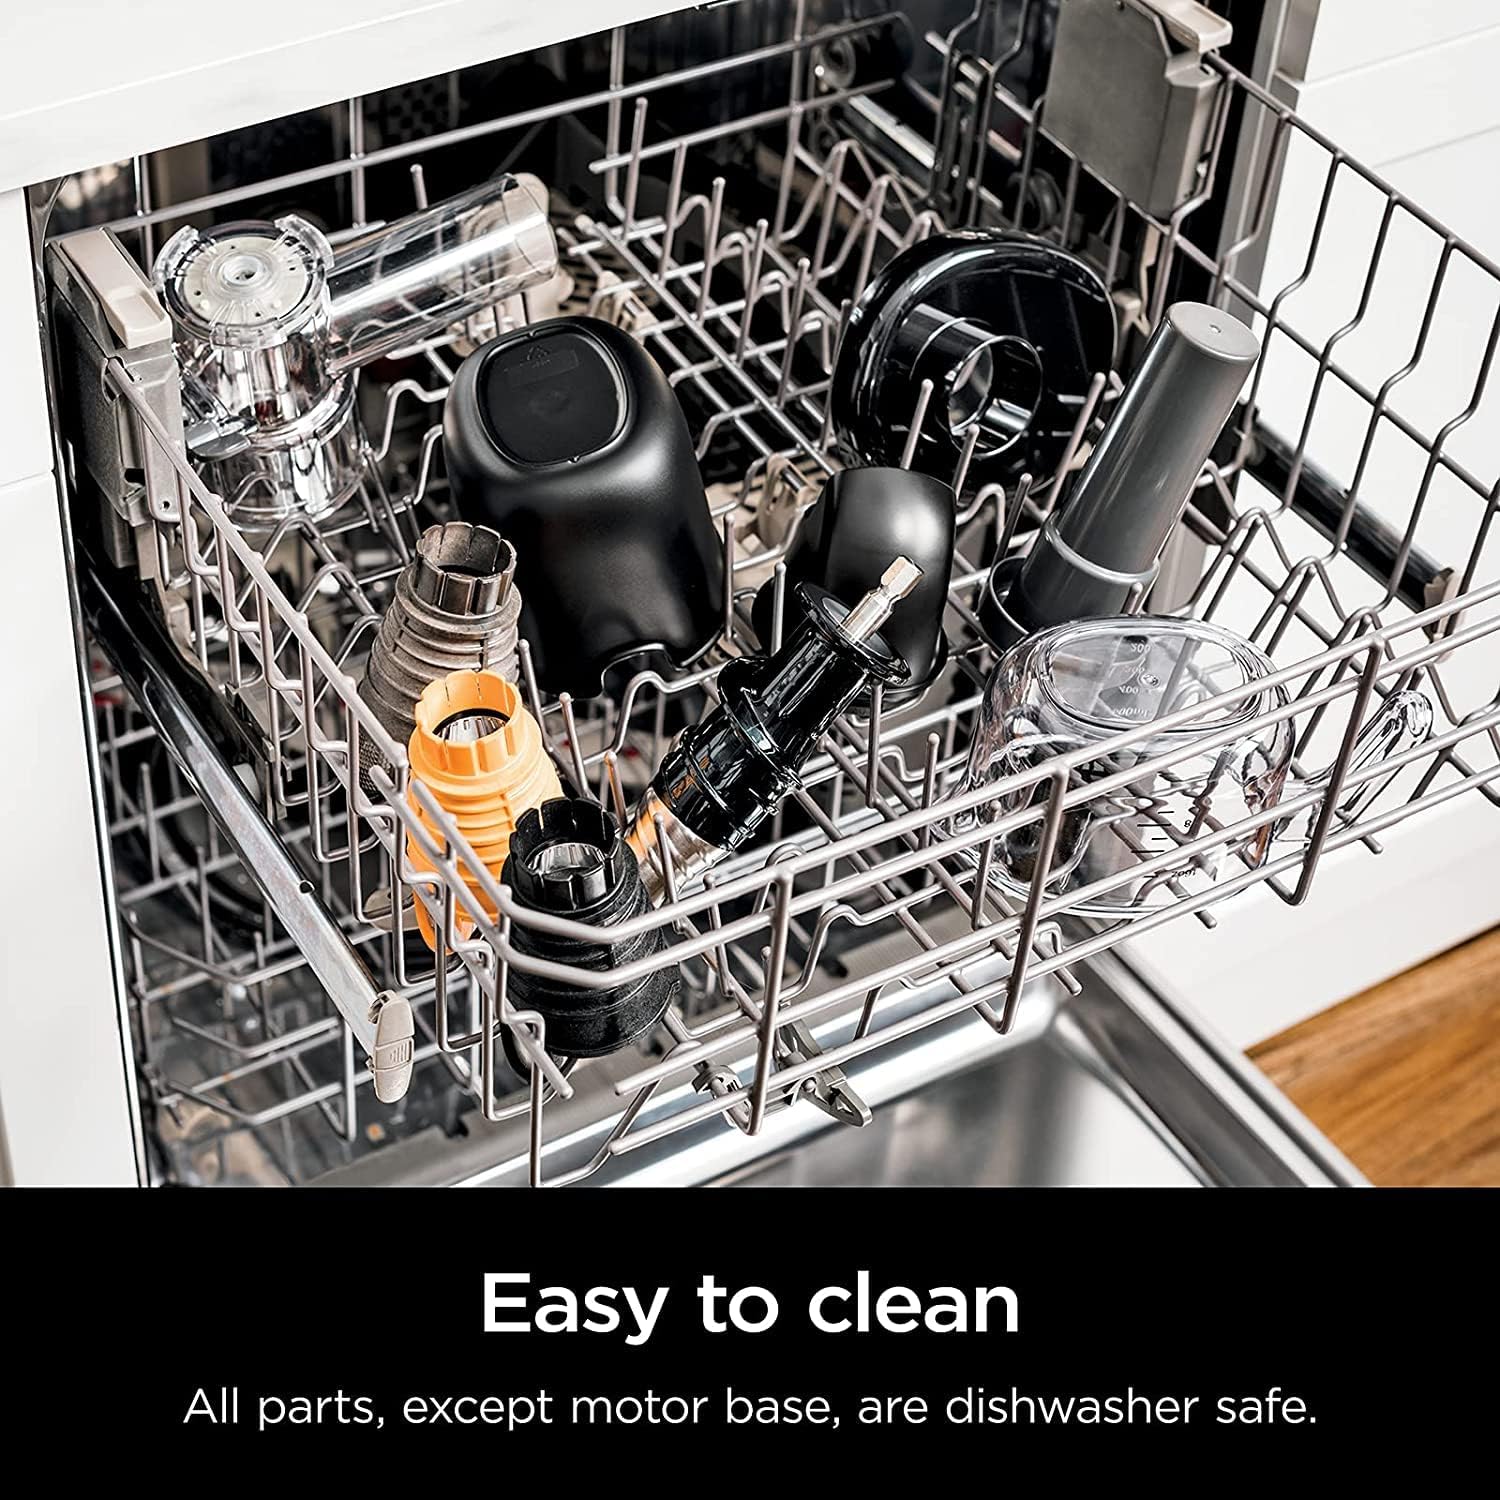
- All parts, except the motor base, are dishwasher safe.
- Use the provided cleaning brush for thorough cleaning of the strainer.
3. Parts and Features
Familiarize yourself with the components of your Ninja Cold Press Pro Juicer for proper assembly and operation.
- Motor Base: The main unit housing the 150-watt motor.
- Feed Chute: Where fruits and vegetables are inserted.
- Pusher: Used to guide produce down the feed chute.
- Auger: The slow-rotating screw that crushes and presses produce.
- Strainer/Filter: Separates juice from pulp. Includes multiple filters for pulp control.
- Juice Spout with Anti-Drip Lever: Dispenses extracted juice.
- Pulp Spout: Discharges dry pulp.
- Juice Container: Collects the extracted juice (16 oz capacity).
- Pulp Container: Collects the discarded pulp.
- Cleaning Brush: For easy cleaning of the strainer.
4. Setup and Assembly
Before first use, wash all parts that will come into contact with food in warm, soapy water, then rinse and dry thoroughly. Ensure the motor base is unplugged during assembly.
- Place the motor base on a clean, dry, and level surface.
- Attach the juicing chamber to the motor base, ensuring it clicks into place.
- Insert the auger into the juicing chamber.
- Select your desired pulp filter (fine, medium, or coarse) and place it over the auger.
- Attach the feed chute assembly to the juicing chamber, aligning the arrows and twisting until secure.
- Place the juice container under the juice spout and the pulp container under the pulp spout.
- Plug the power cord into an electrical outlet.

5. Operating Instructions
Prepare your ingredients and follow these steps to extract fresh juice.
Ingredient Preparation
- Wash all fruits and vegetables thoroughly.
- Cut ingredients into pieces small enough to fit into the feed chute. Remove large seeds, pits, or hard skins.
Juicing Process
- Ensure the anti-drip lever on the juice spout is open.
- Press the START/STOP button to begin juicing. The auger will start rotating.
- Gradually feed prepared ingredients into the feed chute. Use the pusher only when necessary to gently guide ingredients.
- Allow the juicer to process ingredients at its own pace. Do not force ingredients down.
- Once juicing is complete, press the START/STOP button to turn off the appliance.
- Close the anti-drip lever to prevent any remaining drips.
Total Pulp Control
The Ninja JC101 offers three interchangeable pulp filters to customize your juice texture:
- Fine Filter: For smooth, pulp-free juice.
- Medium Filter: For juice with a little body and fiber.
- Coarse Filter: For thicker juice with more pulp.


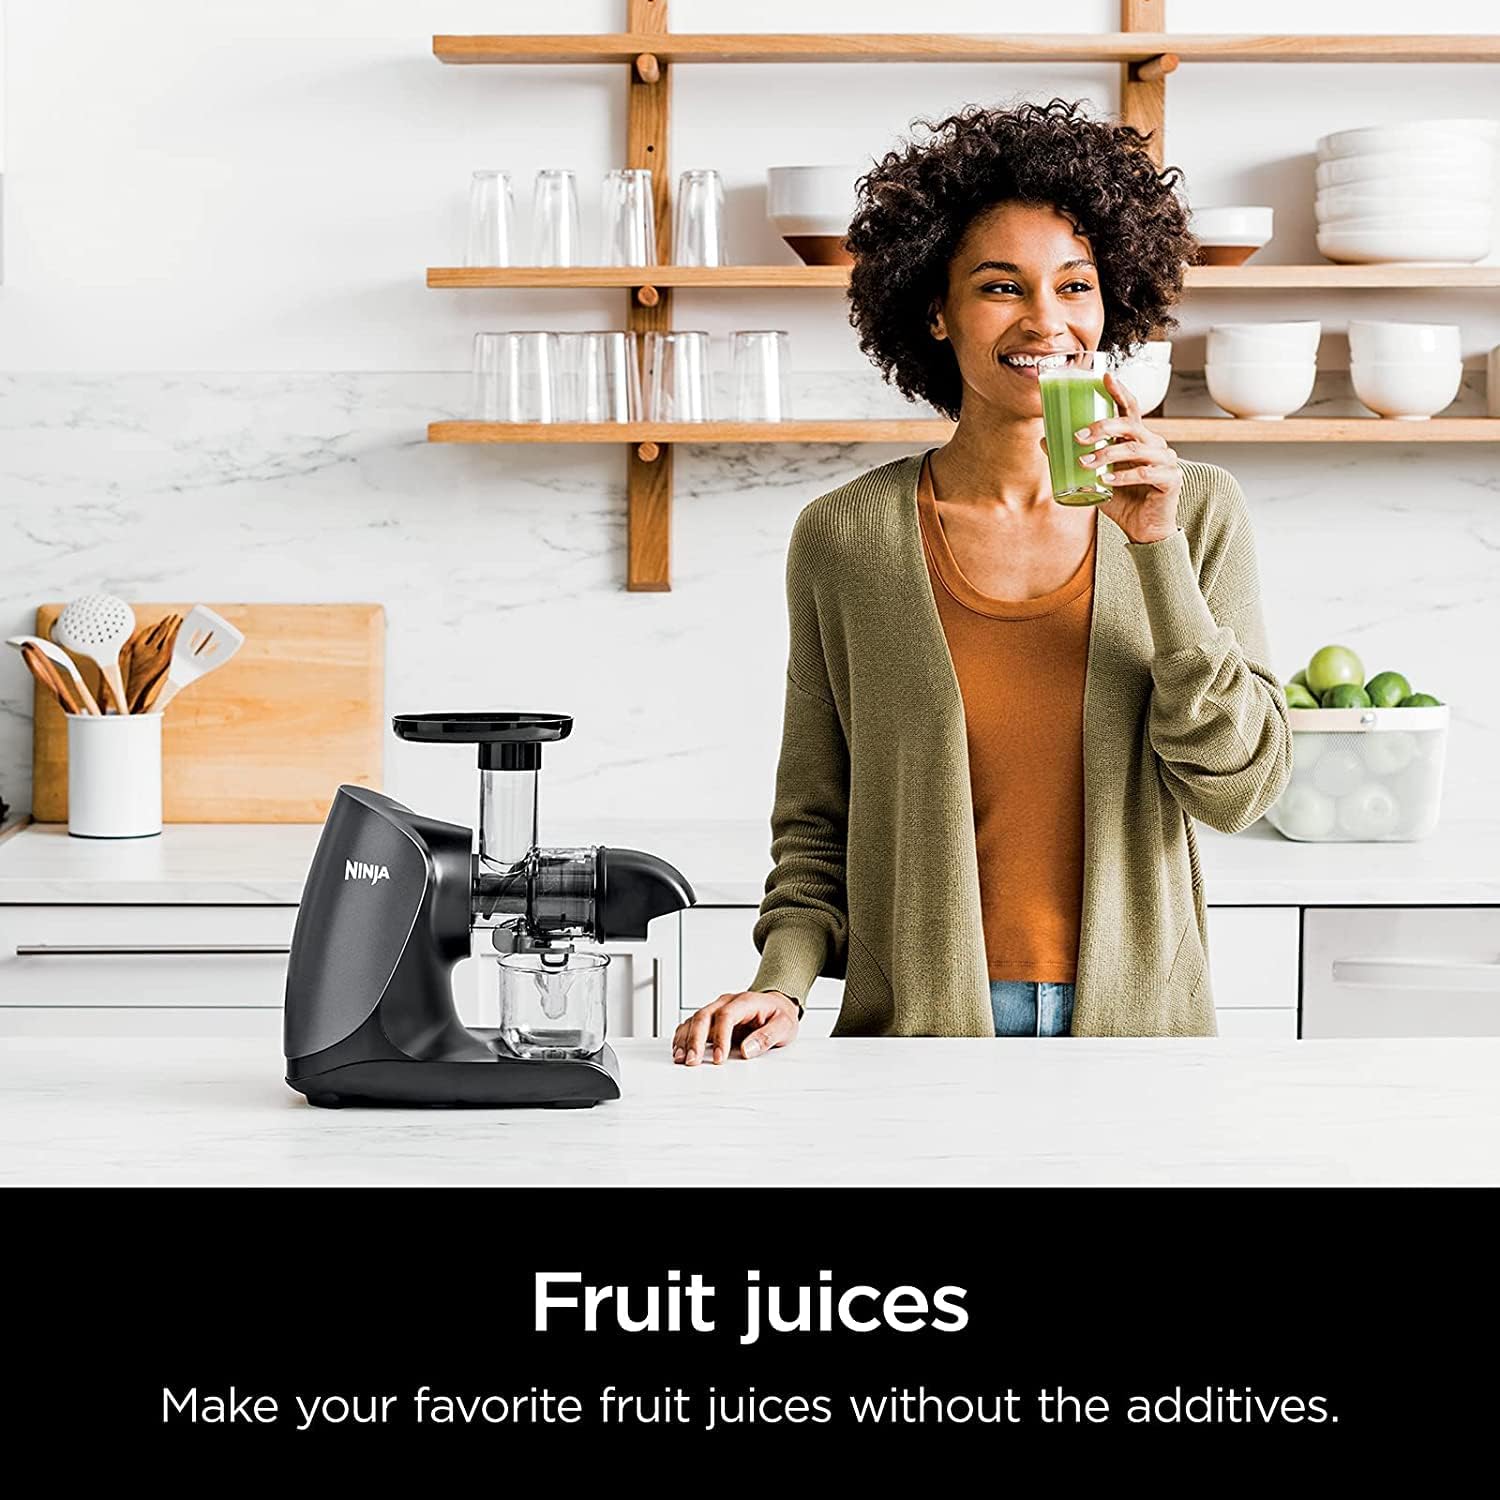

Video: A detailed overview of the Ninja JC101 Cold Press Juicer, covering its features and benefits for home juicing.
Video: Demonstrates the pulp control feature of the Ninja JC101, showing how users can choose between more or less pulp in their juice.
6. Maintenance and Cleaning
Regular cleaning ensures the longevity and hygiene of your juicer.
Disassembly for Cleaning
- Unplug the juicer from the power outlet.
- Remove the feed chute assembly by twisting and lifting.
- Remove the pulp filter and auger from the juicing chamber.
- Detach the juicing chamber from the motor base.
Cleaning Instructions
- All removable parts (juicing chamber, auger, pulp filters, juice/pulp containers, pusher) are dishwasher safe.
- For manual cleaning, rinse all removable parts under running water. Use the provided cleaning brush to remove any pulp residue from the strainer.
- Wipe the motor base with a damp cloth. Do not immerse the motor base in water.
- Ensure all parts are completely dry before reassembling or storing.
7. Troubleshooting
If you encounter issues with your juicer, refer to the following common problems and solutions:
| Problem | Possible Cause | Solution |
|---|---|---|
| Juicer does not turn on. | Not plugged in, parts not assembled correctly. | Ensure power cord is securely plugged in. Check that all parts are correctly assembled and locked. |
| Excessive vibration or noise. | Improper assembly, hard ingredients. | Disassemble and reassemble the juicer, ensuring all parts are aligned. Cut hard ingredients into smaller pieces. |
| Pulp is wet. | Overfeeding, soft ingredients. | Feed ingredients slowly. Alternate between soft and hard ingredients. |
| Juicer stops during operation. | Overload protection activated. | Turn off and unplug the juicer. Remove any blockages. Let it cool for 15-30 minutes before restarting. |
8. Specifications
- Model: JC101
- Brand: Ninja
- Maximum Power: 150 Watts
- Voltage: 110 Volts
- Number of Speeds: 1
- Special Feature: Total Pulp Control
- Product Dimensions: 13.78"D x 6.89"W x 14.17"H
- Item Weight: 8.31 Pounds
- Blade Material: Stainless Steel
- Product Care Instructions: Dishwasher Safe (removable parts only)
9. Warranty and Support
This Ninja JC101 Cold Press Pro Compact Slow Juicer comes with a 90-day limited warranty. For warranty claims, technical support, or replacement parts, please refer to the contact information provided in your product packaging or visit the official Ninja website.


