
Moen 7594C, 3942
Moen 7594C Arbor Faucet & 3942 Soap Dispenser
User Manual
1. Introduction
This manual provides instructions for the installation, operation, maintenance, and troubleshooting of your Moen 7594C Arbor One-Handle Pulldown Kitchen Faucet and Moen 3942 Deck Mounted Kitchen Soap Dispenser. Please read these instructions carefully before installation and use to ensure proper function and longevity of your products.
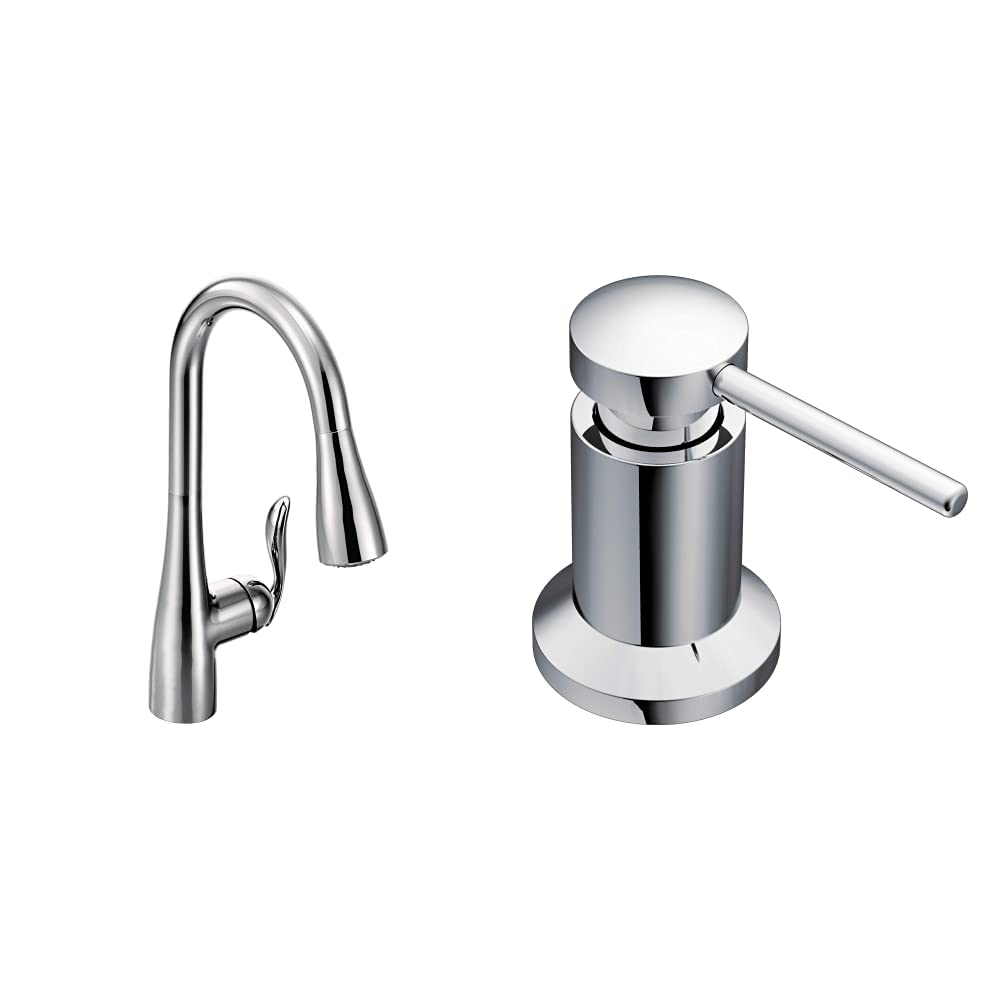
Image 1.1: The Moen 7594C Arbor One-Handle Pulldown Kitchen Faucet in Chrome finish.
The Moen Arbor faucet features a chrome finish, Power Boost technology for enhanced spray power, and the Reflex system for smooth spray head operation and secure docking. The accompanying Moen 3942 soap dispenser is designed for deck mounting with an easy-to-refill bottle.
2. Safety Information
- Always turn off the main water supply before beginning any installation or maintenance.
- Wear appropriate personal protective equipment, such as safety glasses, during installation.
- If you are unsure about any part of the installation process, consult a qualified plumber.
- Ensure all connections are secure to prevent leaks.
- Do not use abrasive cleaners or harsh chemicals on the faucet or dispenser finish, as this may damage the surface.
3. What's Included
Verify that all components are present before beginning installation:
- Moen Arbor Faucet Assembly (including handle and sprayer)
- Moen Deck Mounted Soap Dispenser (including bottle)
- Mounting Hardware
- Installation Instructions (this manual and supplementary guides)
4. Setup and Installation
This section provides a general overview of the installation process. For detailed, step-by-step instructions and diagrams, please refer to the official PDF user manual provided by Moen.
4.1. Before You Begin
- Turn off the hot and cold water supply valves under the sink.
- Clear the area under the sink for access.
- Gather necessary tools (e.g., adjustable wrench, screwdriver, plumber's putty, flashlight).
4.2. Faucet Installation
- Insert the faucet body into the mounting hole on the sink or countertop.
- Secure the faucet from underneath the sink using the provided mounting hardware.
- Connect the hot and cold water supply lines to the corresponding valves.
- Connect the spray hose to the quick-connect fitting.
- Attach the weight to the spray hose at the indicated location to ensure proper retraction.
4.3. Soap Dispenser Installation
- Insert the dispenser shank into the mounting hole on the sink or countertop.
- Secure the dispenser from underneath with the provided nut and washer.
- Attach the soap bottle to the dispenser shank from underneath.
- Fill the bottle with liquid soap from above the sink by lifting the dispenser head.

Image 4.1: Moen Arbor Faucet and Soap Dispenser integrated into a kitchen setting.
4.4. Final Steps
- Turn on the hot and cold water supply valves slowly.
- Check for leaks at all connections.
- Flush the faucet for a few minutes to clear any debris from the lines.
5. Operating Instructions
5.1. Faucet Operation
- Water Flow and Temperature: Lift the single handle to turn on the water. Move the handle left for hot water and right for cold water. Adjust the handle's height to control water flow.
- Pulldown Spray Head: Grasp the spray head and pull it down from the spout. The Reflex system ensures smooth extension and secure retraction.
- Spray Modes: Press the button on the spray head to switch between aerated stream and powerful rinse spray.
- Power Boost: Press the Power Boost button on the spray head for an increased water flow and spray power, ideal for faster cleaning and filling.

Image 5.1: Demonstrating the pulldown spray functionality of the Moen Arbor Faucet.
5.2. Soap Dispenser Operation
- Dispensing Soap: Press down on the dispenser head to release liquid soap.
- Refilling: To refill, simply lift the dispenser head straight up from the base. Pour liquid soap directly into the bottle from above the sink. Replace the dispenser head when finished.
Video 5.2: An official Moen brand video demonstrating various uses of water in a home, including faucet operation and filling containers.
6. Maintenance and Care
6.1. Cleaning the Faucet and Dispenser
- Clean the chrome finish with a soft, damp cloth and mild soap.
- Avoid using abrasive cleaners, steel wool, or harsh chemicals (e.g., ammonia, bleach) as these can damage the finish.
- For stubborn water spots, use a 50/50 solution of white vinegar and water, then rinse thoroughly and dry.
6.2. Aerator Maintenance
- If water flow decreases, the aerator may be clogged. Unscrew the aerator from the tip of the spray head.
- Rinse any debris from the screen. For mineral deposits, soak the aerator in a vinegar solution.
- Reattach the aerator securely.
7. Troubleshooting
| Problem | Possible Cause | Solution |
|---|---|---|
| Low water flow | Clogged aerator; partially closed water supply valves; debris in supply lines. | Clean aerator (Section 6.2); ensure supply valves are fully open; flush supply lines. |
| Leaks at connections | Loose connections; worn washers/O-rings. | Tighten connections; replace washers/O-rings if damaged. |
| Spray head does not retract fully | Weight on hose is misplaced or obstructed; hose is kinked. | Check and reposition the hose weight; ensure hose moves freely under the sink. |
| Soap dispenser not dispensing | Bottle empty; pump mechanism clogged. | Refill soap bottle (Section 5.2); clean pump mechanism by flushing with warm water. |
If you encounter issues not listed here or if the suggested solutions do not resolve the problem, please contact Moen customer support.
8. Specifications
| Feature | Detail |
|---|---|
| Brand | Moen |
| Model Name (Faucet) | 7594C Arbor |
| Model Name (Soap Dispenser) | 3942 |
| Finish Type | Chrome |
| Mounting Type | Deck Mount (Single Hole) |
| Number of Handles | 1 |
| Special Faucet Feature | Power Boost, Reflex System |
| Soap Dispenser Capacity | 18 ounces |
| Material | Metal (Faucet Handle) |
| Style | Modern |
9. Warranty Information
Moen products are manufactured under the highest standards of quality and workmanship. Moen offers a Limited Lifetime Warranty against leaks, drips, and finish defects to the original homeowner. Other components are warranted for a period of five years from the date of purchase. For complete warranty details and to register your product, please visit the official Moen website or contact customer service.
10. Customer Support
For further assistance, replacement parts, or to view the full installation guide, please contact Moen customer service or visit their official website:
- Official Moen Website: www.moen.com
- PDF User Manual: Download PDF Manual
- Phone Support: Refer to the Moen website for regional contact numbers.
Related documents7594C, 3942


Ask a question about this manual
Ask about setup, troubleshooting, compatibility, parts, safety, or missing instructions. Manuals+ will review the question and use this page’s manual context to help answer it.