1. Introduction
This manual provides essential information for the safe and efficient use of your Philips 329P1H 32-inch 4K UHD LCD Monitor. This monitor features a 32-inch 4K UHD (3840 x 2160) display, an integrated USB-C docking station with power delivery, a pop-up webcam with Windows Hello™ facial recognition, and various eye-care technologies. Please read this manual thoroughly before operating the device.
2. Safety Information
Observe the following safety precautions to prevent damage to the monitor or injury to yourself:
- Do not expose the monitor to rain or moisture.
- Do not open the monitor casing. Refer all servicing to qualified personnel.
- Ensure proper ventilation around the monitor.
- Use only the power adapter supplied with the monitor.
- Avoid placing the monitor in direct sunlight or near heat sources.
- Clean the screen with a soft, lint-free cloth. Do not use liquid cleaners directly on the screen.
3. Package Contents
Information regarding the exact contents of the product package is not available. Typically, a monitor package includes:
- Philips 329P1H Monitor
- Power Cable
- USB-C Cable
- HDMI Cable (may vary by region)
- Quick Start Guide
4. Setup
4.1 Physical Setup
Carefully remove the monitor and its components from the packaging. Assemble the stand according to the instructions provided in the Quick Start Guide. Place the monitor on a stable, level surface.
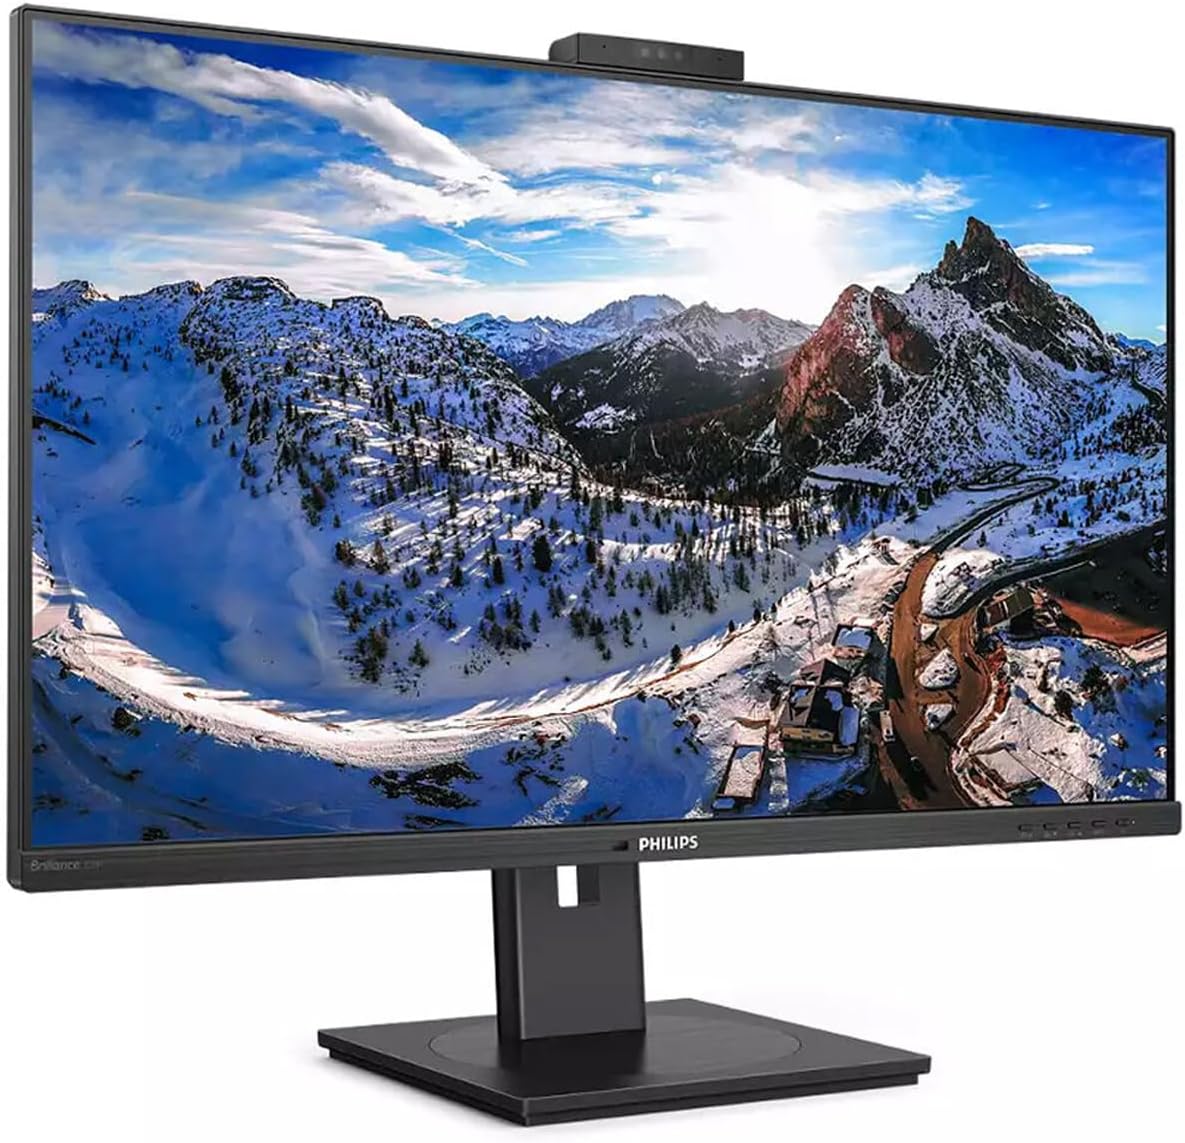
Figure 4.1: Front view of the Philips 329P1H Monitor.
4.2 Connecting Cables
- Power Connection: Connect the power cable to the monitor's power input and then to a power outlet.
- Video Connection: Connect a video cable (e.g., HDMI, DisplayPort, or USB-C) from your computer to the corresponding input on the monitor. For 4K UHD resolution, ensure your graphics card and cable support the required bandwidth.
- USB-C Docking: If your laptop supports USB-C with power delivery, connect the supplied USB-C cable from your laptop to the monitor's USB-C port. This single cable can provide video, data, and power charging to your laptop.
- USB Peripherals: Connect your keyboard, mouse, or other USB devices to the USB ports on the monitor.
- Ethernet Connection: Connect an RJ-45 Ethernet cable from your network router/modem to the monitor's RJ-45 port for network access through the USB-C connection.
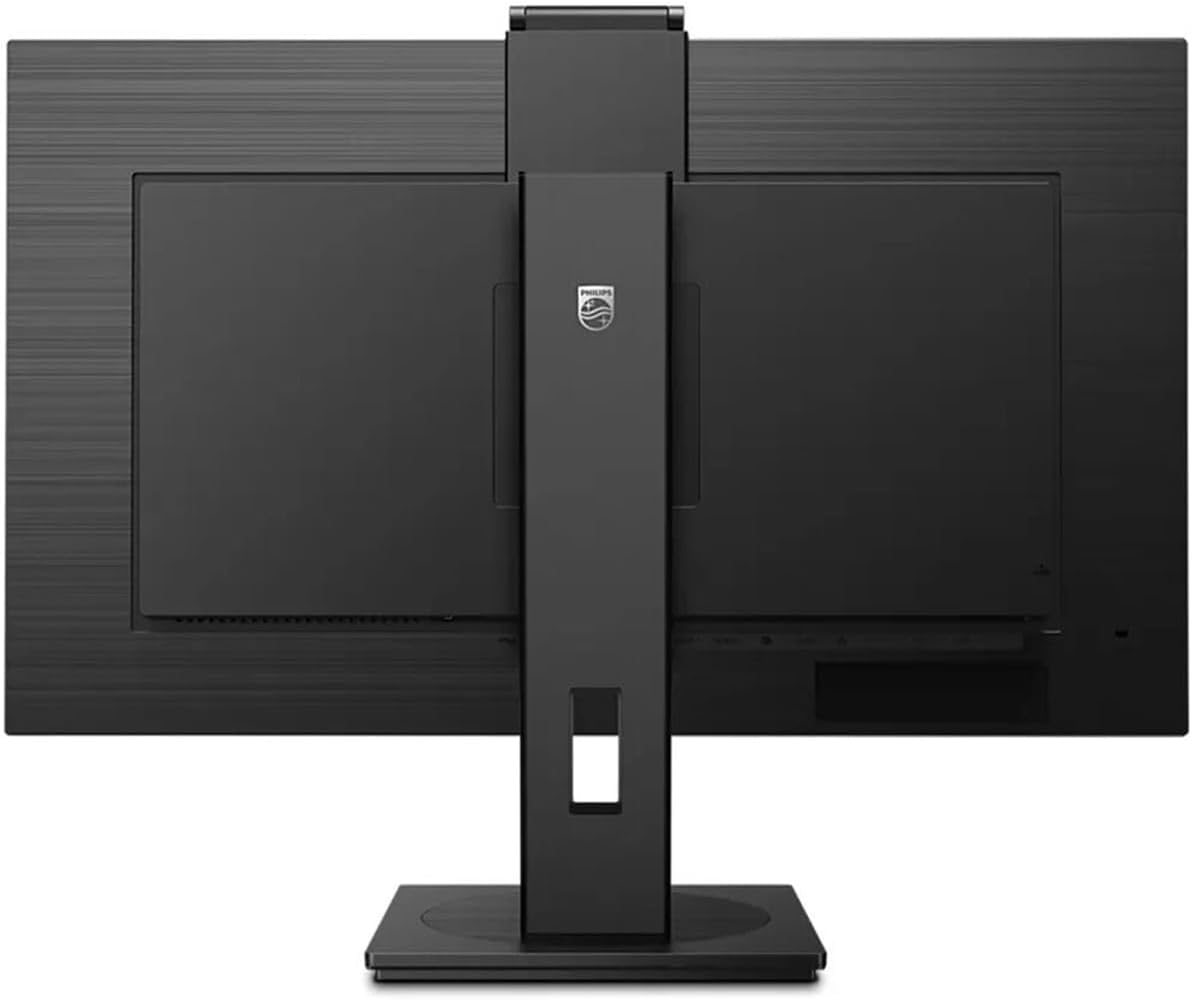
Figure 4.2: Rear view of the monitor with input ports.
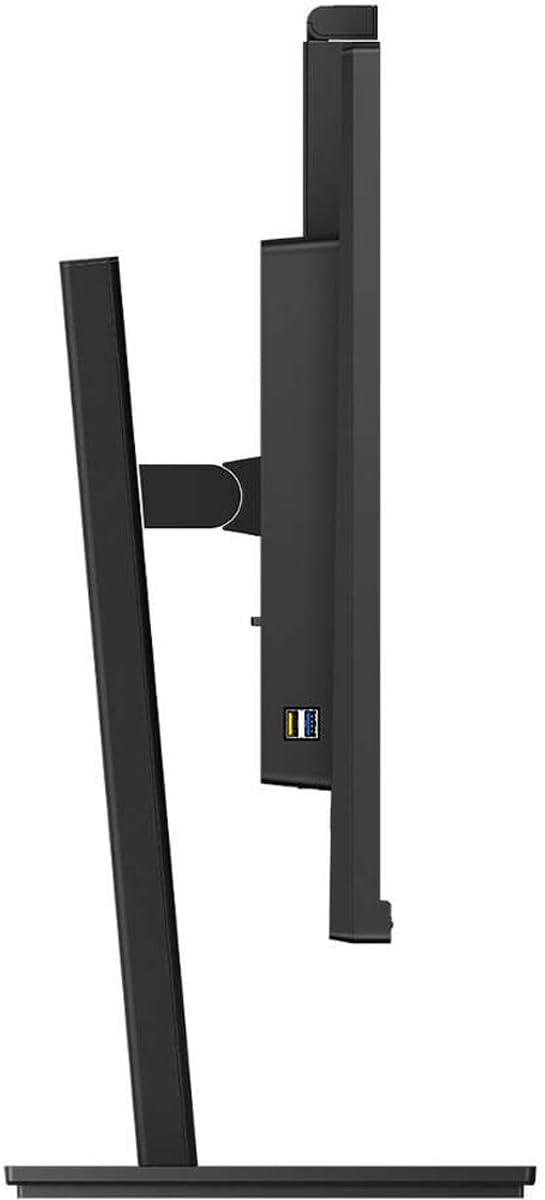
Figure 4.3: Side view showing USB ports.
4.3 Initial Configuration
After connecting all necessary cables, power on the monitor and your computer. The monitor should automatically detect the input signal. If not, use the monitor's On-Screen Display (OSD) menu to select the correct input source.
5. Operating Instructions
5.1 Power On/Off
Press the power button located on the monitor to turn it on or off. The power indicator light will illuminate when the monitor is active.
5.2 USB-C Docking Functionality
The integrated USB-C docking station allows for a single-cable solution for video, data transfer, and laptop power charging (up to 90W). Connect your compatible laptop via the USB-C port on the monitor to utilize this feature. Peripherals connected to the monitor's USB ports and the RJ-45 Ethernet port will also be accessible to your laptop.
5.3 Pop-up Webcam with Windows Hello™
The monitor features an innovative pop-up webcam. When needed, the webcam extends from the top of the monitor. It is equipped with advanced sensors for Windows Hello™ facial recognition, enabling secure and fast login to Windows devices. When not in use, the webcam can be securely tucked back into the monitor for privacy.
5.4 Display Technologies
- UltraClear 4K UHD (3840 x 2160): Provides highly detailed and crisp images for professional applications.
- IPS Technology: Offers wide viewing angles (178/178 degrees) and consistent color accuracy, suitable for graphic design and professional use.
- Flicker-Free Technology: Regulates brightness to reduce screen flicker, minimizing eye fatigue during extended use.
- LowBlue Mode: A software solution that reduces harmful shortwave blue light emissions, promoting eye comfort.
- PowerSensor: Detects user presence and automatically reduces monitor brightness when the user steps away, saving up to 80% energy.
- LightSensor: Adjusts picture brightness based on ambient room lighting conditions for optimal viewing and minimal power consumption.
6. Maintenance
6.1 Cleaning the Monitor
To clean the monitor screen, gently wipe it with a soft, lint-free cloth. For stubborn marks, lightly dampen the cloth with water or a mild, non-abrasive screen cleaner. Do not spray liquids directly onto the screen. For the monitor casing, use a soft, dry cloth.
6.2 Storage
If storing the monitor for an extended period, ensure it is powered off and disconnected from the power source. Store it in a cool, dry place, ideally in its original packaging to protect it from dust and physical damage.
7. Troubleshooting
If you encounter issues with your monitor, refer to the following common solutions:
| Problem | Possible Cause | Solution |
|---|---|---|
| No image on screen | Power cable disconnected; Video cable disconnected or loose; Incorrect input source selected. | Check power and video cable connections. Ensure the correct input source is selected via the OSD menu. |
| Image is blurry or distorted | Incorrect resolution; Faulty video cable. | Set the display resolution to 3840 x 2160. Try a different video cable. |
| Webcam not working | USB-C cable not connected or faulty; Webcam privacy setting enabled; Operating system driver issue. | Ensure the USB-C cable is securely connected and supports data transfer. Check privacy settings in your operating system. For Mac Mini users, if the camera disconnects after sleep mode, try restarting the monitor or ensuring the USB-C cable is fully functional. Update USB drivers if necessary. |
| No sound from monitor speakers | Volume too low; Incorrect audio output selected on computer. | Adjust monitor volume via OSD. Select the monitor as the default audio output device in your computer's sound settings. |
8. Specifications
The following table outlines the key technical specifications for the Philips 329P1H monitor:
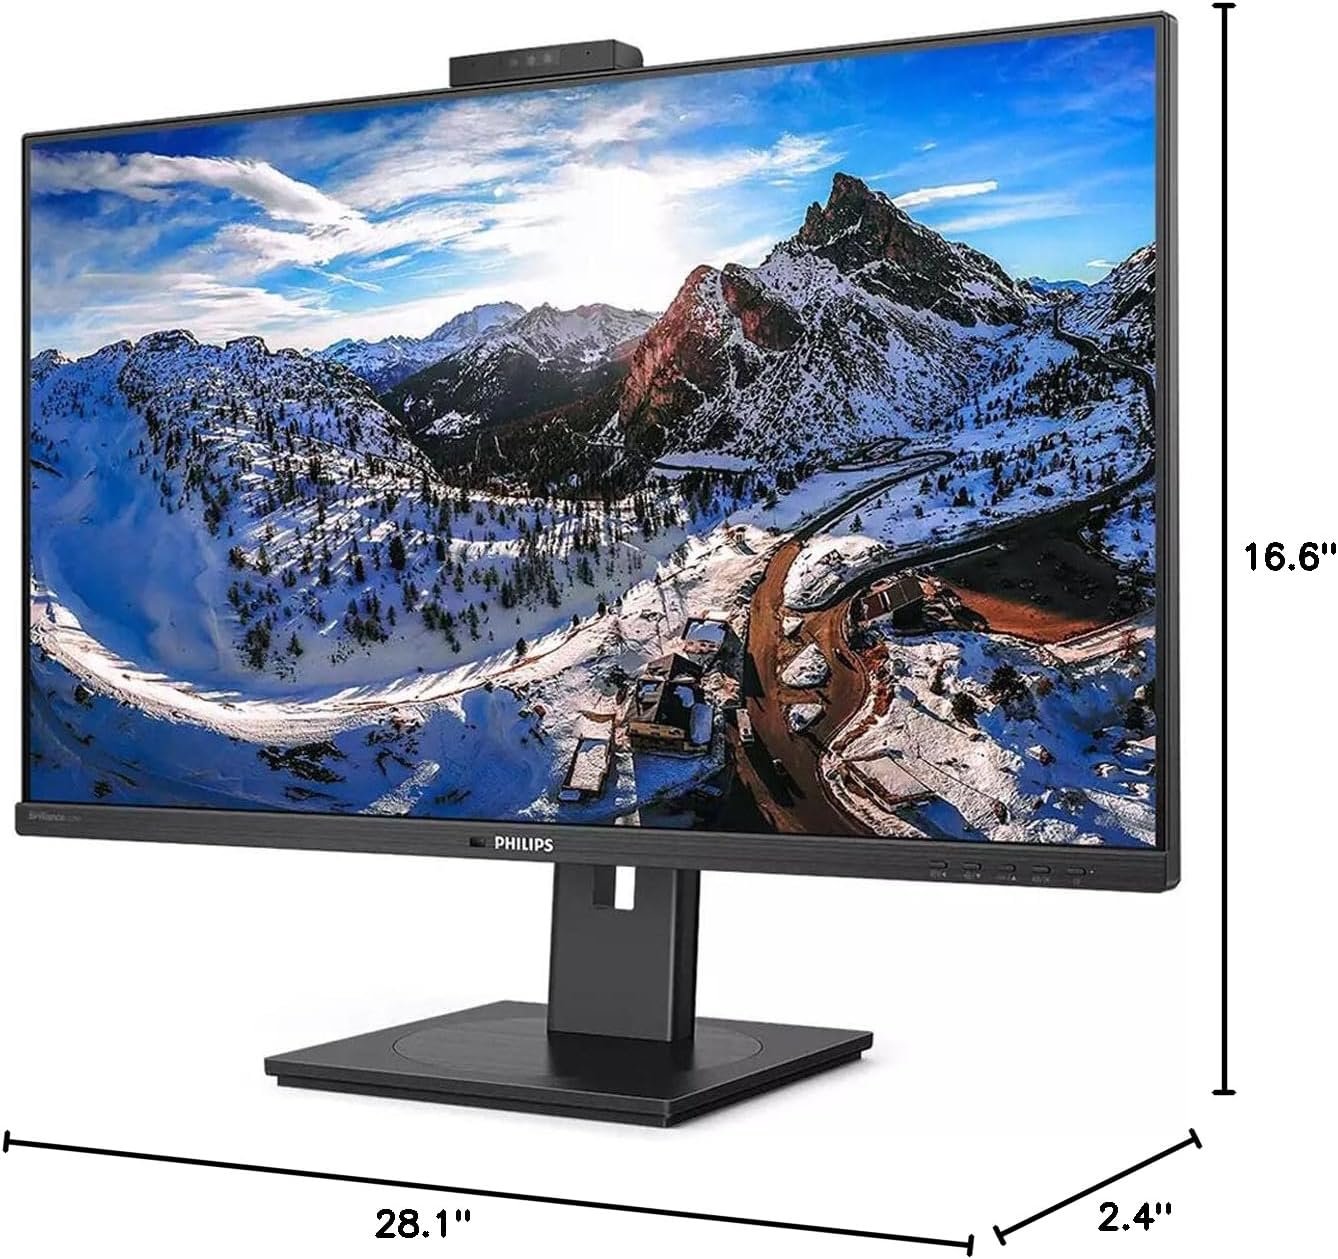
Figure 8.1: Monitor dimensions.
| Feature | Specification |
|---|---|
| Model Number | 329P1H |
| Screen Size | 31.5 Inches (viewable) |
| Max Screen Resolution | 3840 x 2160 (4K UHD) |
| Aspect Ratio | 16:9 |
| Response Time | 4 ms GTG |
| Brightness | 350 Nit |
| Refresh Rate | 75 Hz |
| Panel Type | IPS |
| Backlight Technology | WLED |
| Connectivity | USB Type-C (with Power Delivery), HDMI, DisplayPort, RJ-45 Ethernet |
| Webcam | Pop-up with Windows Hello™ |
| Item Weight | 18.06 pounds |
| Product Dimensions (LxWxH) | 2.4 x 28.1 x 16.6 inches |
| Color | Textured Black |
9. Warranty and Support
For warranty information and technical support, please refer to the warranty card included with your product or visit the official Philips support website. Keep your purchase receipt as proof of purchase for warranty claims.