1. Introduction
Thank you for choosing the Domo DOS721K Automatic 12-Cup Coffee Machine. This appliance is designed to provide you with freshly brewed coffee from whole beans or pre-ground coffee. Please read this manual carefully before first use to ensure proper operation, maintenance, and safety.

Image 1.1: Domo DOS721K Automatic Coffee Machine with included milk jug.
2. Important Safety Instructions
- Read all instructions before using the appliance.
- Do not touch hot surfaces. Use handles or knobs.
- To protect against fire, electric shock, and injury to persons, do not immerse cord, plugs, or the appliance in water or other liquid.
- Close supervision is necessary when any appliance is used by or near children.
- Unplug from outlet when not in use and before cleaning. Allow to cool before putting on or taking off parts, and before cleaning the appliance.
- Do not operate any appliance with a damaged cord or plug, or after the appliance malfunctions or has been damaged in any manner.
- The use of accessory attachments not recommended by the appliance manufacturer may result in fire, electric shock, or injury to persons.
- Do not use outdoors.
- Do not let cord hang over edge of table or counter, or touch hot surfaces.
- Do not place on or near a hot gas or electric burner, or in a heated oven.
- Always attach plug to appliance first, then plug cord into the wall outlet. To disconnect, turn any control to “off,” then remove plug from wall outlet.
- Do not use appliance for other than intended use.
3. Package Contents
Upon unpacking, please ensure all items are present and in good condition:
- Domo DOS721K Automatic Coffee Machine
- Glass Carafe (1.5 Liters)
- Permanent Filter
- Measuring Spoon
- 300ml Glass Milk Jug with Stainless Steel Screw Lid
- Instruction Manual

Image 3.1: Exploded view showing the main components of the coffee machine, including the permanent filter, filter holder, bean container lid, and glass carafe.
4. Parts Identification
- Bean Container with Lid
- Grind Setting Dial
- Water Tank with Level Indicator
- Control Panel / Digital Display
- Filter Holder
- Permanent Filter
- Glass Carafe
- Warming Plate
- Power Cord

Image 4.1: Top view of the coffee machine, highlighting the transparent bean container for whole coffee beans.
5. Initial Setup
5.1 Unpacking
Carefully remove all packaging materials and ensure no parts are missing or damaged. Keep packaging for future storage or transport.
5.2 First Use Cleaning
- Wash the glass carafe, permanent filter, and filter holder in warm, soapy water. Rinse thoroughly and dry.
- Wipe the exterior of the machine with a damp cloth.
- Run two full cycles with only water (no coffee) to clean the internal components. Discard the water after each cycle.
5.3 Placement
Place the coffee machine on a stable, flat, heat-resistant surface, away from water sources and direct heat. Ensure adequate ventilation around the appliance.
6. Operating Instructions
6.1 Filling the Water Tank
Open the water tank lid and fill with fresh, cold water up to the desired level indicated on the side of the machine. The maximum capacity is 1.5 liters (12 cups).
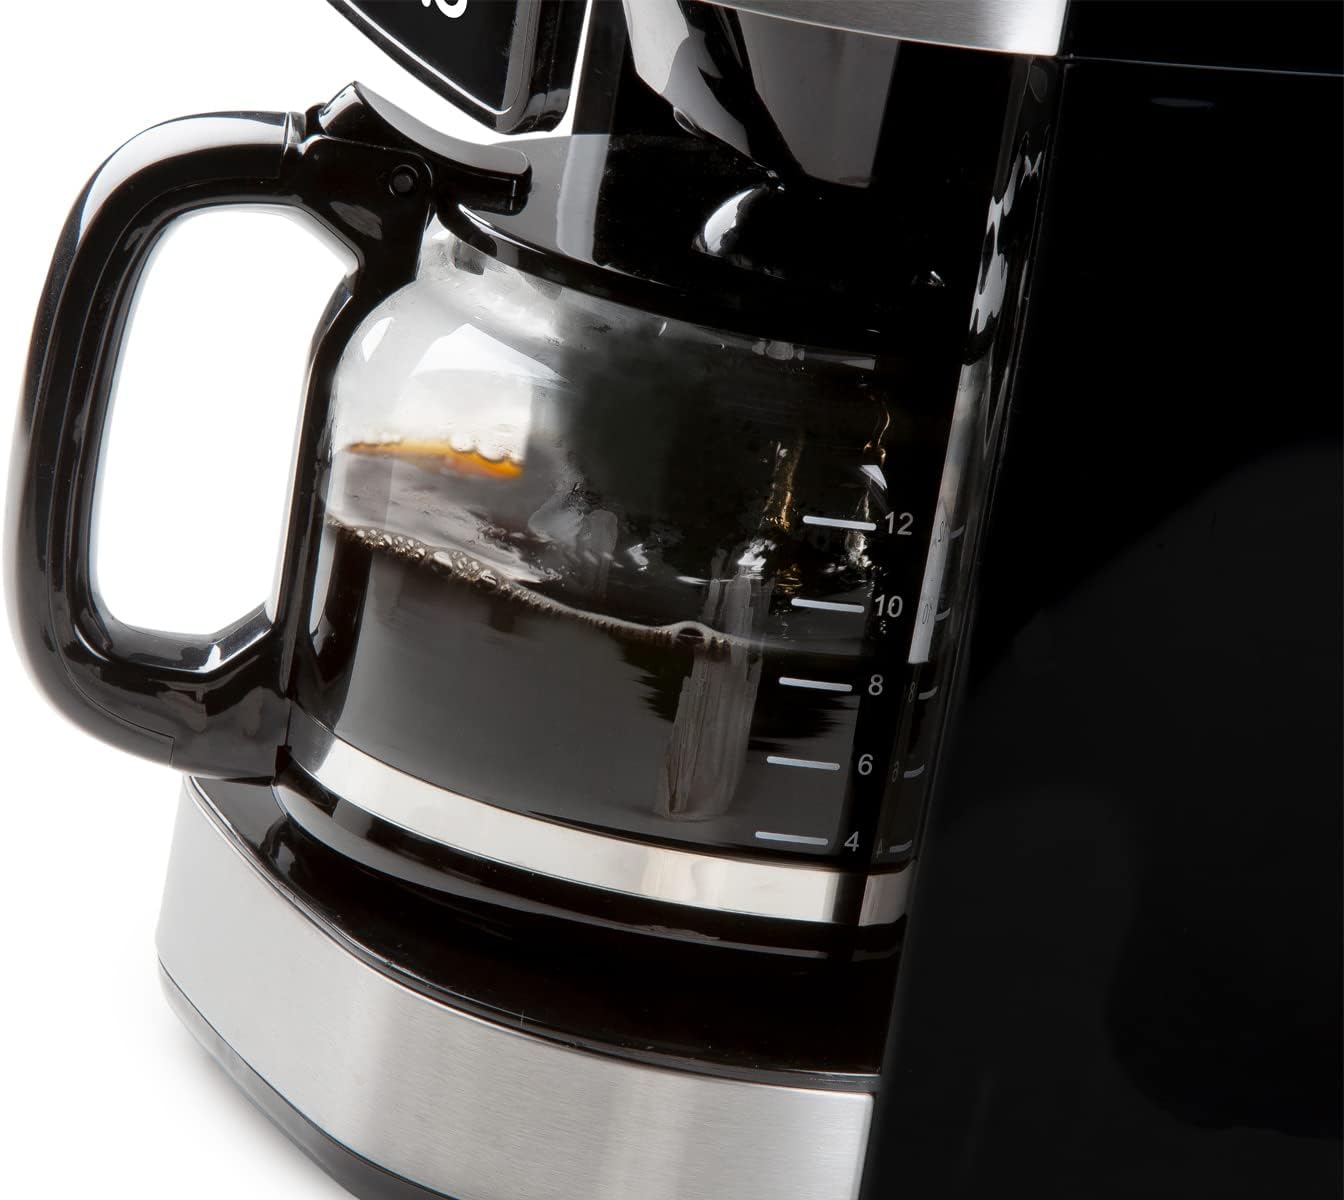
Image 6.1: The glass carafe features clear markings for measuring coffee volume.
6.2 Adding Coffee Beans (Grind & Brew Function)
- Open the lid of the bean container and fill with whole coffee beans. The container has a capacity of 200 grams.
- Adjust the grind setting using the dial located near the bean container. Finer grinds result in stronger coffee.
- Place the permanent filter into the filter holder, ensuring it is correctly seated.
- Select the desired coffee strength (mild, medium, strong) and number of cups using the digital display controls.

Image 6.2: Close-up of the grind setting dial, allowing adjustment for desired coffee fineness.
6.3 Using Pre-Ground Coffee
If using pre-ground coffee, the integrated grinder can be deactivated:
- Ensure the grinder is turned off via the control panel.
- Place the permanent filter into the filter holder.
- Add the desired amount of pre-ground coffee to the permanent filter using the measuring spoon.
- Select the number of cups using the digital display controls.

Image 6.3: A hand adding pre-ground coffee into the permanent filter, demonstrating the option to bypass the integrated grinder.
6.4 Starting the Brewing Process
After filling water and adding coffee (beans or ground), press the start button on the digital display. The machine will begin grinding (if selected) and brewing.

Image 6.4: The digital display showing time and various function icons, with a finger interacting with the controls.
6.5 Timer Function
The 24-hour timer allows you to program the machine to start brewing at a specific time. Set the current time, then set the desired brew time using the timer function on the control panel.
6.6 Keep Warm Function
After brewing, the machine automatically activates a keep-warm function, maintaining the coffee's temperature for approximately 40 minutes. The machine will automatically shut off after this period.

Image 6.5: Freshly brewed coffee being poured from the glass carafe into a cup.
7. Maintenance
7.1 Daily Cleaning
- After each use, discard used coffee grounds.
- Wash the glass carafe, permanent filter, and filter holder in warm, soapy water. Rinse thoroughly and dry. These parts may also be dishwasher safe (check product specifications for confirmation).
- Wipe the exterior of the machine with a soft, damp cloth. Do not use abrasive cleaners or scouring pads.
7.2 Descaling
Over time, mineral deposits (limescale) can build up in your coffee machine, affecting performance and coffee taste. Descale your machine regularly, depending on water hardness and frequency of use (e.g., every 2-3 months).
- Prepare a descaling solution according to the descaler manufacturer's instructions (e.g., white vinegar and water, or a commercial descaling agent).
- Pour the solution into the water tank.
- Place the empty carafe on the warming plate.
- Run a brewing cycle without coffee.
- After the cycle, let the machine cool for 15 minutes, then run two full cycles with fresh, clean water to rinse thoroughly.
8. Troubleshooting
| Problem | Possible Cause | Solution |
|---|---|---|
| Coffee does not brew. | No water in tank; machine not plugged in; power outage. | Fill water tank; check power connection; check circuit breaker. |
| Coffee is too weak. | Insufficient coffee grounds; coarse grind setting; too much water. | Add more coffee; select finer grind; use less water. |
| Coffee is too strong. | Too many coffee grounds; fine grind setting; too little water. | Reduce coffee amount; select coarser grind; use more water. |
| Grinder not working. | Bean container empty; grinder clogged; grinder deactivated. | Fill bean container; clean grinder (refer to maintenance); ensure grinder is activated. |
| Water leaks from machine. | Water tank not properly seated; filter holder overflowing. | Ensure water tank is correctly placed; do not overfill filter. |
9. Specifications
- Brand: Domo
- Model Number: DOS721K (also DO721K)
- Color: Black
- Dimensions (L x W x H): 34 x 26 x 46 cm
- Capacity: 1.5 Liters (up to 12 cups)
- Material: Plastic, Stainless Steel
- Special Features: Integrated Conical Grinder, 24-Hour Timer, Keep Warm Function (40 minutes), Anti-drip System, Permanent Filter, Adjustable Grind Settings, Adjustable Coffee Strength
- Coffee Type: Whole Beans, Ground Coffee
10. Warranty and Support
For warranty information and customer support, please refer to the documentation included with your product packaging or visit the official Domo website. Keep your proof of purchase for warranty claims.