
1. Introduction
This manual provides detailed instructions for the safe installation, operation, and maintenance of your Savoy House Marco 6-Light Semi-Flush Ceiling Light. Please read all instructions carefully before beginning installation and retain this manual for future reference.
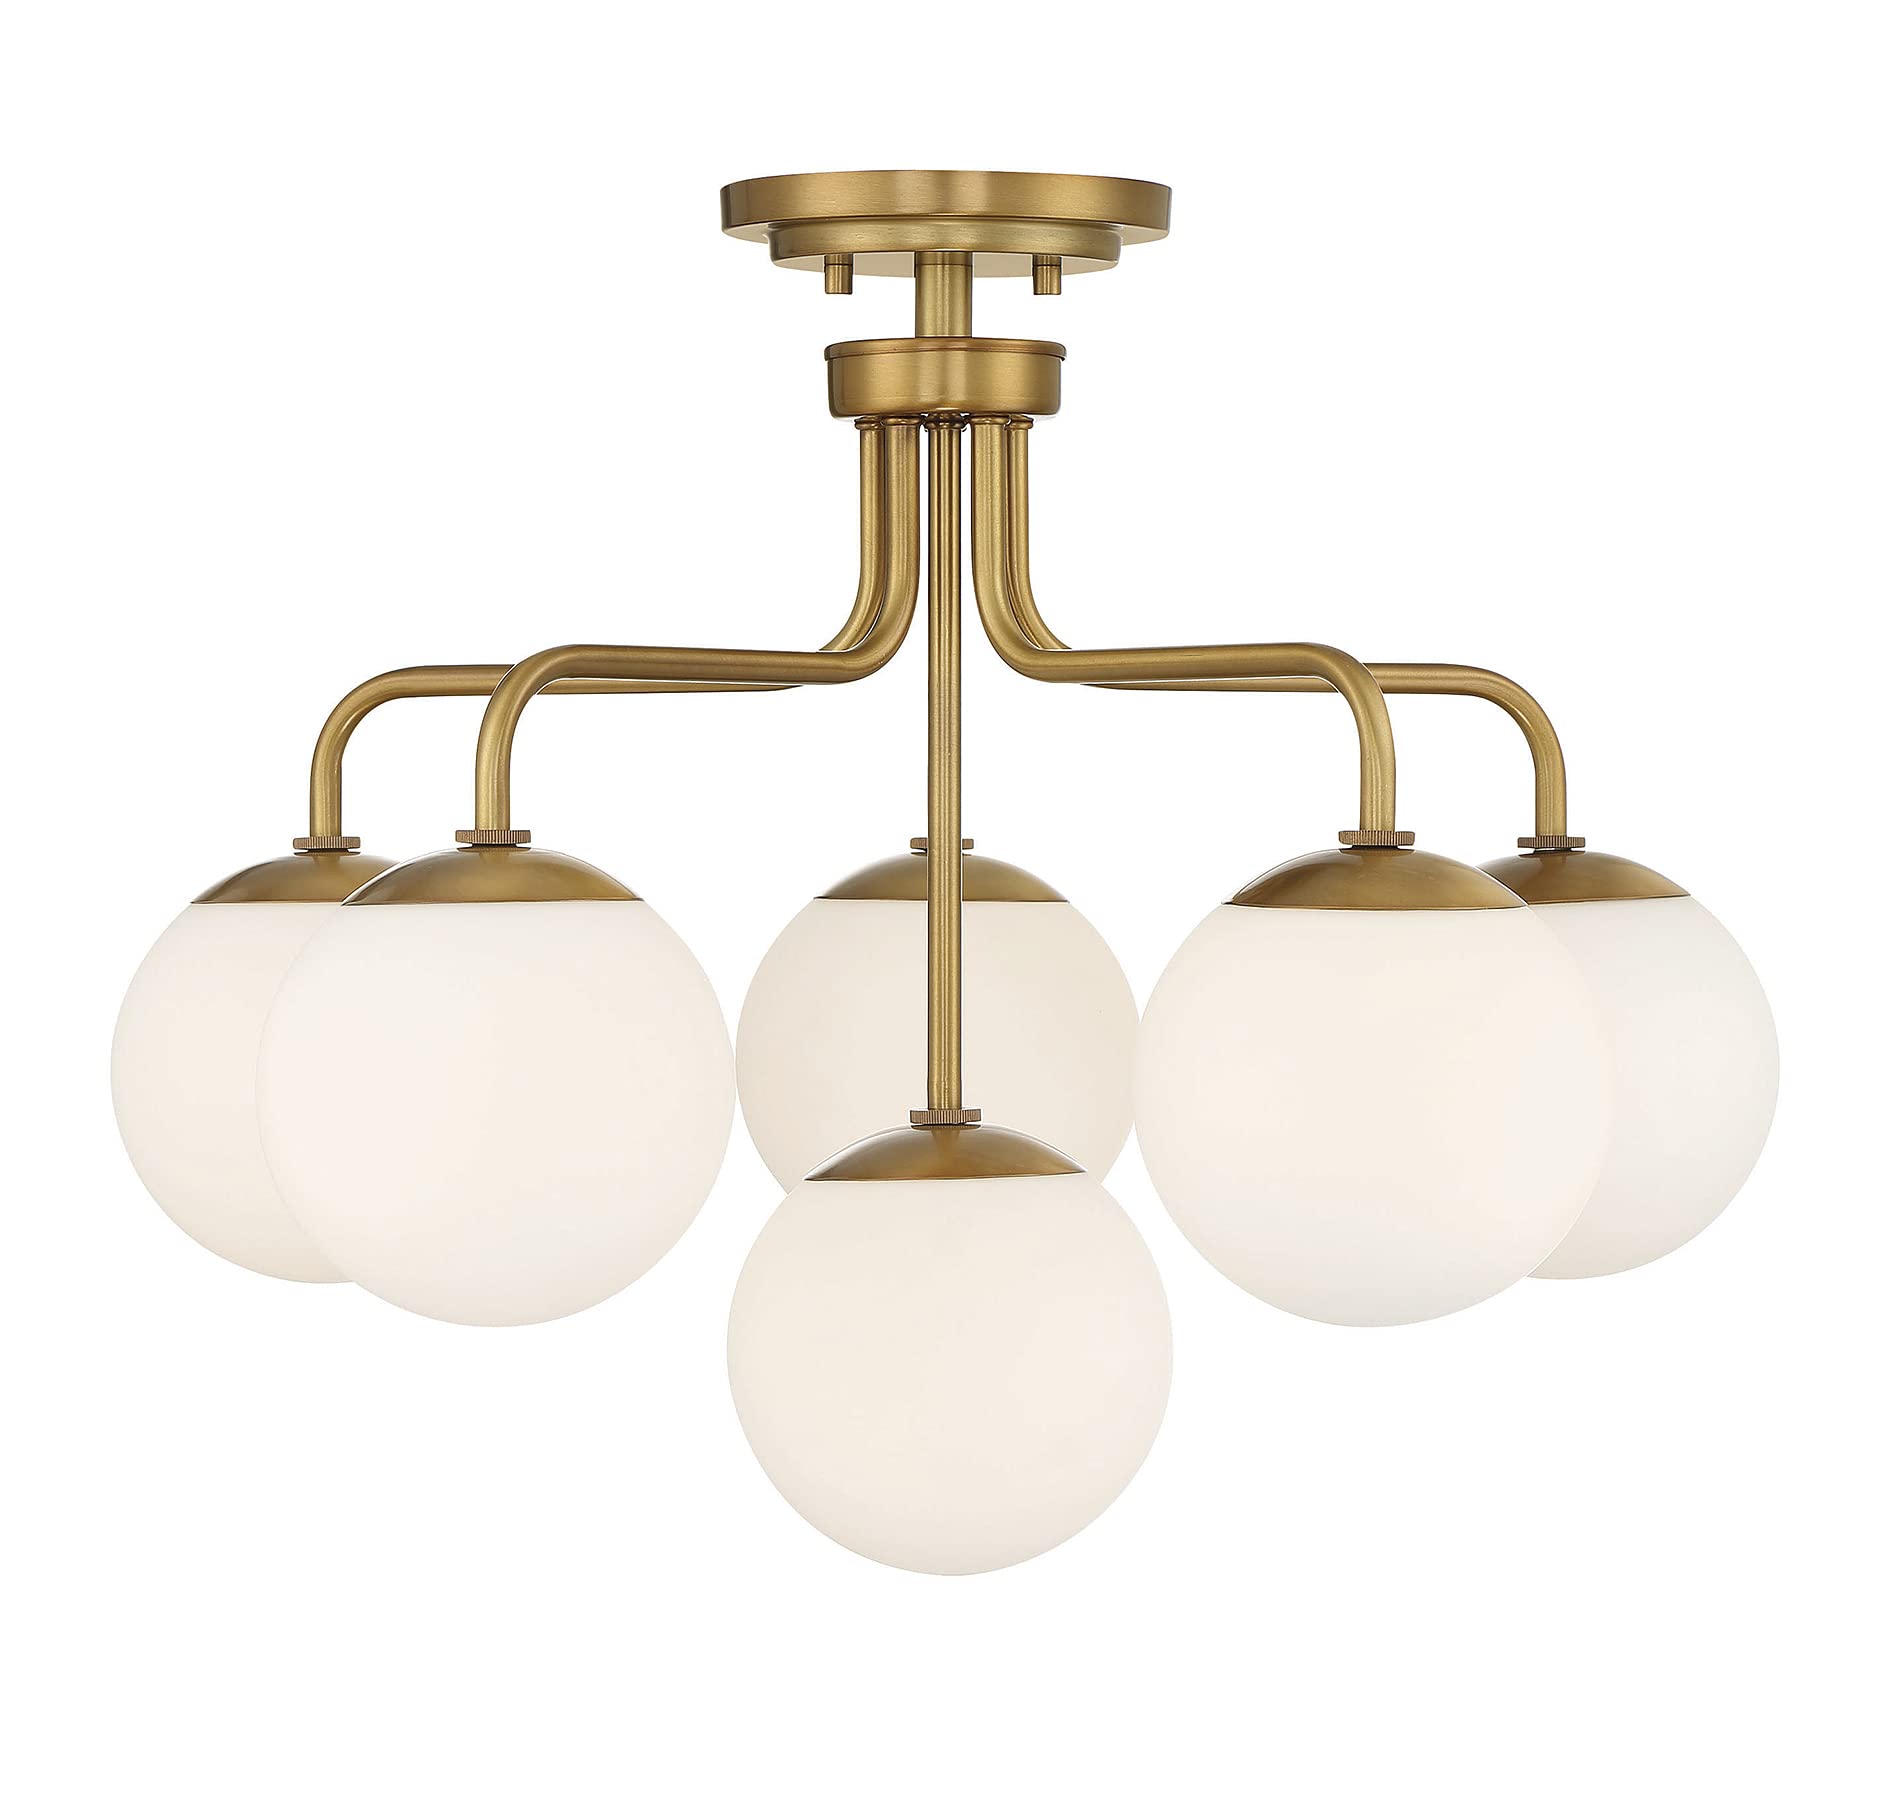
Image 1.1: Savoy House Marco 6-Light Semi-Flush Ceiling Light (Warm Brass)
2. Safety Information
WARNING: Risk of electric shock. Disconnect power at the fuse box or circuit breaker before installation or servicing.
- All electrical connections must be in accordance with local codes, ordinances, or the National Electric Code (NEC). Contact a qualified electrician if you are unfamiliar with proper electrical wiring connections.
- This fixture is intended for indoor use only in dry locations. Do not install in damp or wet areas.
- Ensure the mounting surface can support the weight of the fixture.
- Do not exceed the maximum wattage specified for the bulbs.
- Always wear safety glasses during installation.
- Handle glass components with care to prevent breakage.
3. Setup and Installation
Minimal assembly is required for this fixture. Hardware to mount the fixture to an existing junction box is included. A junction box is not included and must be installed separately if not already present.
3.1. Tools Required (Not Included)
- Phillips head screwdriver
- Flathead screwdriver
- Wire strippers
- Electrical tape
- Pliers
- Safety glasses
3.2. Installation Steps
- Turn off power: Locate the circuit breaker or fuse box and turn off the power supply to the junction box where the fixture will be installed. Verify power is off using a voltage tester.
- Prepare mounting: Attach the mounting bracket to the junction box using the provided screws. Ensure the bracket is securely fastened.
- Wire connections: Connect the fixture's wires to the corresponding wires from the junction box. Typically, black to black (live), white to white (neutral), and green or bare copper to green or bare copper (ground). Secure connections with wire nuts and electrical tape.
- Mount the fixture: Carefully lift the fixture and align the mounting holes on the fixture canopy with the screws on the mounting bracket. Secure the fixture to the bracket using the decorative nuts or screws provided.
- Install glass shades: Gently attach the clear glass shades to the fixture arms. Ensure they are seated properly and secured according to the design.
- Install bulbs: Screw in the recommended E12 candelabra base bulbs (not included) into each socket. Do not exceed 60 watts per bulb.
- Restore power: Turn the power back on at the circuit breaker or fuse box.

Image 3.1: Fixture view for installation reference.
4. Operating Instructions
The Savoy House Marco ceiling light operates via a standard wall switch (not included) connected to the electrical circuit. This fixture is dimmable when used with compatible incandescent or LED bulbs and a suitable dimmer switch.
4.1. Bulb Information
- Number of Bulbs: 6
- Max Watts Per Bulb: 60 Watt
- Voltage: 120V
- Bulb Type: Incandescent/LED
- Bulb Base: E12 (Candelabra)
- Dimmable: Yes, with compatible bulbs and dimmer switch.

Image 4.1: Close-up of a glass globe and bulb socket area.
5. Maintenance
5.1. Cleaning
- Always disconnect power before cleaning.
- Wipe the fixture with a soft, dry cloth.
- Do not use abrasive cleaners, solvents, or polishes as they may damage the finish.
- For glass shades, use a mild glass cleaner applied to a cloth, then wipe the glass. Avoid spraying cleaner directly onto electrical components.
5.2. Bulb Replacement
- Ensure power is disconnected at the circuit breaker.
- Allow bulbs to cool completely before touching.
- Carefully unscrew the old bulb from the socket.
- Screw in a new E12 candelabra base bulb, ensuring it does not exceed 60 watts.
- Restore power.
6. Troubleshooting
| Problem | Possible Cause | Solution |
|---|---|---|
| Light does not turn on. | No power to the fixture. | Check circuit breaker or fuse. Ensure wall switch is on. |
| Loose wire connections. | Turn off power, check and tighten all wire connections. | |
| Faulty bulb. | Replace bulb with a new one. | |
| Light flickers. | Loose bulb. | Turn off power, tighten bulb. |
| Incompatible dimmer switch or bulb. | Ensure dimmer and bulbs are compatible (e.g., LED dimmer for LED bulbs). | |
| Glass shade is loose. | Shade not properly secured. | Turn off power, re-seat and secure the glass shade. |
7. Specifications
| Feature | Detail |
|---|---|
| Model Number | 6-1950-6-322 |
| Brand | Savoy House |
| Dimensions (H x W) | 18.25" H x 24" W |
| Ceiling Canopy | 5.83" x 5.83" x 1" |
| Weight | 6.82 lbs. |
| Number of Lights | 6 |
| Max Wattage Per Bulb | 60 Watt |
| Total Wattage | 360 Watts |
| Voltage | 120V |
| Bulb Base | E12 (Candelabra) |
| Bulb Type | Incandescent/LED |
| Dimmable | Yes |
| Material | Metal and Glass |
| Finish | Warm Brass |
| Shade Material | Glass (Opal White) |
| Installation Type | Semi Flush Mount |
| Safety Rating | UL/CUL Approved for DRY Locations |
| Required Assembly | Yes (Minimal) |
8. Warranty Information
All Savoy House products purchased include a 30-day replacement parts policy to ensure a fully working item. All products are covered under a 1-year warranty when purchased on Amazon. The warranty period begins on the day the product is originally shipped. The warranty covers all items and conditions identified in the original manufacturer's warranty.
Items specifically not covered by the warranty include loss and theft, water damage, customer abuse, and finish deterioration due to UV or coastal exposure.
9. Customer Support
If you have any questions regarding the installation, operation, or maintenance of your Savoy House Marco 6-Light Semi-Flush Ceiling Light, please contact Savoy House customer support. For more information and to explore other products, visit the official Savoy House store:


